One end of Icknield Port Loop
This is looking into the Icknield Port Loop at Rotton Park Junction where it meets the Main Line of the Birmingham Canal Navigations at right angles.
![]()
Maps and DVDs for the Waterways of Britain
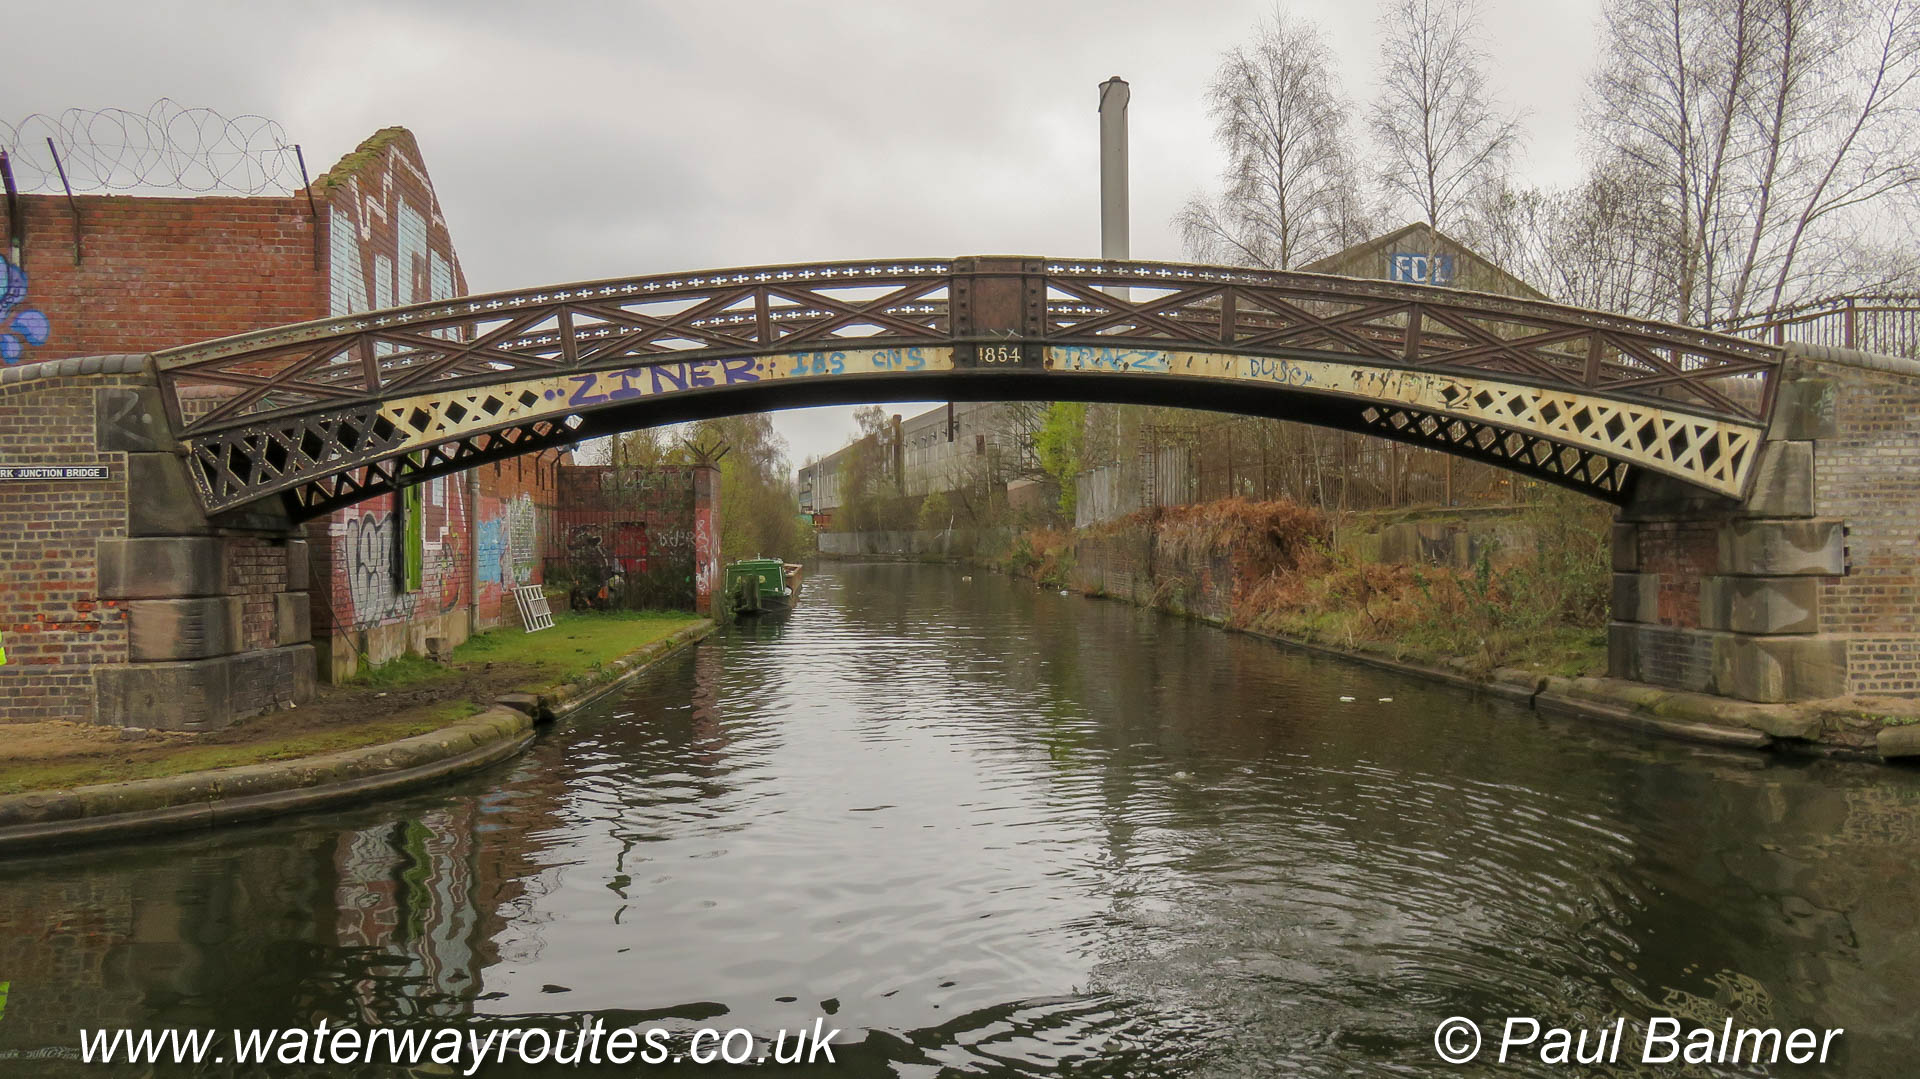
This is looking into the Icknield Port Loop at Rotton Park Junction where it meets the Main Line of the Birmingham Canal Navigations at right angles.
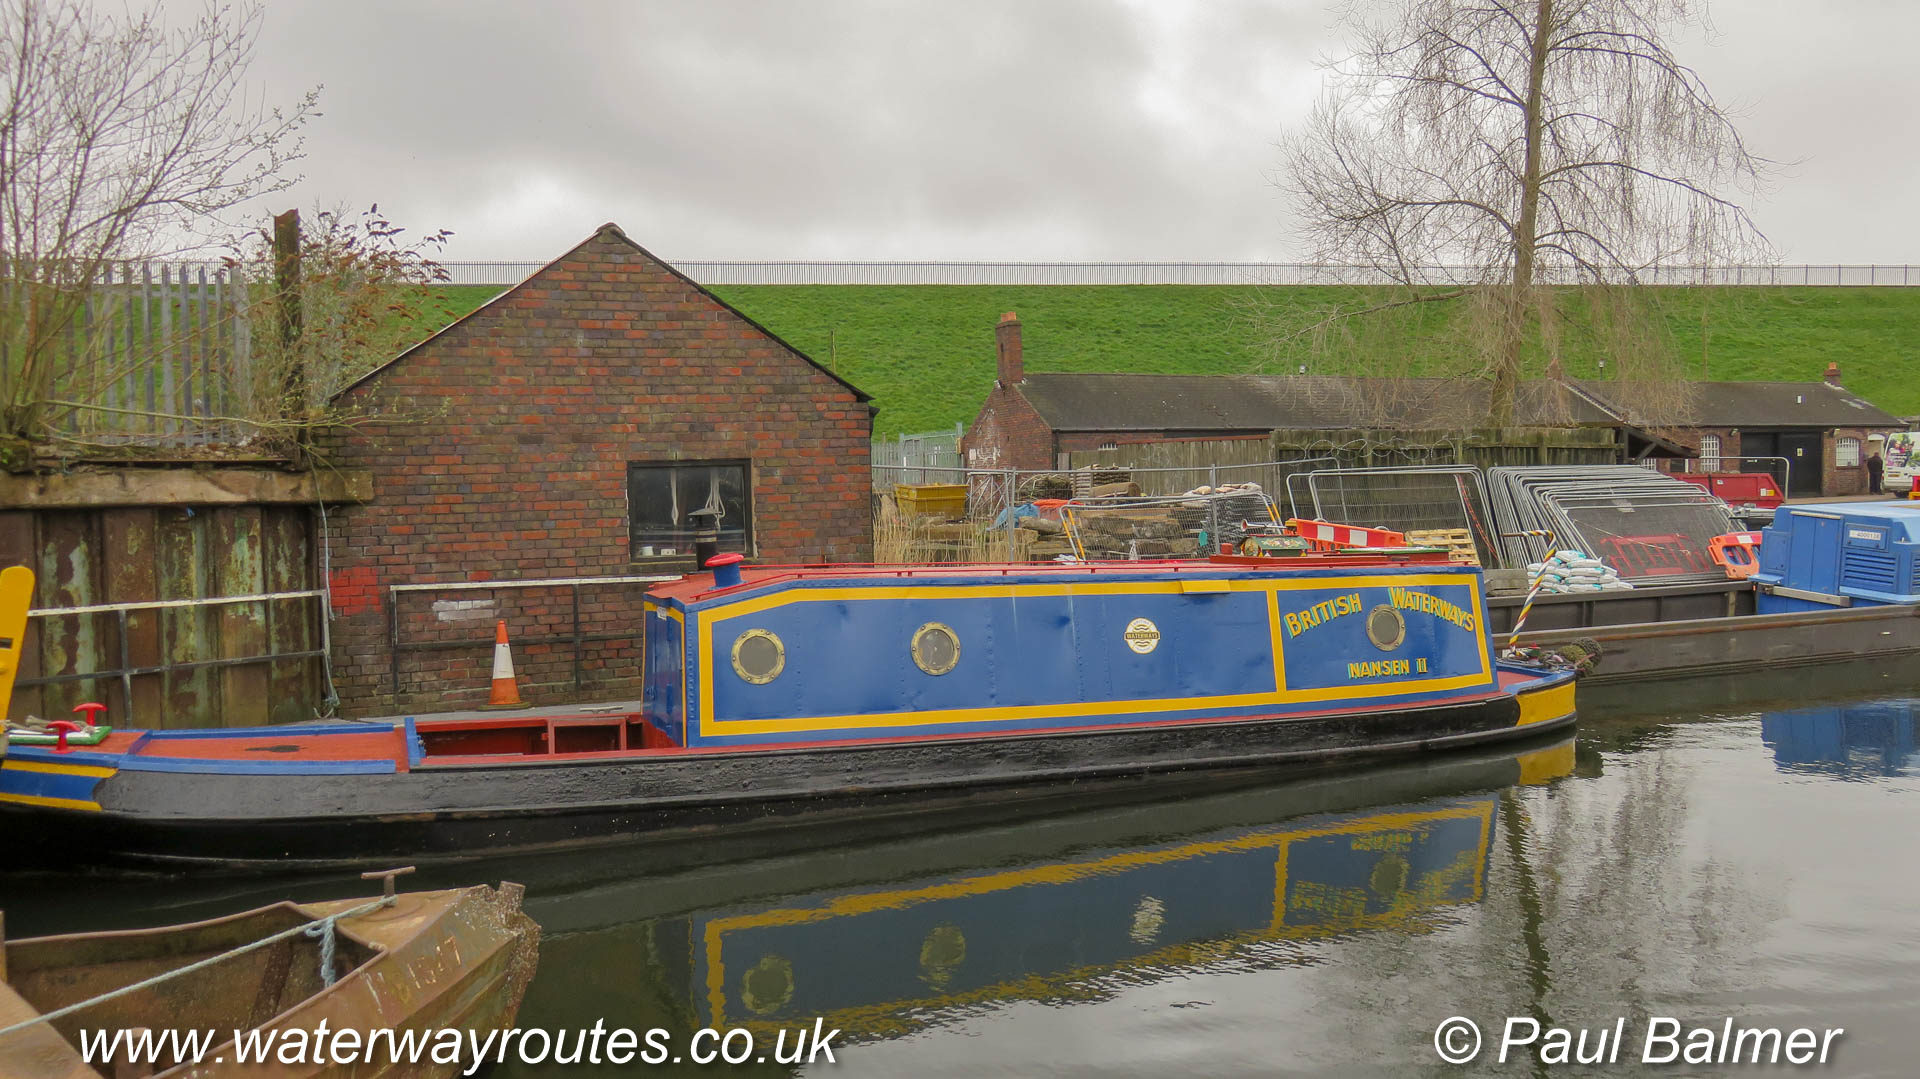
The Canal & River Trust base on the Icknield Port Loop is often used for mooring historical craft.
The Icknield Port Loop has contained canal owners workshops and other facilities for many years, and is still used by the Canal & River Trust today.
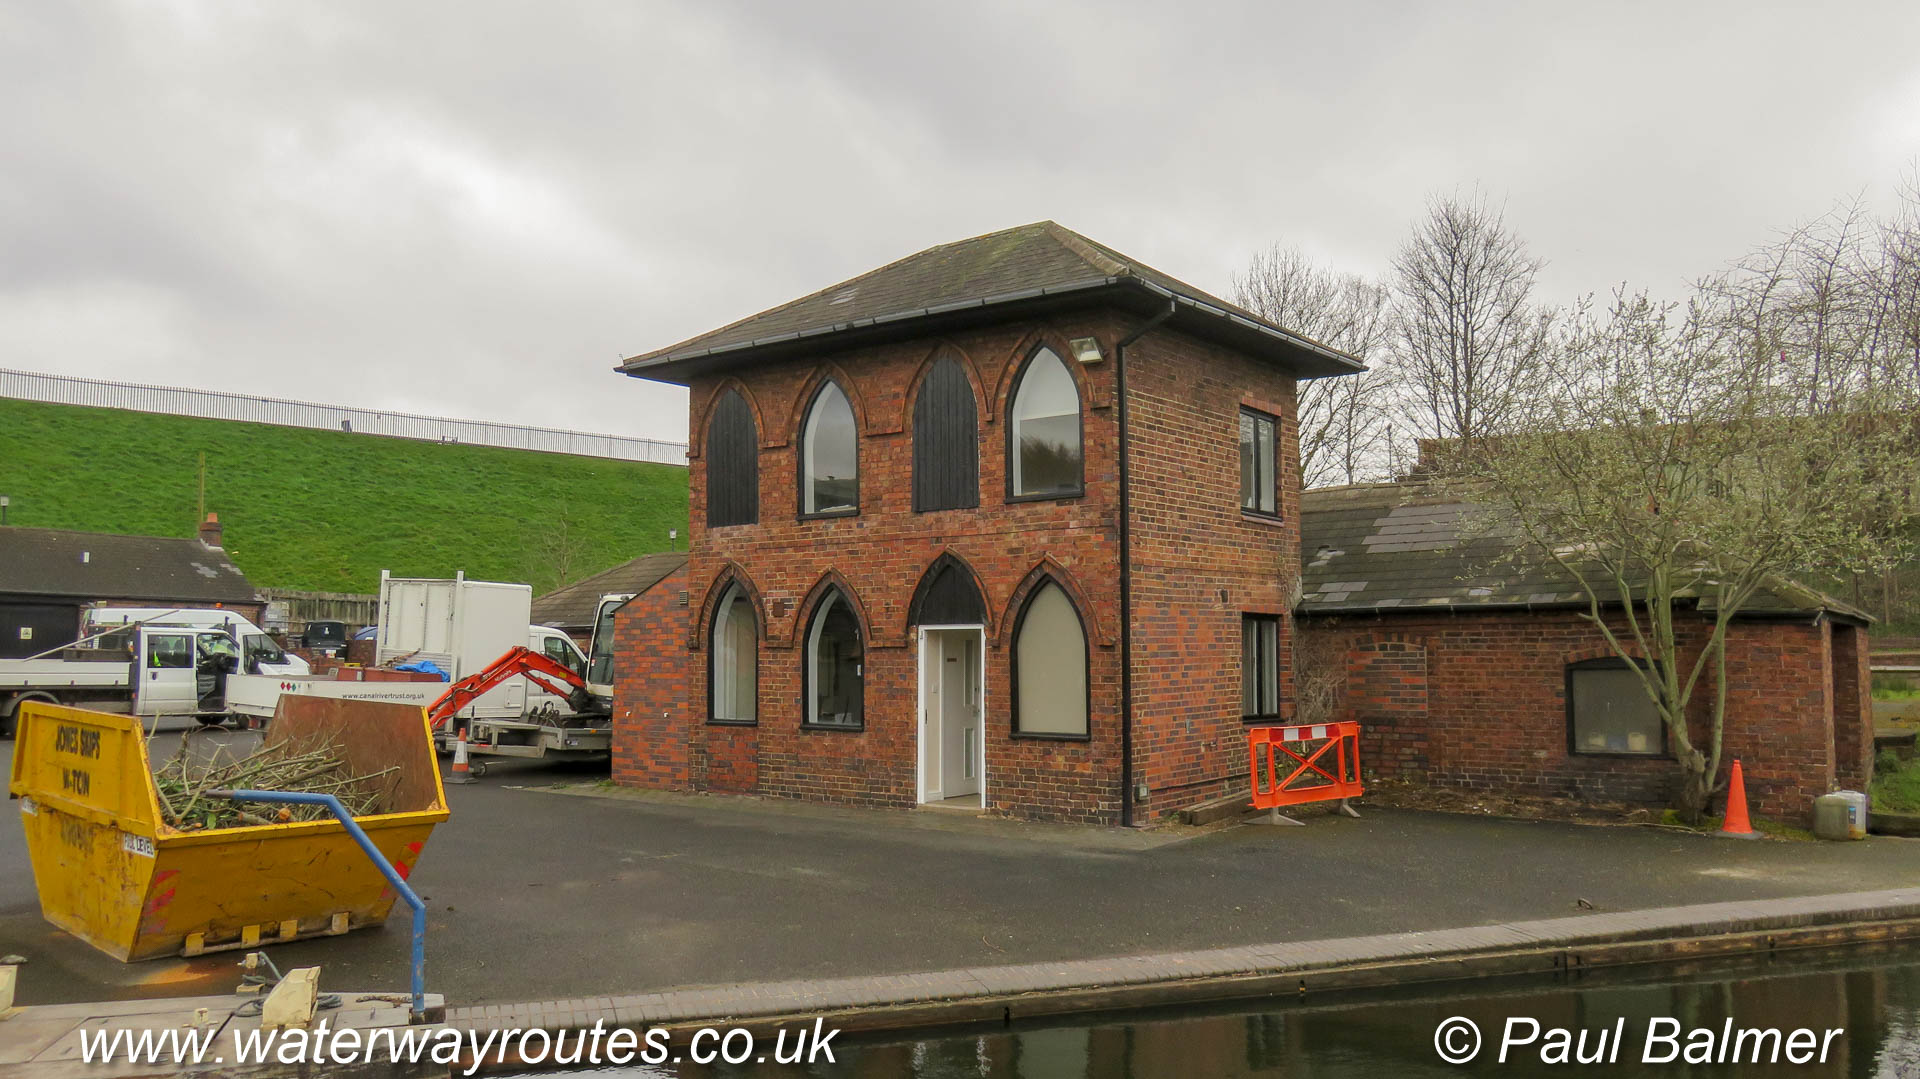
Rather different in style from the other buildings at the depot, this building has unusually shaped windows.
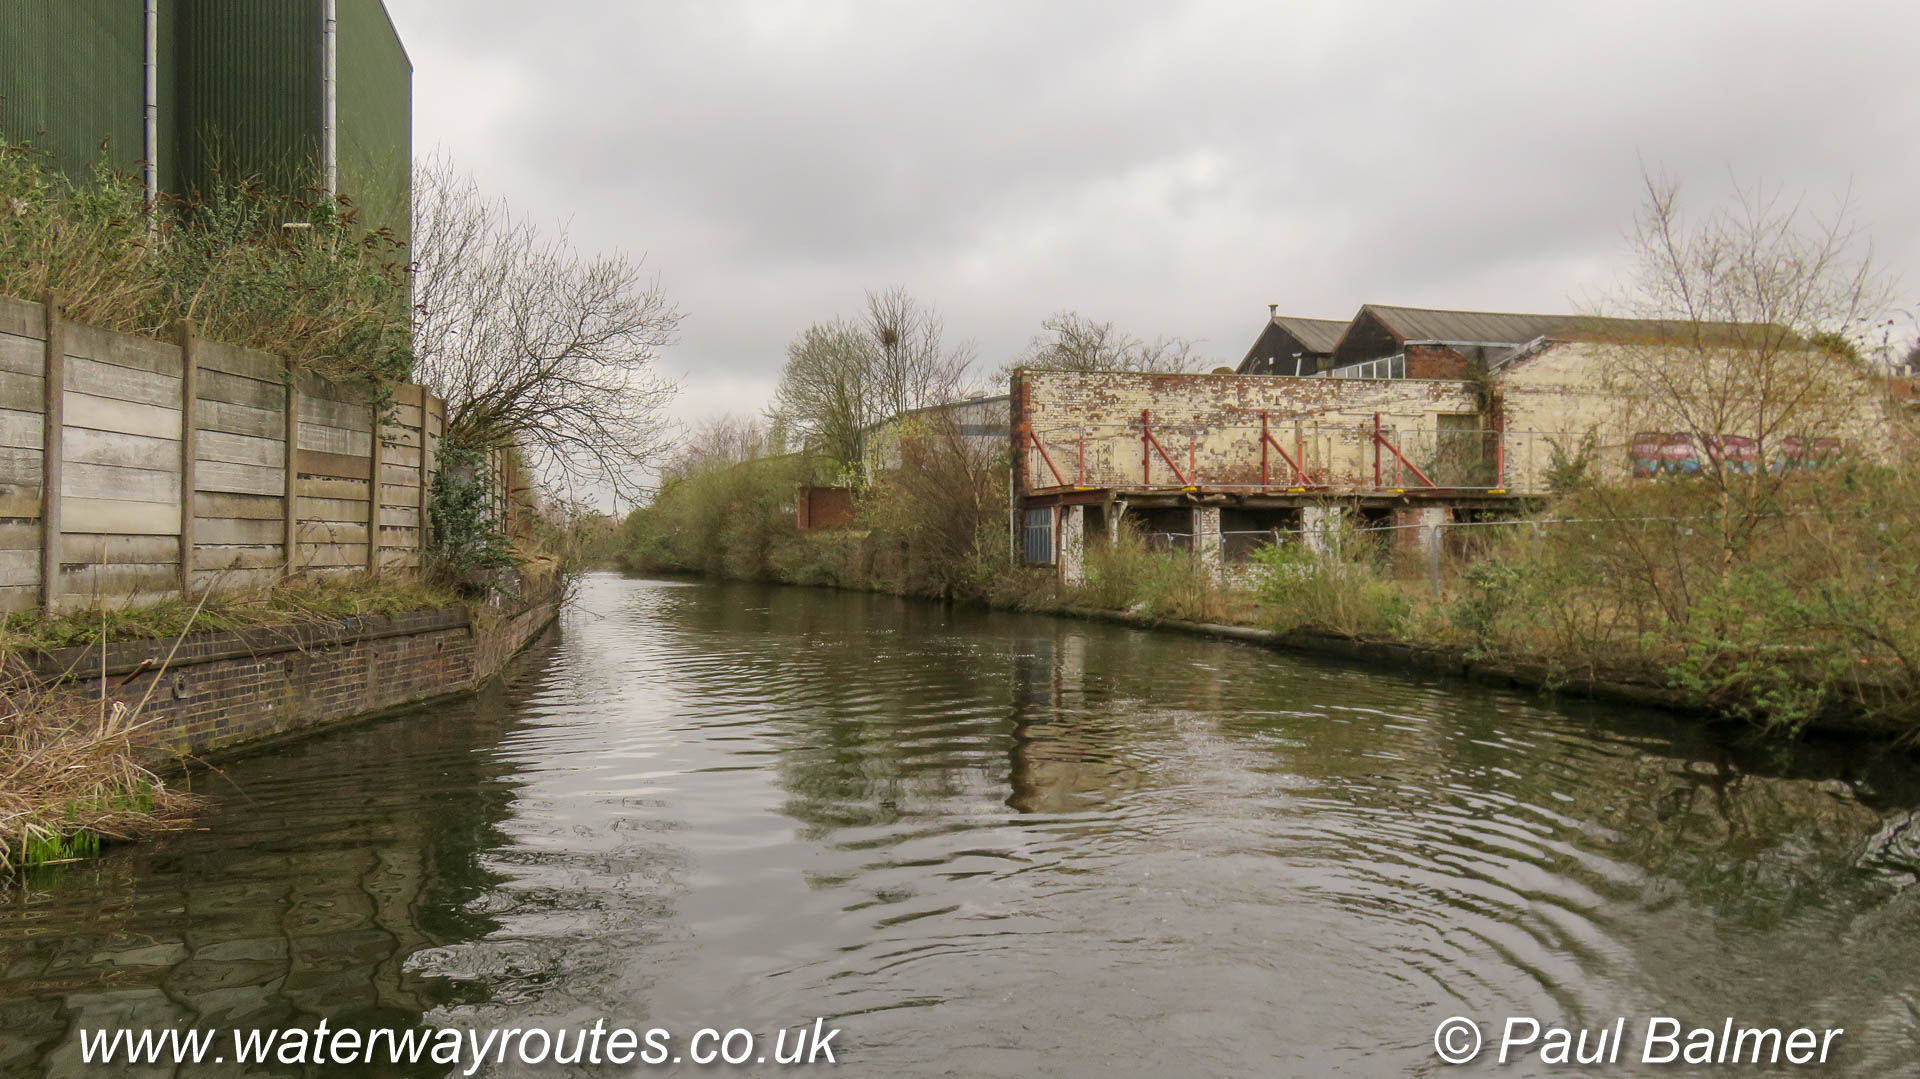
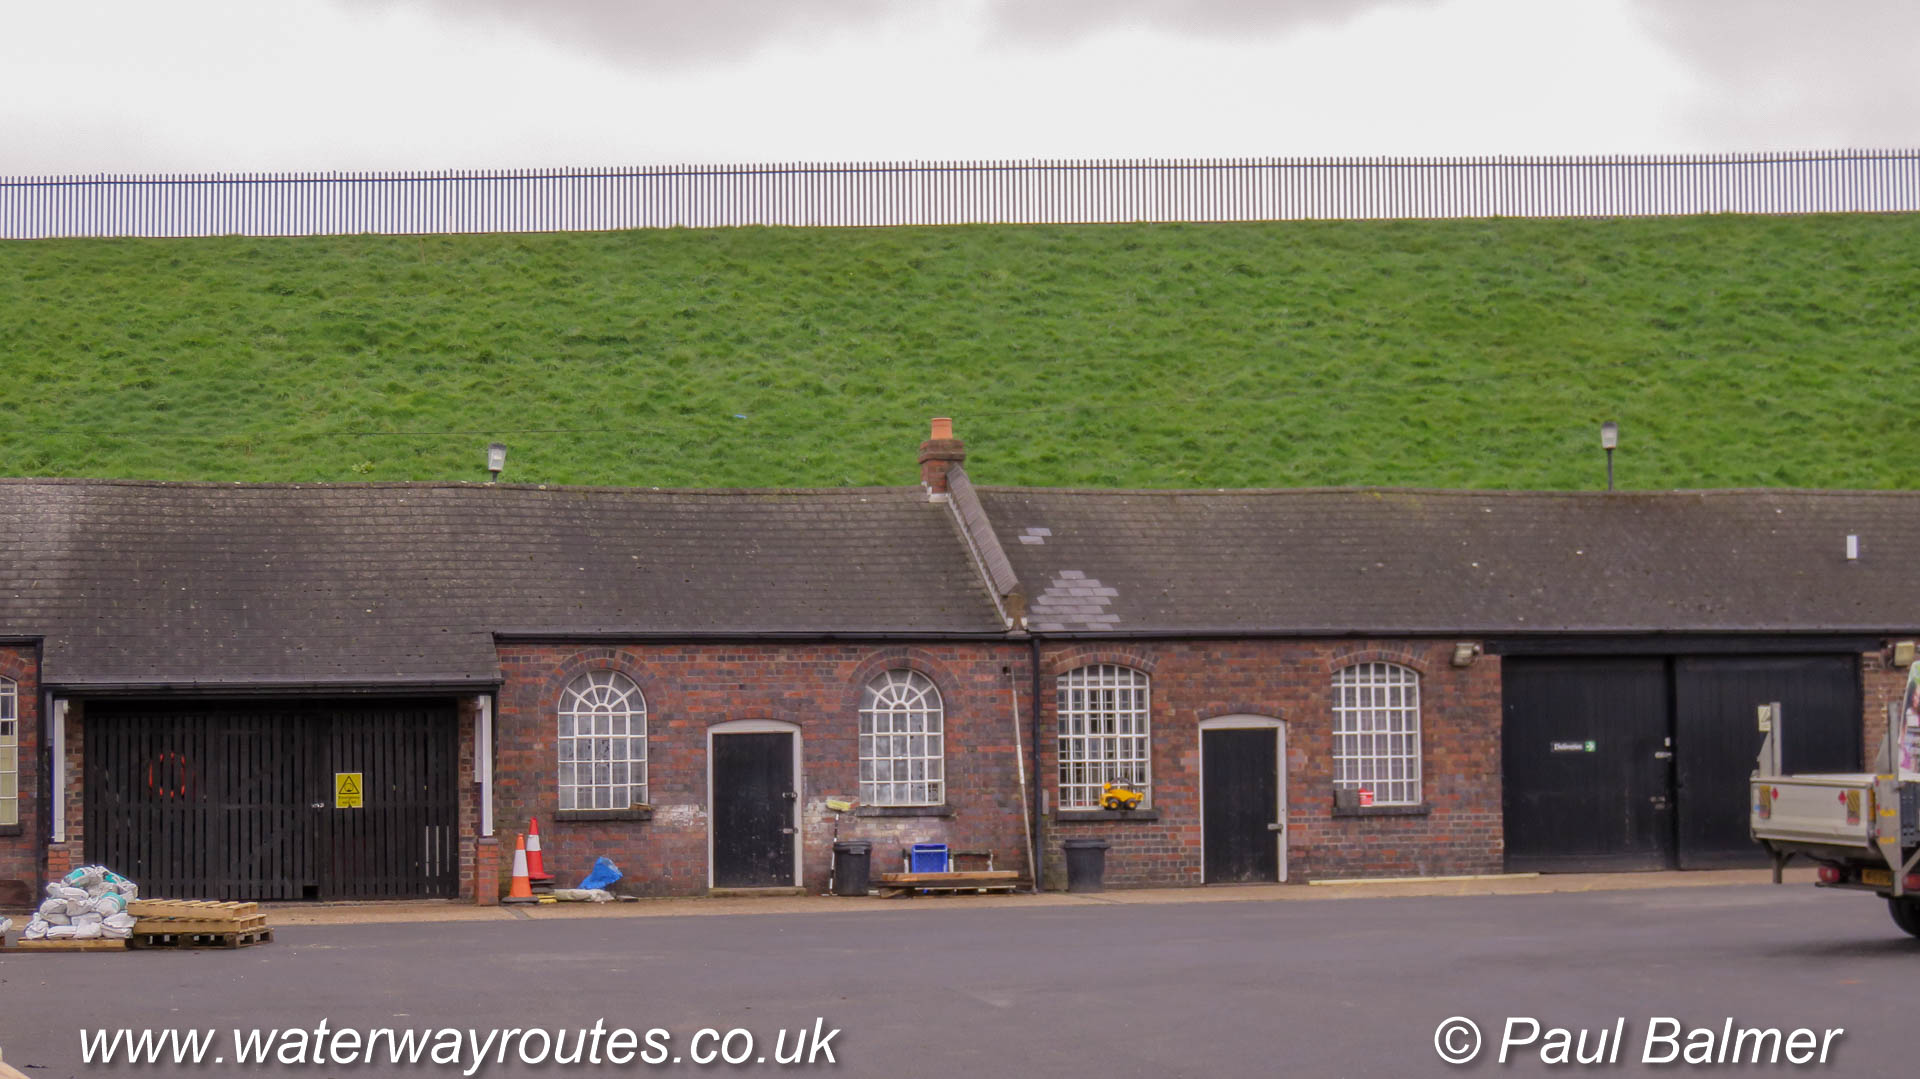
Many of these once fine building s are lying derelict. It’s likely they will be demolished and replaced by modern developments once
Our Waterway Routes narrowboat is about the leave Sherborne Wharf Marina on the Oozells Street Loop of the Birmingham Canal Navigations (BCN).
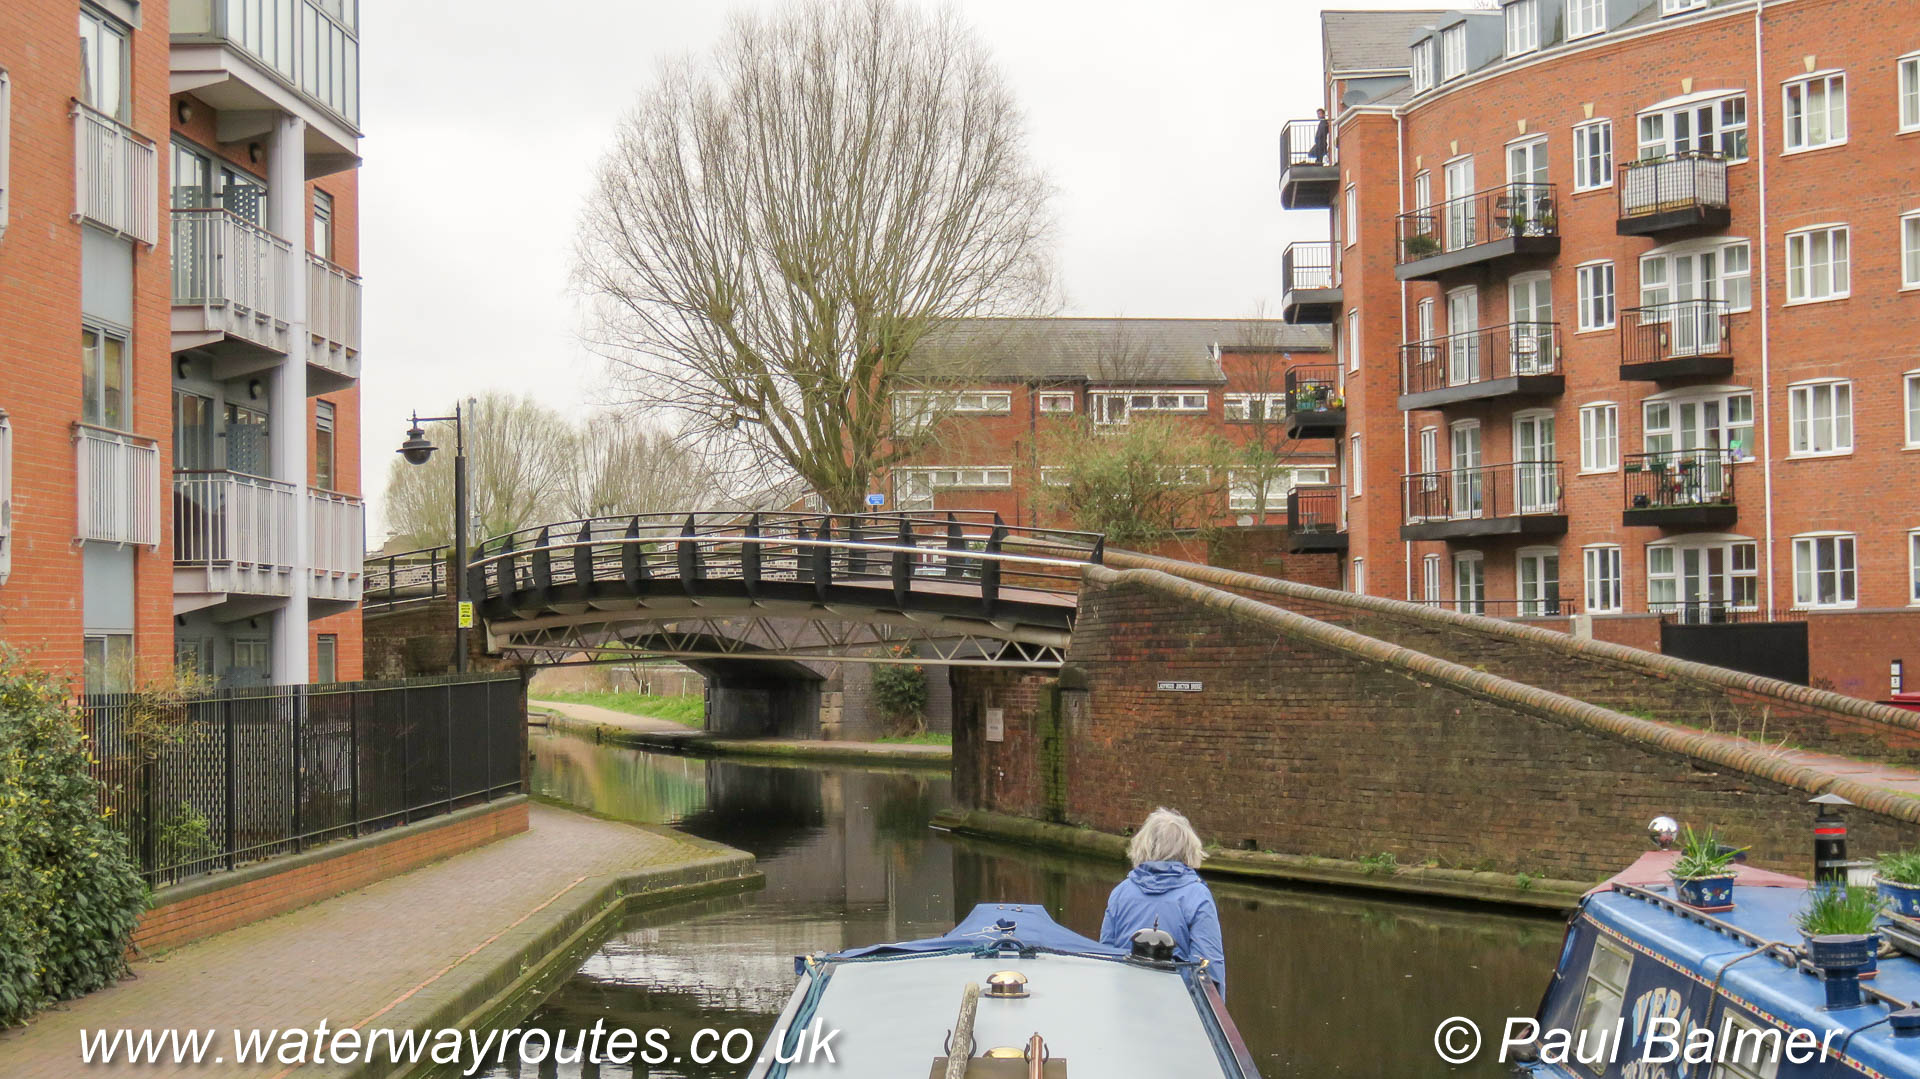
Under the bridge is Ladywood Junction where the Oozells Street Loop meets the Birmingham Canal Navigations (BCN) Main Line. Wolverhampton is almost straight ahead at this shallow angle junction.
The view from our Waterway Routes narrowboat on its home mooring in Sherborne Wharf Marina.
Ladywood Junction is just out of sight where the Oozells Street Loop curves to the left.
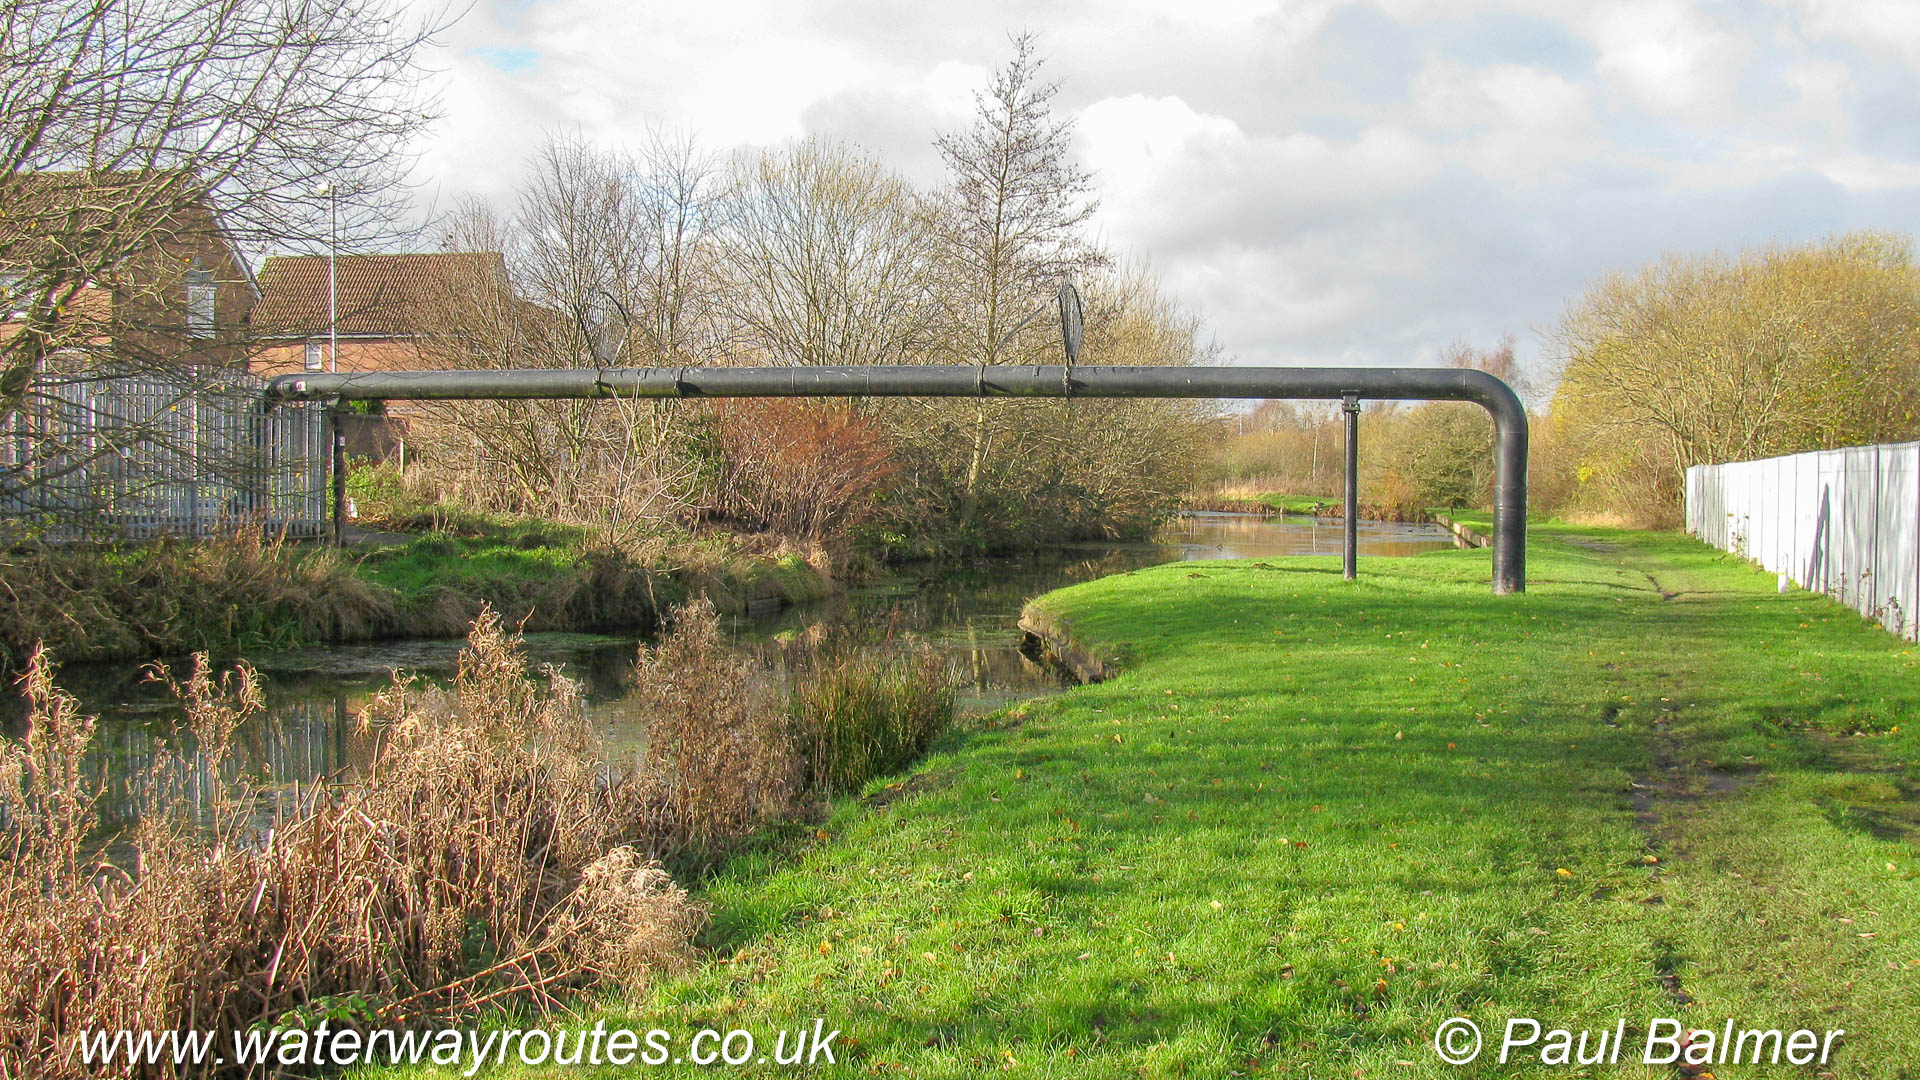
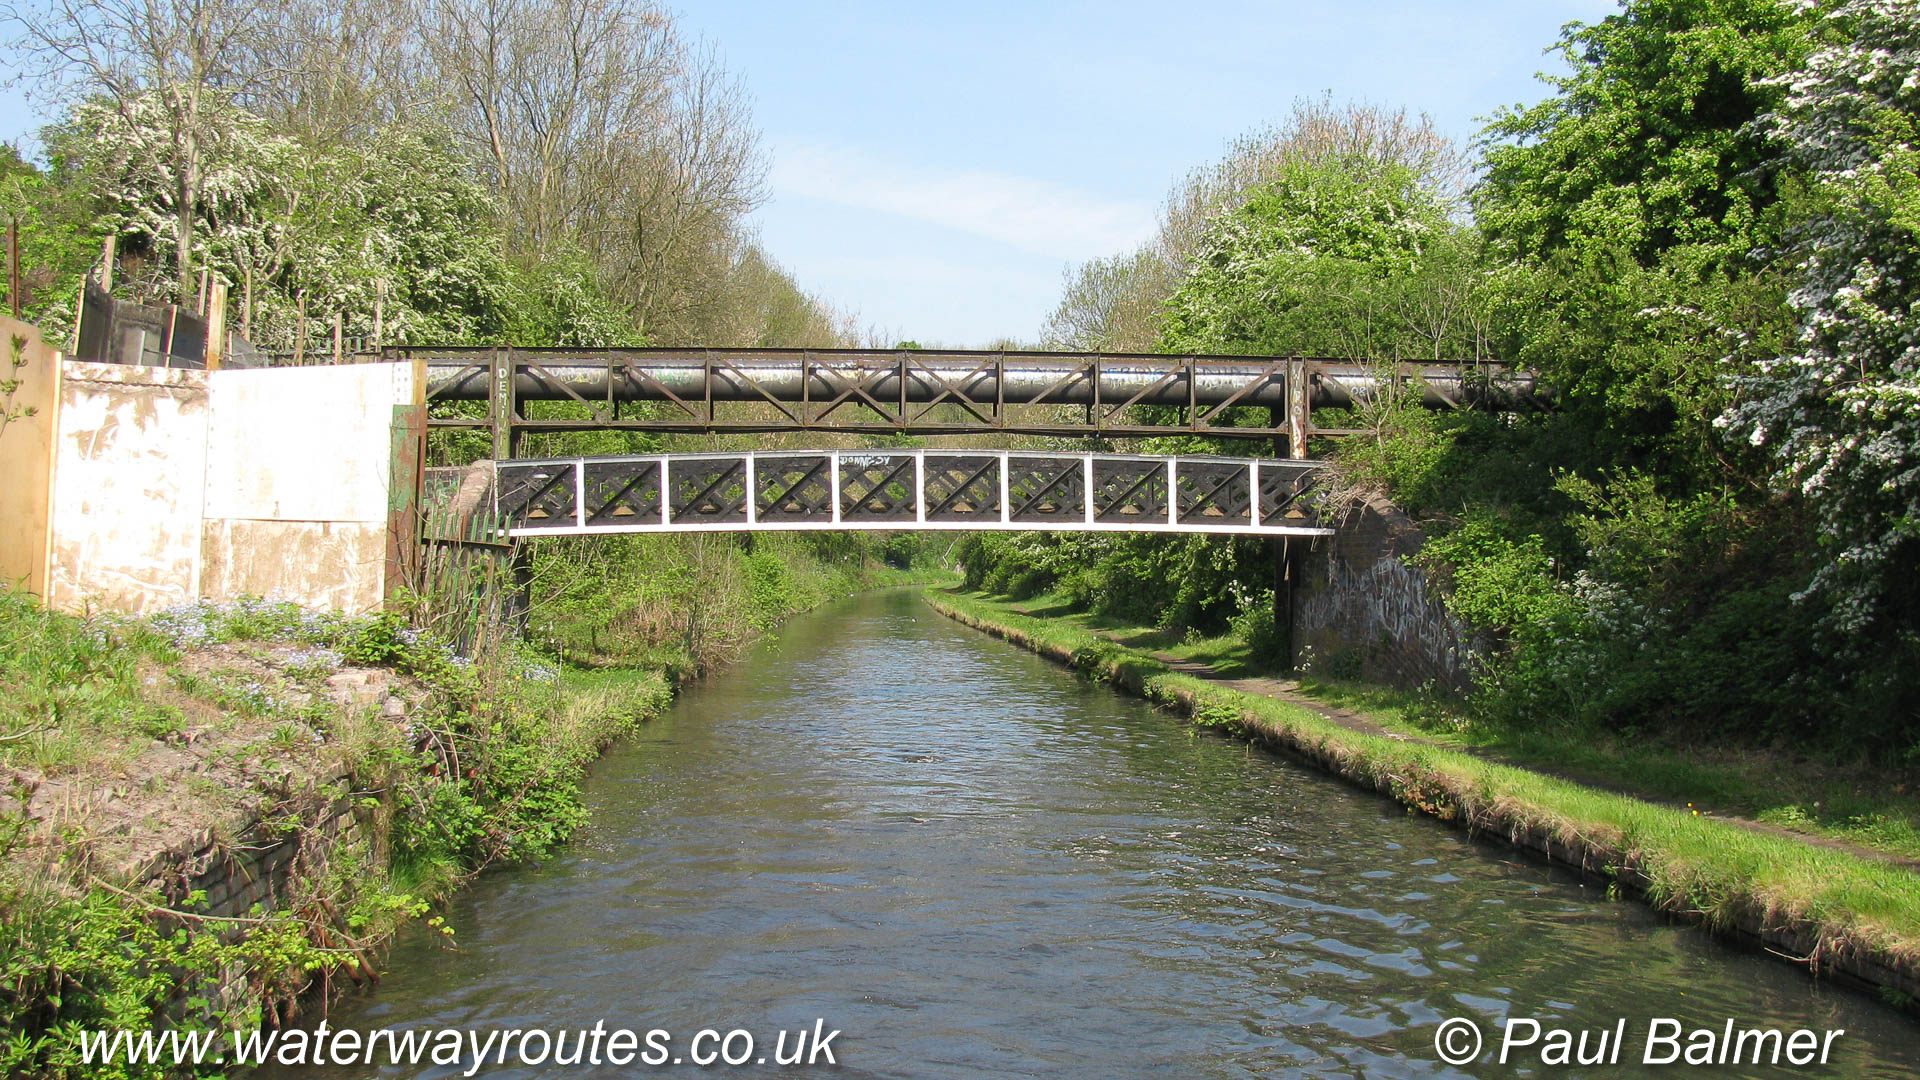
The narrows are from a former bridge which, presumably, once carried the pipe across the canal and that’s now been made into a free standing structure.

There were many short arms along the canal, providing connections and moorings for local industries and a few, like this one, are still identifiable, although most have been filled in with nothing left to see.
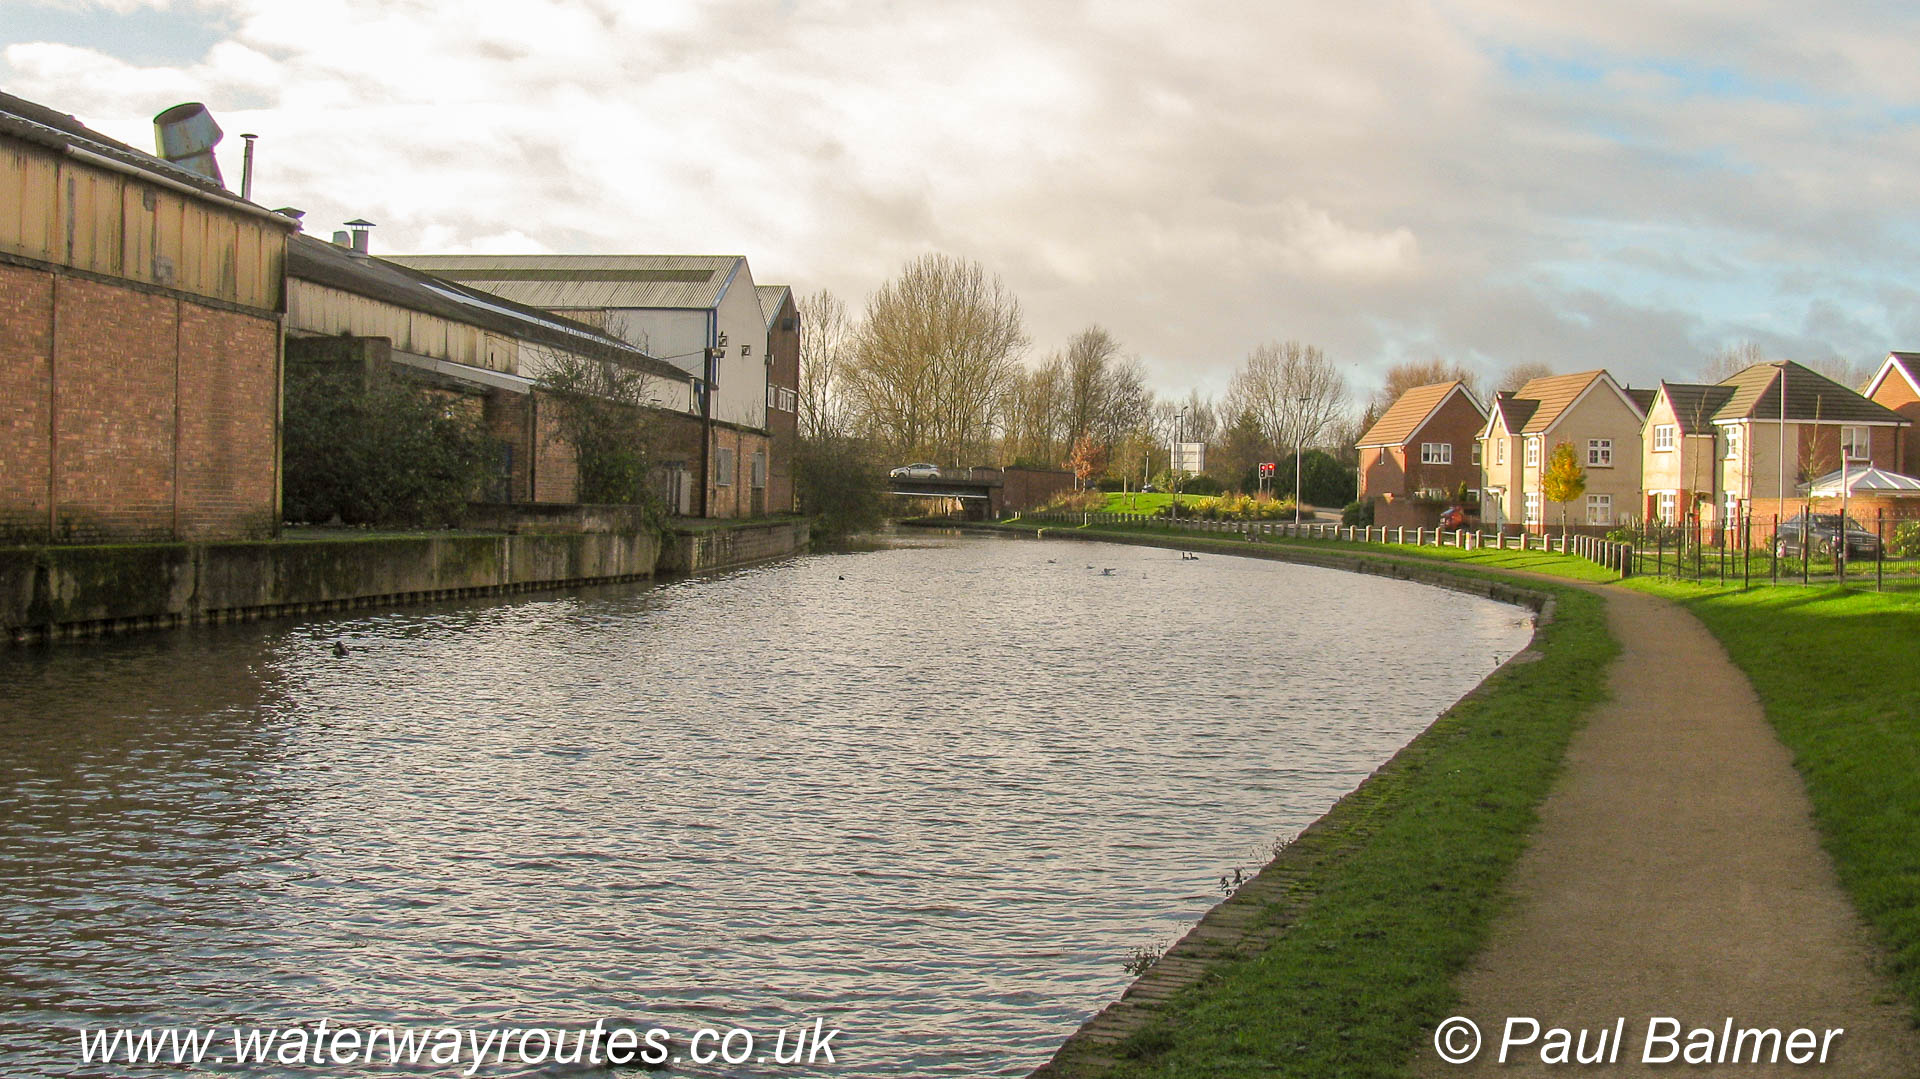
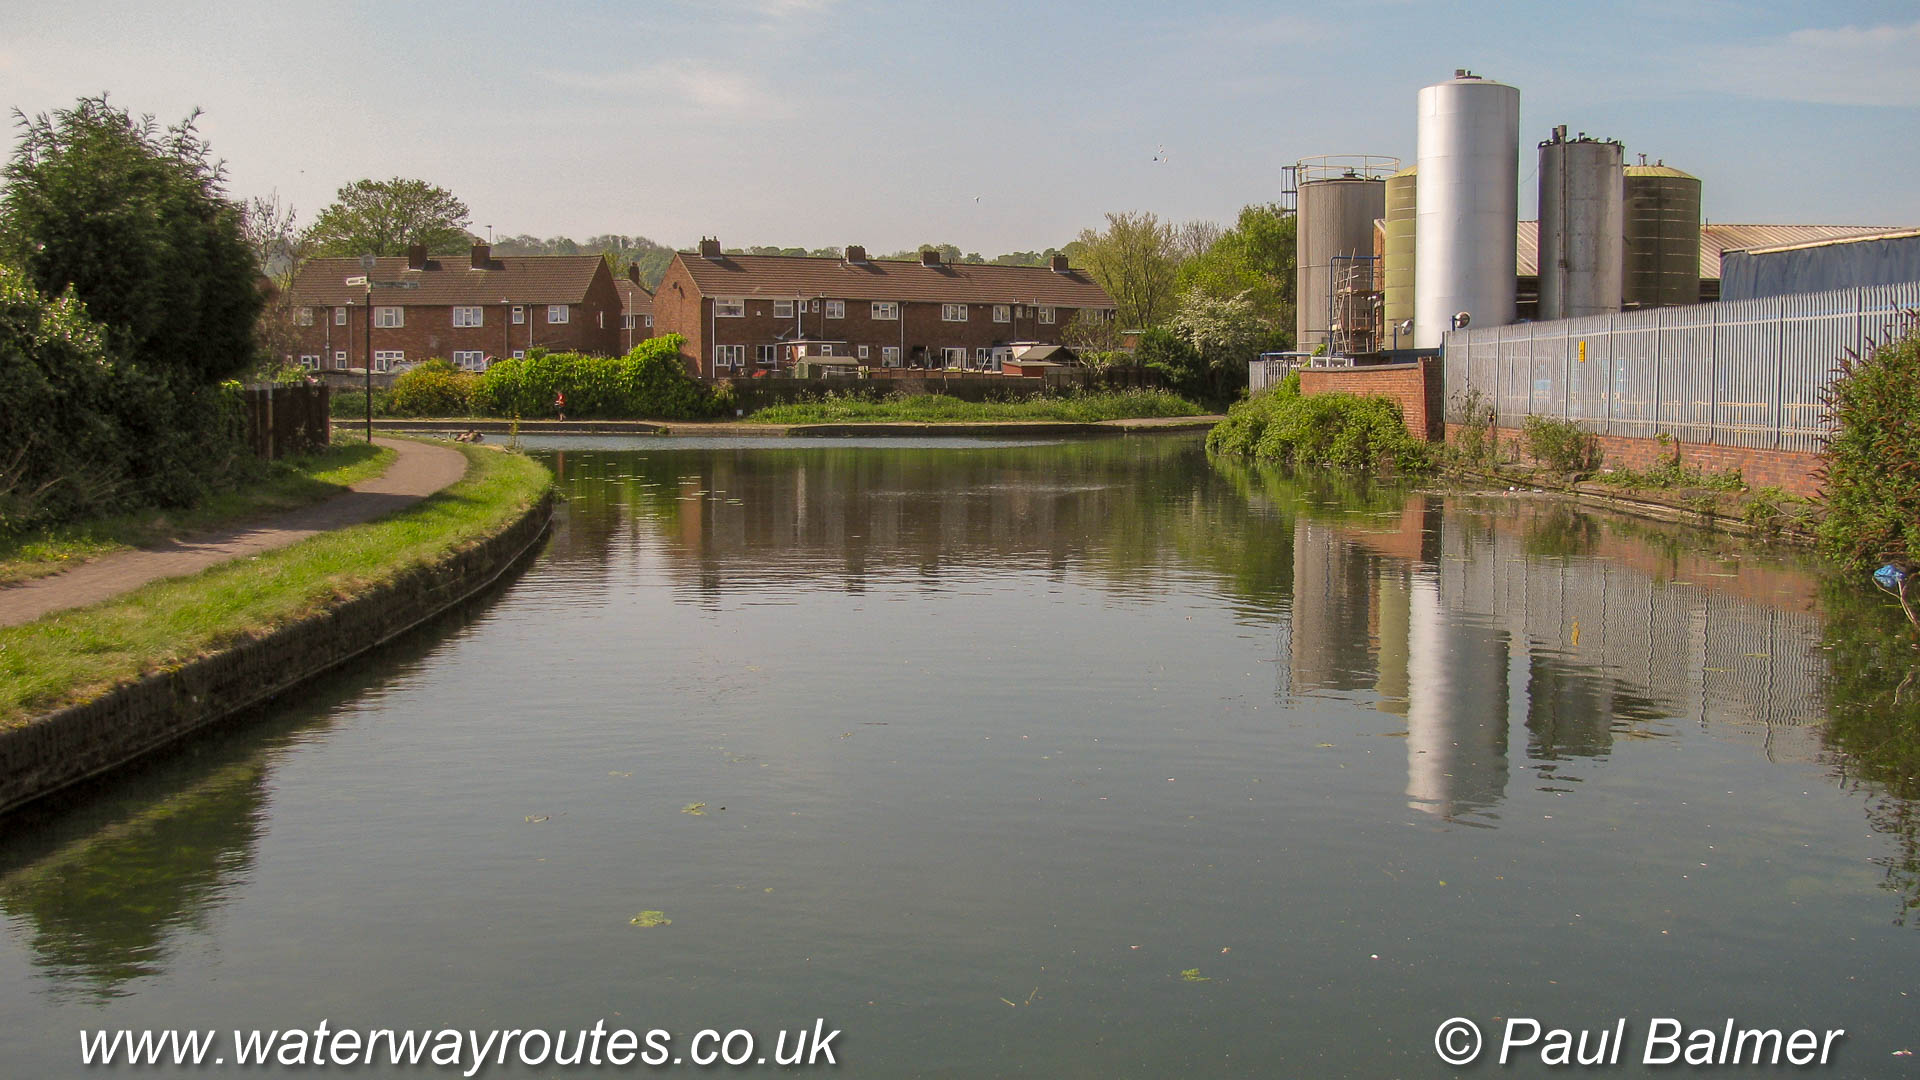
I can remember when both sides of the canal had the same sorts of industrial buildings as we can see on the left. Recently the industries on the right have been replaced by the modern housing.
Where houses replace old industries which came close to the canal there is nothing to separate the houses from the canal. Where houses are built on what was green space the hedge lines have mostly been retained to separate the building from the canal.
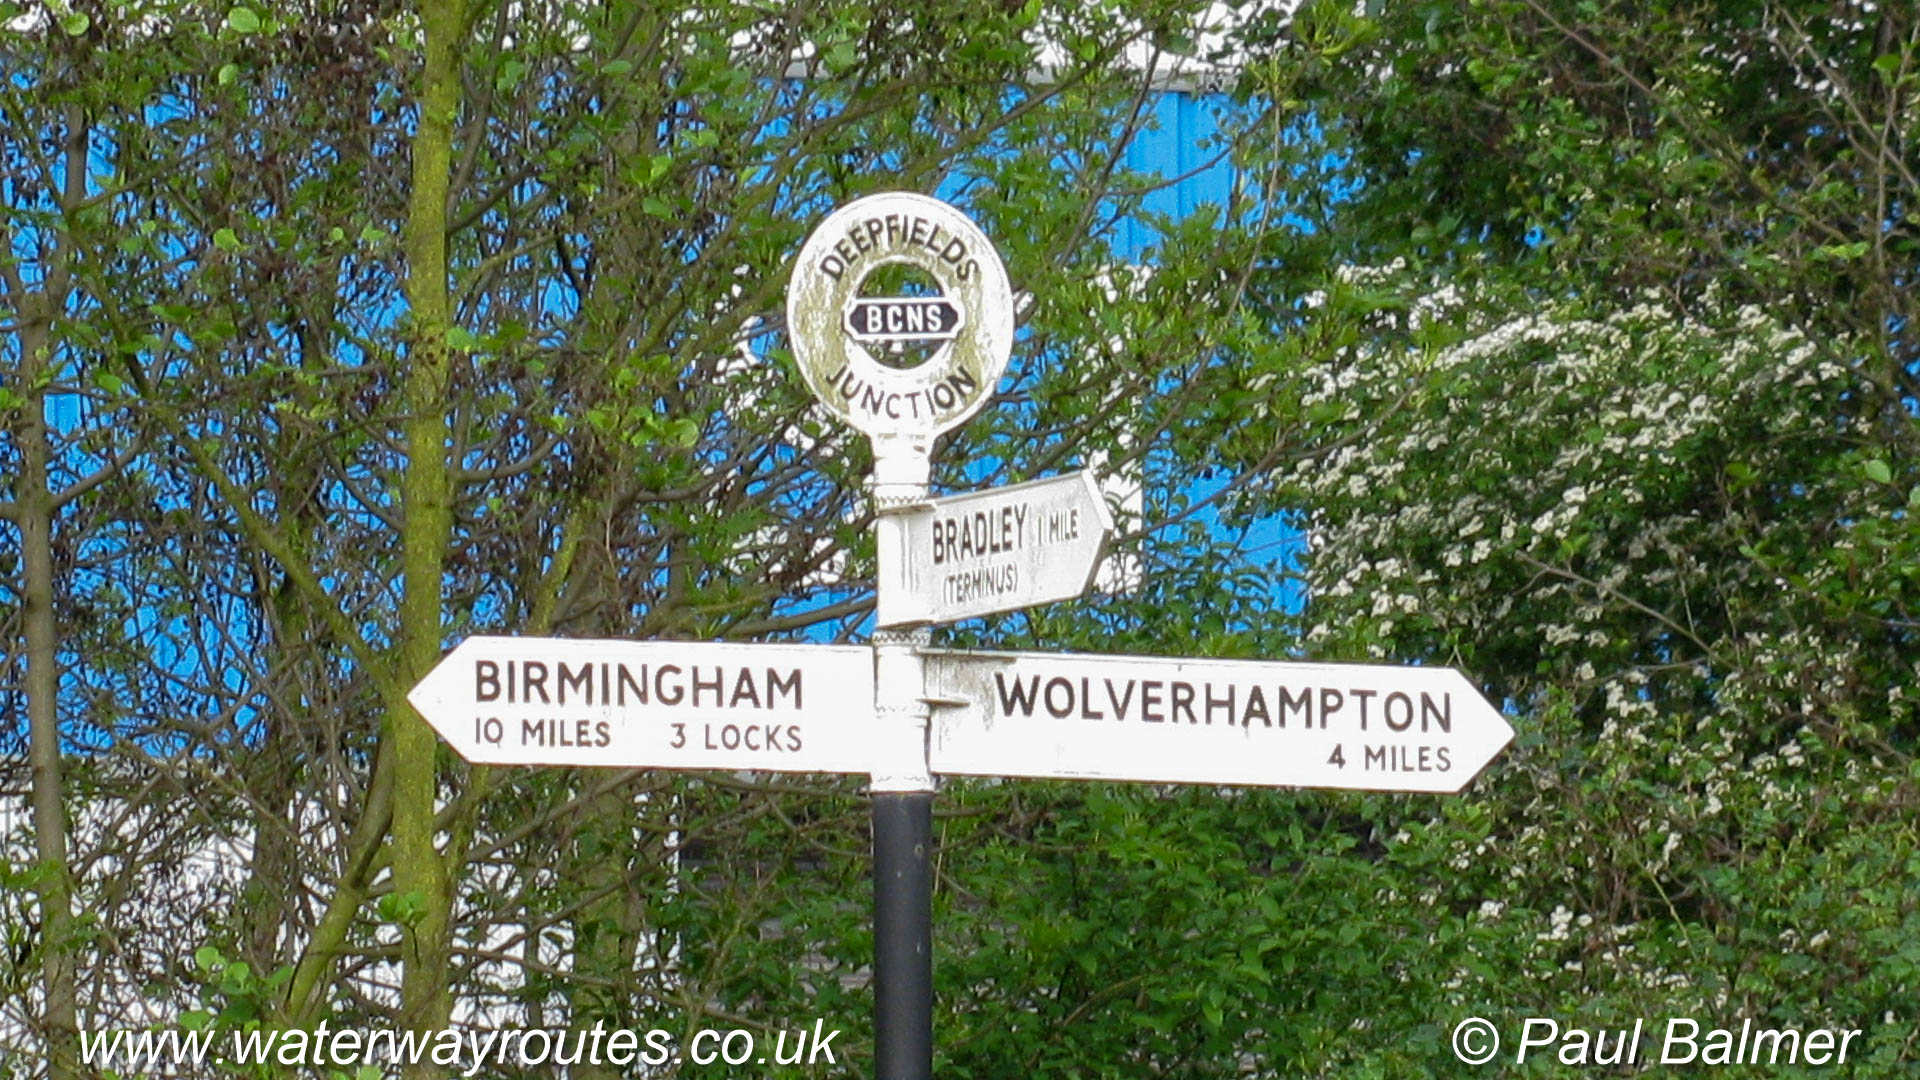
As well as the many short arms we have passed along the canal there was once a complete loop near Bradley Workshops. Looking back towards Deepfields Junction we can see the raised brickwork
It’s not possible to walk through Bradley Workshops and the towpath becomes a separate footpath passing behind the workshops so it’s still possible to walk between the main towpath and the main road, and onto the Bradley Canal.
Having passed under the proposed lift bridge the final obstacle is to pass through the pub car park to join the end of the Bradley Arm which is just the other side of the wall at the far end of the car park.
Having passed under the proposed lift bridge the final obstacle is to pass through the pub car park to join the end of the Bradley Arm which is just the other side of the wall at the far end of the car park.

The Bradley Canal must cross this road from left to right to meet the end of the Wednesbury Oak Loop (sometimes called the Bradley Arm). The gradient on the road probably precludes raising it for a fixed bridge and a lift bridge seems the most likely solution.
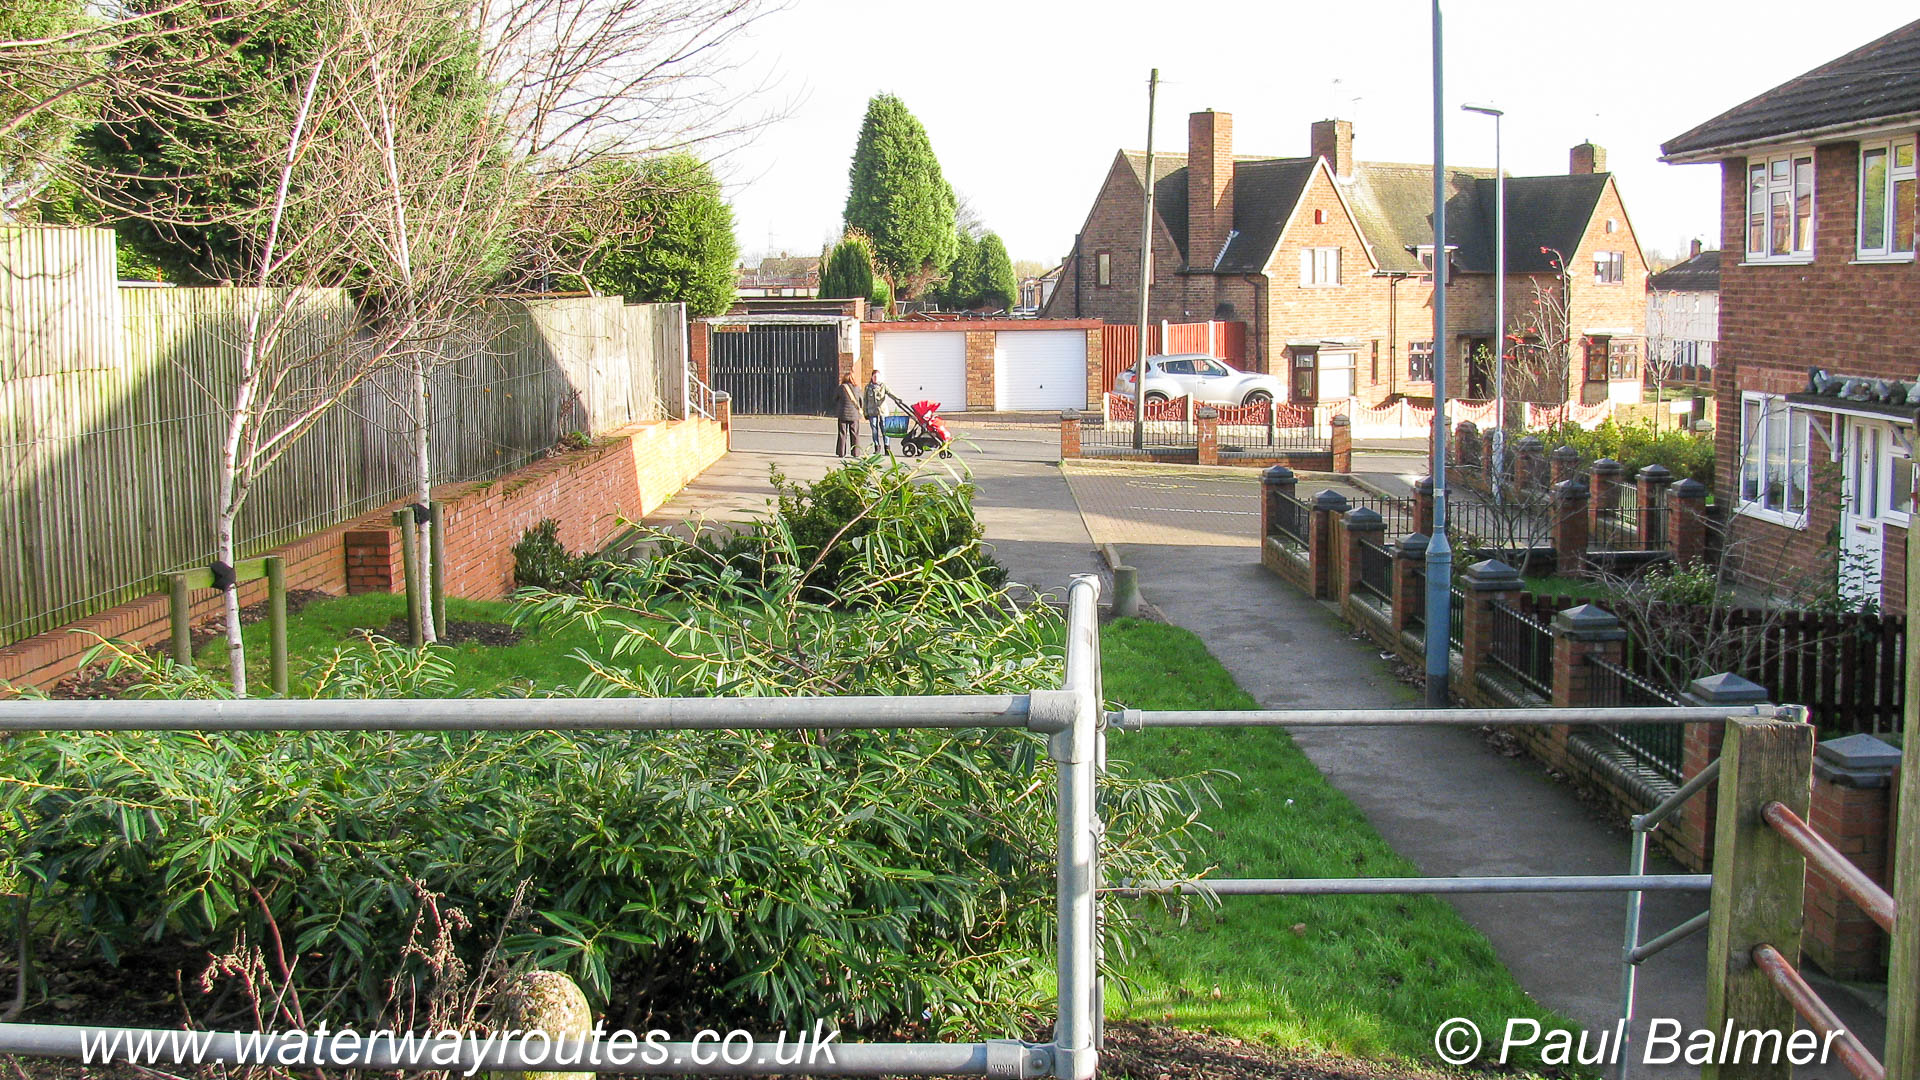
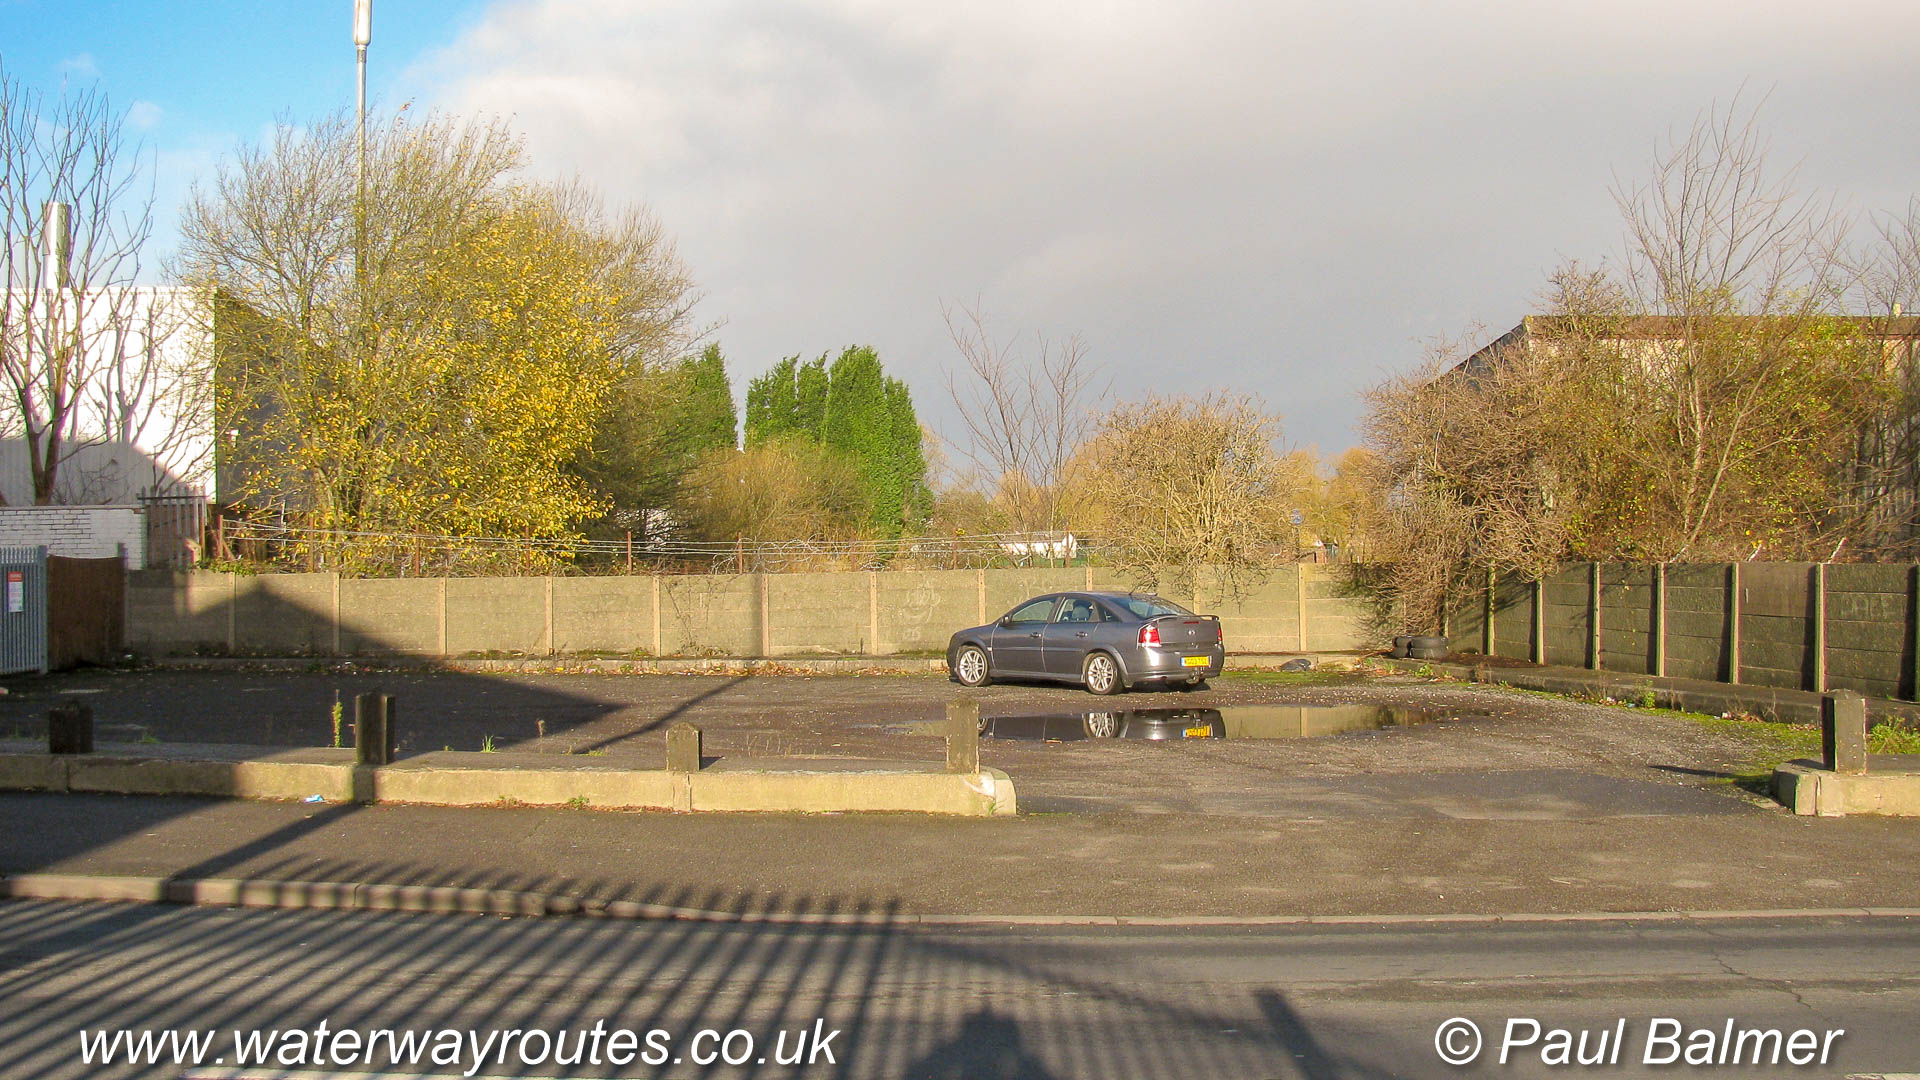
A former branch once left the Rotton Brunt Line and descended through three locks with the route still identifiable as the gap between the houses.
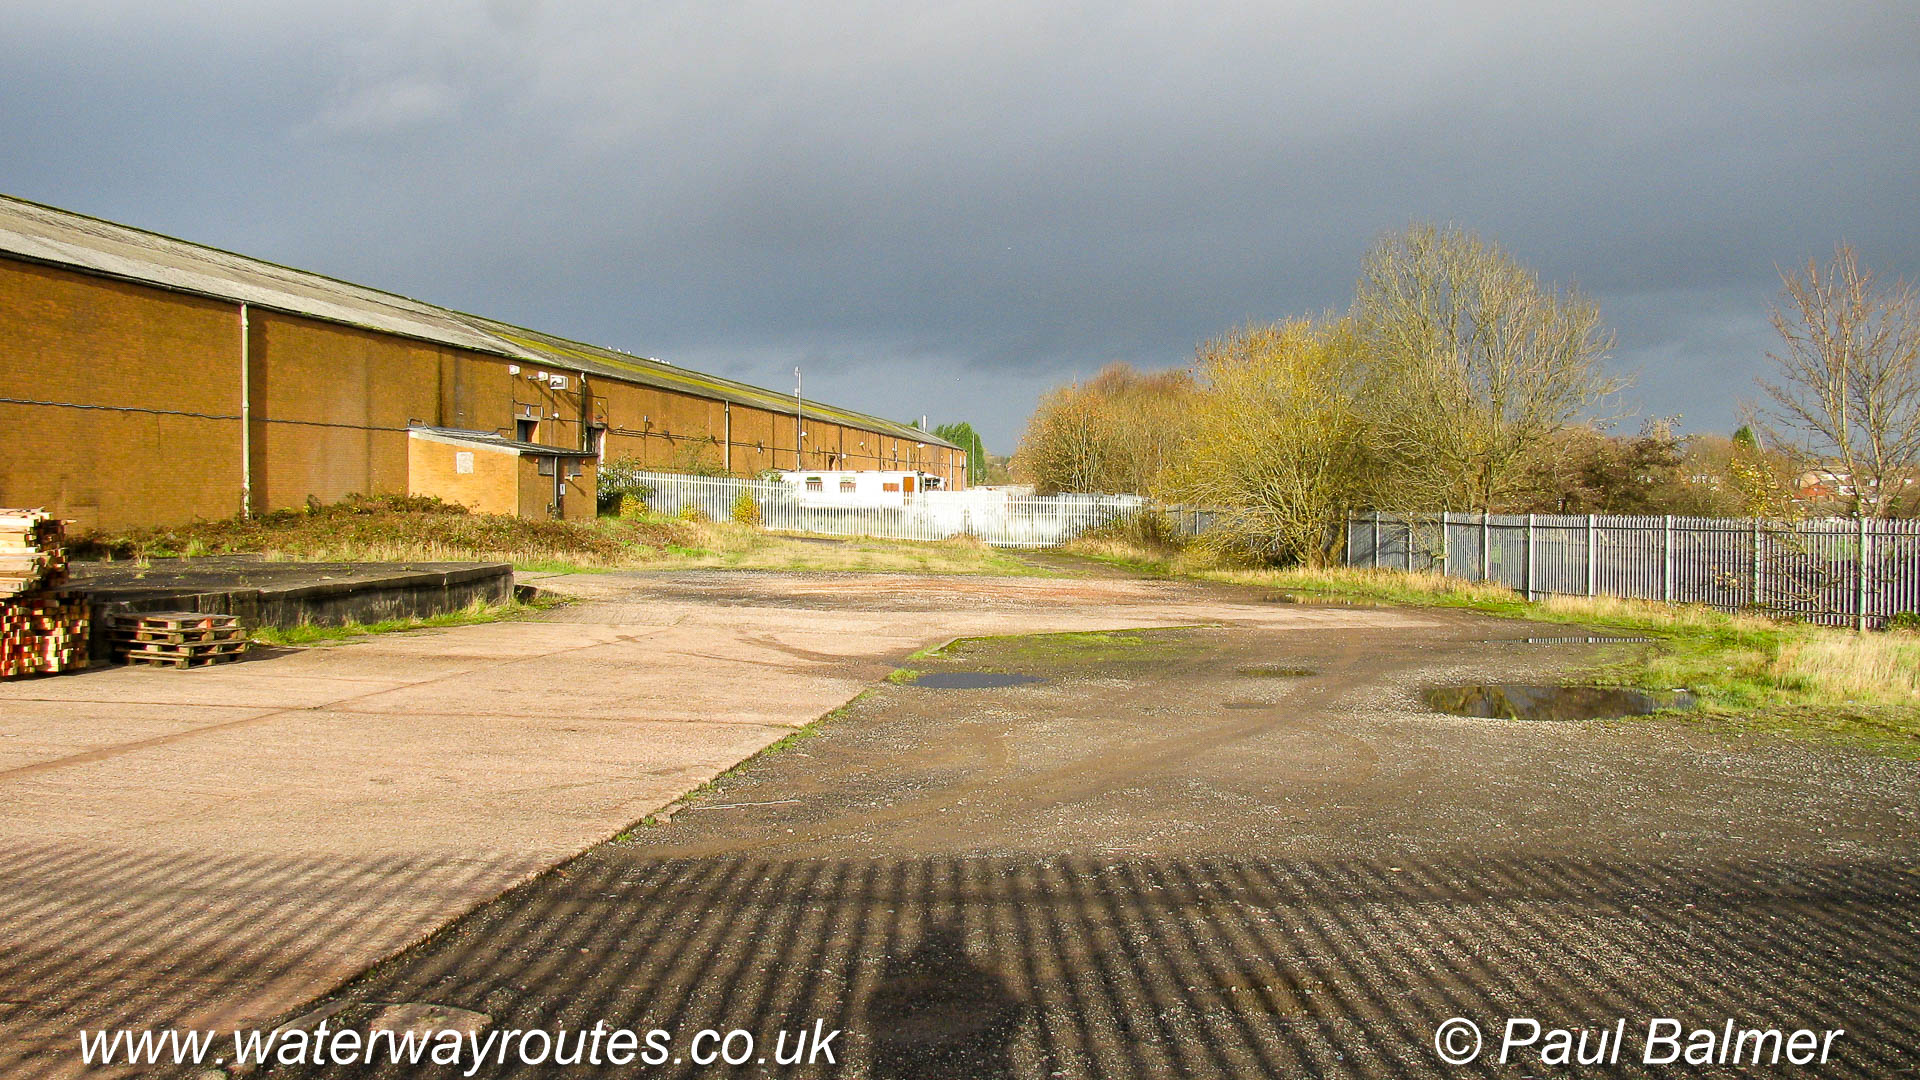
The canal followed the line of the building at the top of the embankment where the modern footpath dips down to the right, as shown in the previous photo.

The footpath dips to the right and below the line of the former canal line which ran close to the long buildings on the left of the photo.
From Bradley Locks Junction at the top of Bradley Locks a straight section of canal cut off some of the wanderings of the former BCN Old Main Line. The straight cut off was known to some as the Rotton Brunt Line.
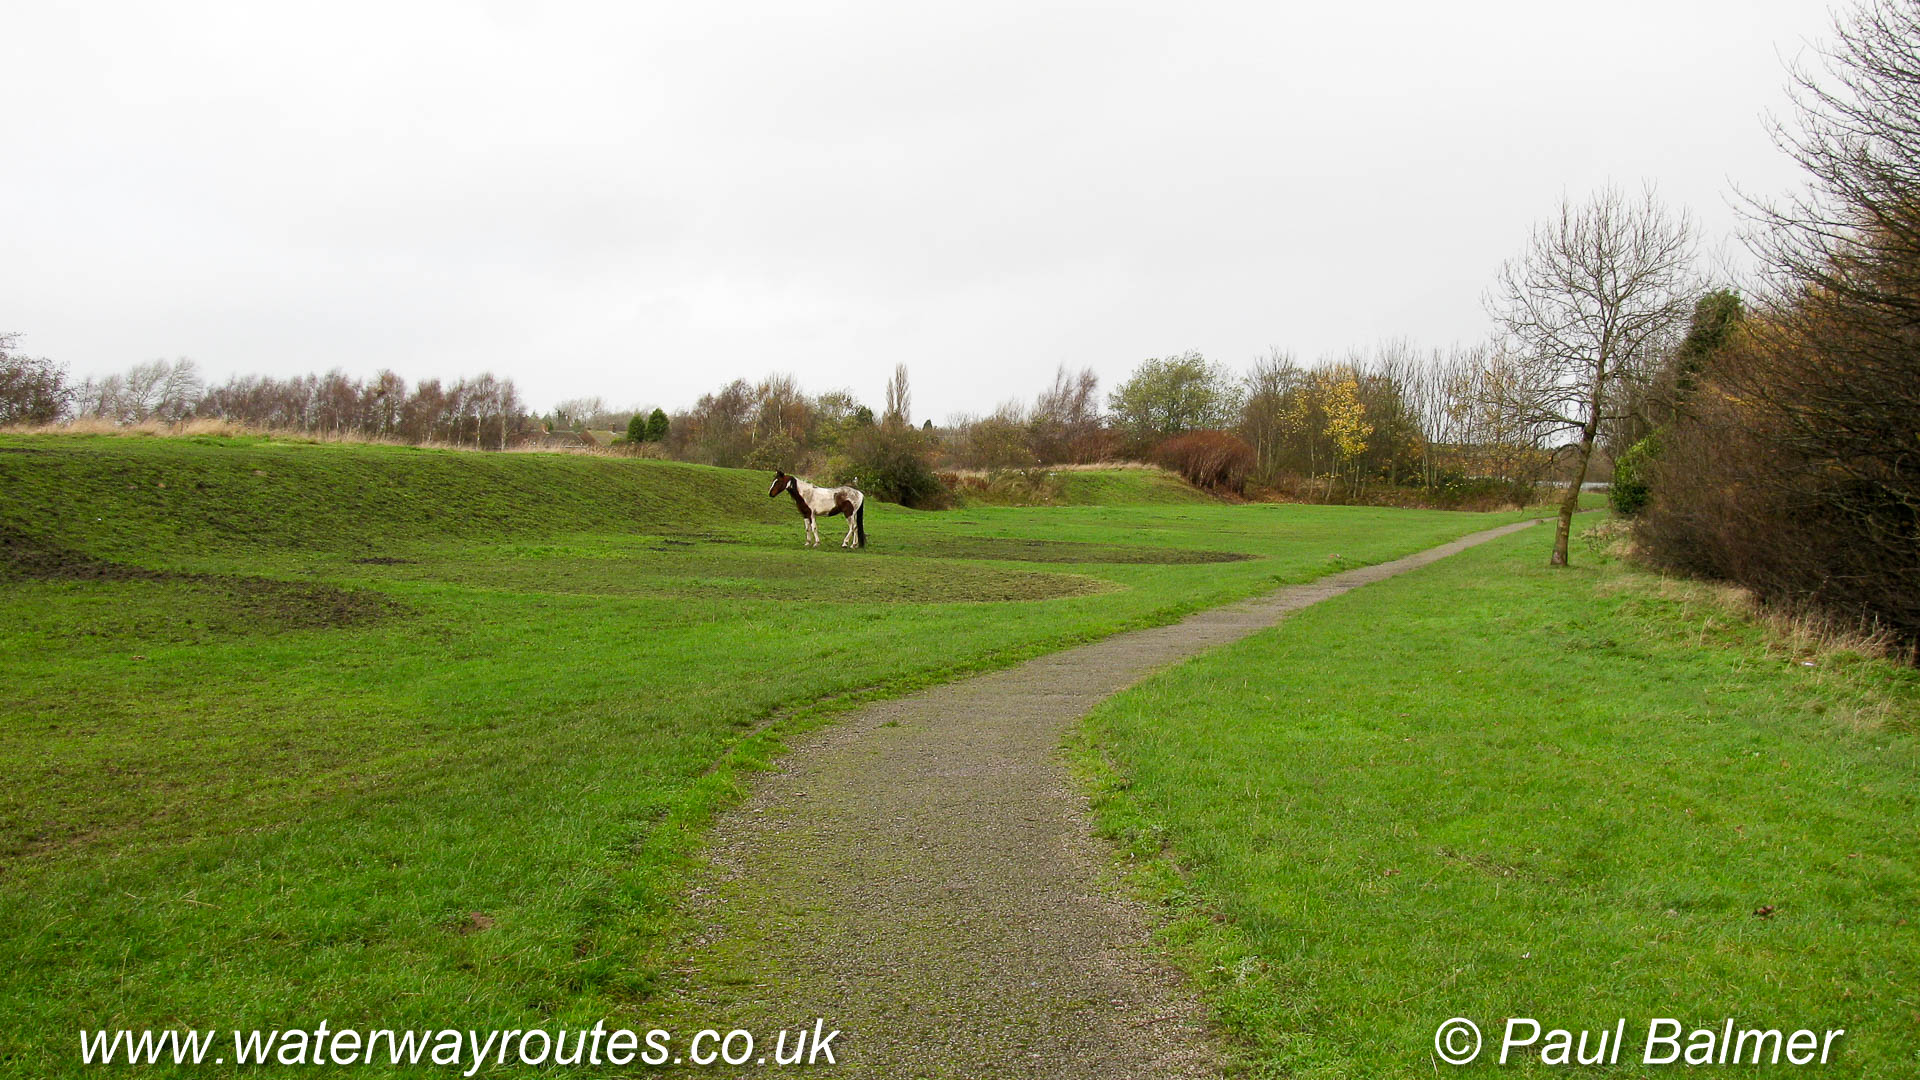
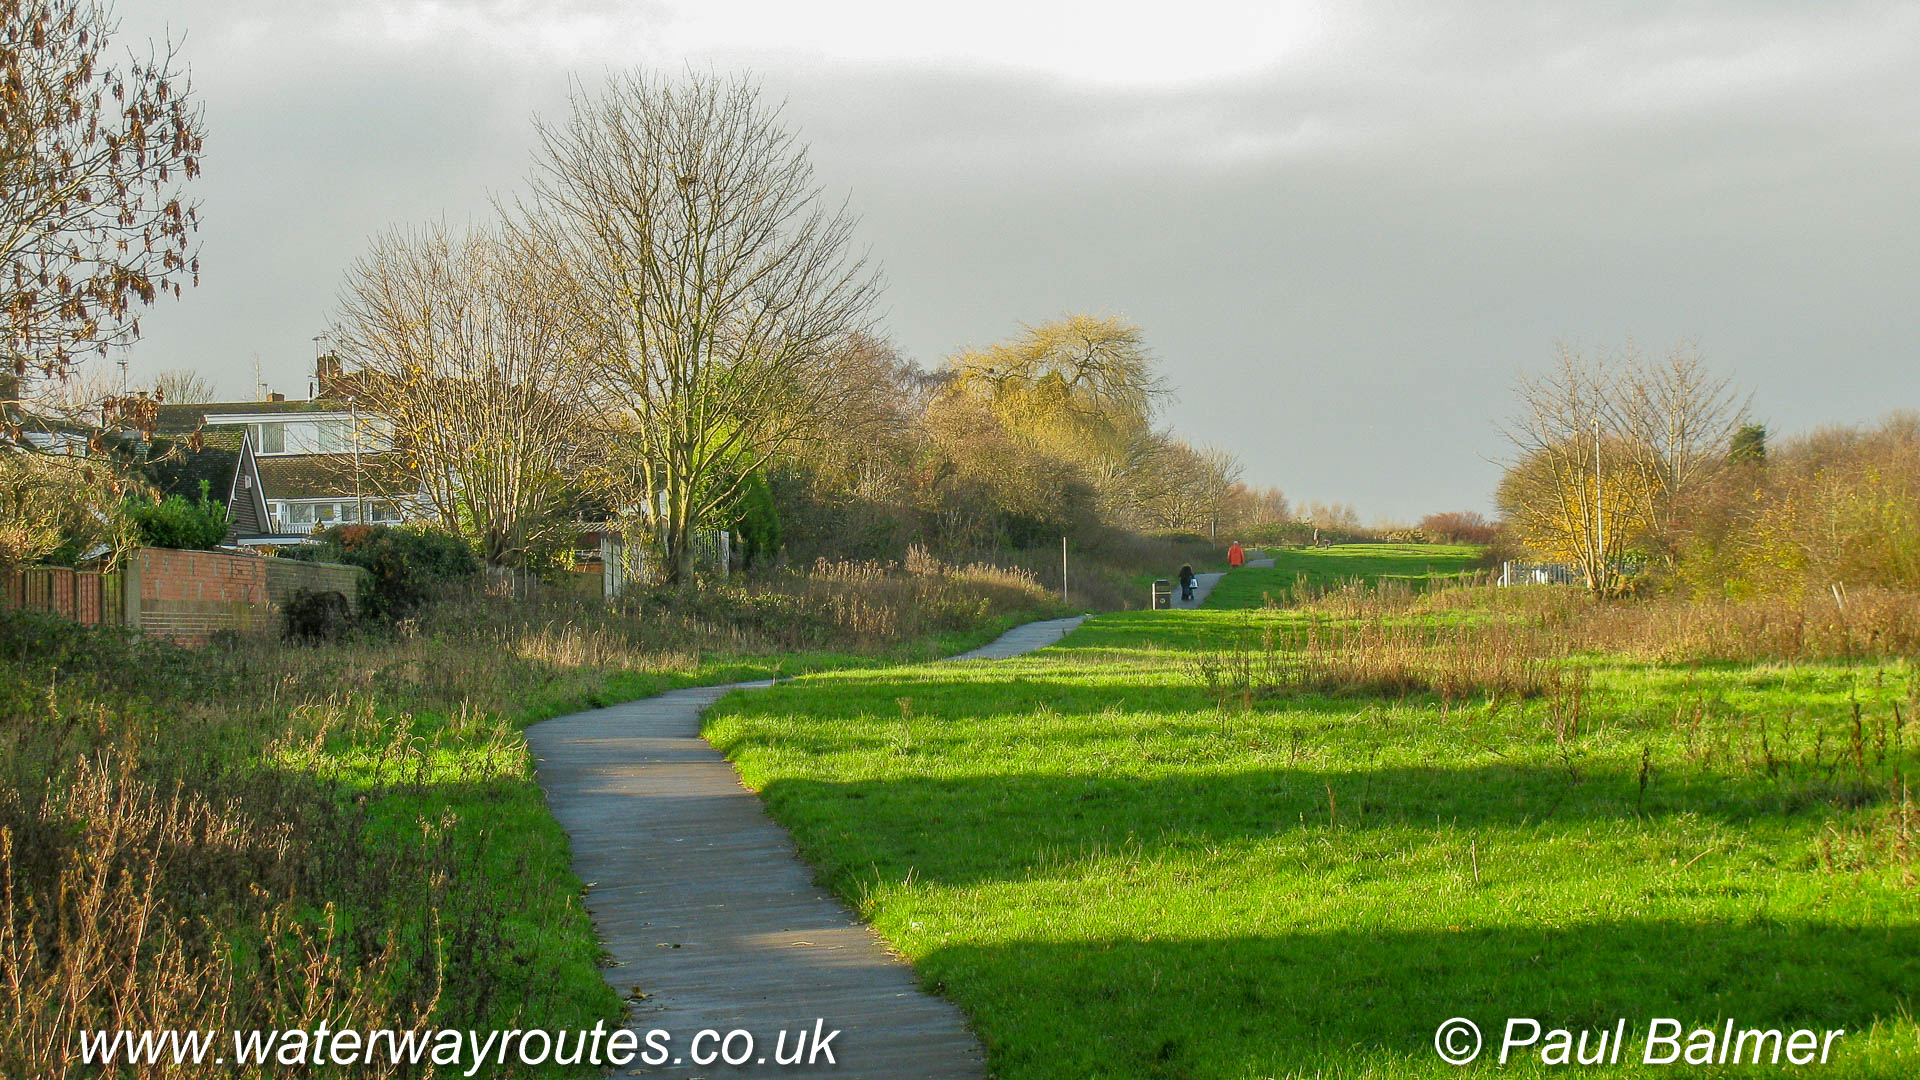
From Bradley Locks Junction at the top of Bradley Locks the former alignment to the south is still followed by the footpath.
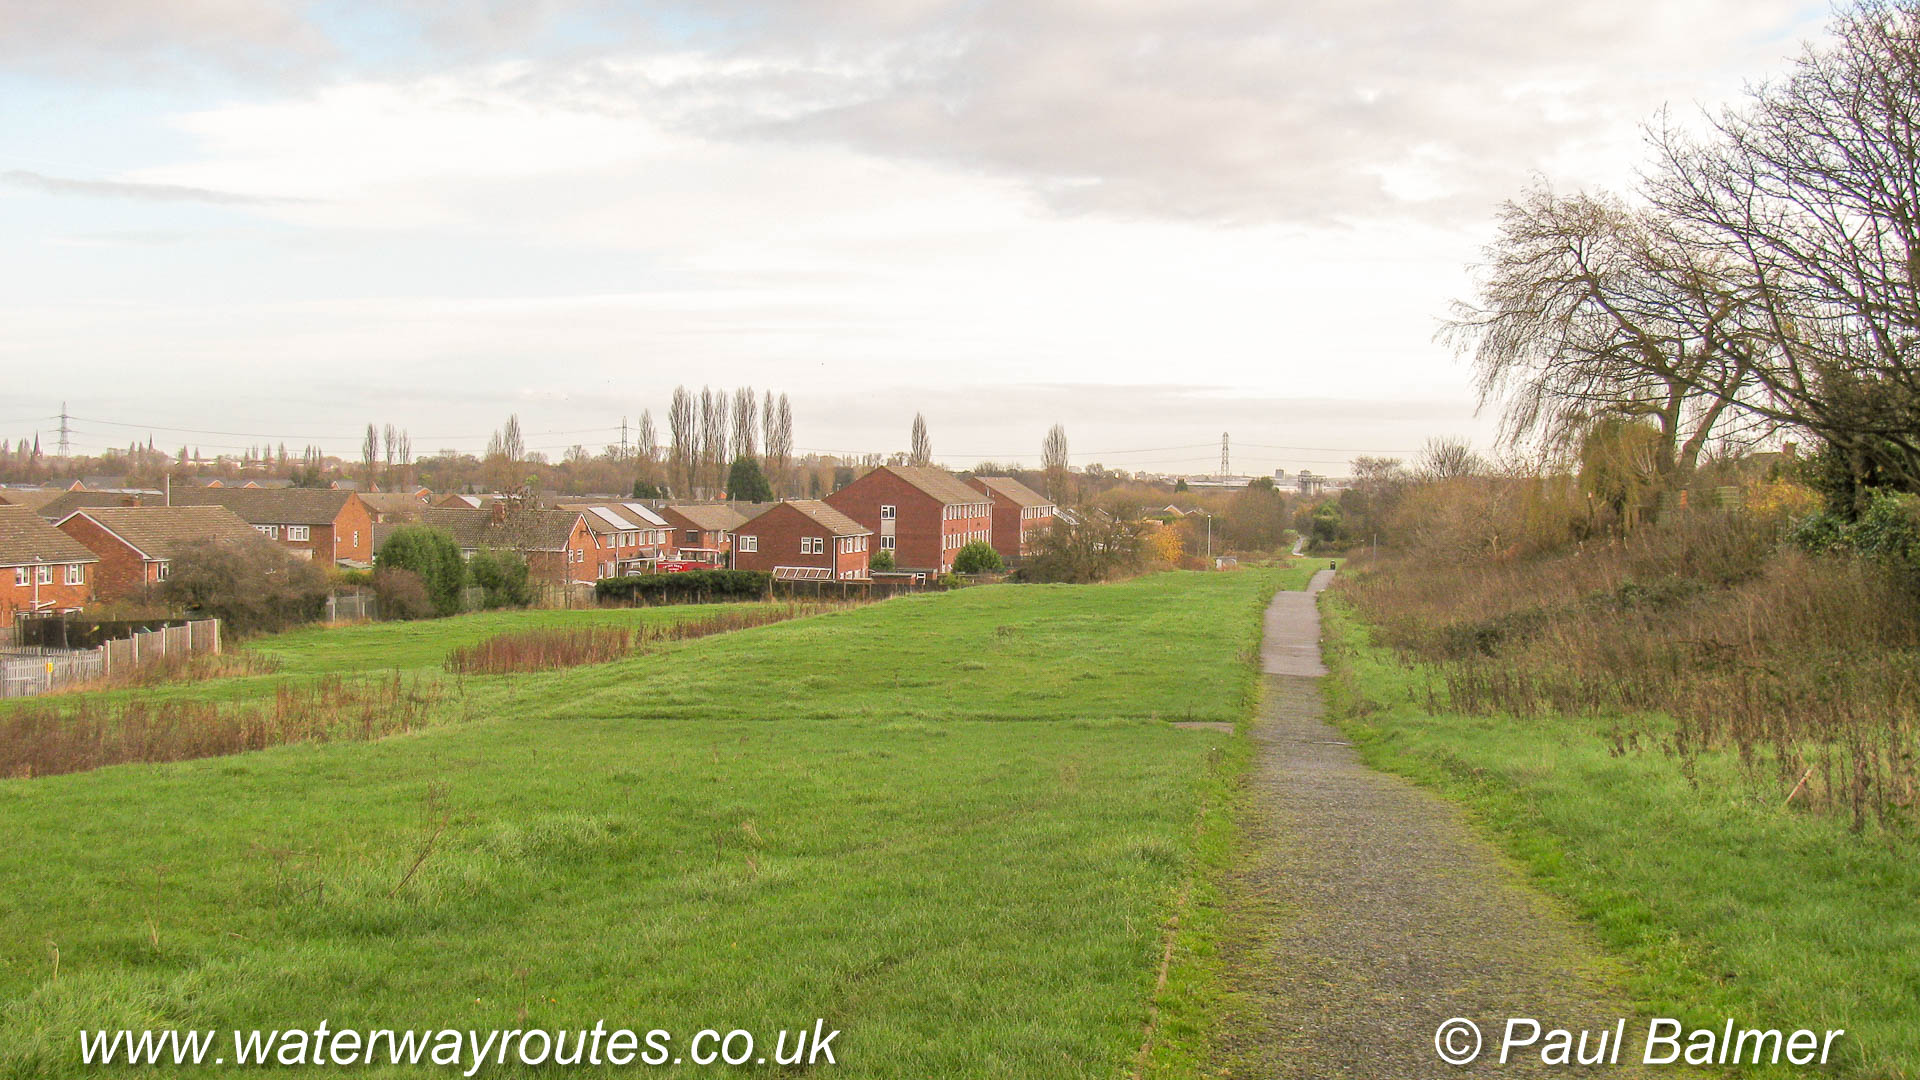
The views from the top of Bradley Locks is one of the places with the longest range views around the BCN. The stepped descent in the footpath indicates where the locks used to be.
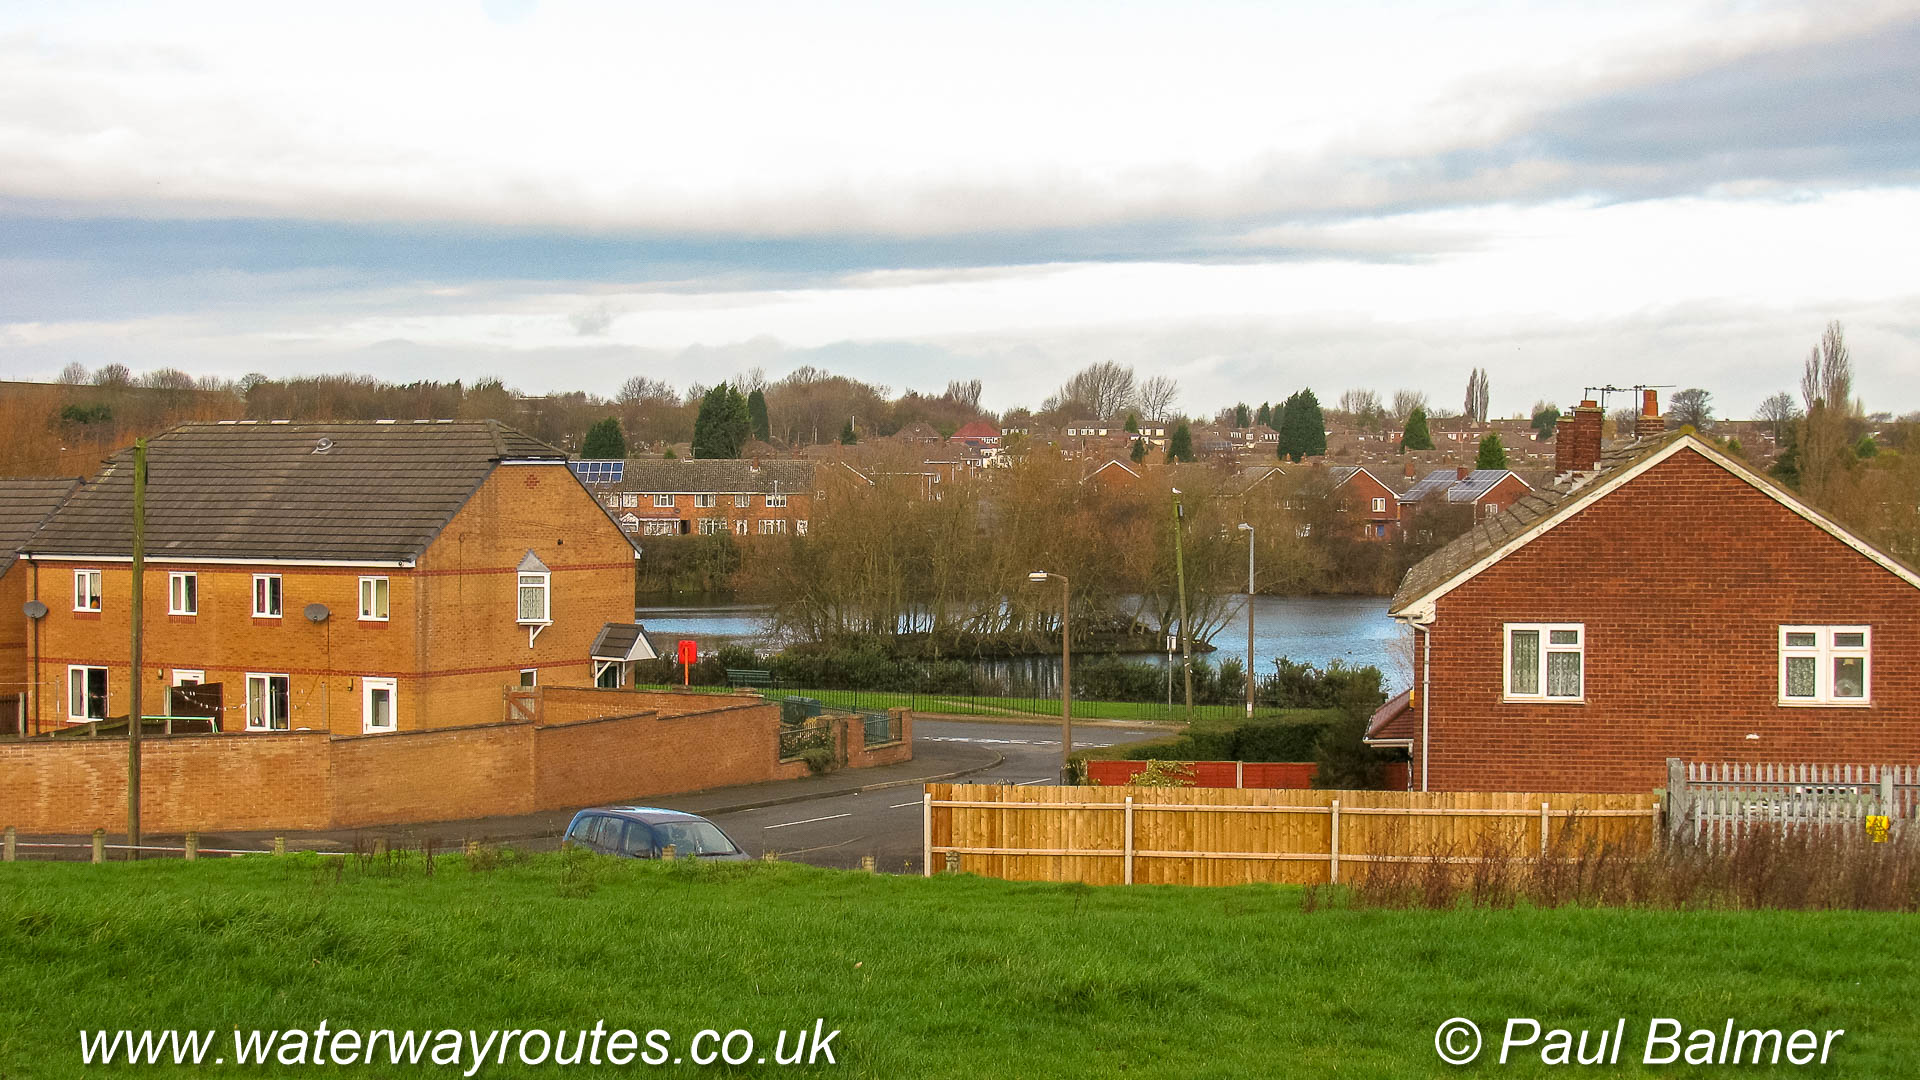
As we near the top of the Bradley Locks flight we can see Rocket Pool to the right between the houses.
The canal climbs up past the houses and will soon have wide ranging views across the landscape.
Standing on the site of Lock 4 and looking down the flight.
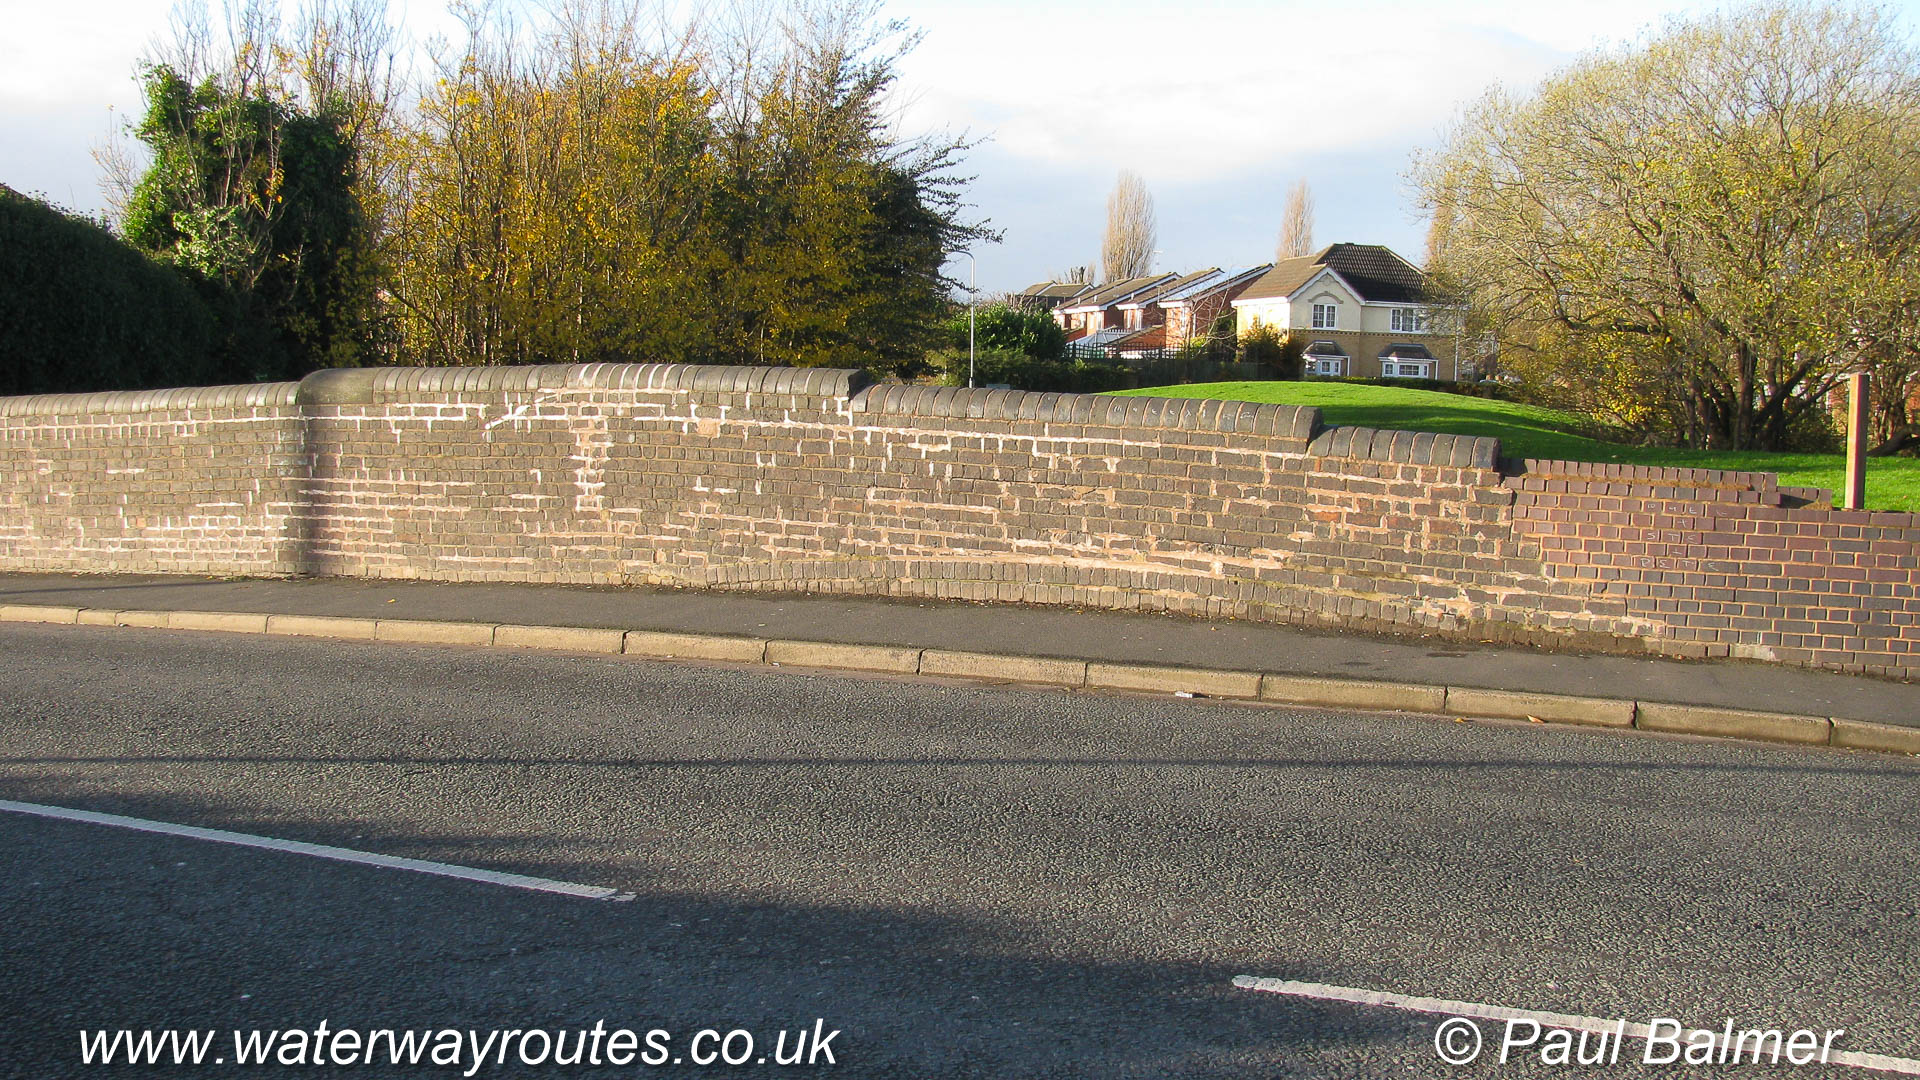
Bradley Bridge crosses the Bradley Canal below Lock 3. The almost level road surface today hides the former hump backed bridge. The top of the arch is still just be visible in the brickwork near pavement level.
Looking up the Bradley Locks flight towards locks 4 to 9 the stepped appearance in the landscape indicates the location of the former locks.

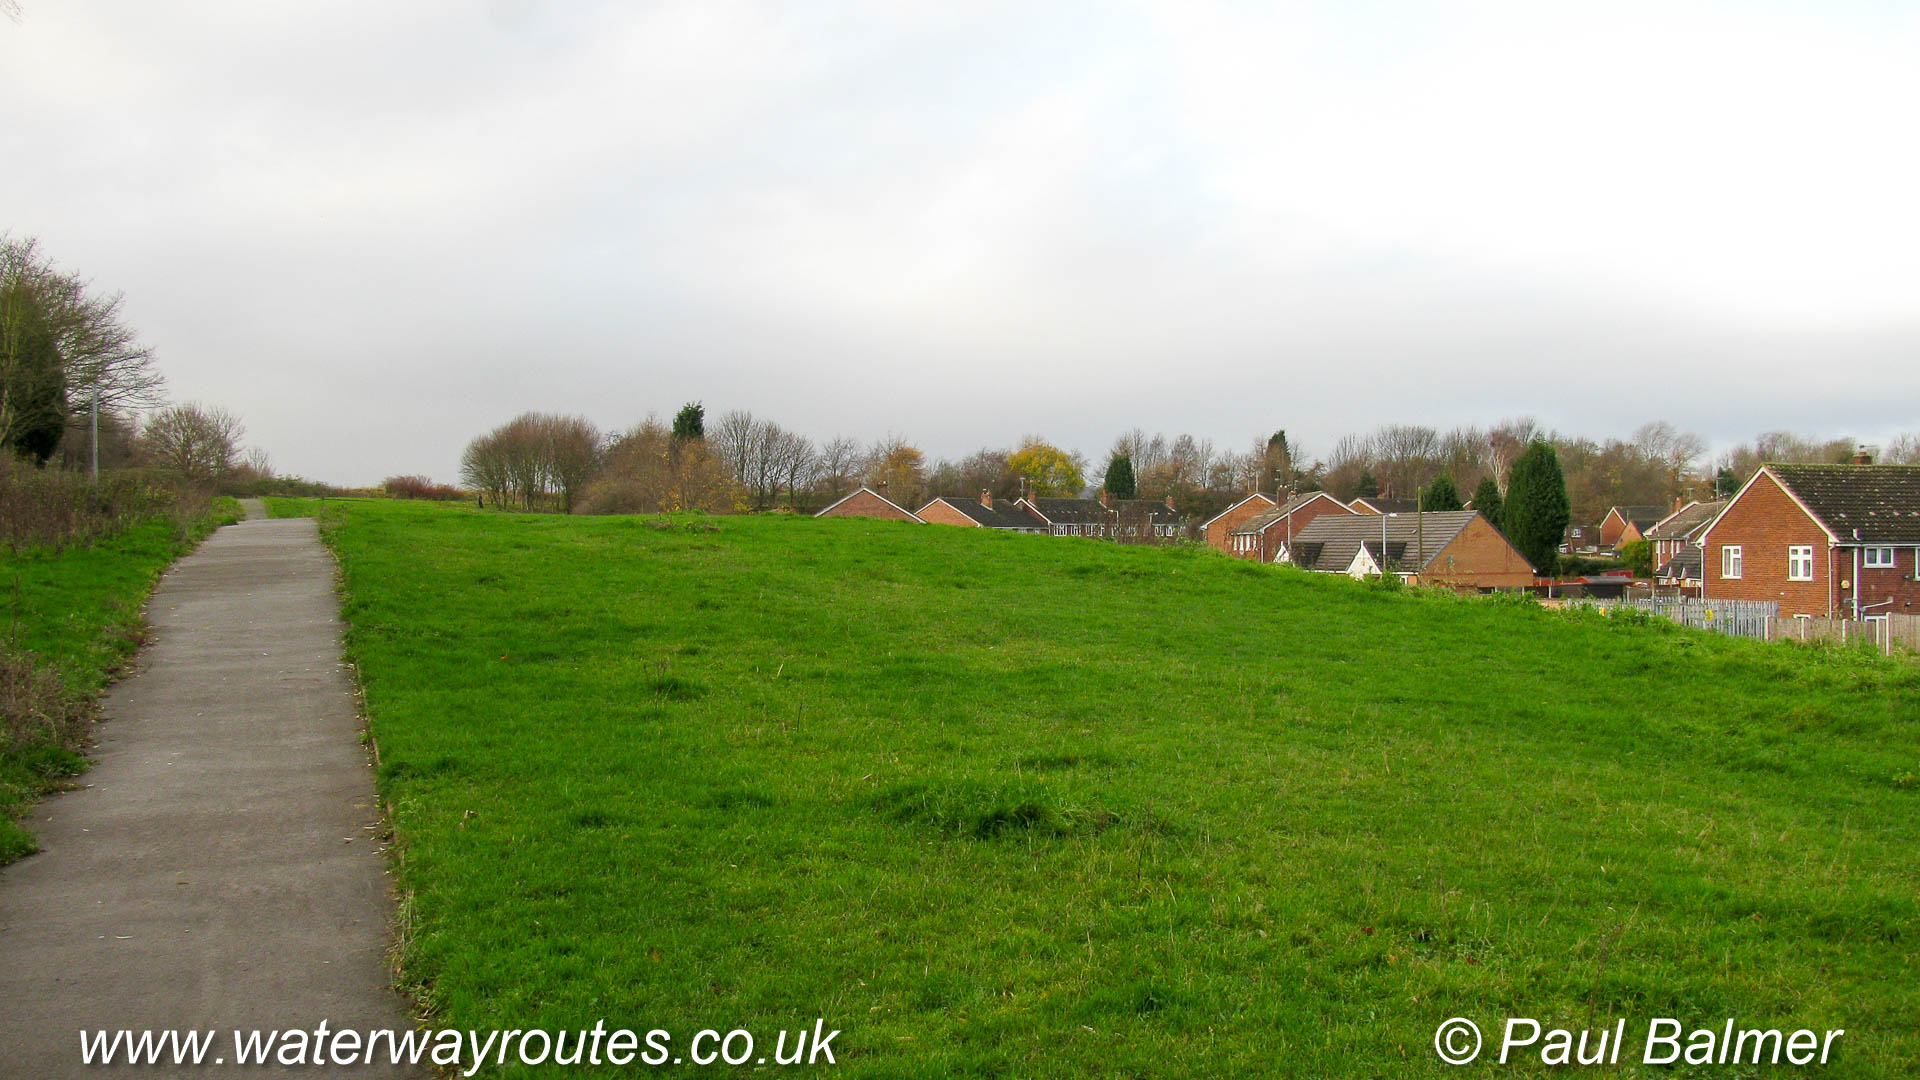
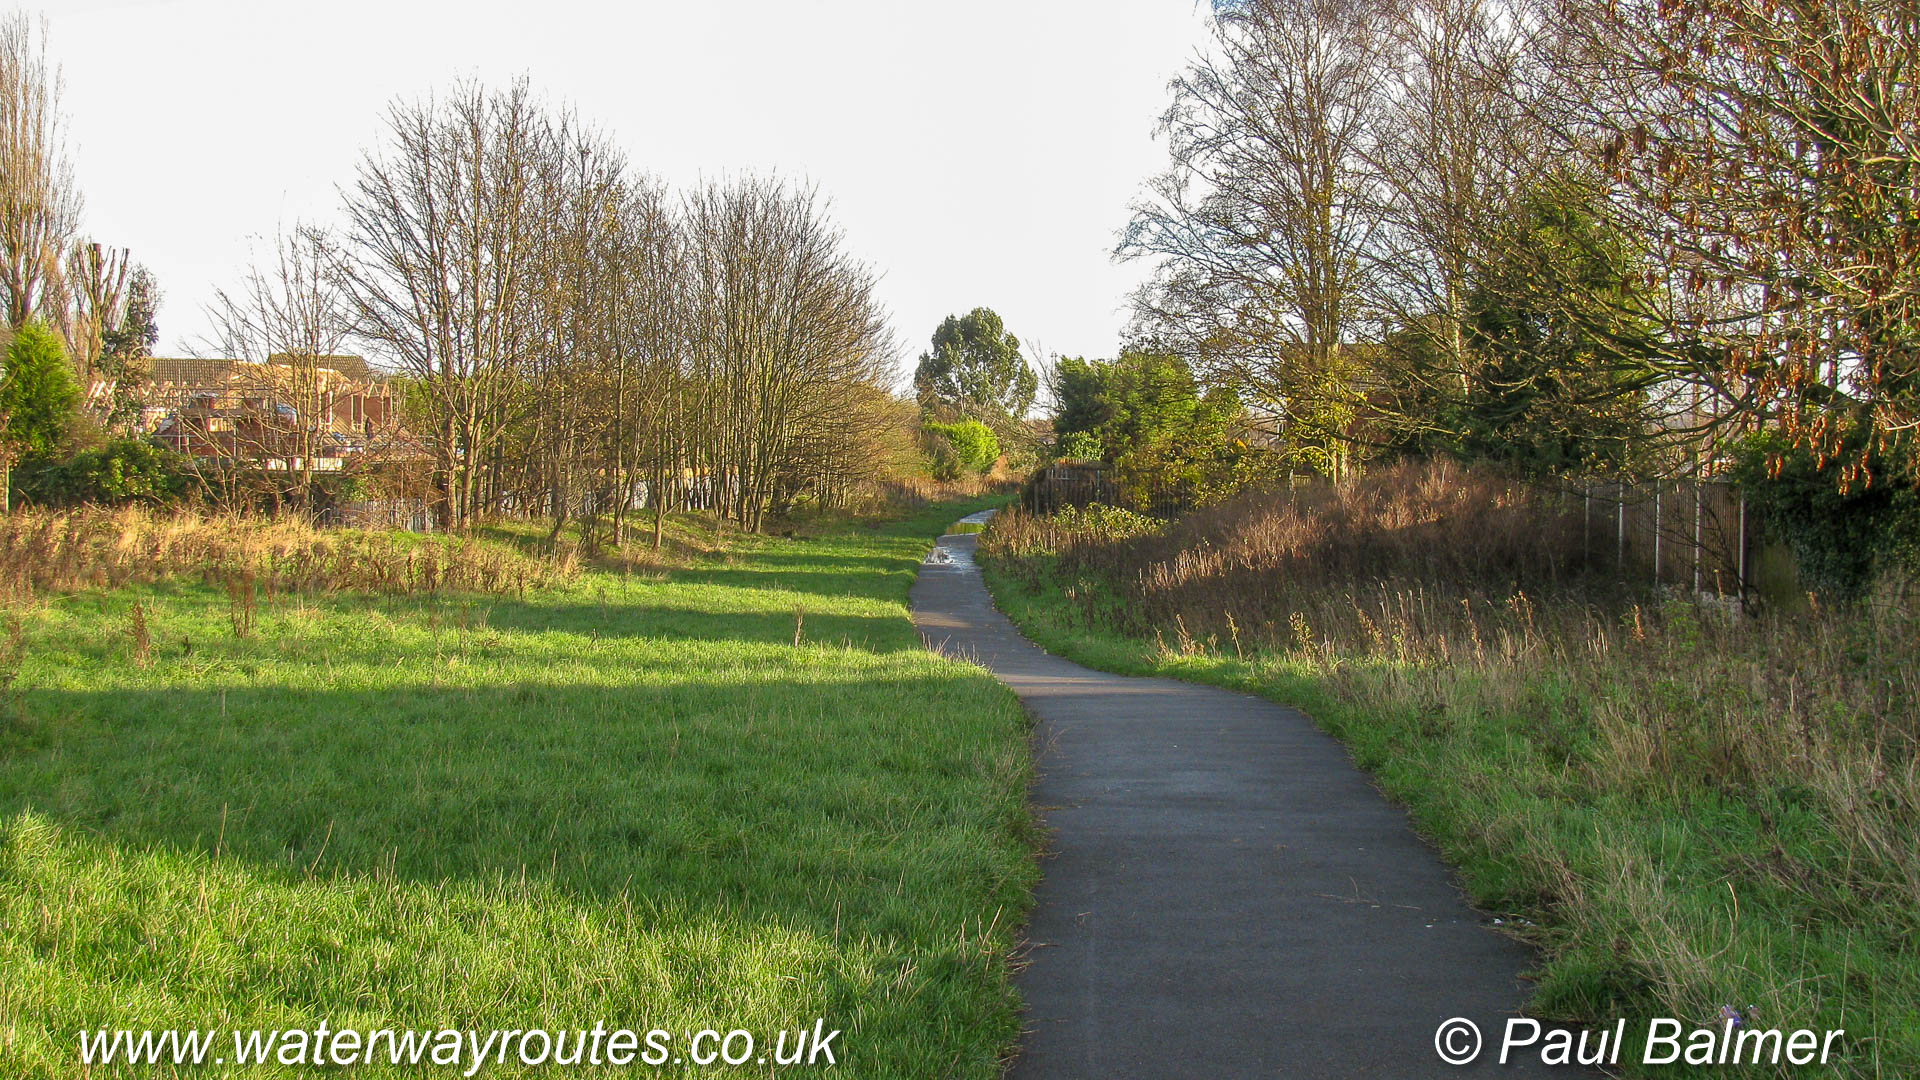
The route of the Bradley Canal is still preserved between the houses.
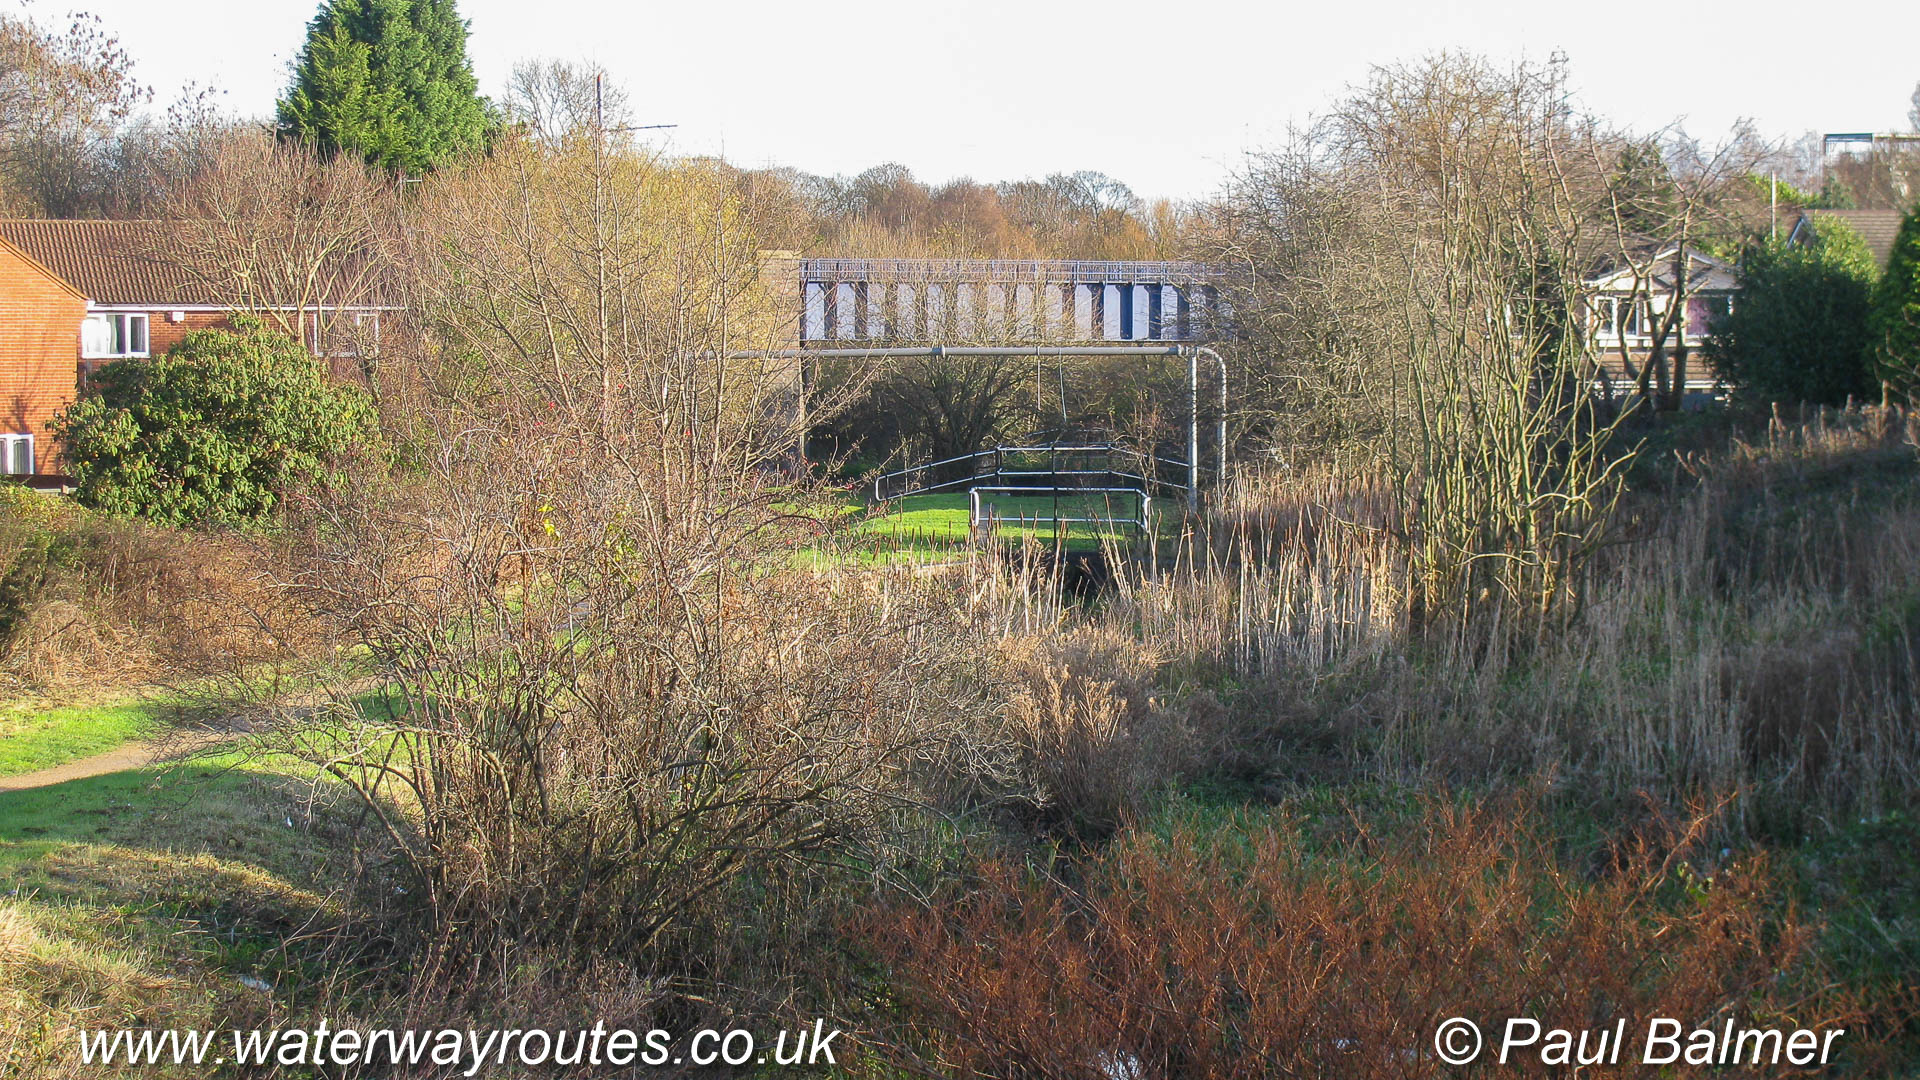
Looking down over the bottom two locks of the Bradley Flight from Bradley Bridge, the Midland Metro Bridge near the bottom lock.
Lock 2, like lock 1, has been partially restored then filled in for safety and to preserve the work.
Lock 1 on the Bradley Canal is the first of nine locks which will lift boats from the Walsall level to the Wolverhampton level of the Birmingham Canal Navigations.
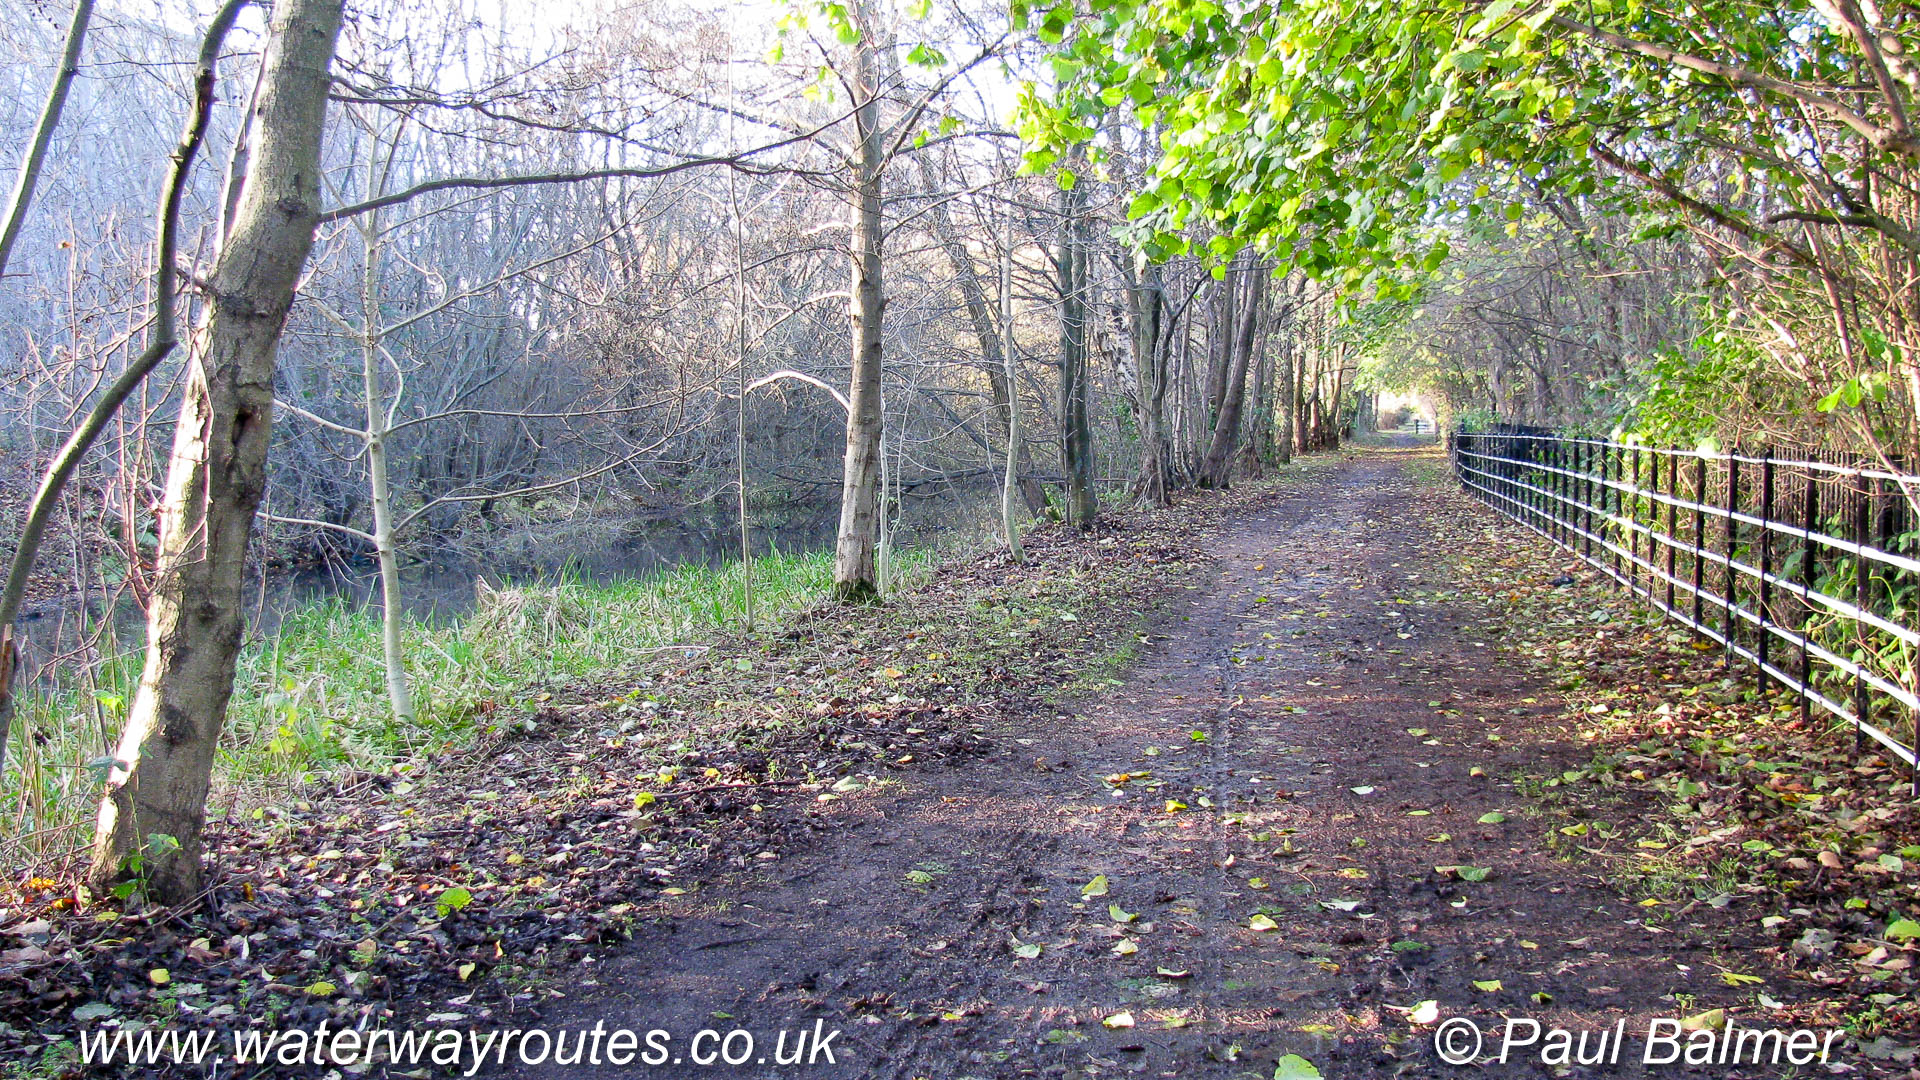
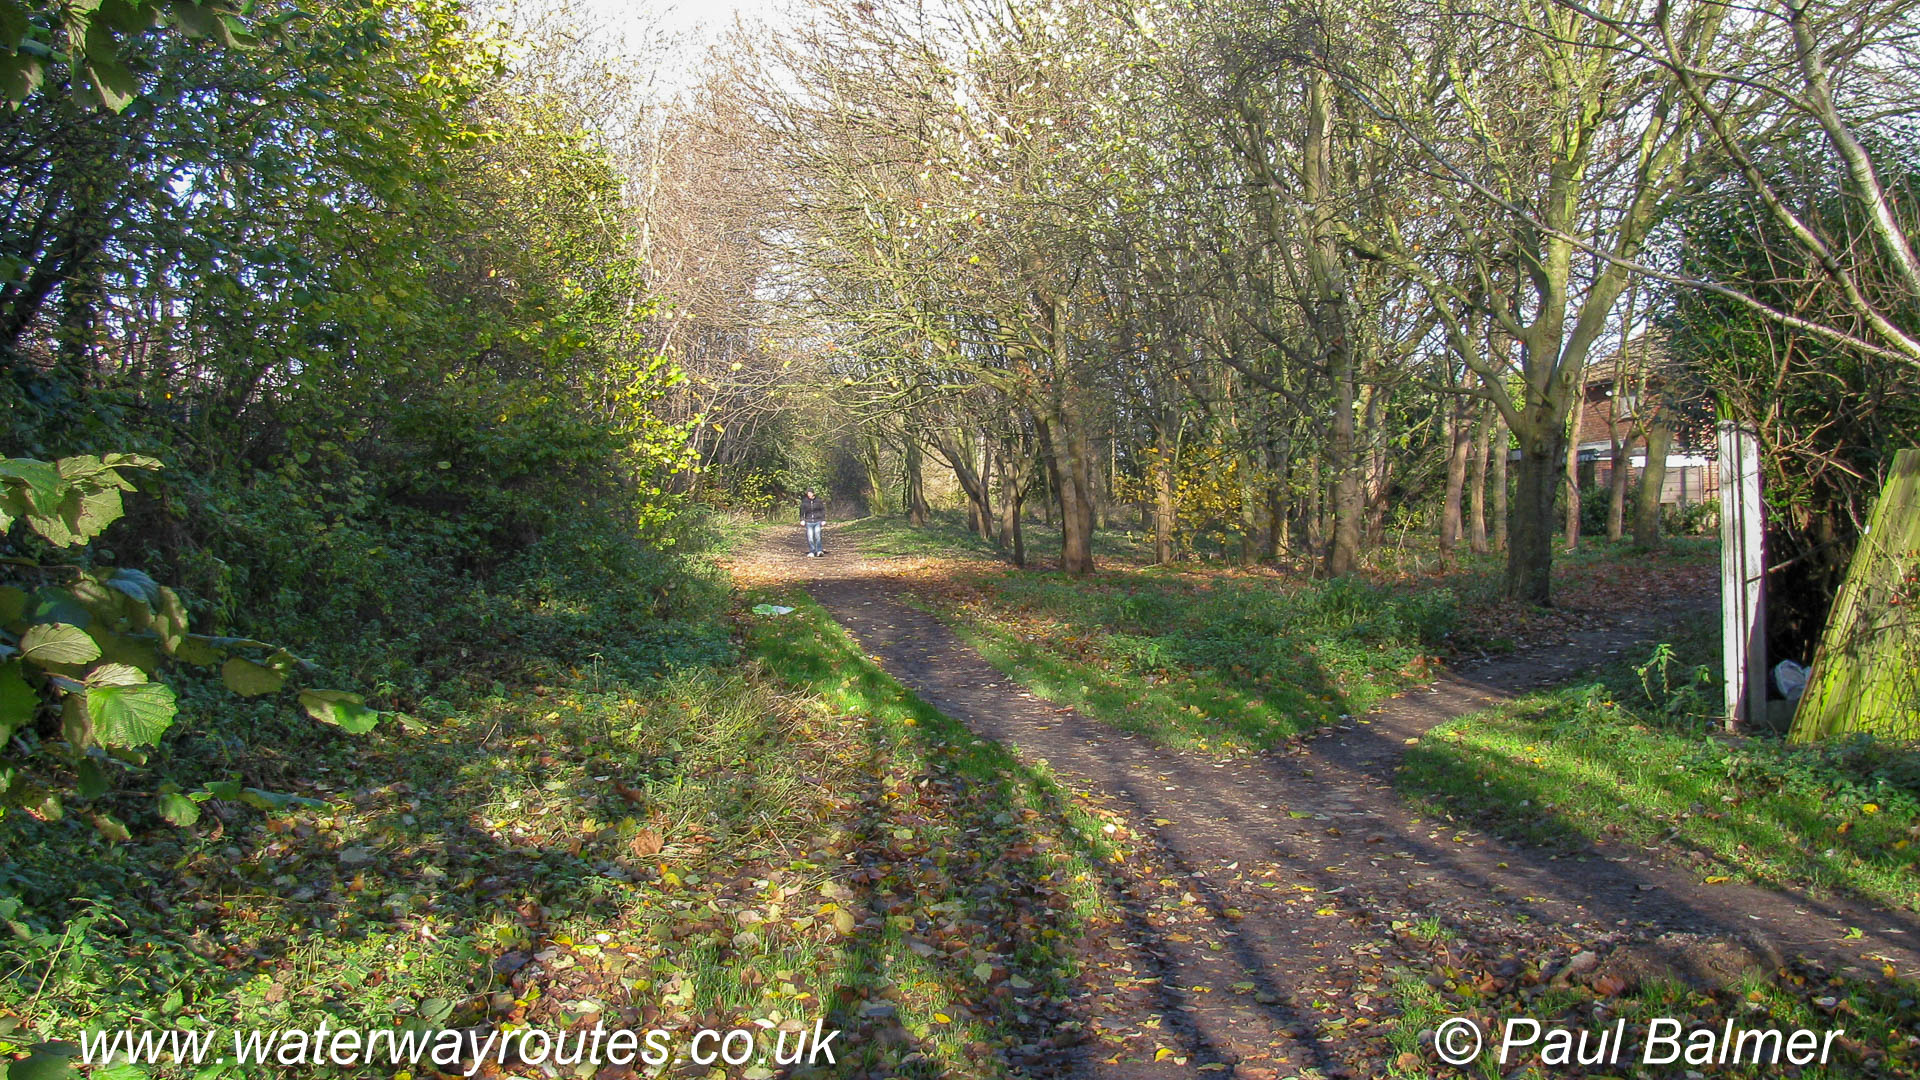
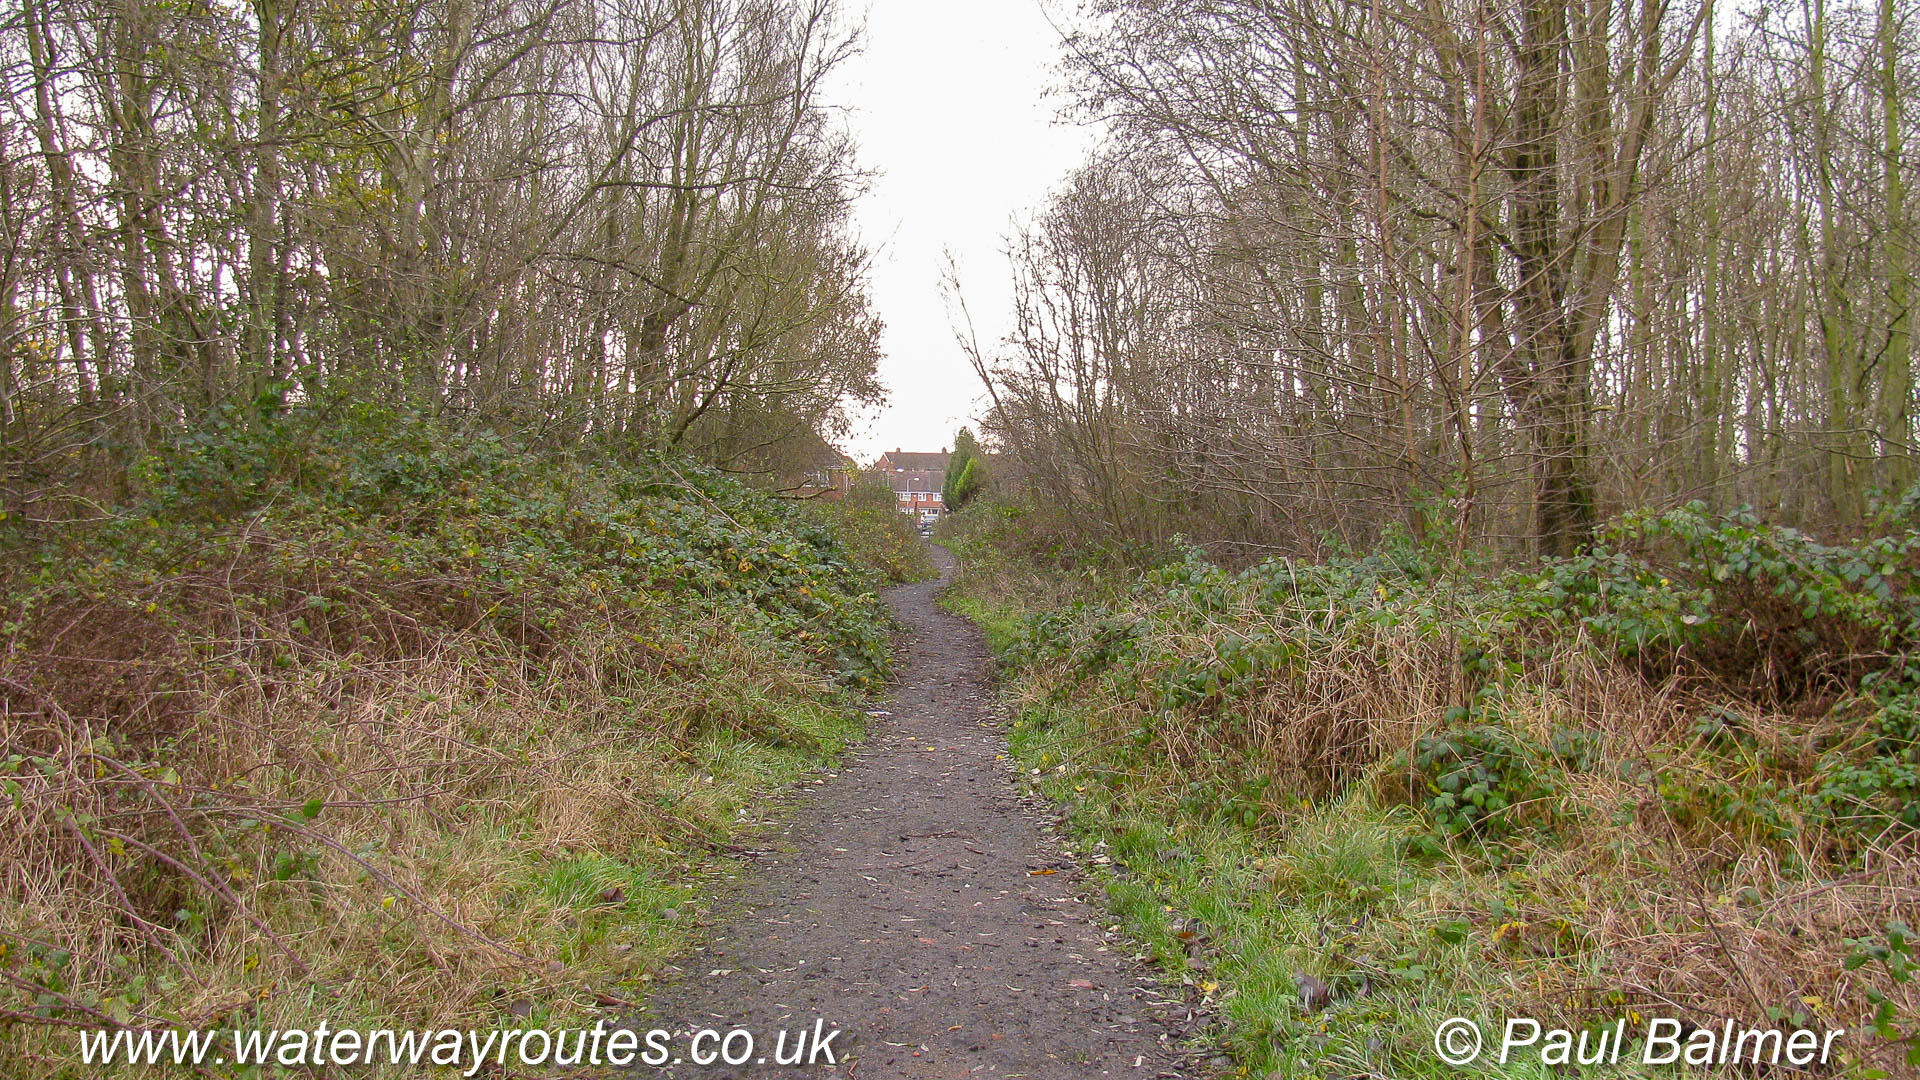
The towpath is walkable throughout the Bradley Canal, although the trees would make it difficult to pull a boat with a rope.
Looking along the Bradley Canal, with the Walsall Canal behind us, it’s just possible to imagine a narrowboat cruising along here when the vegetation has been trimmed. The first 500m looks like this.
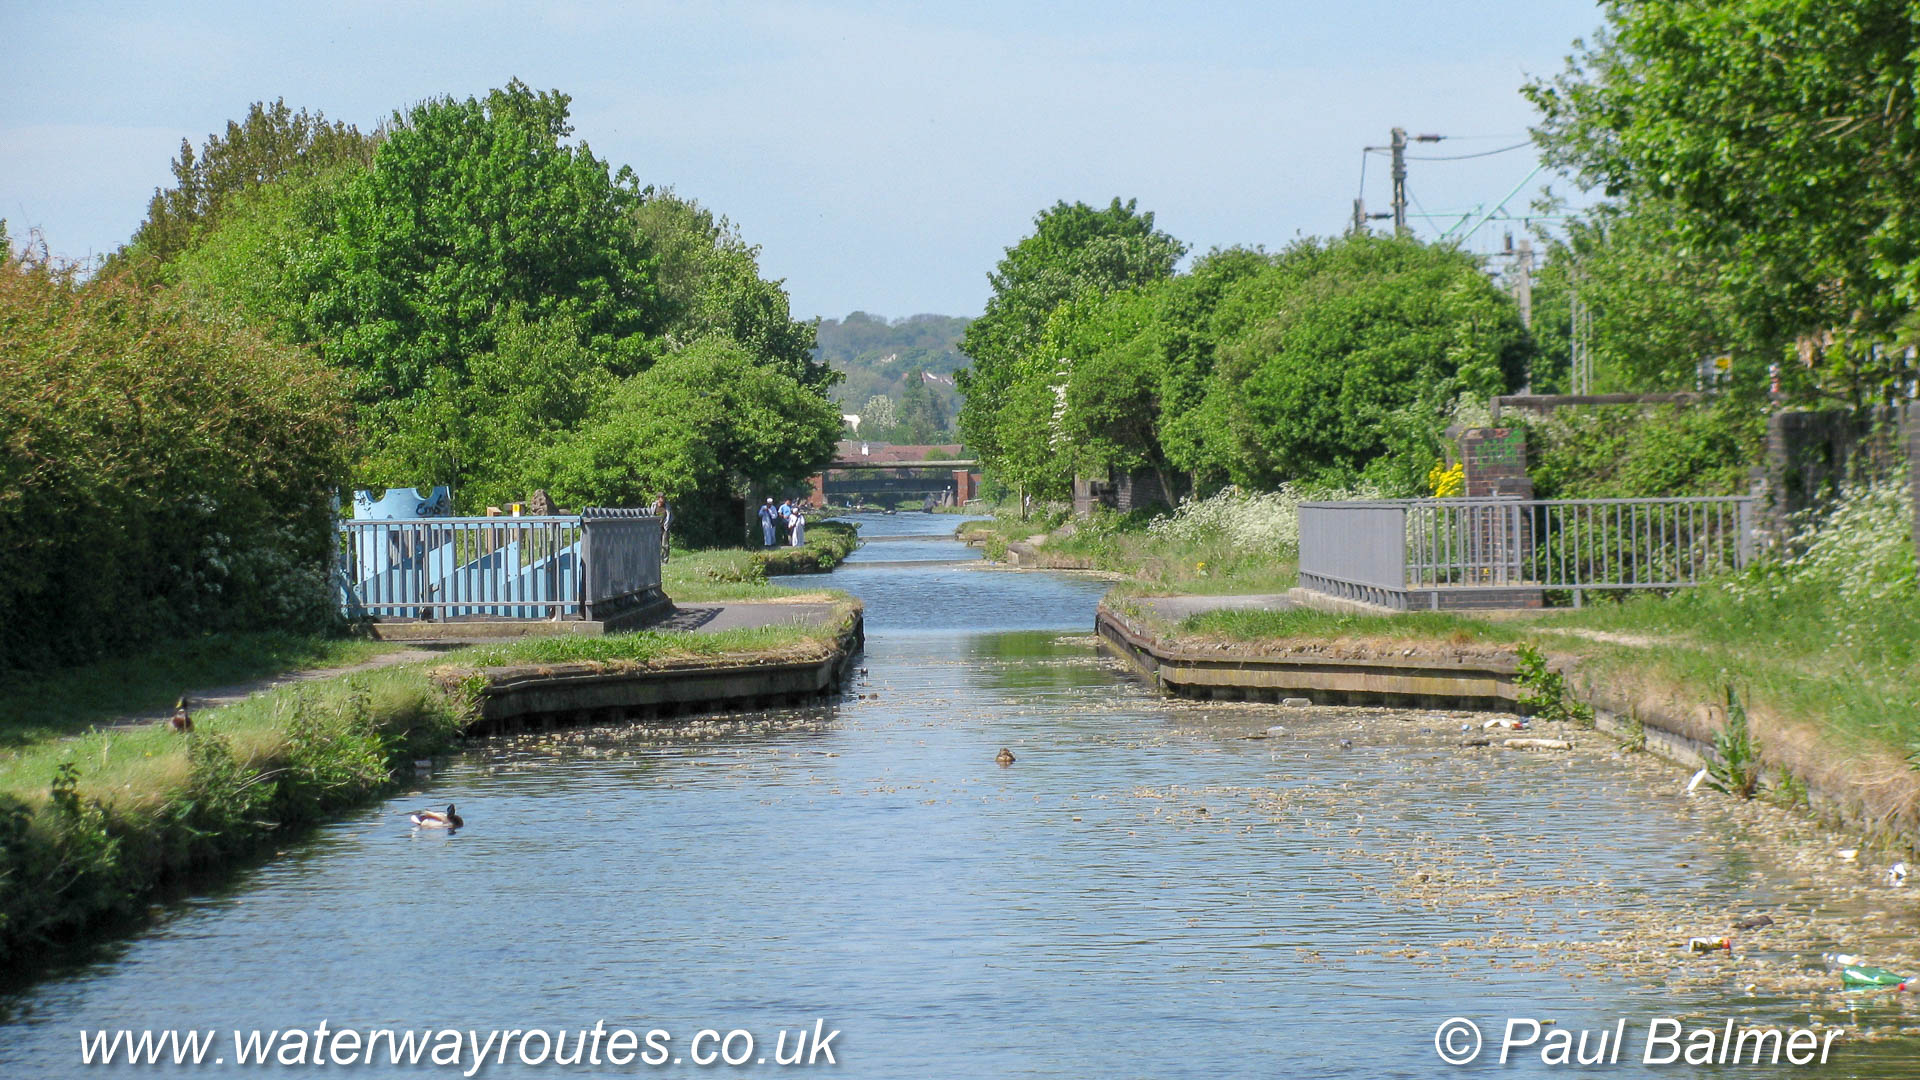
The Bradley Canal starts at Moorcroft Junction with the Walsall Canal, shown above. We are standing on the towpath looking across the Walsall Canal and into the Bradley Canal. Head left along the Walsall Canal for Tame Valley Junction and right for Walsall Junction
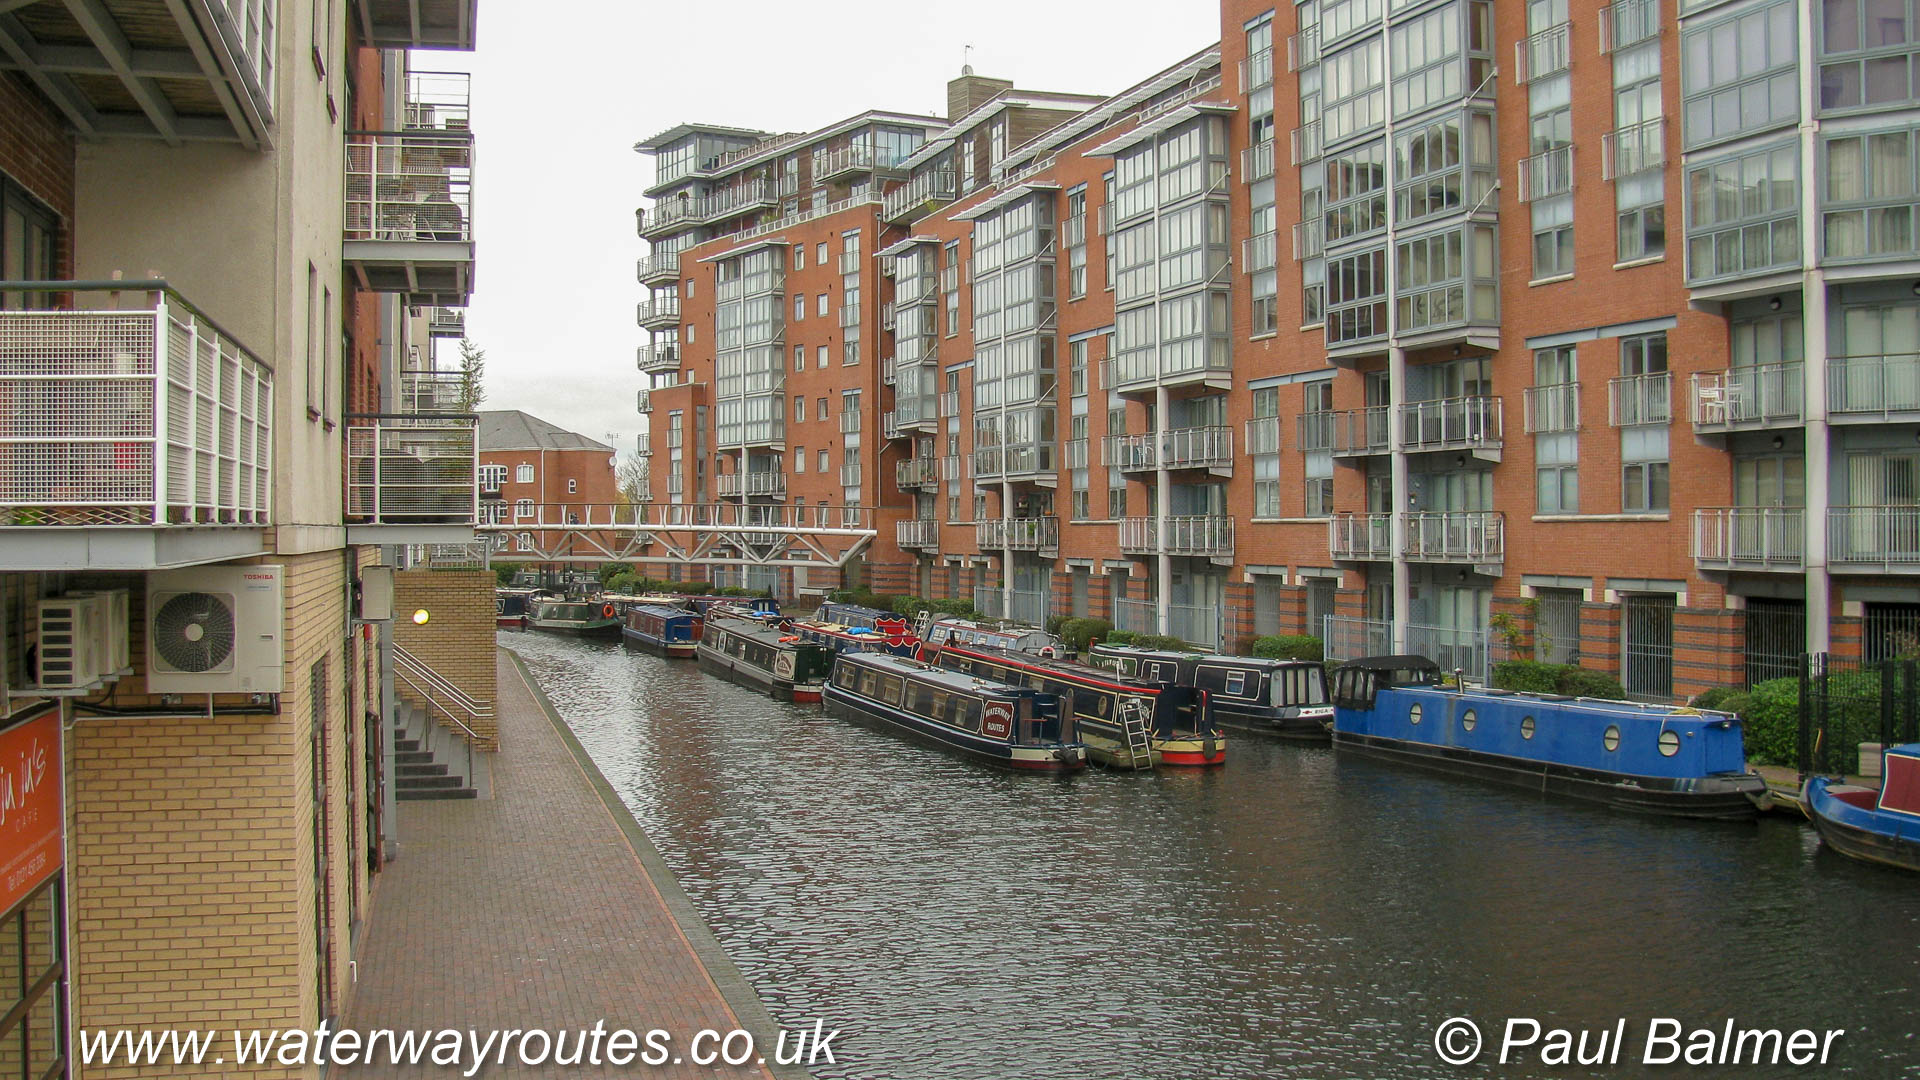
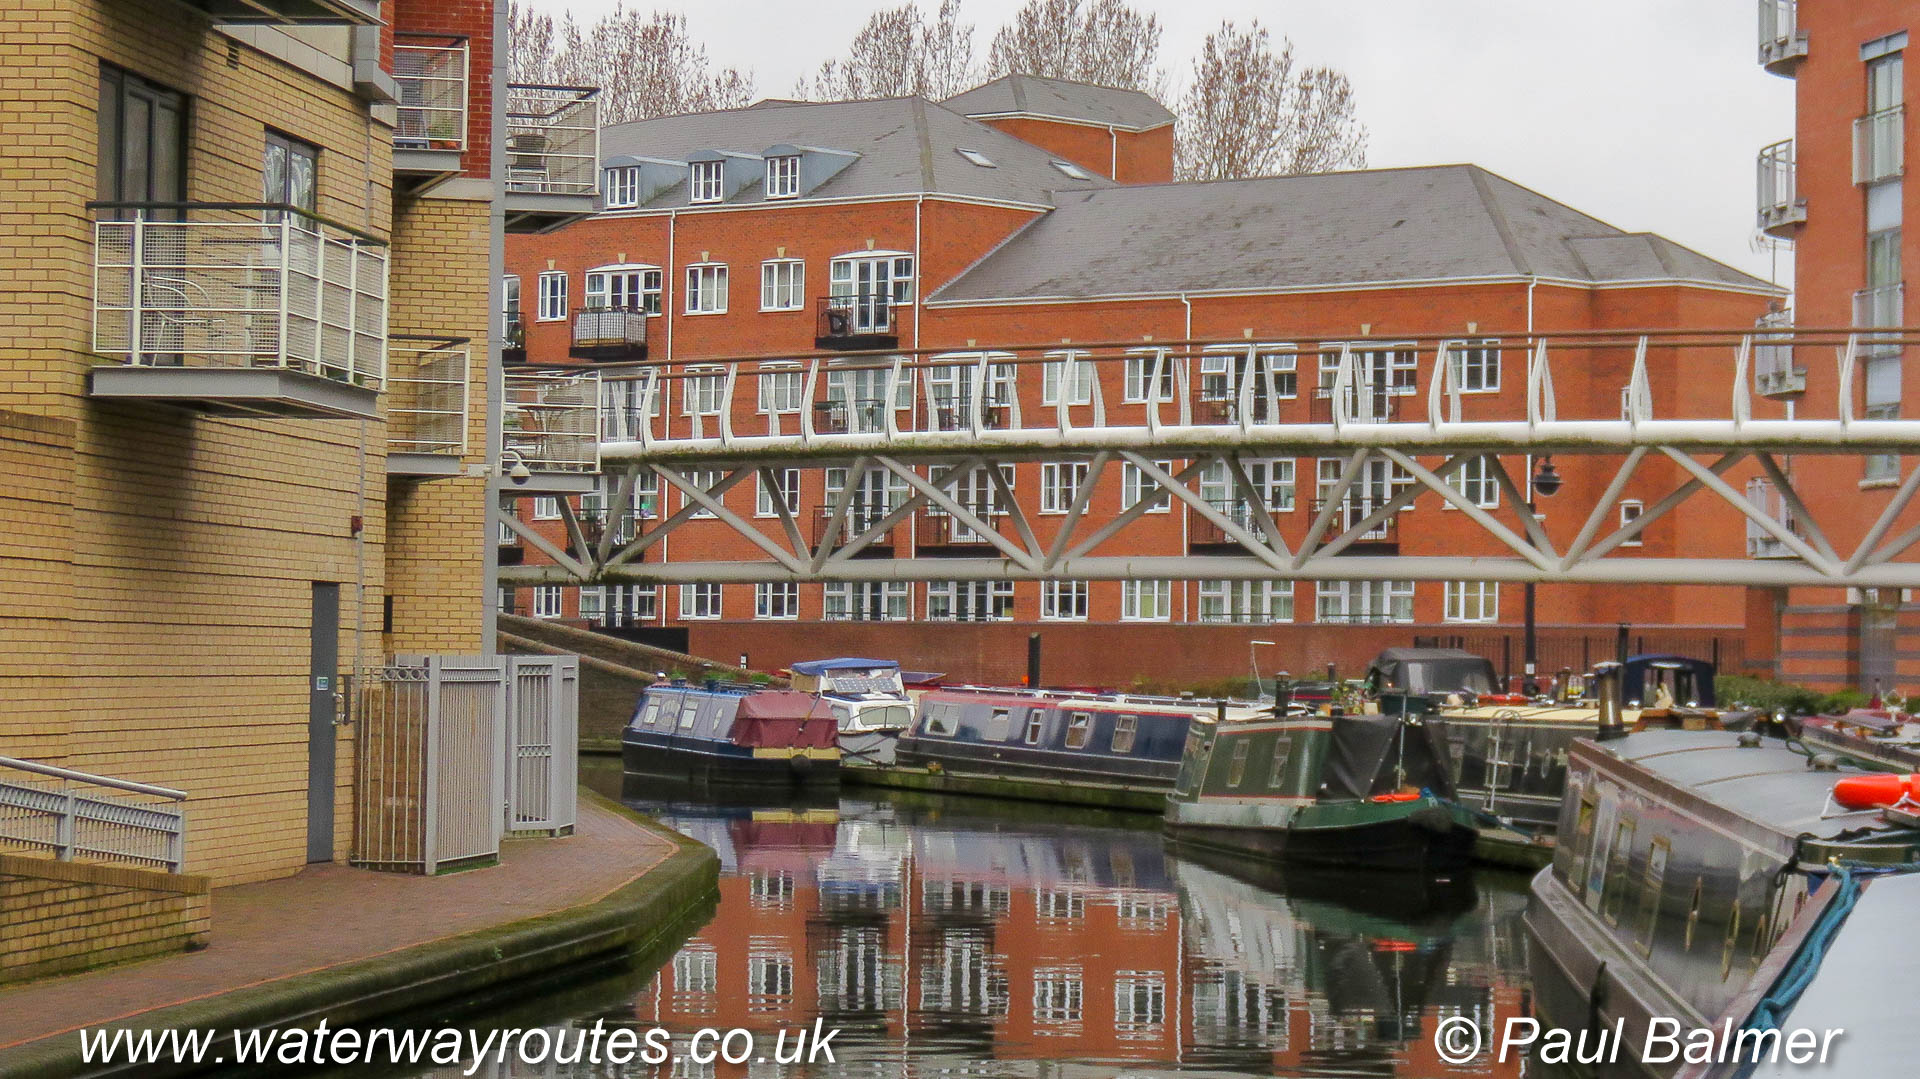
Sherborne Wharf Marina occupies the centre and western sections of the Oozells Street Loop. All the moorings are private, but it’s possible to cruise straight through, between Old Turn Junction and Ladywood Junction.
In the centre of the picture is our Waterway Routes narrowboat on its home mooring where it spends much of the winter. In the summer we are out cruising as we check the data for our maps, and film for our DVDs.
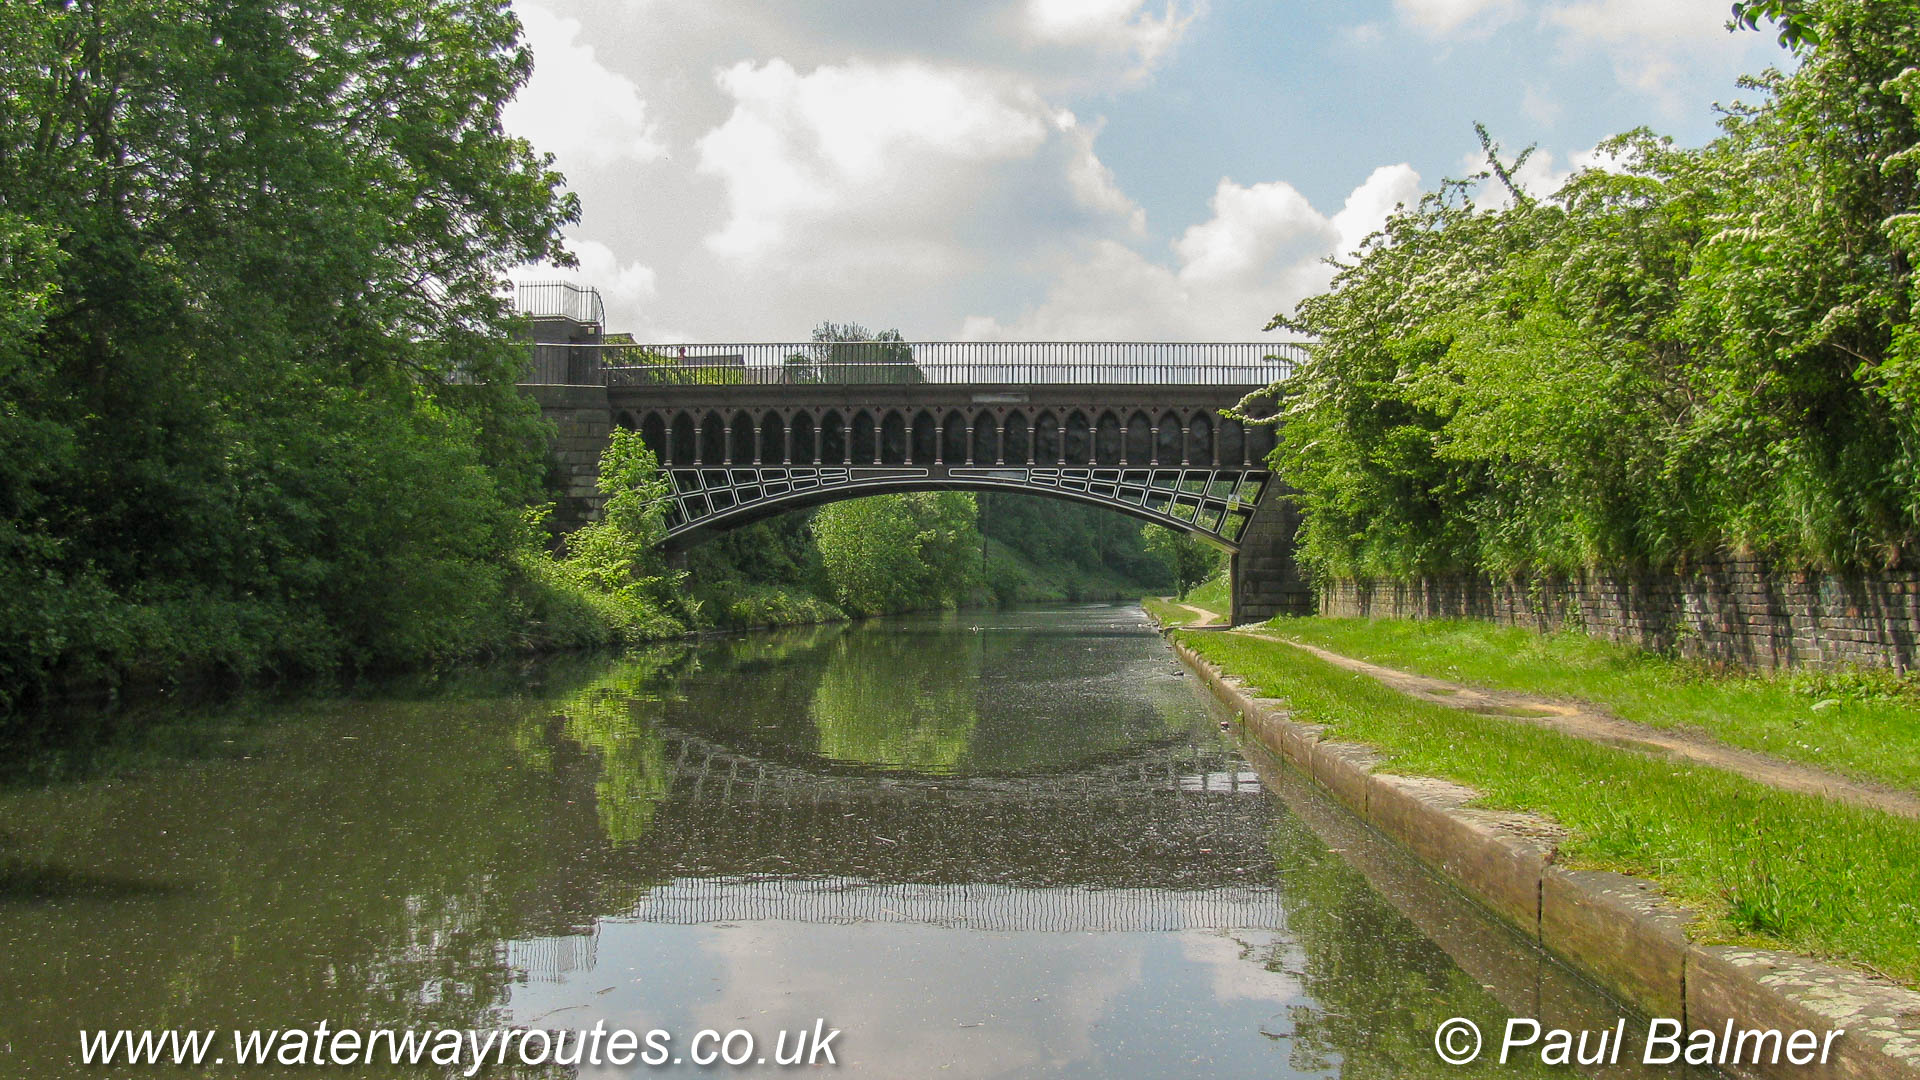
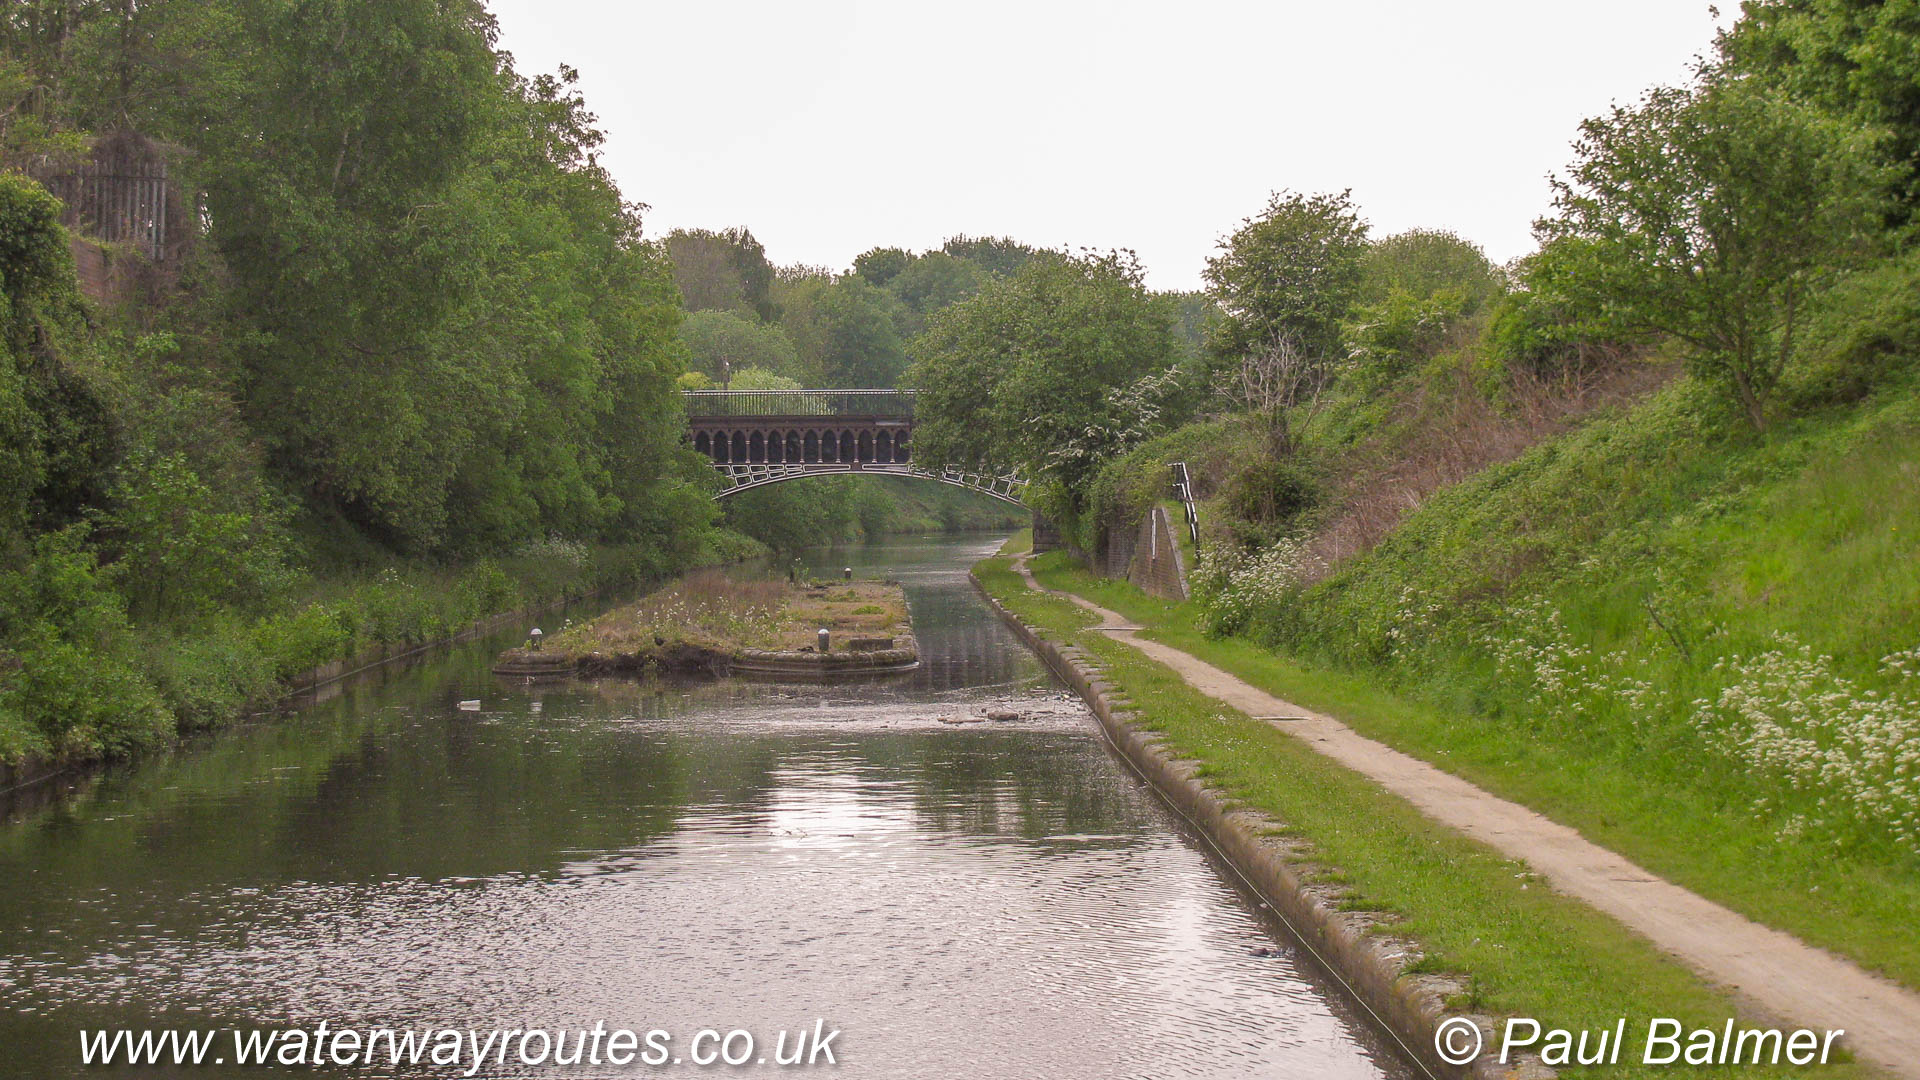
The Engine Arm Aqueduct carries the Engine Arm over the New Main LIne of the Birmingham Canal Navigations.
Toll islands are a feature of the Birmingham Canal Navigations (BCN). As the boats passed through the narrows the toll collector would use a marked stick to check the depth of the boat in the water to see
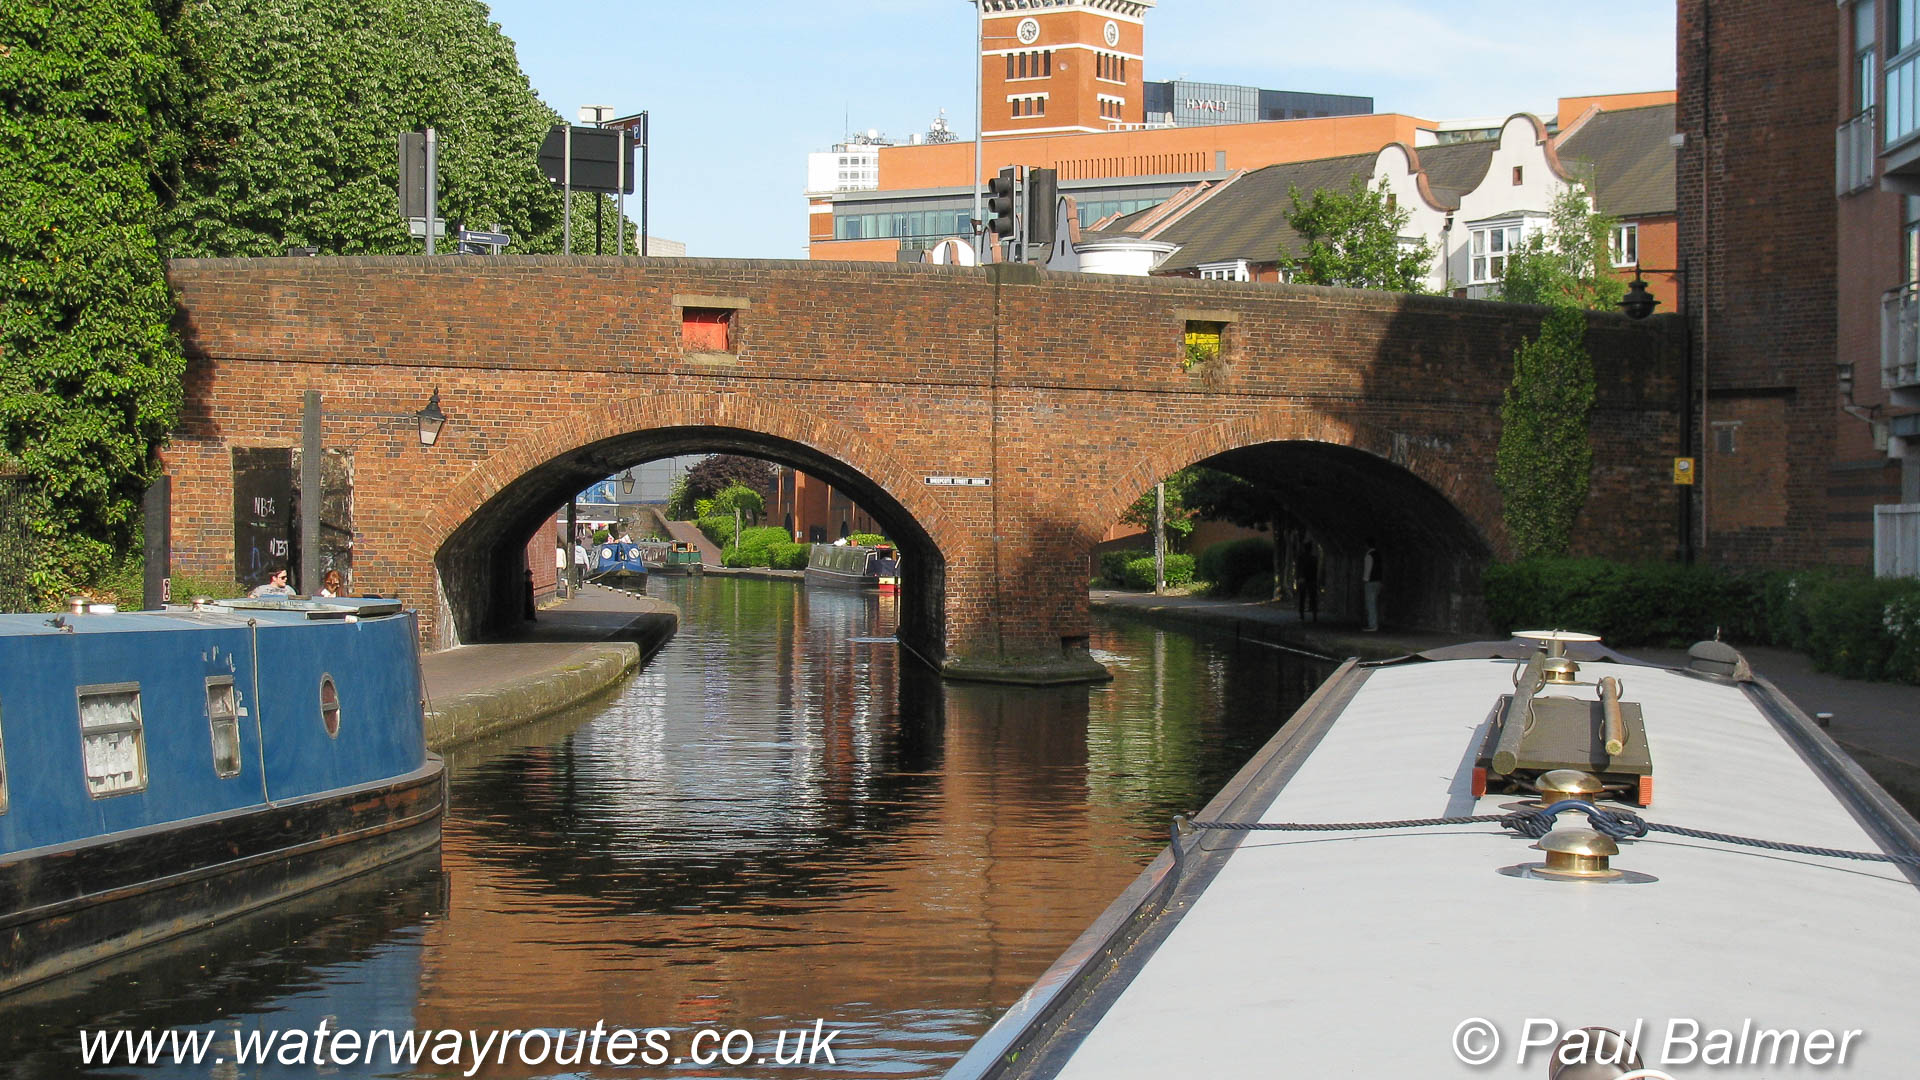
Cruising along the Birmingham Canal Navigations Main Line towards Sheepcote Street Bridge.
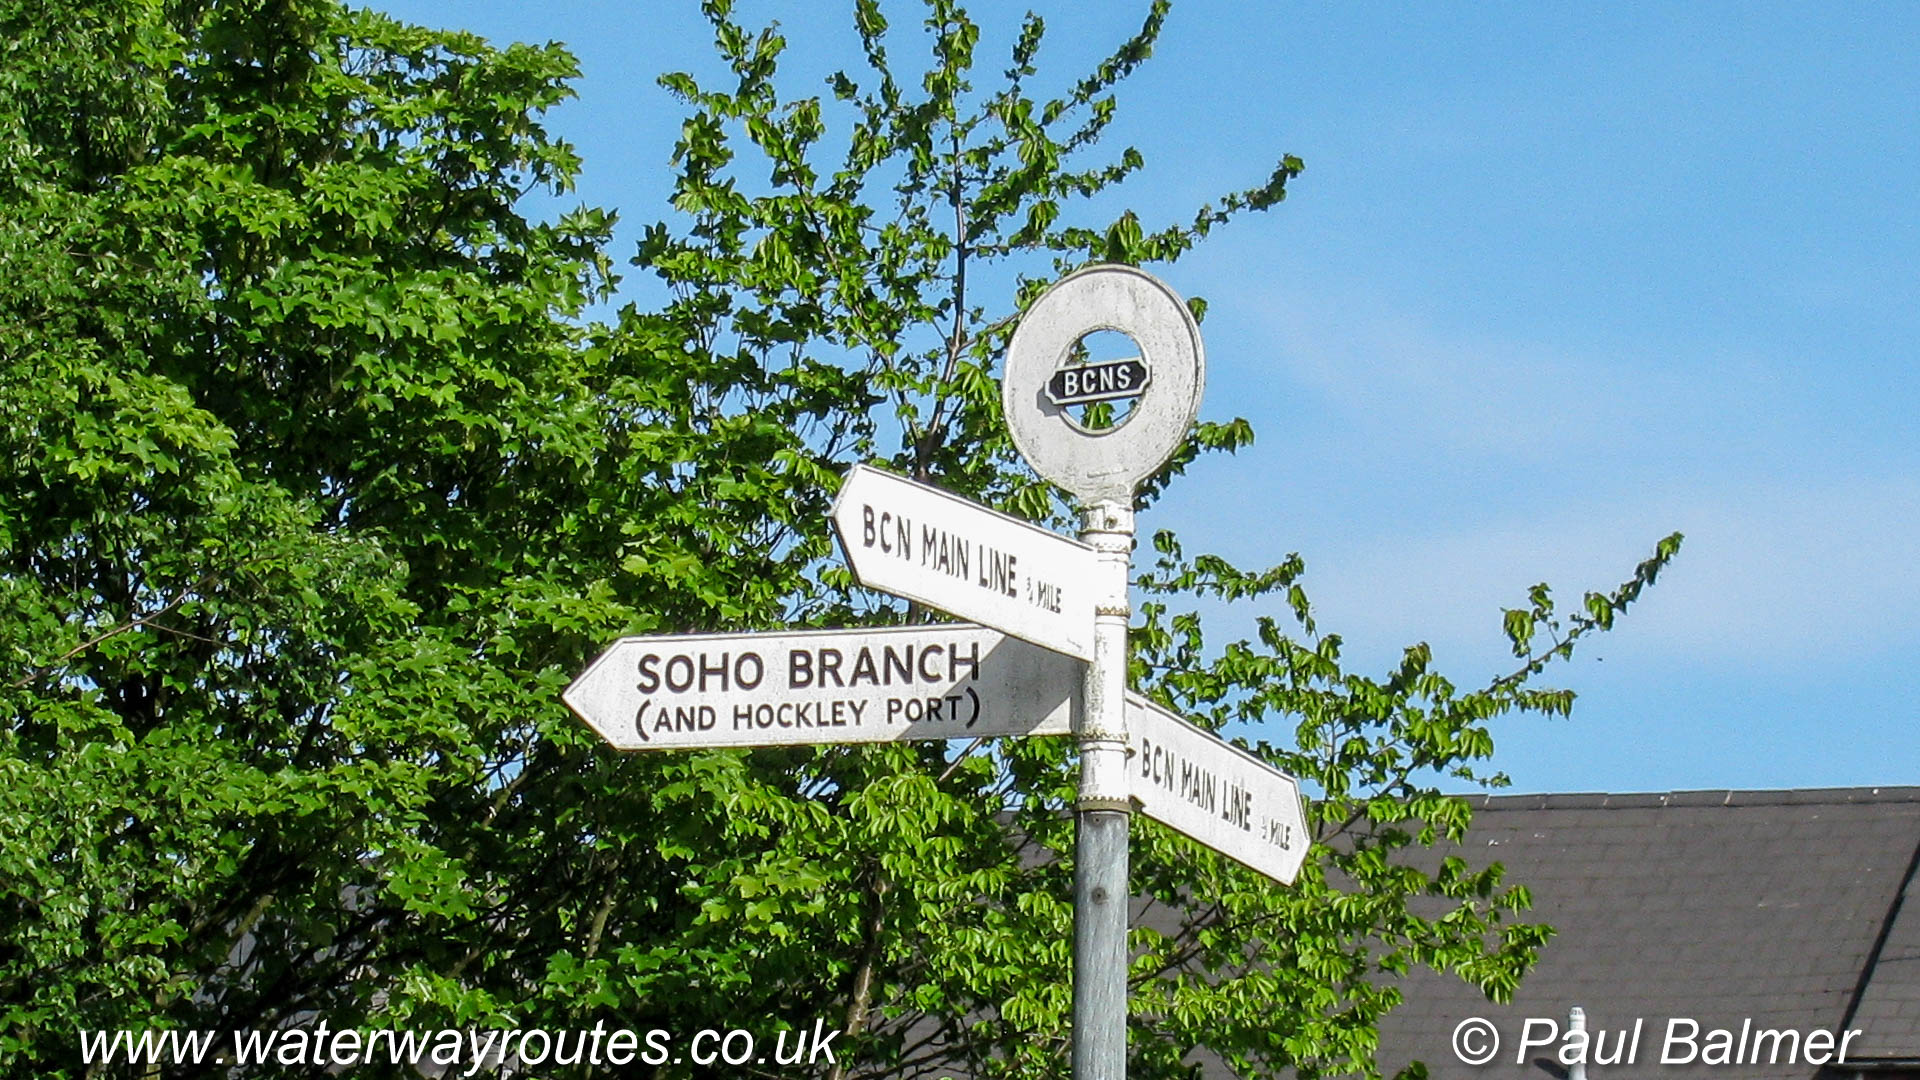
The Soho Loop of the Birmingham Canal Navigations passes the junction for the Soho Branch.
The Soho Loop of the Birmingham Canal Navigations passes the junction for the Soho Branch.

Most of the New Main Line’s route between Smethwick Junction and Factory Junction is wide and straight. Between Bromford Junction and Pudding Green Junction it adopts the

Looking along the New Mail Line from Albion Junction towards Wolverhampton. Toll islands appear near junctions at several locations around the Birmingham Canal Navigations enabling the draught
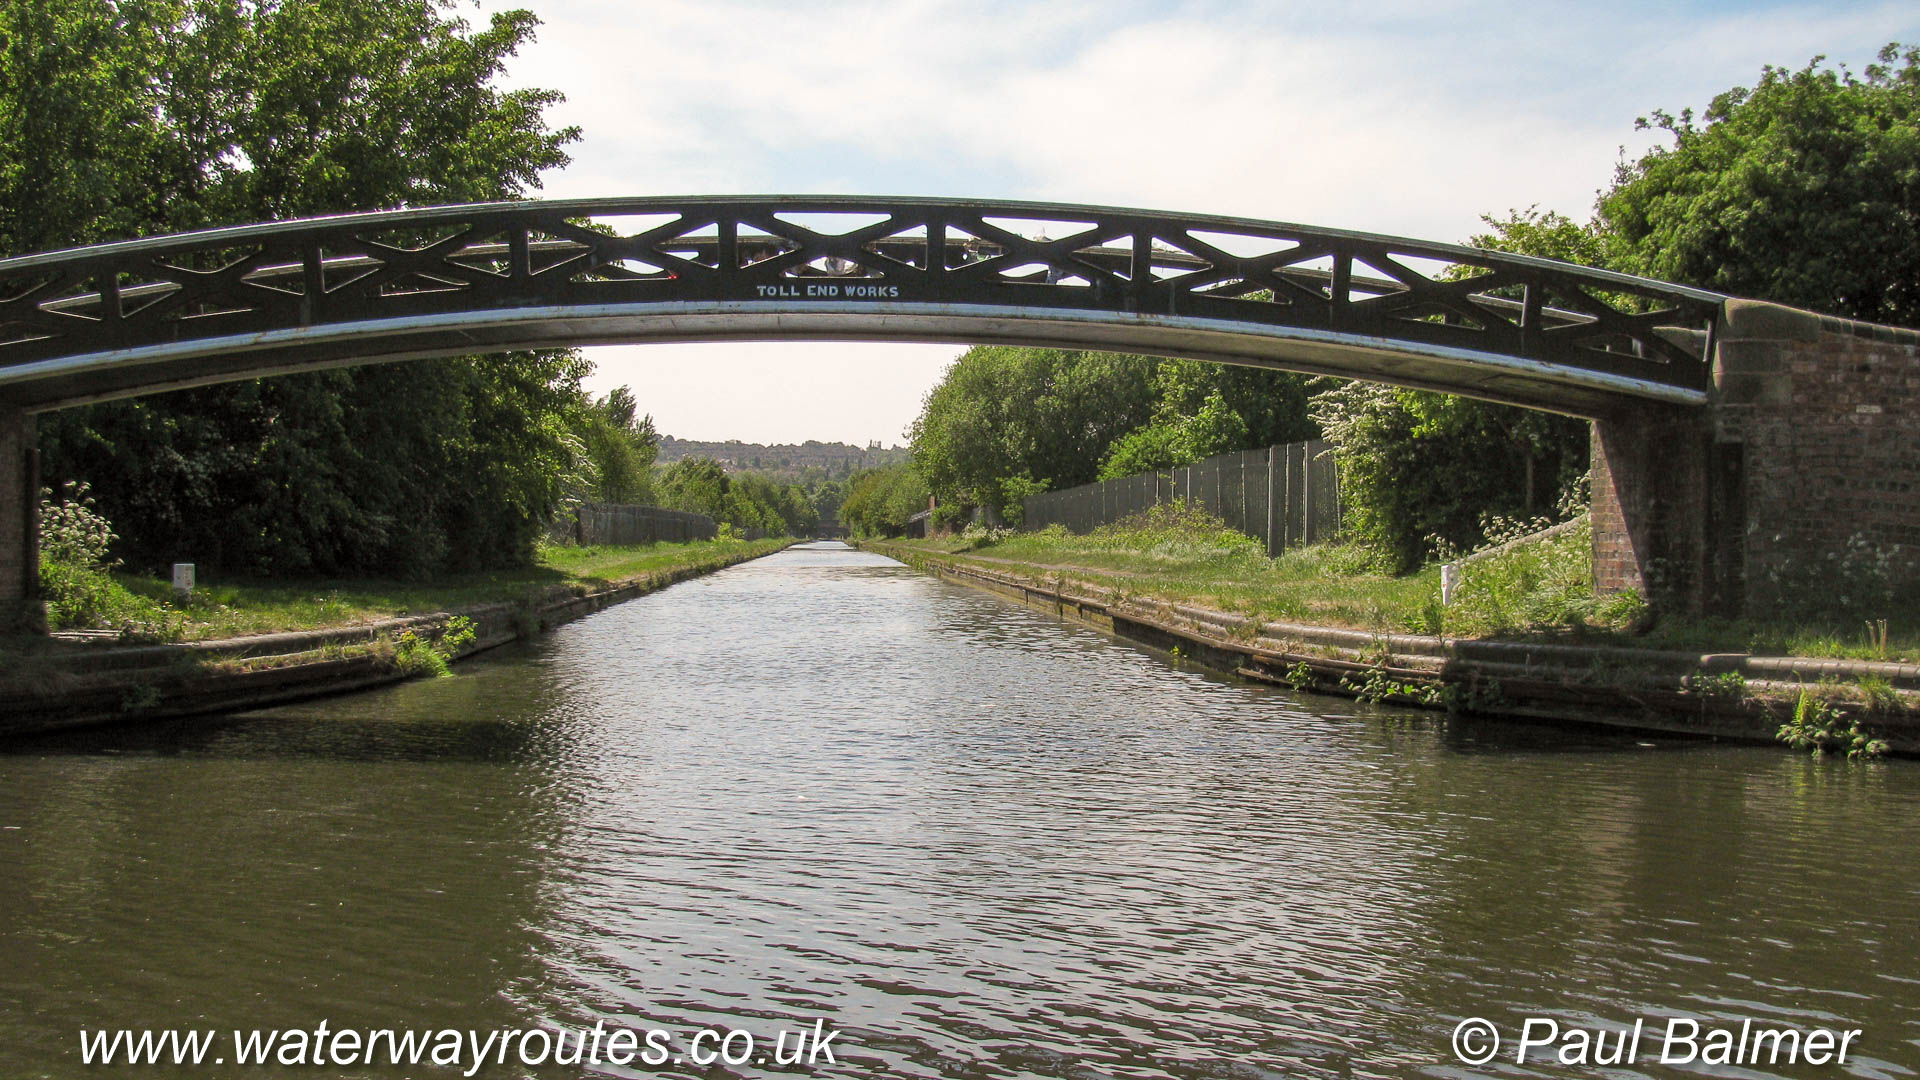
We are looking down the Netherton Tunnel Branch on its way to Netherton Tunnel.
On the Wolverhampton side of Dudley Port Junction the New Main Line is raised on an embankment. There are several narrows in the channel which each mark
The last of the long straight sections on the New Main Line when heading towards Wolverhampton (or the first when heading towards Birmingham). Just out of sight
The Boshboil Branch extends just a short distance from Windmill End Junction where it meets the Dudley No 2 Canal.
The bridge allowed horses to cross from the right hand towpath at Dudley Port Junction. Next to the bridge the Netherton Tunnel Branch turns to the left
The railway builders chose the same straight and level route for the line between Birmingham New Street and Wolverhampton. The New Main Line of the Birmingham Canal
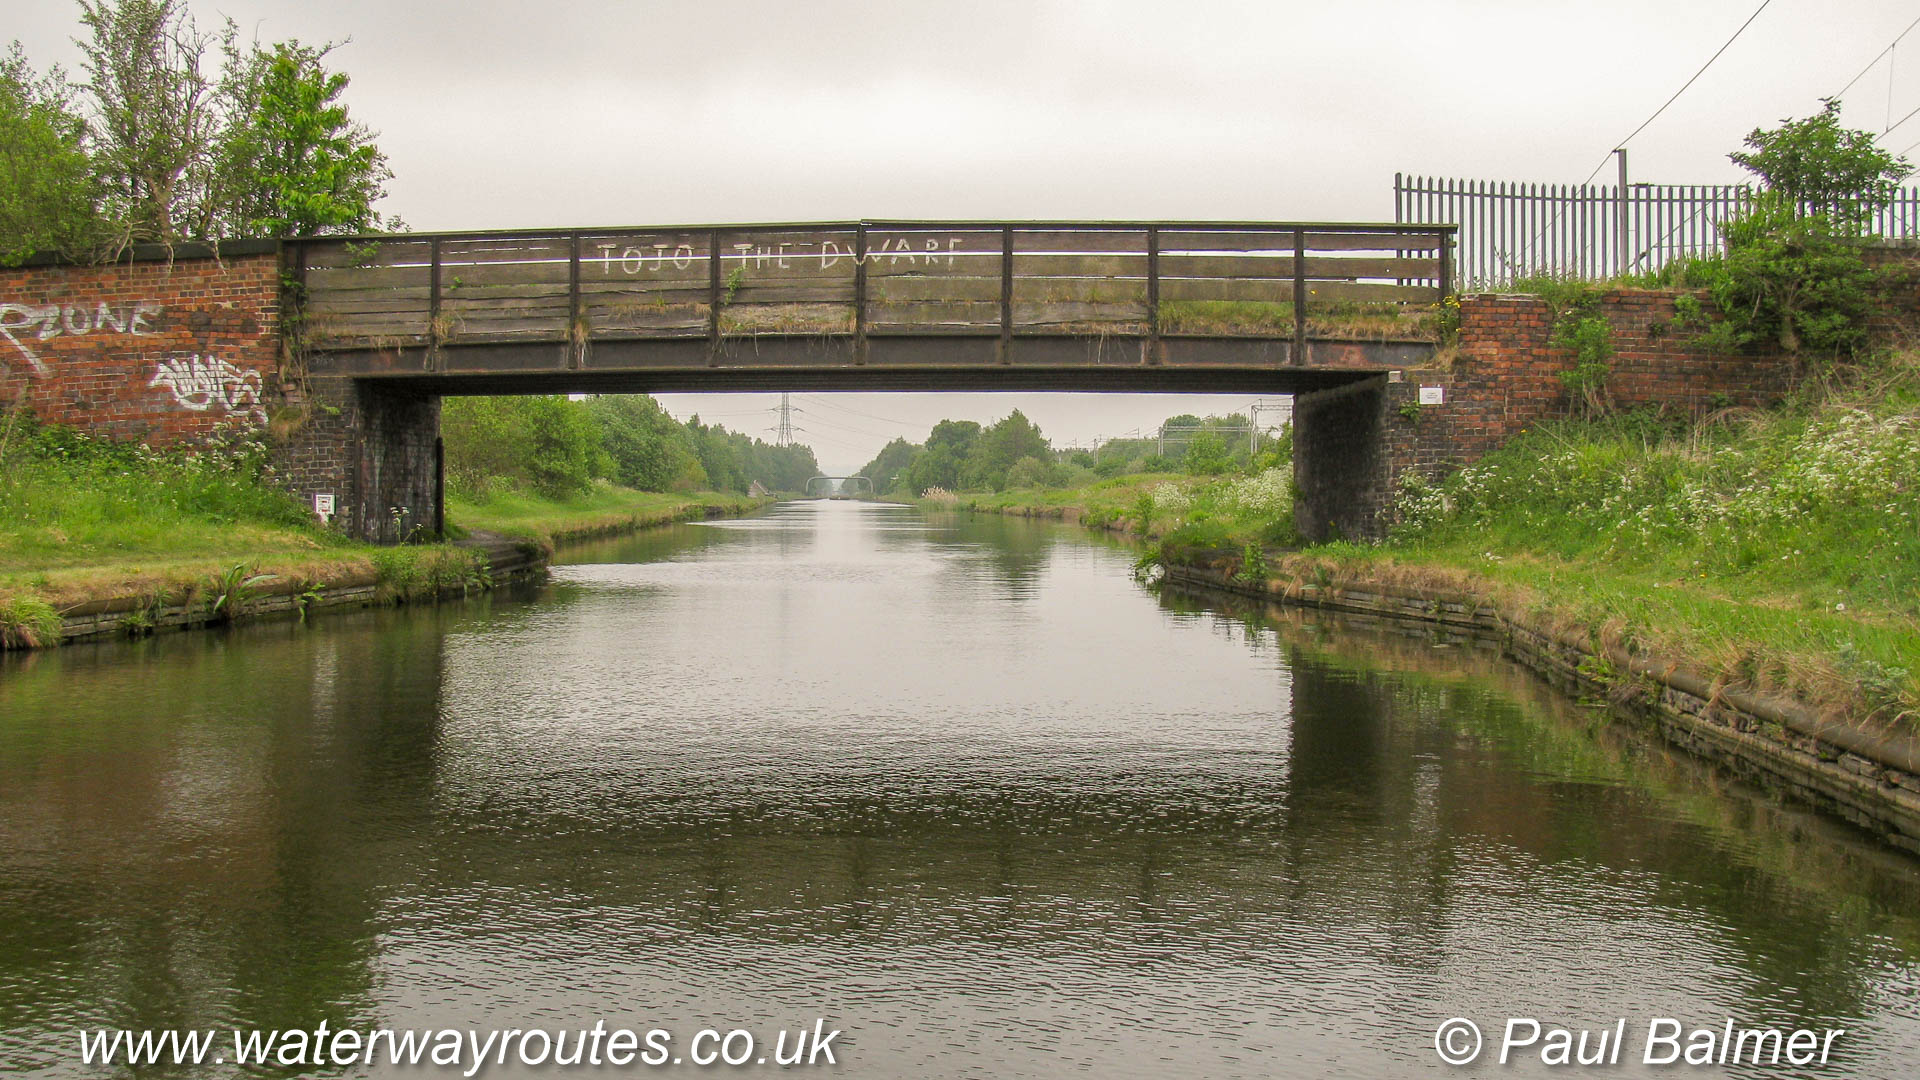
There are several ideas about why Union Furnace Bridge has the phrase “Tojo the Dwarf” painted on it but none stand out as the likely explanation. Suggestions
The railway line between Birmingham New Street and Wolverhampton follows stays close to the canal for most of its route as they both aim to find a
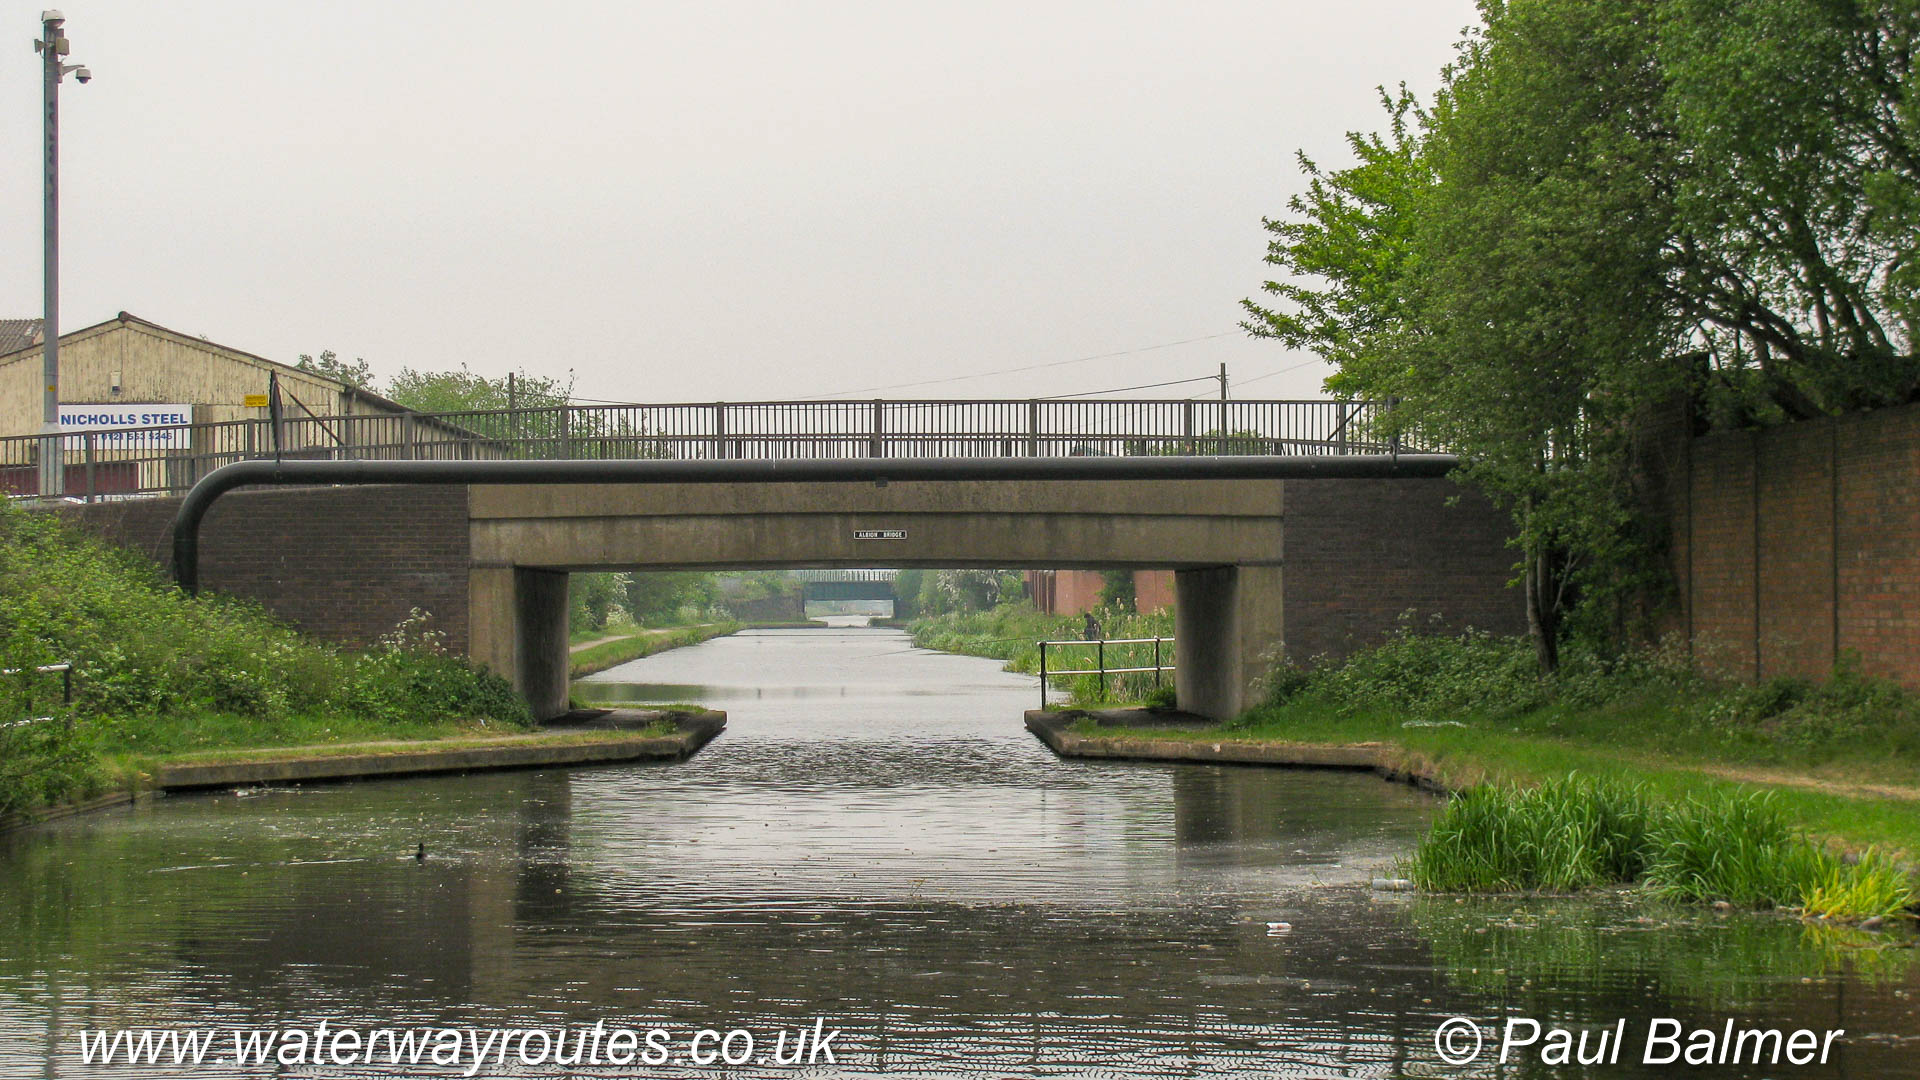
To the west of Pudding Green Junction the New Main Line has several flat topped bridges, such as Albion Bridge. The next bridge, just visible in the
The photo is taken on the Main Line of the Birmingham Canal Navigations with Wolverhampton behind the camera.
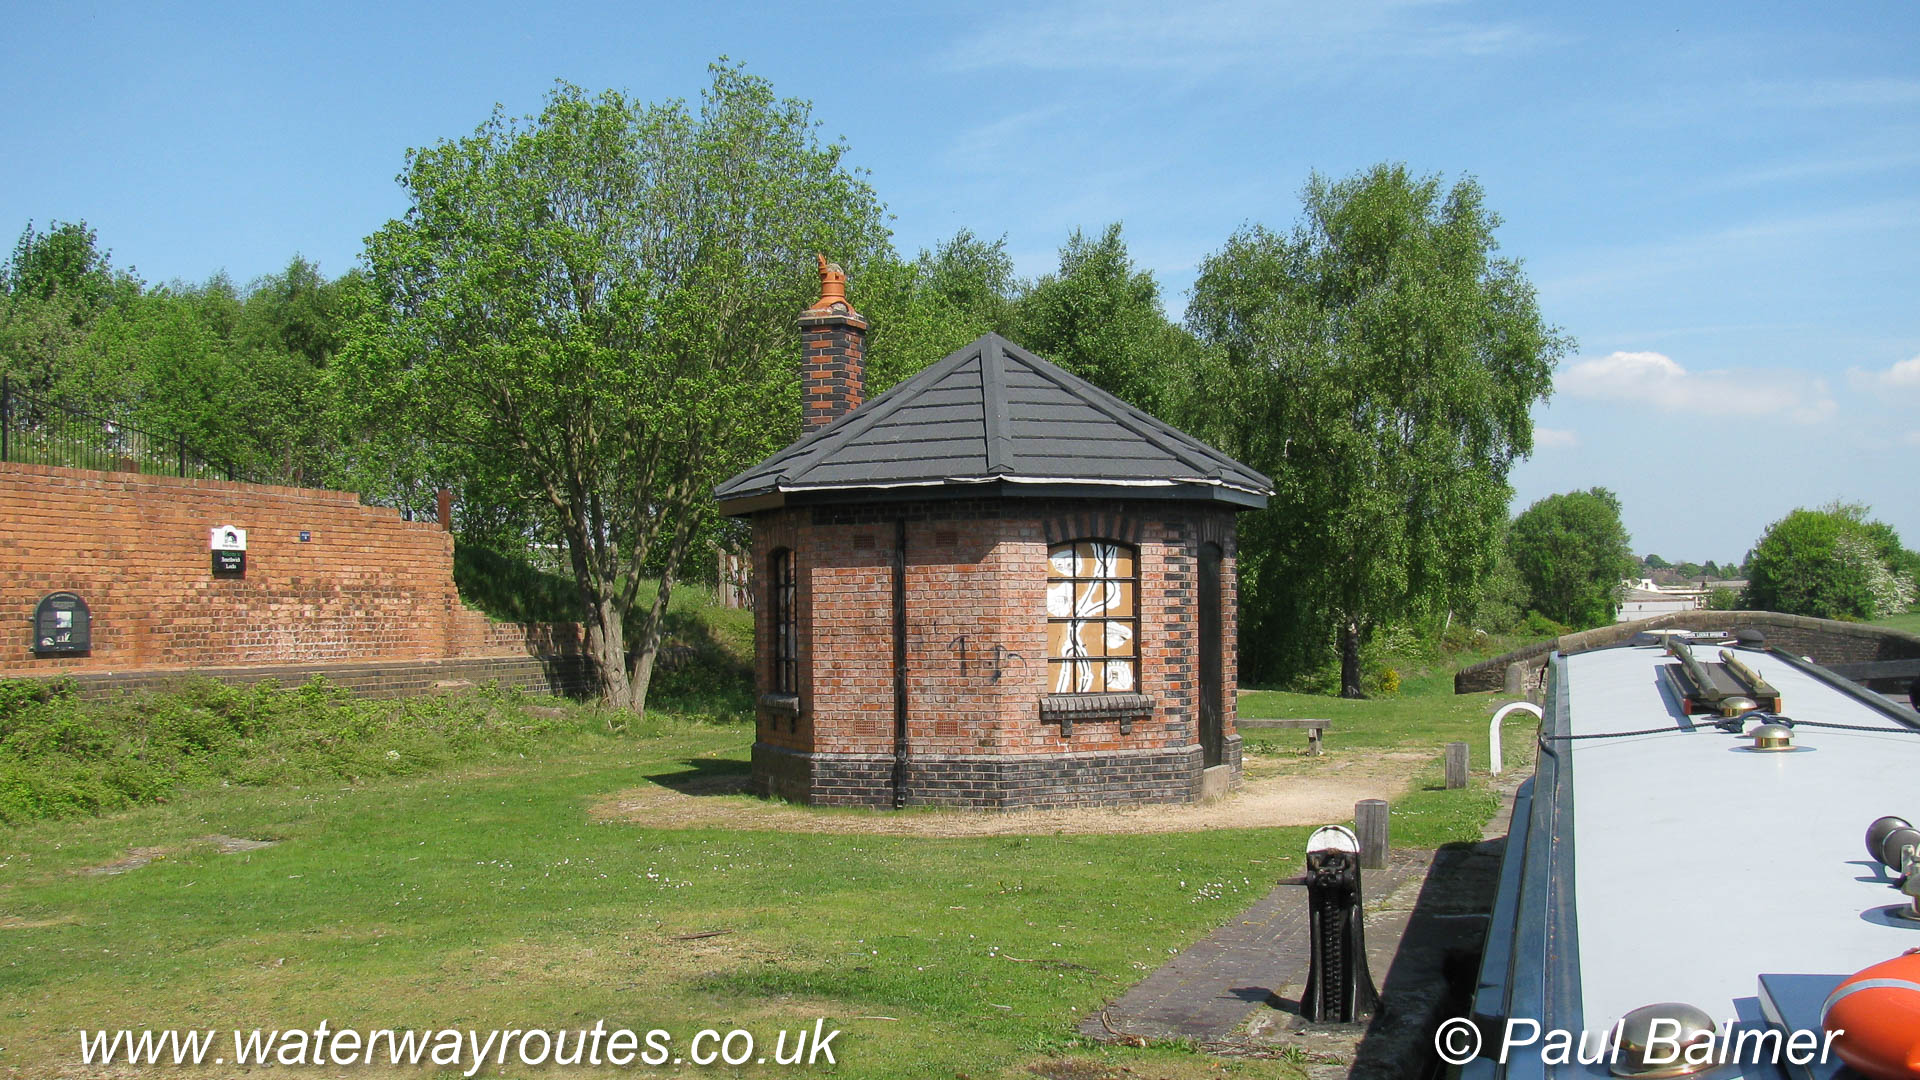
Adjacent to Smethwick Top Lock is a reconstruction of the Lock Keeper’s Office in the traditional octagonal style of the Birmingham Canal Navigations (BCN).
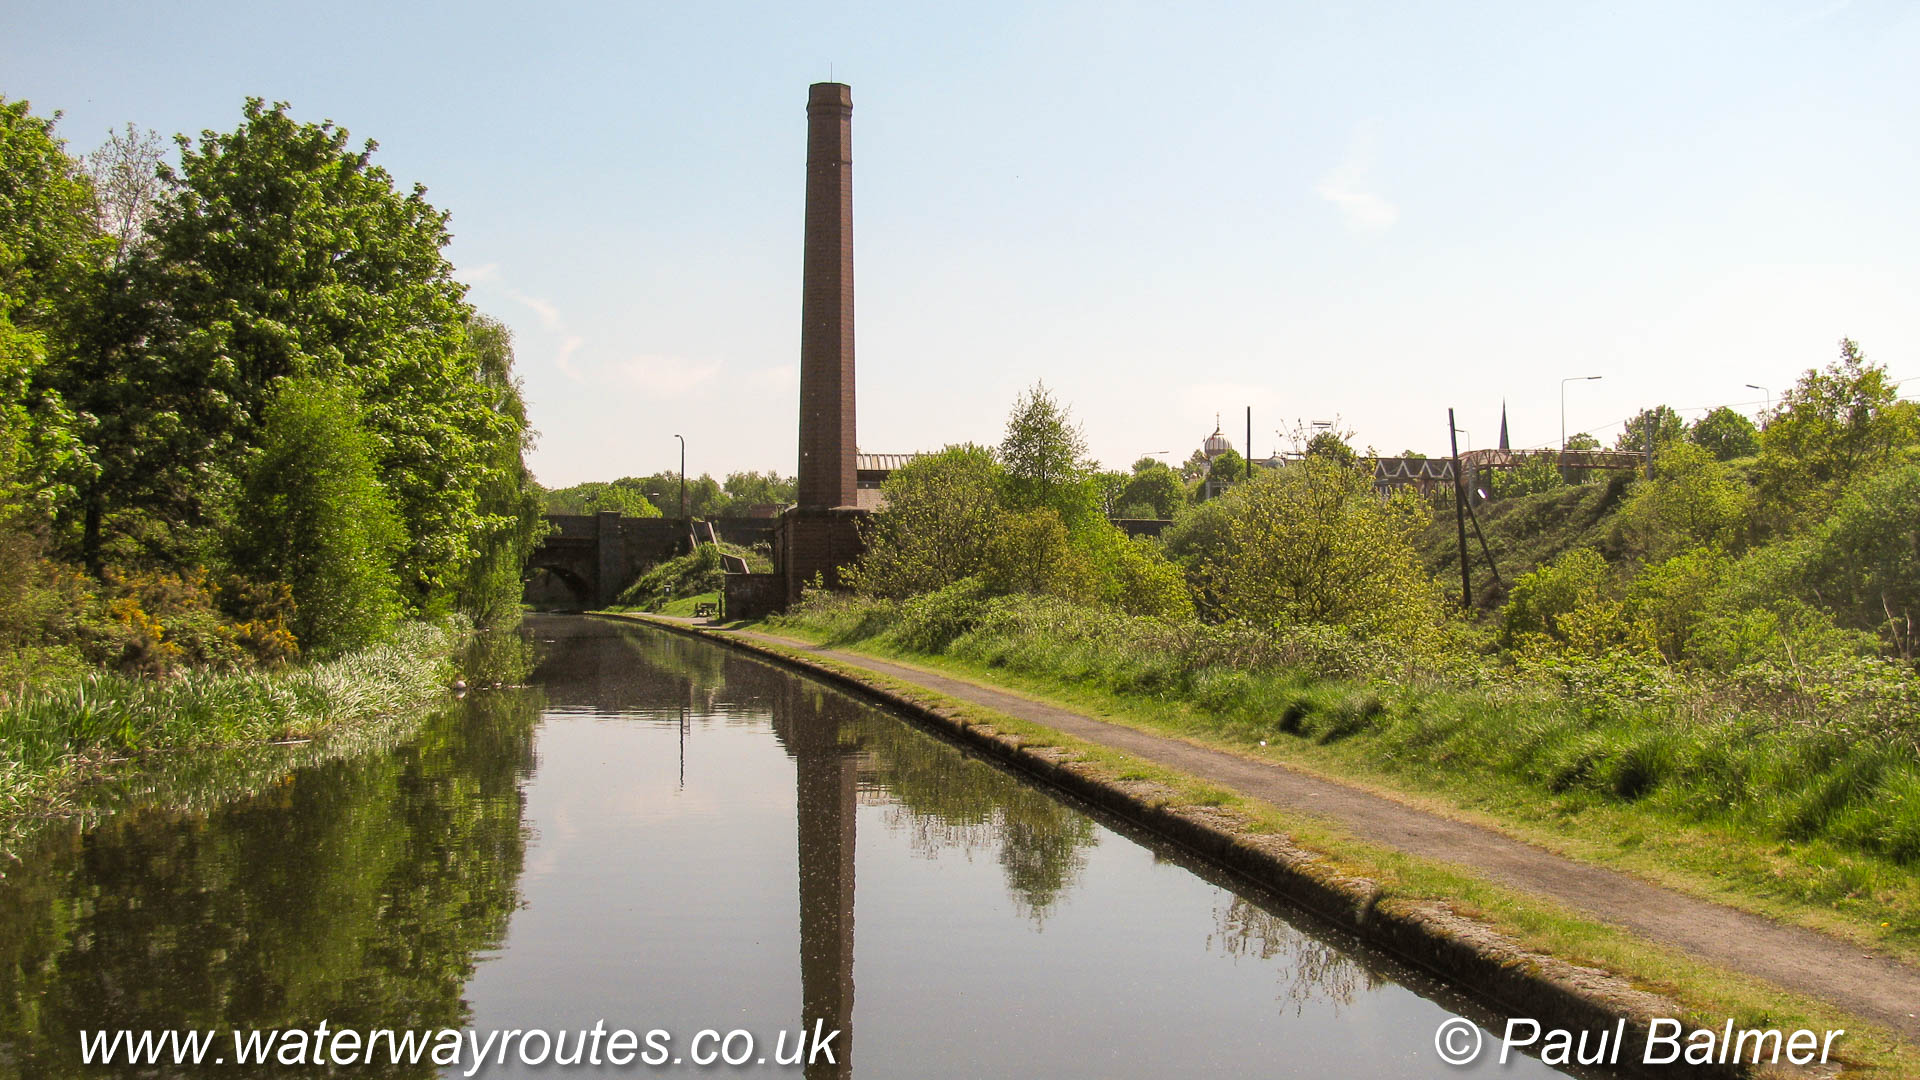
The chimney marks the location of Brasshouse Lane Pumping station which sits between the Old Main Line and the New Main Line which is in a cutting to the right of the photo.
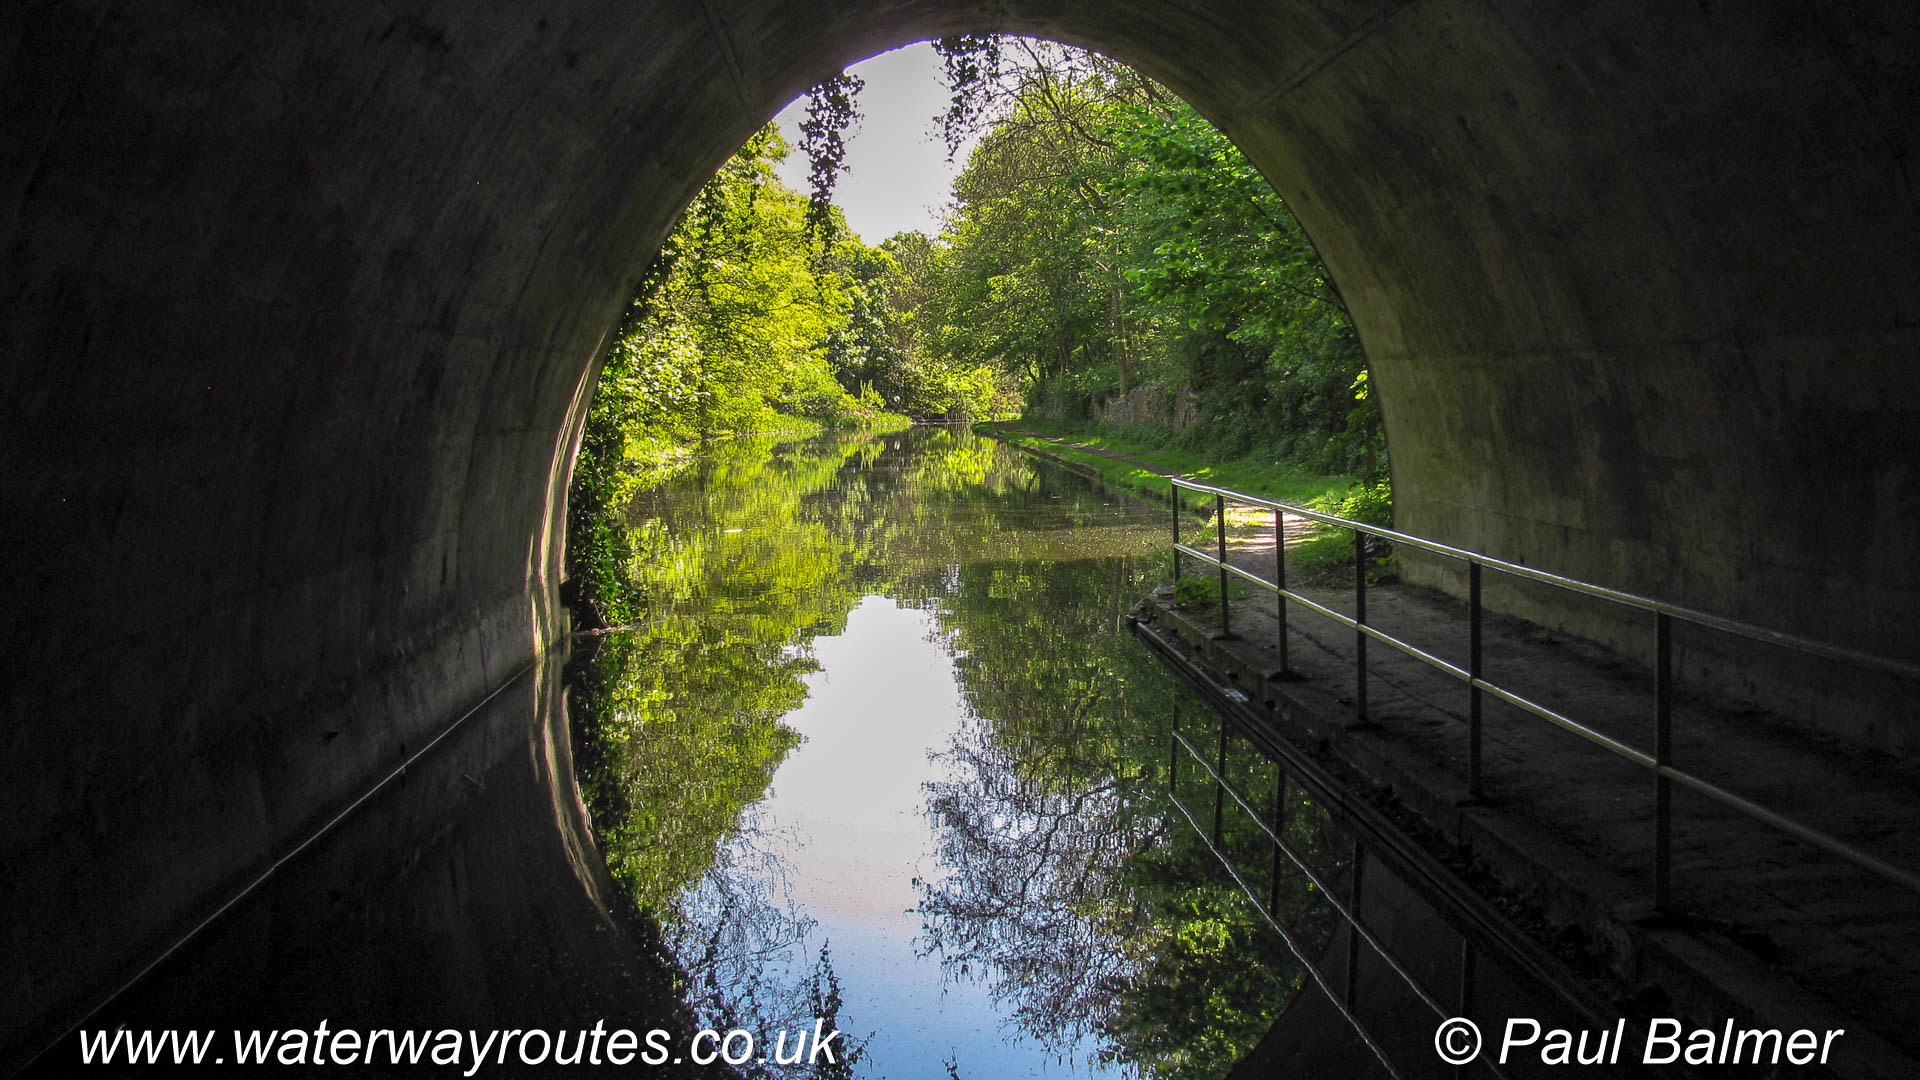
Summit Tunnel is a modern construction made from cast concrete segments which provide an unusual shape.
The summit level of the Old Main Line of the Birmingham Canal Navigations (BCN) passes through a cutting.

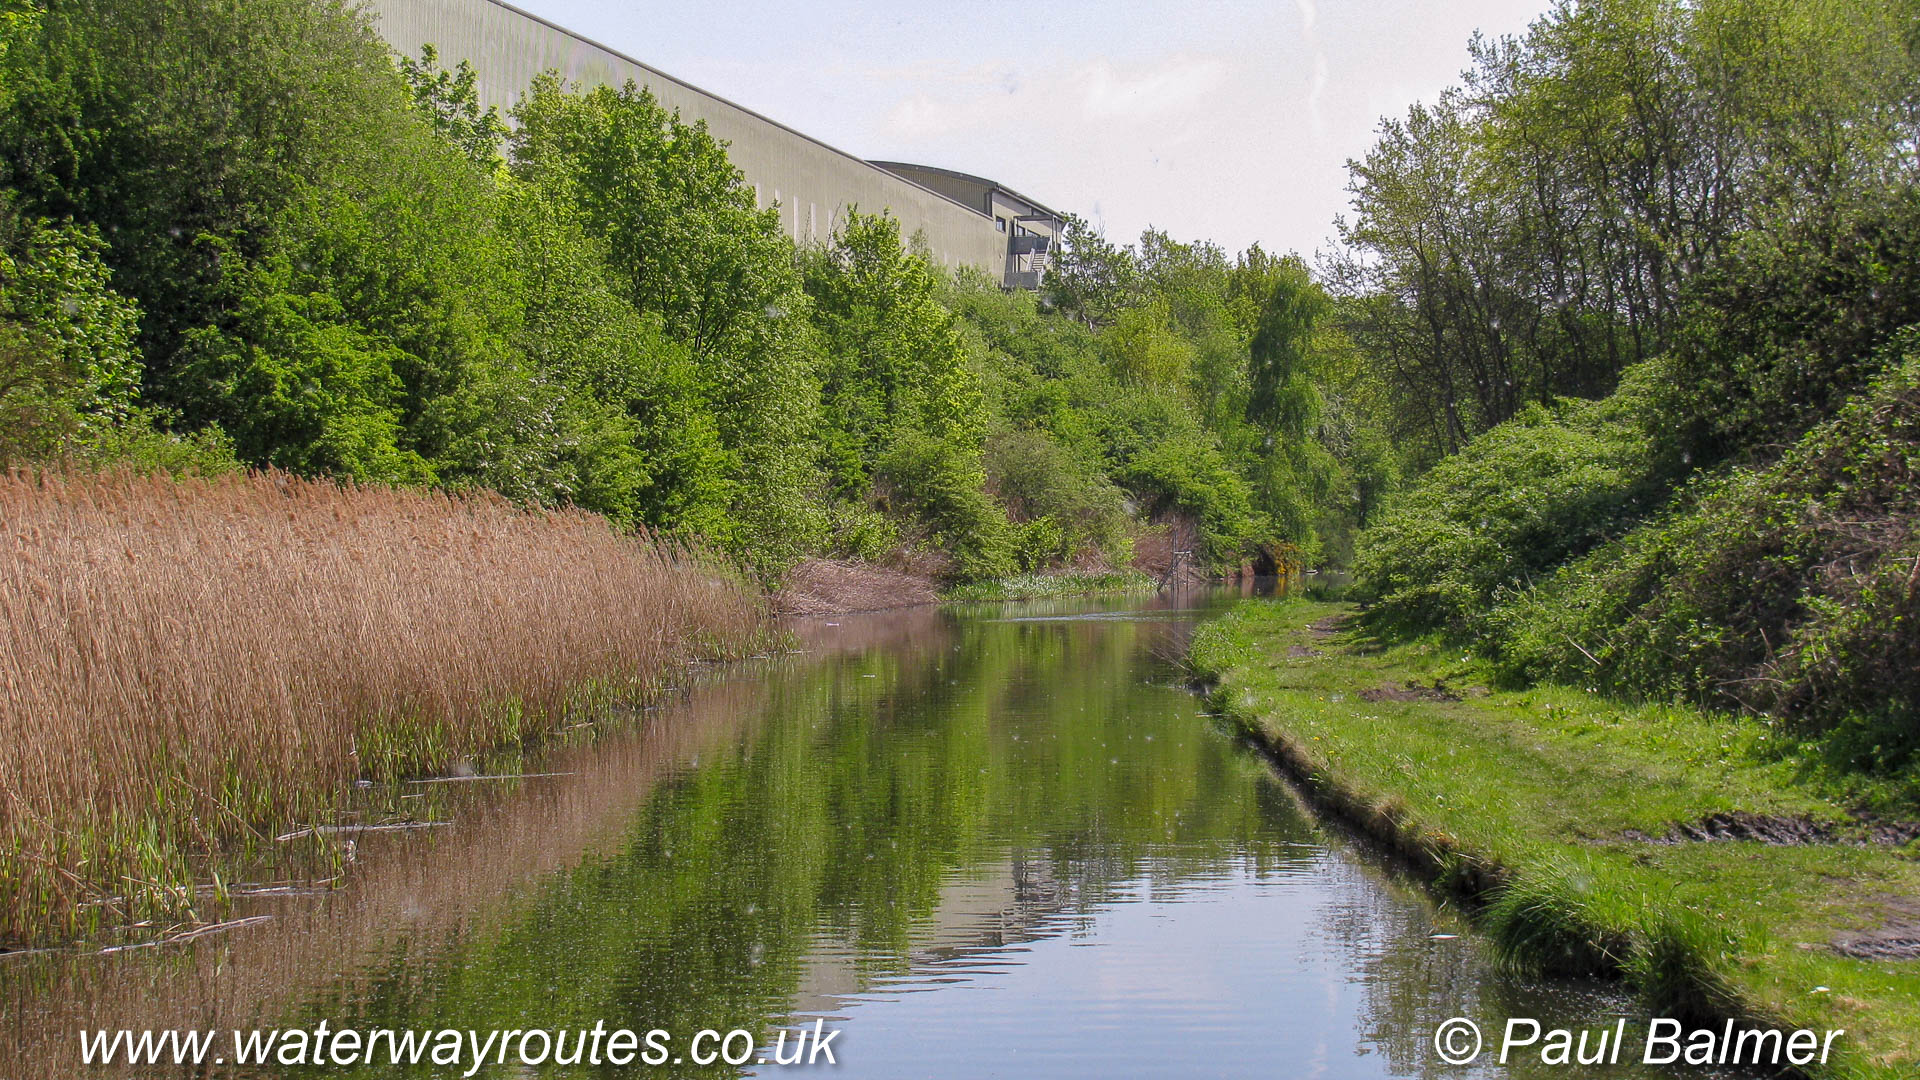
Passing through the Black Country there are sections of the Old Main Line which form a surprisingly green corridor, well separated from industrial and residential buildings.
The photo is taken on the Main Line of the Birmingham Canal Navigations with Wolverhampton behind the camera.
Straight ahead is the New Main Line towards Birmingham and diverging to the right is the Old Main Line to Birmingham.
With Factory Junction behind the camera we are looking towards Tipton Junction.
The photo is taken on the Main Line of the Birmingham Canal Navigations with Wolverhampton behind the camera.
Straight ahead is the New Main Line towards Birmingham and diverging to the right is the Old Main Line to Birmingham.
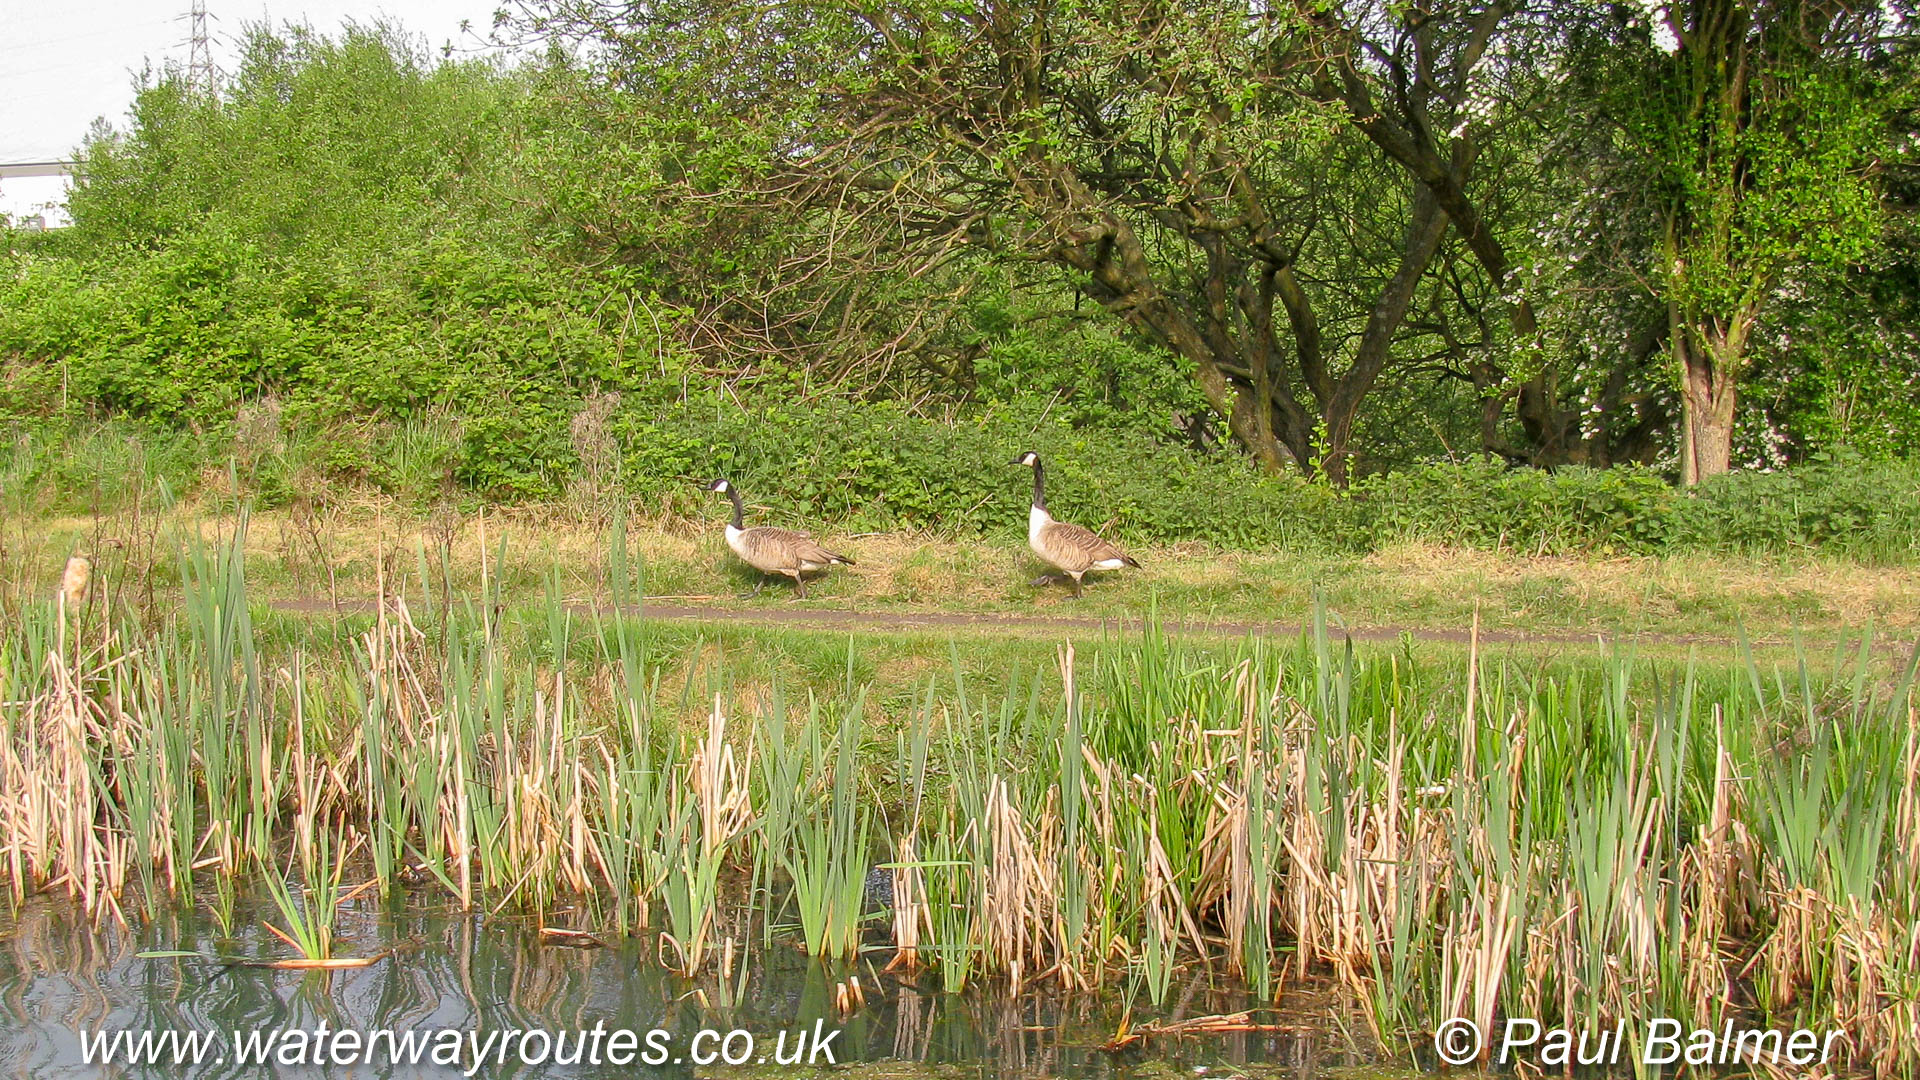
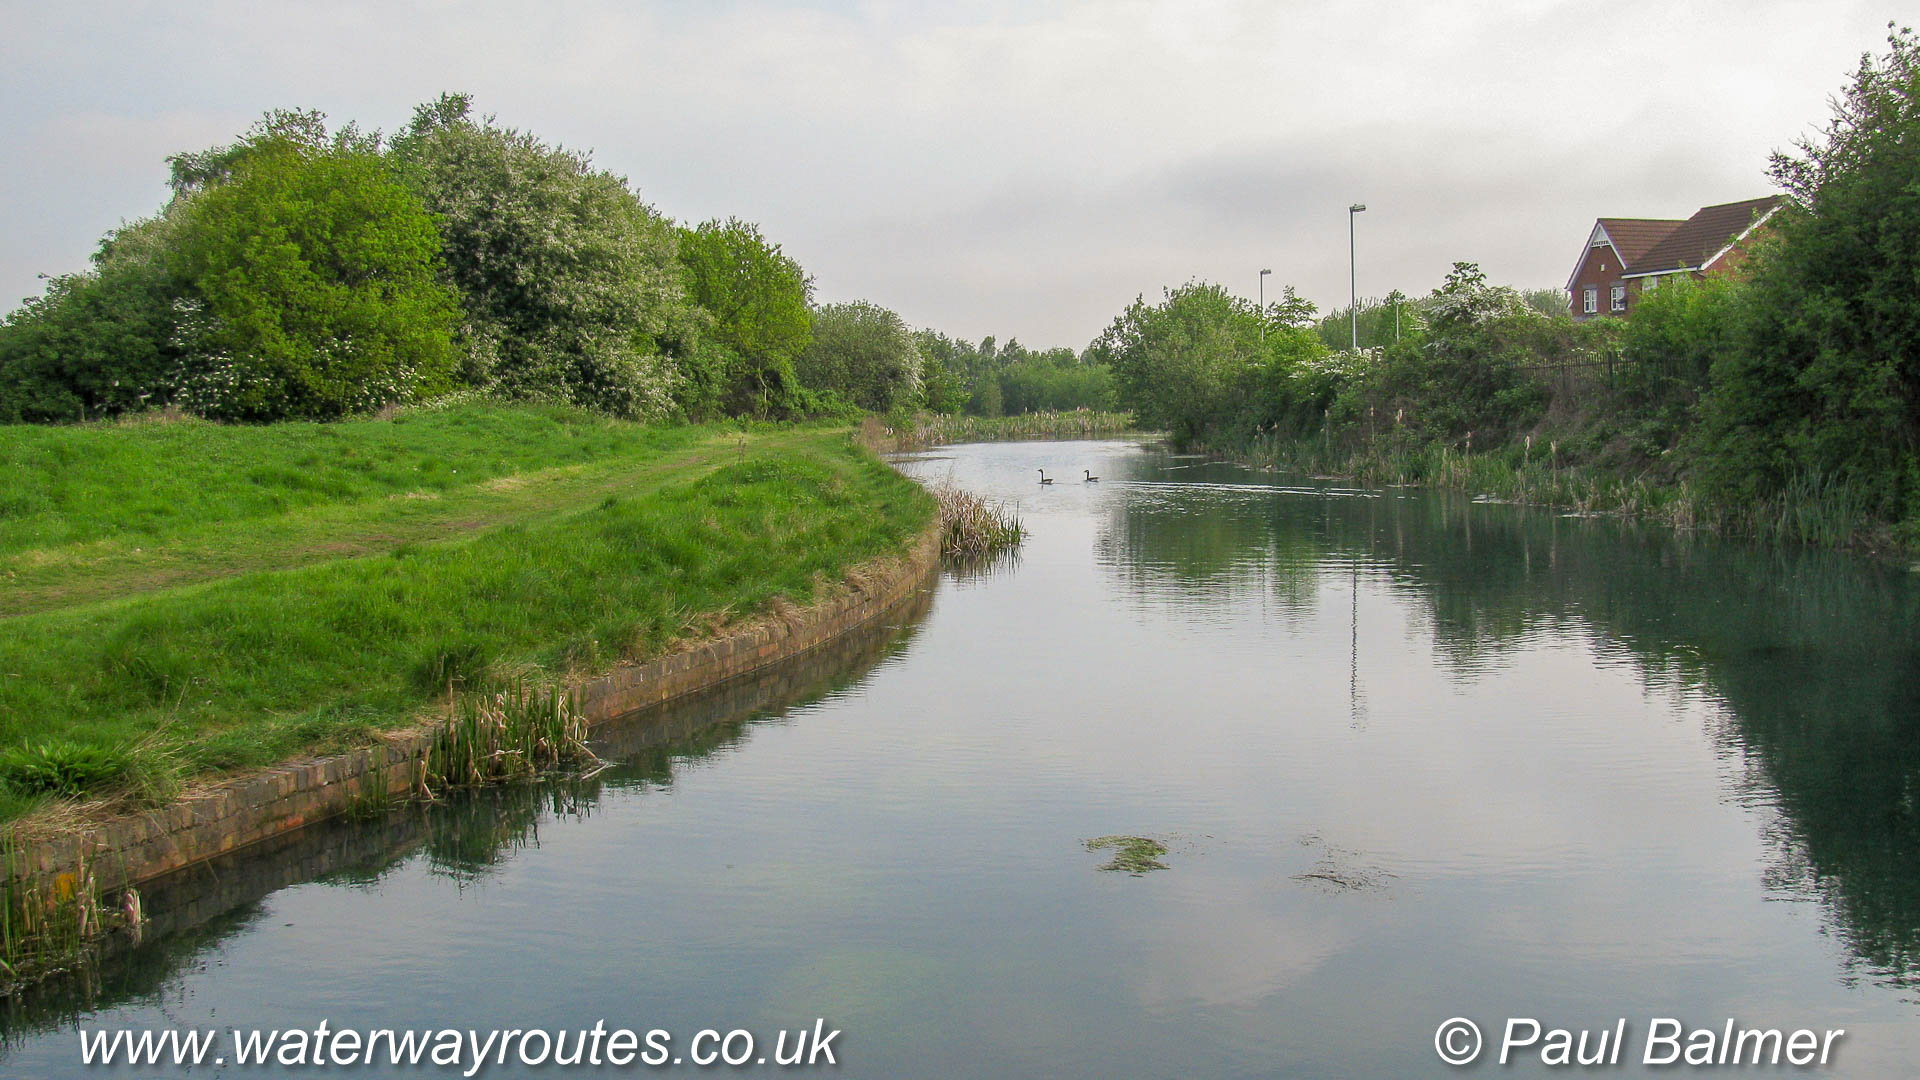
Travelling through the Black Country the wonderful green landscapes may surprise some people.
As the canal approaches Coseley Tunnel the land level gradually rises each side of the route and the bridge linking the two sides is rather taller than usual.
South Coseley Bridge has a pipe bridge over the top as the canal enters the gradually deepening cutting towards Coseley Tunnel.

The gradually deepening cutting leads to Coseley Tunnel. It was the construction of this tunnel that provided a more direct route between Bloomfield Junction and Deepfields Junction than the former Wednesbury Oak Loop.
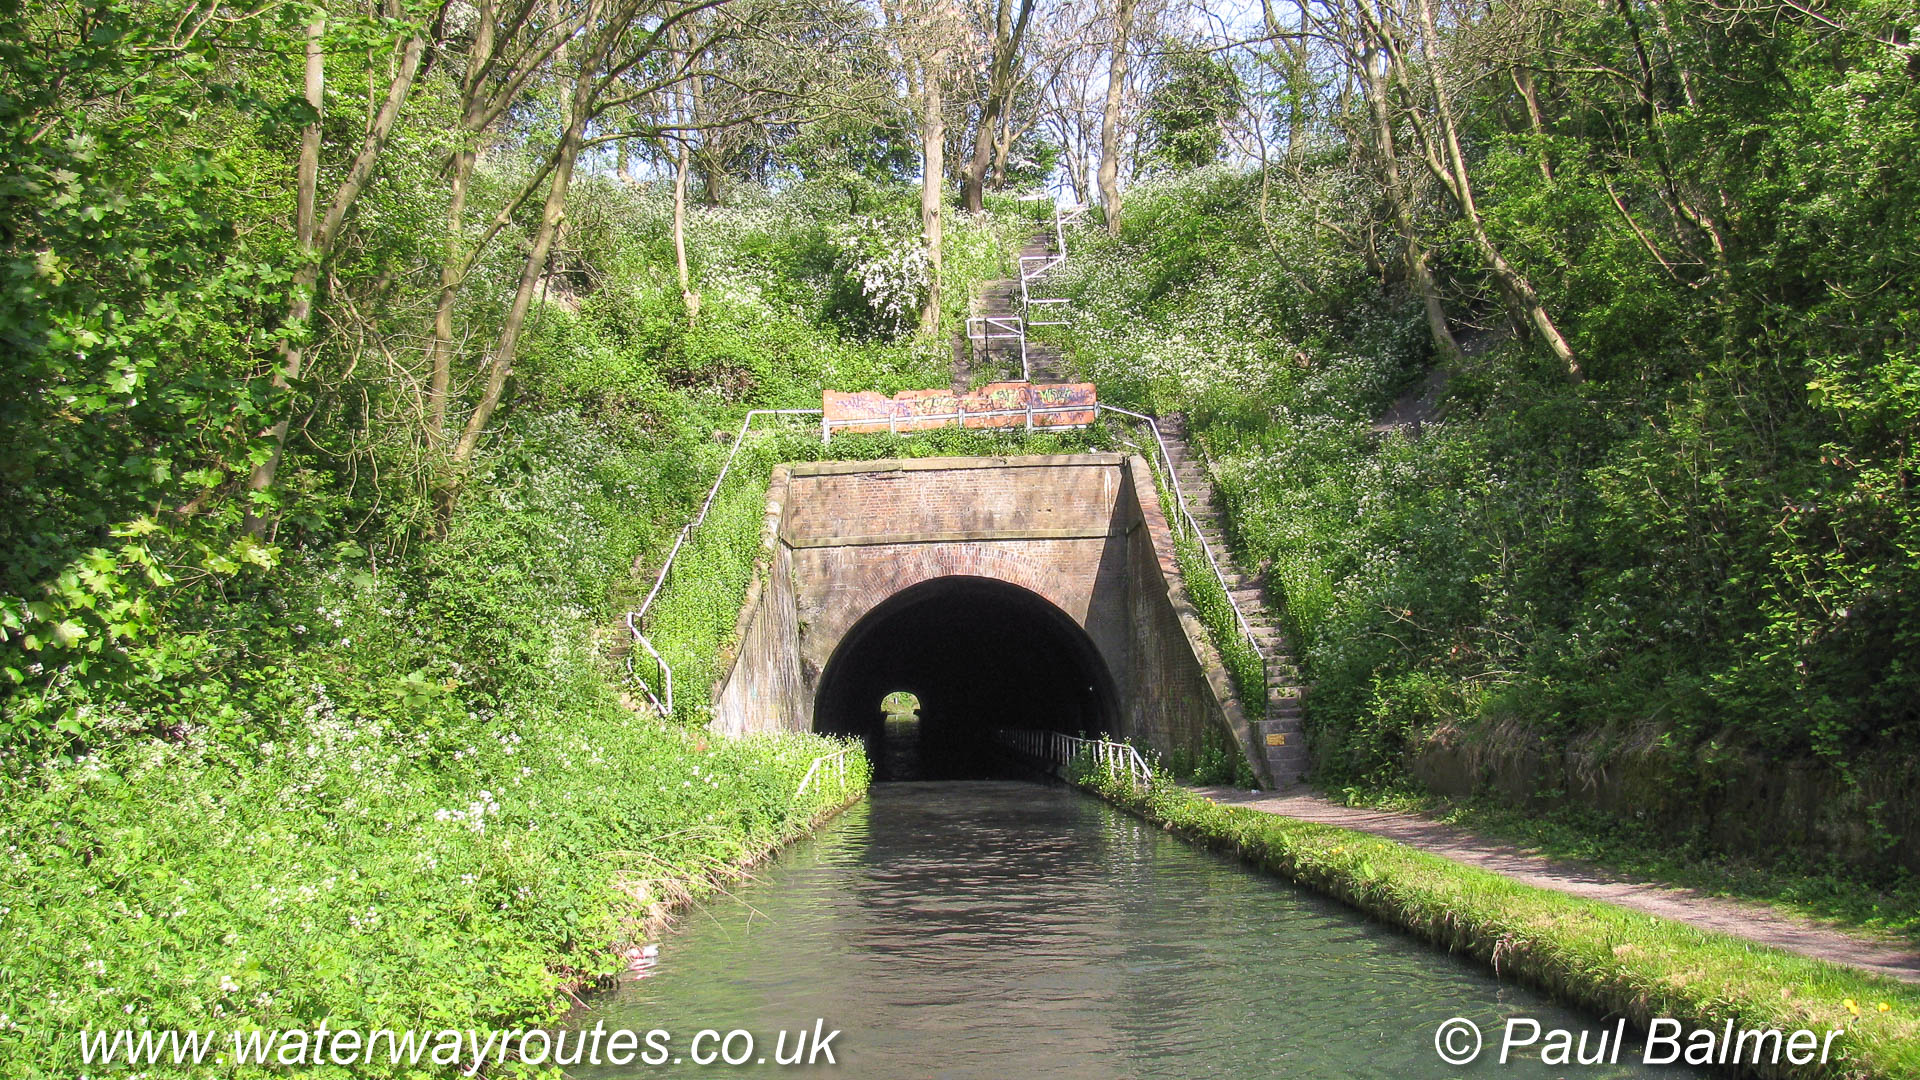
Coseley Tunnel was built wide enough for two narrowboats to pass with towpaths along both sides.
The steps lead up to a good vantage point from above the tunnel mouth. Unfortunately the brick wall there provides great hiding place for stone throwing vandals.
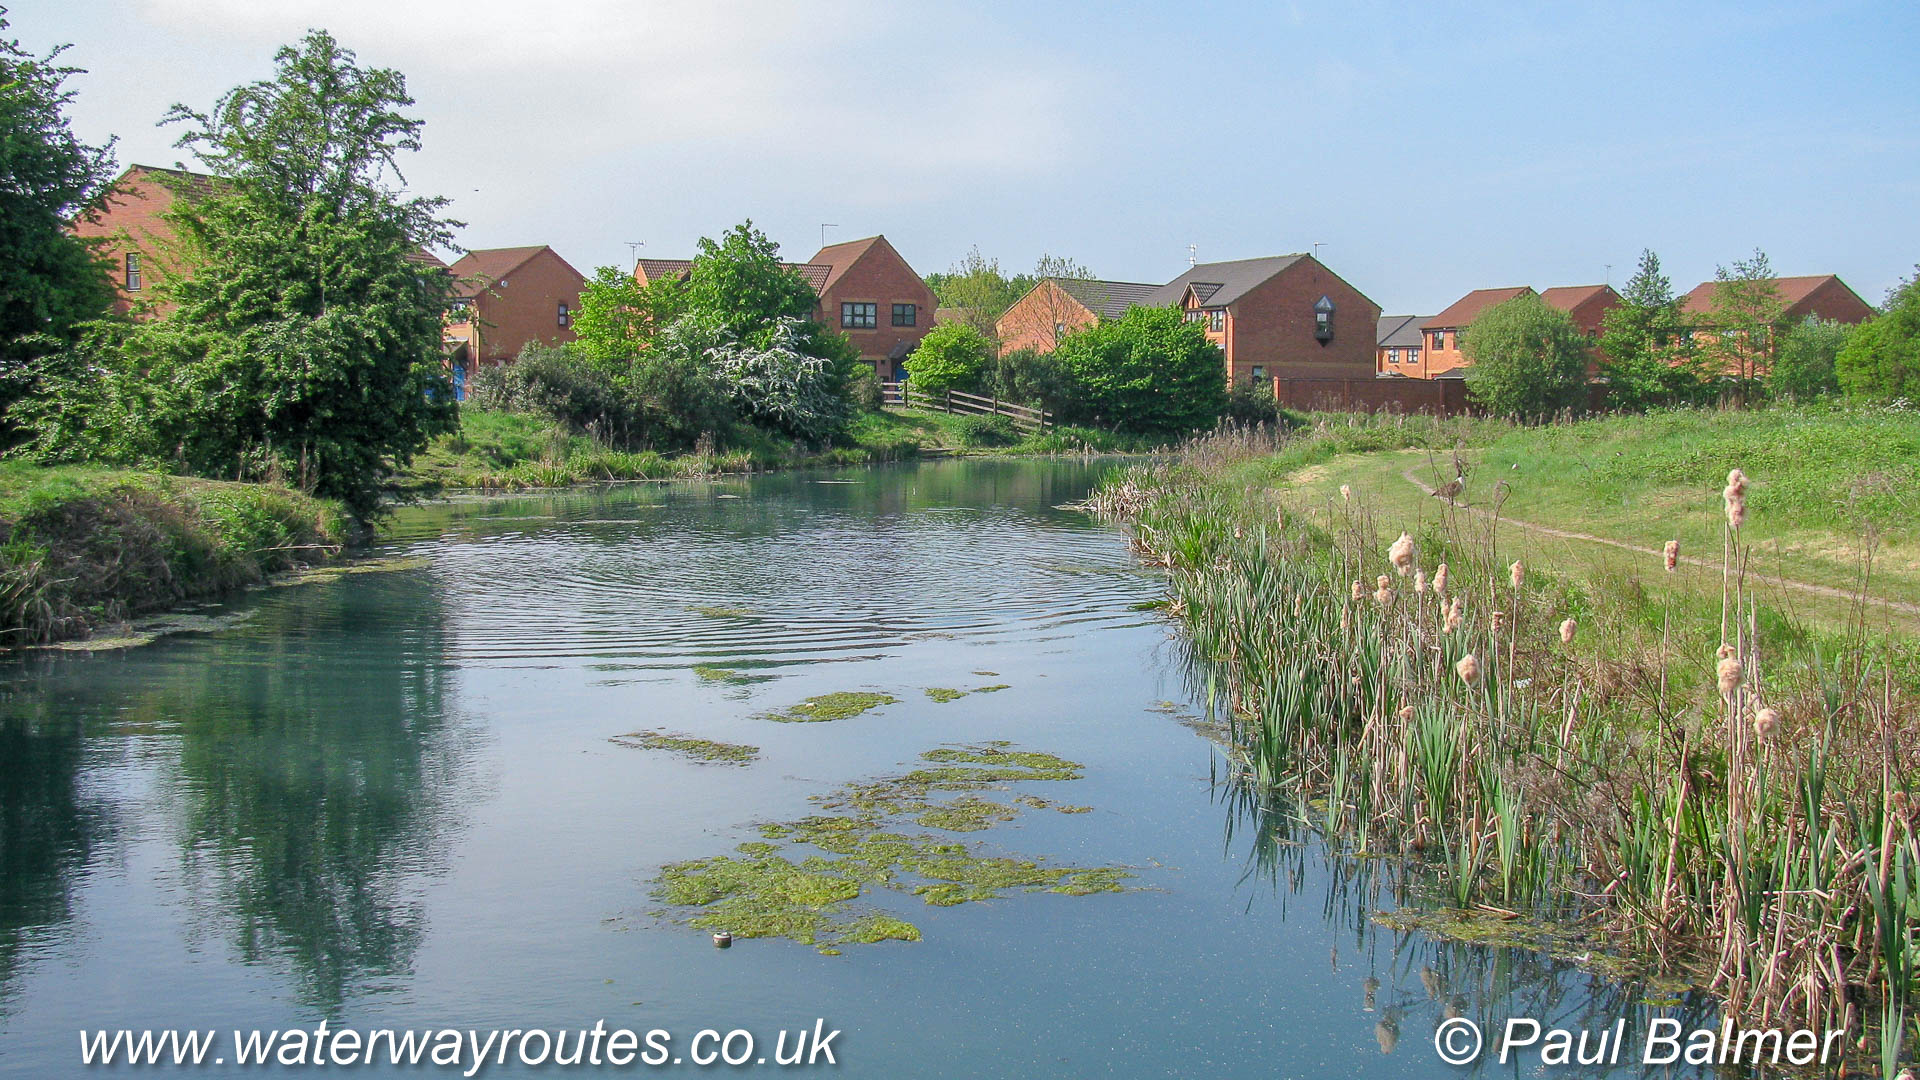
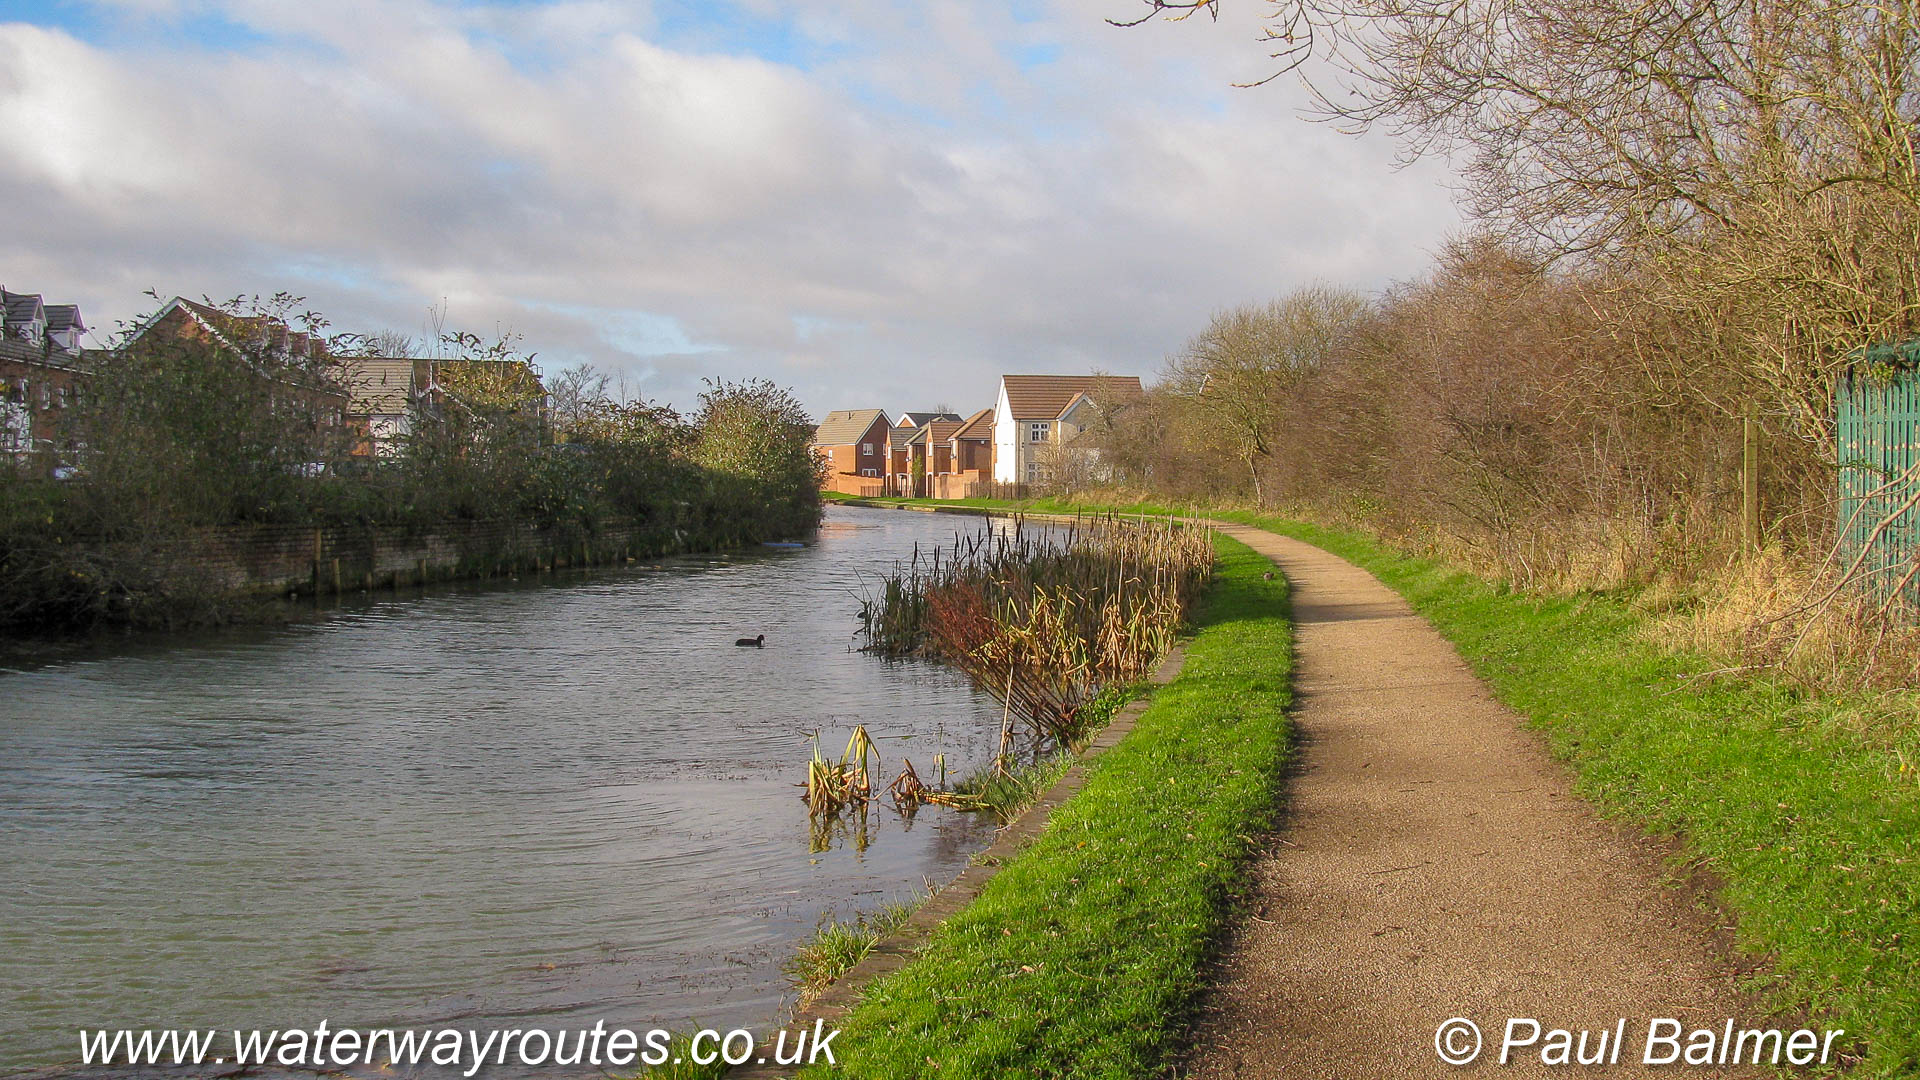
There’s still a lovely green corridor for the canal to pass through with most of the modern housing set back a little from the canal.
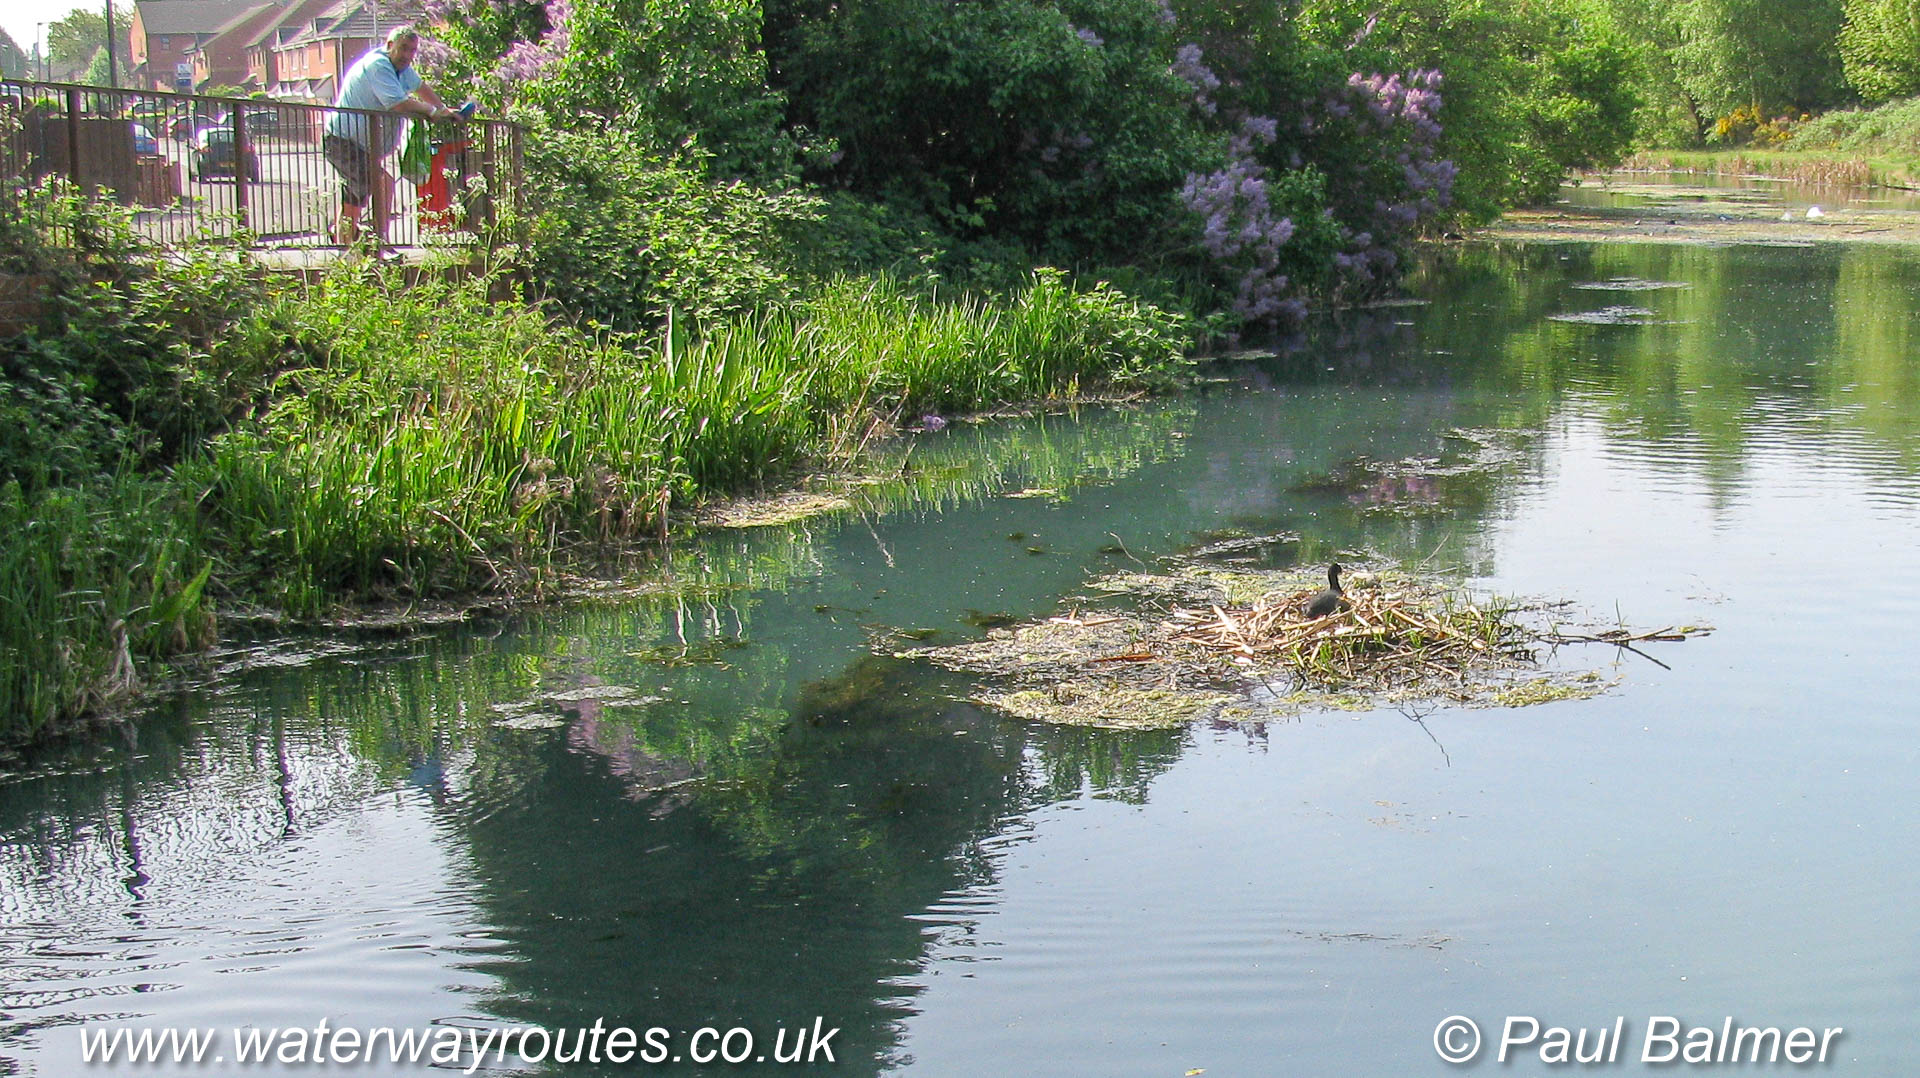
The man looking over the fence on the left was one of several locals who stood and watched the moorhen sitting on the nest in the middle of the canal as we cruised slowly past.
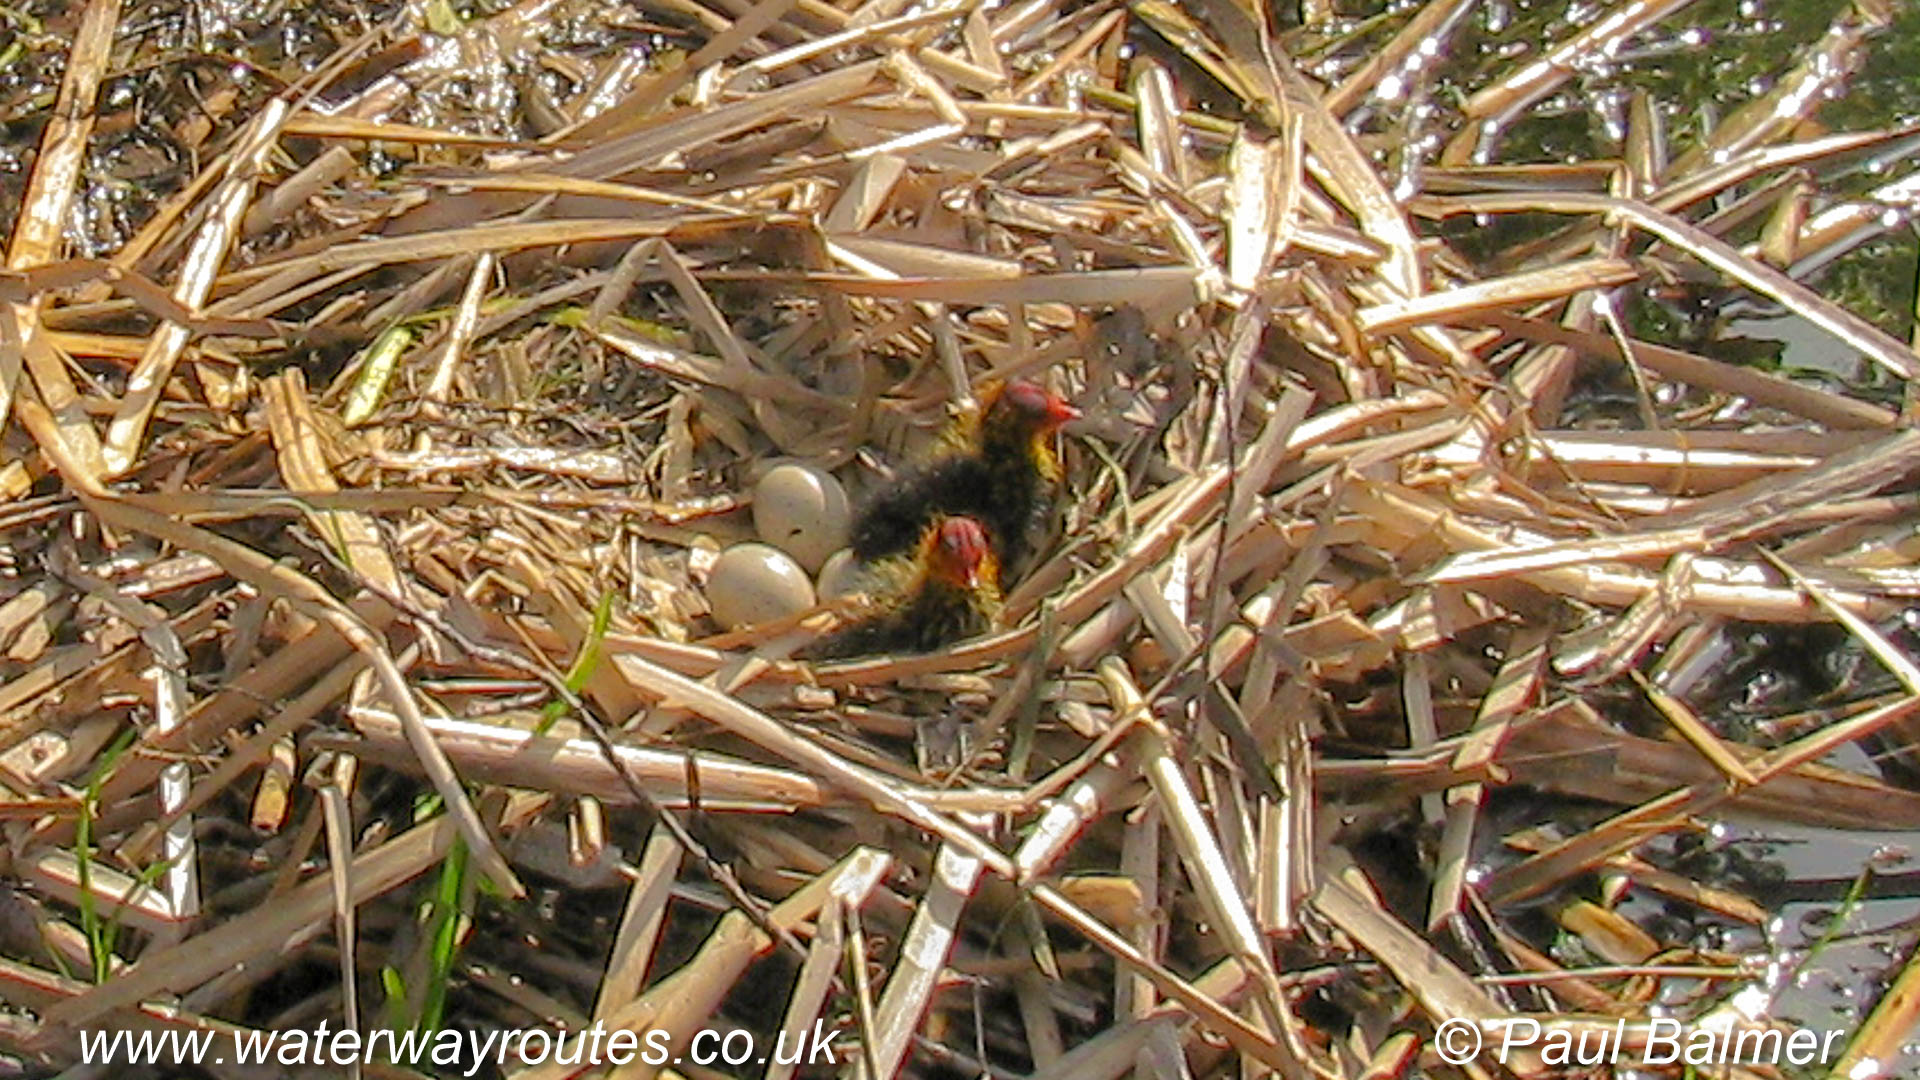
The moorhen sitting on the nest stood up as we approached and revealed three eggs and two very young chicks, possibly watching their first boat going past.
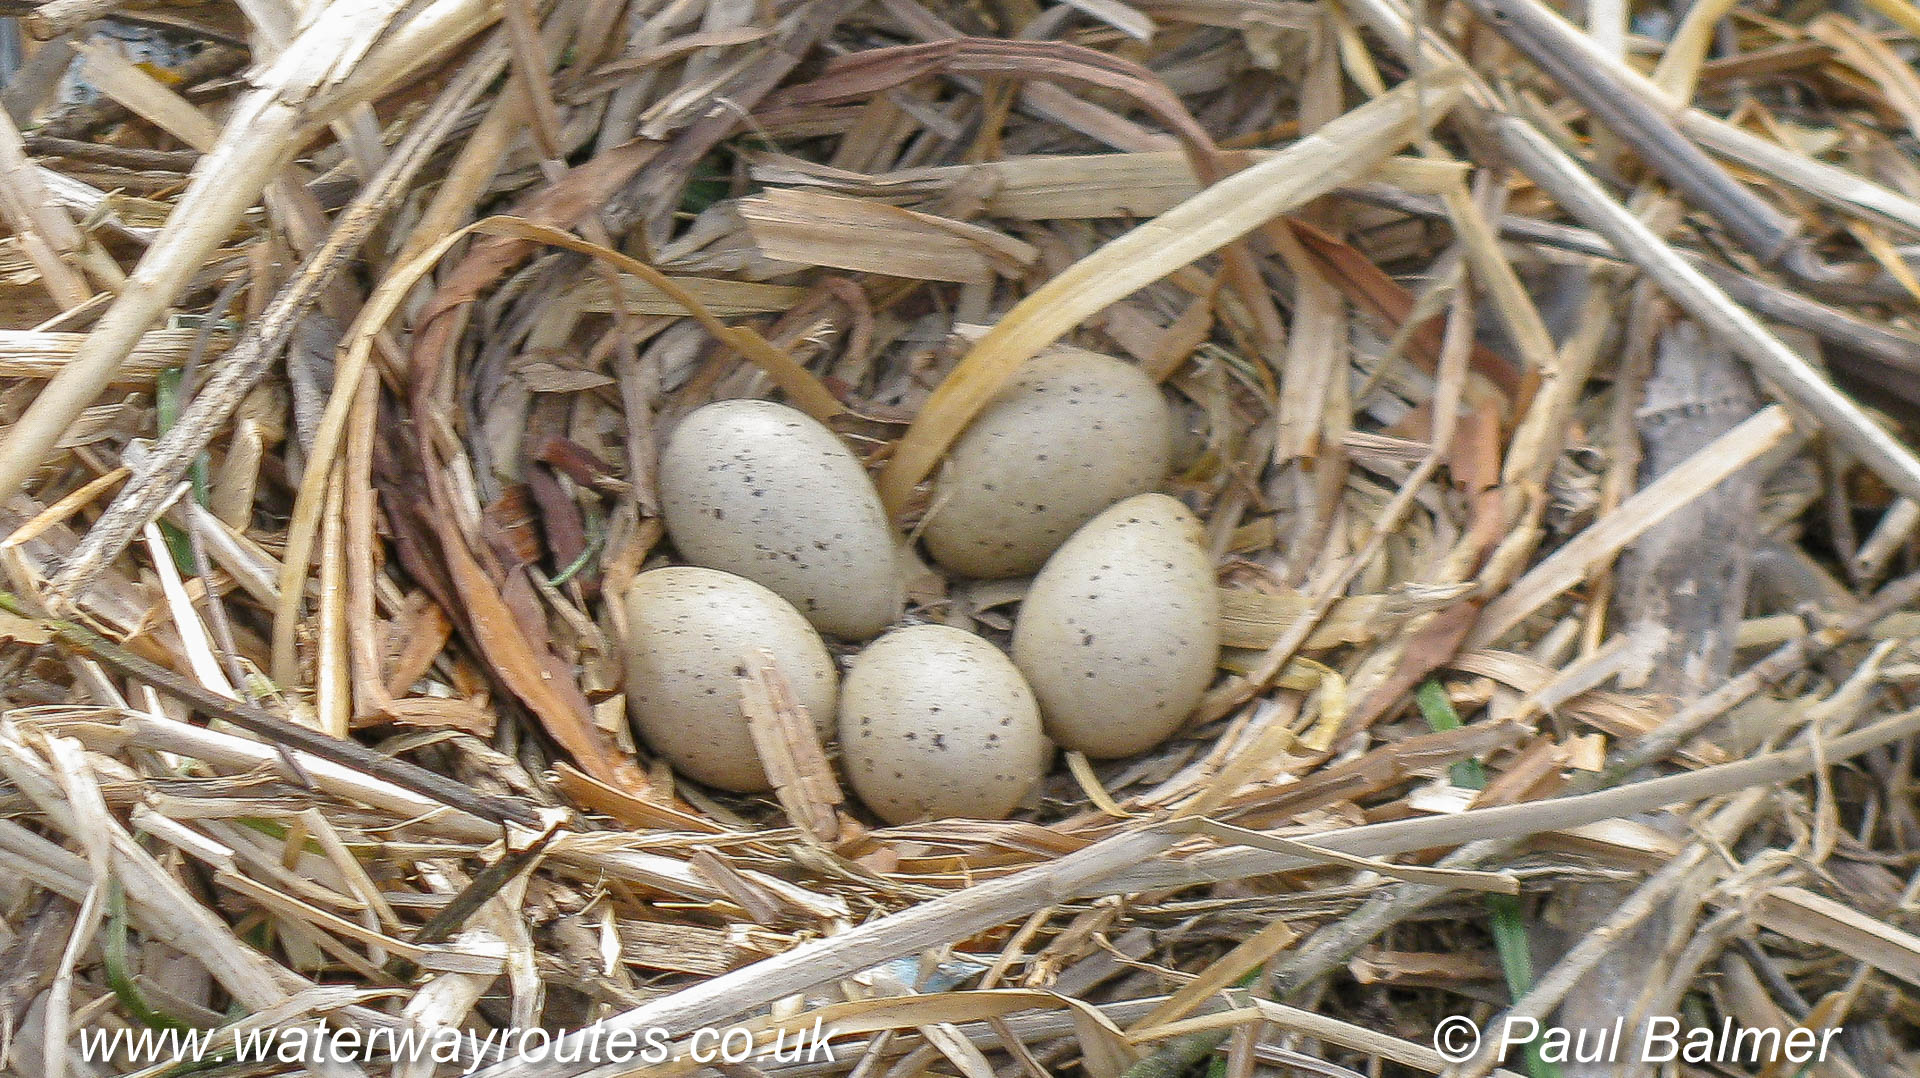
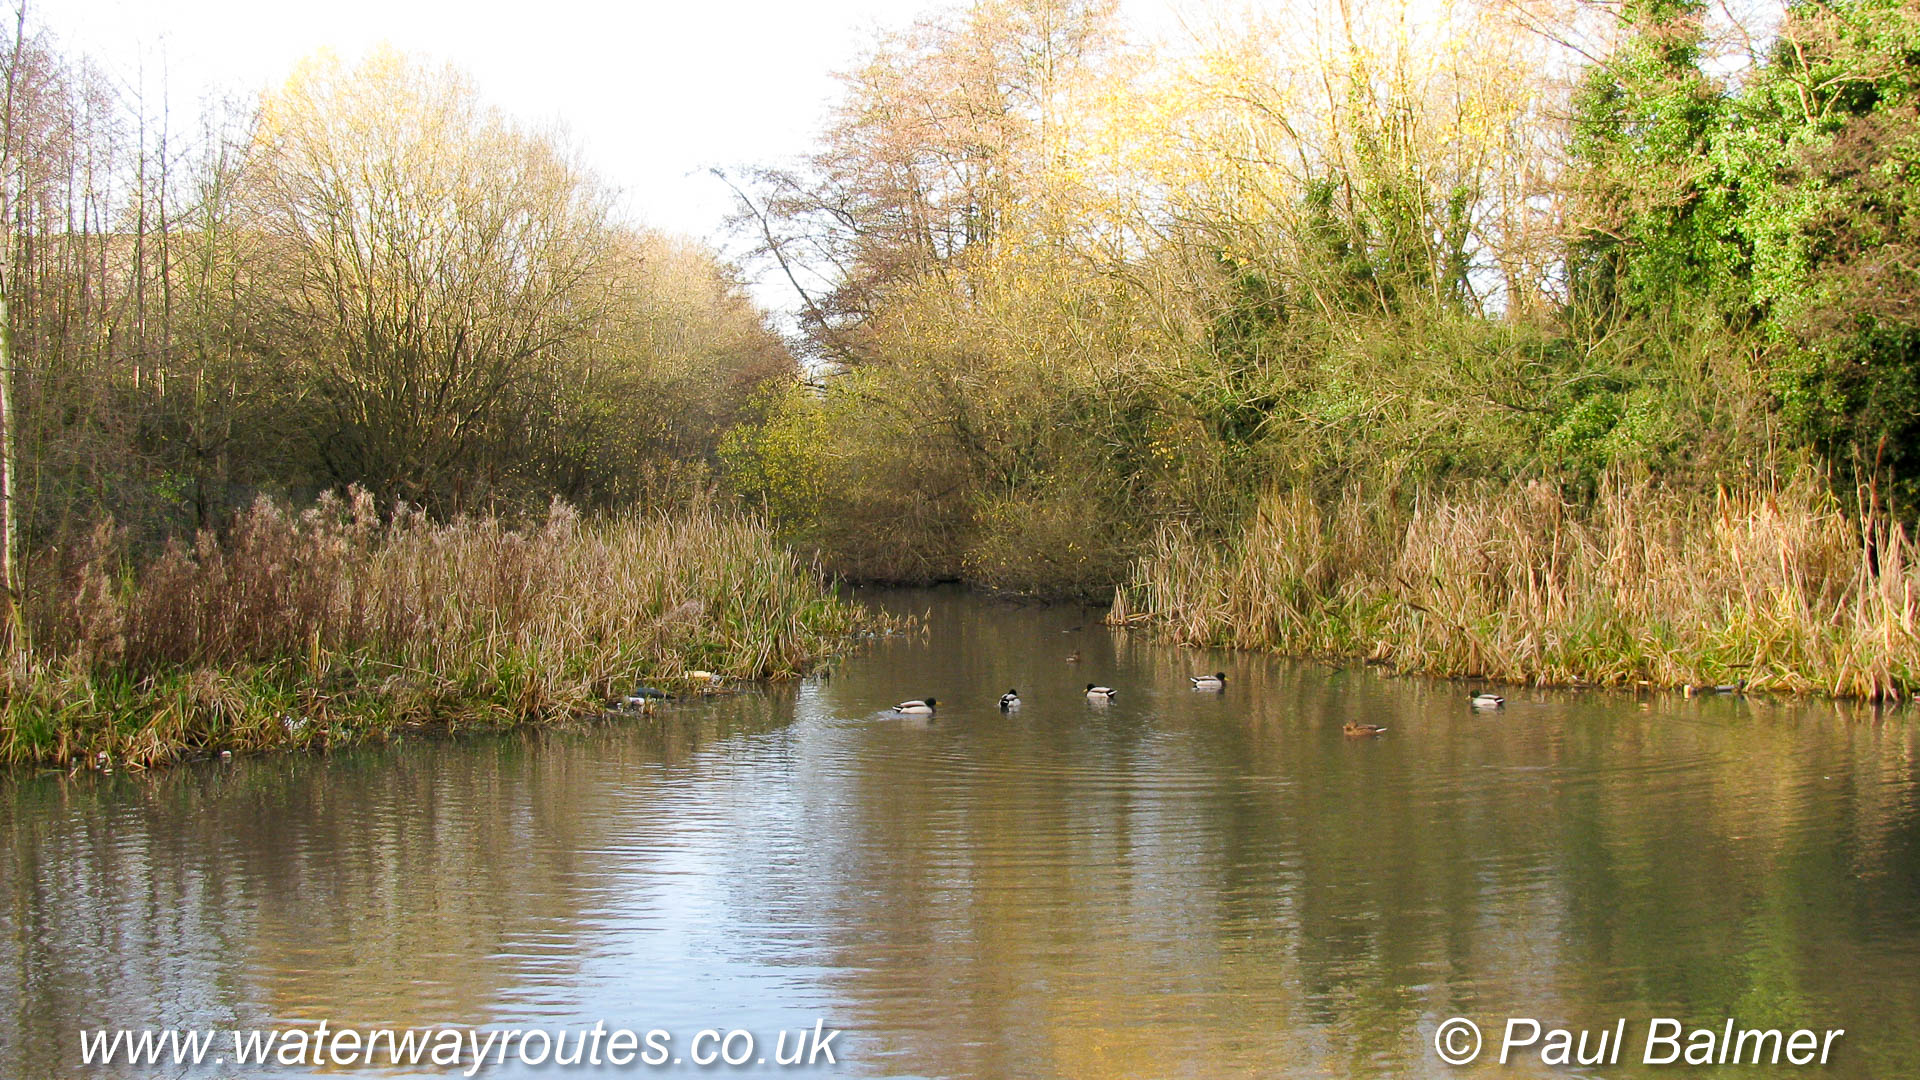
The coot stood up to stretch its legs as we cruised past, granting us this splendid view of the five eggs it has been sitting on.
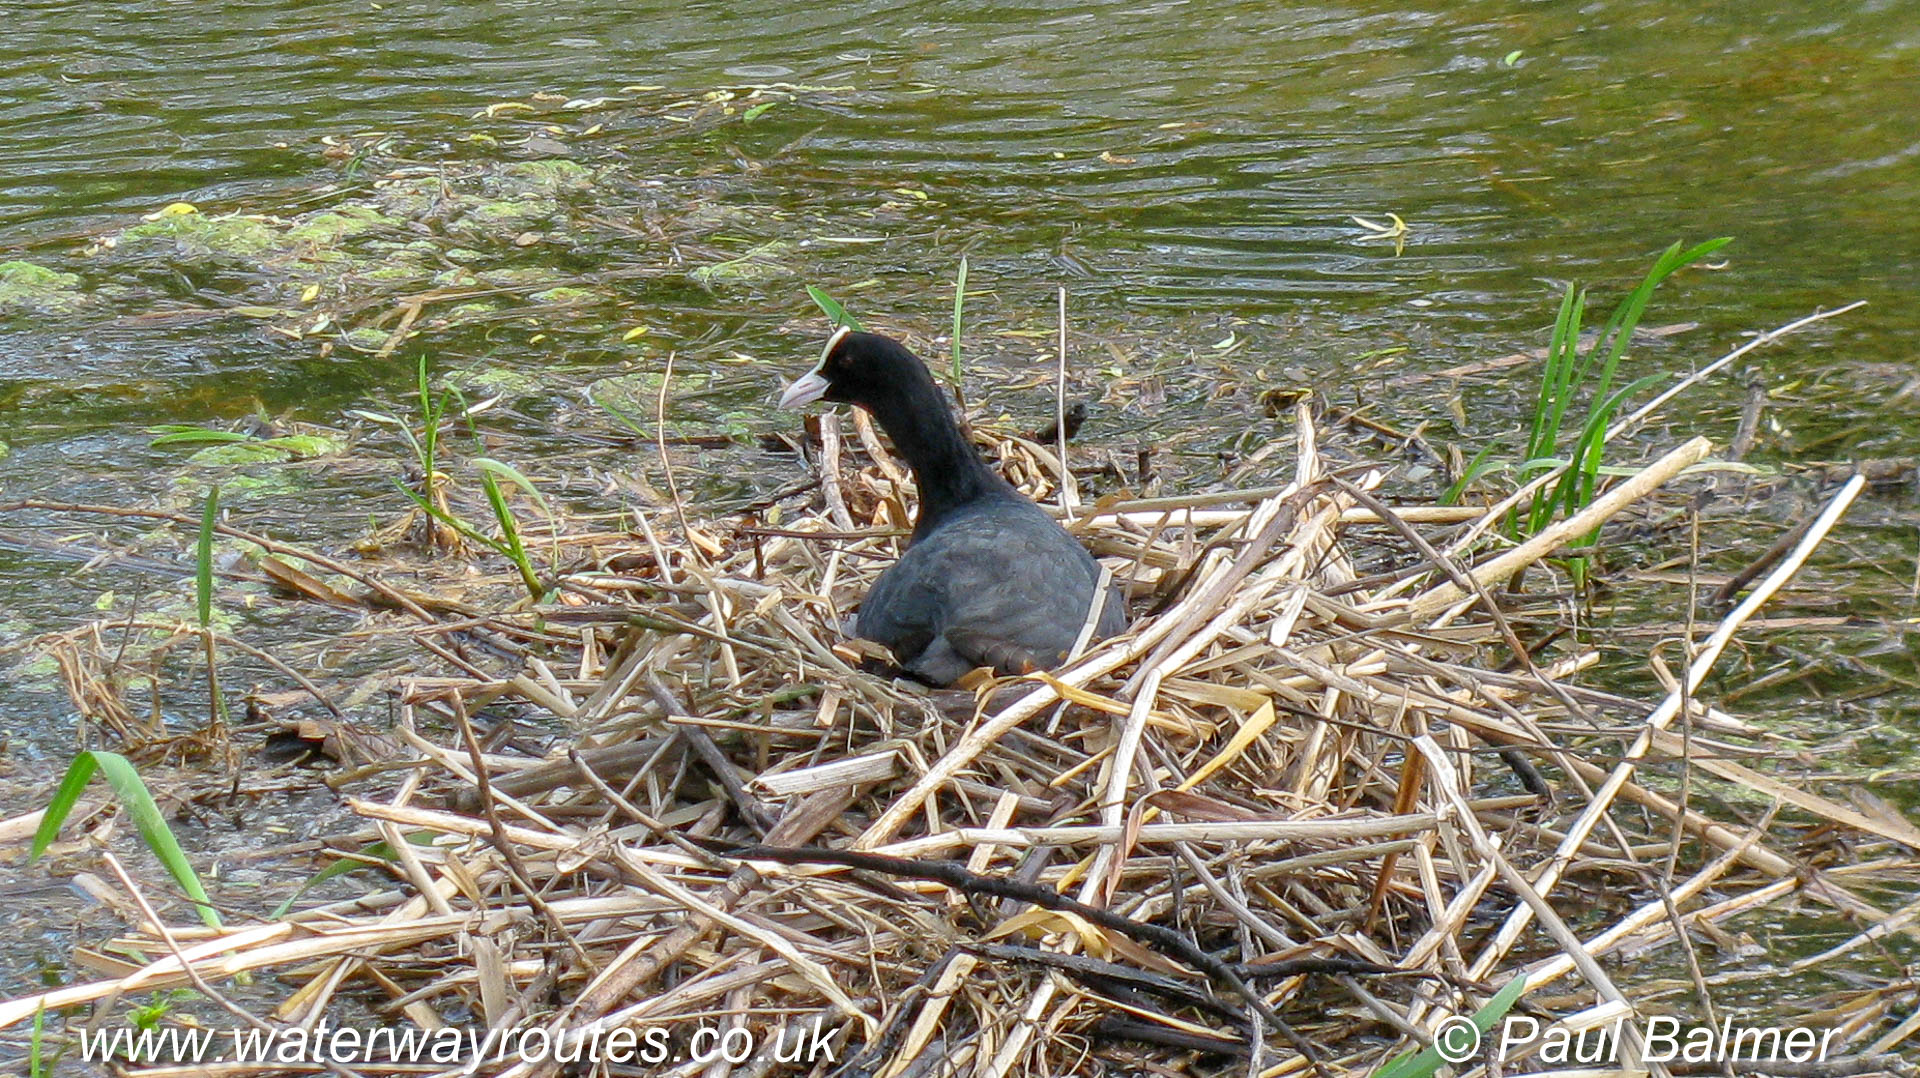
This coots have built this nest in the middle of the canal, rarely disturbed by passing boats along this hardly used section of canal. It’s sitting on a clutch of eggs in the spring.
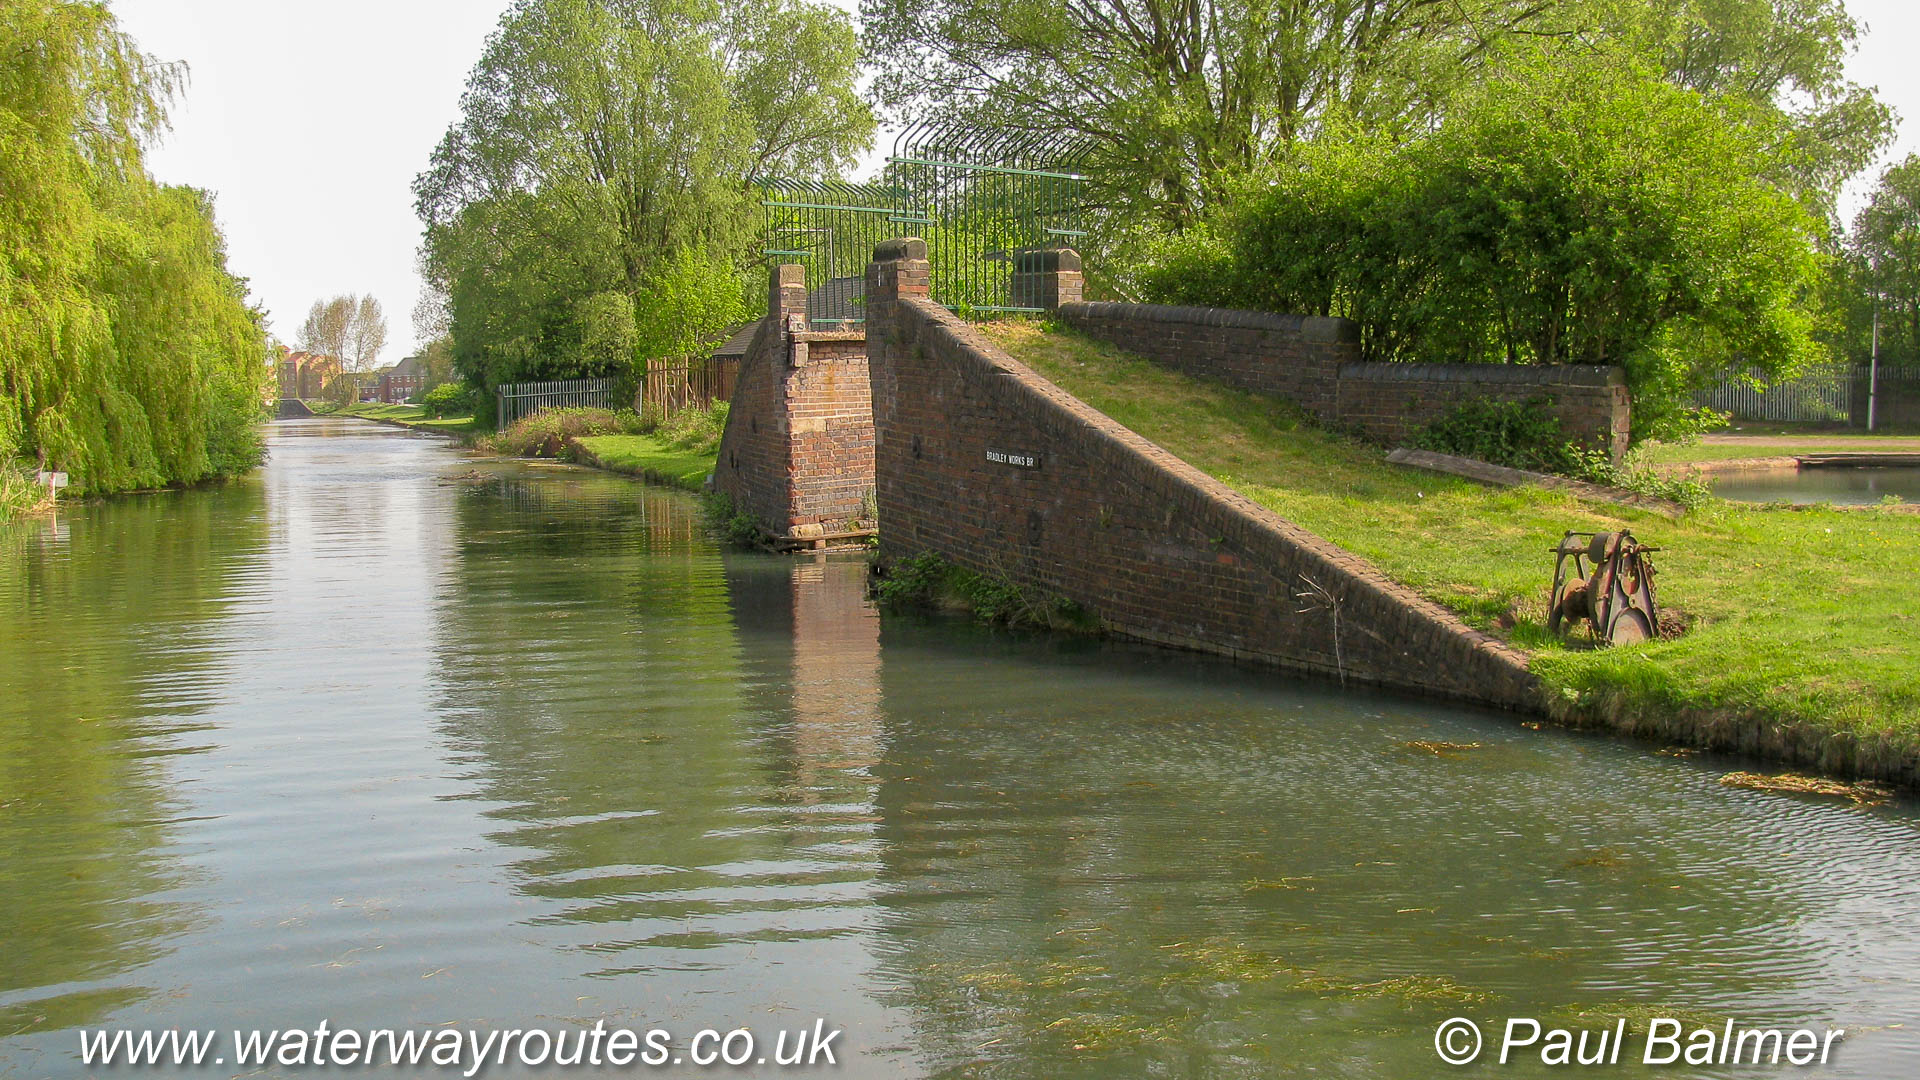
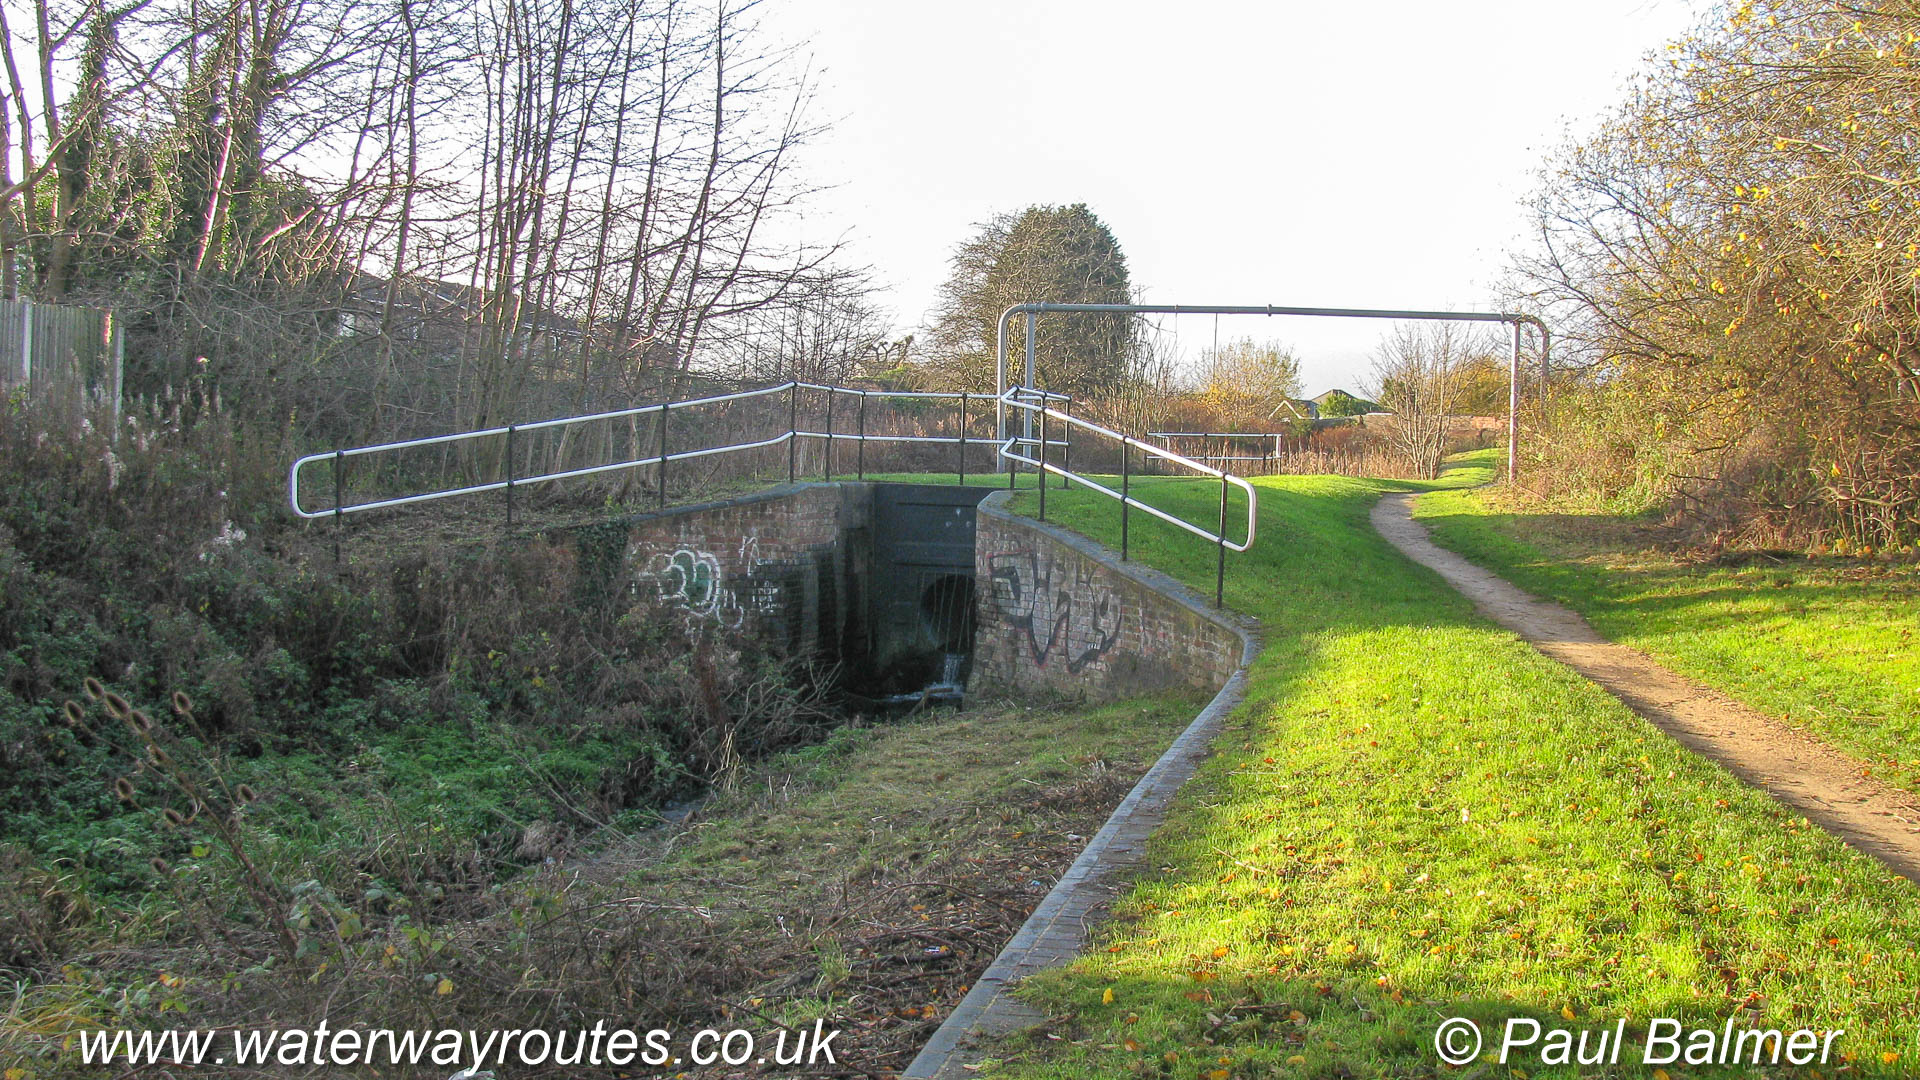
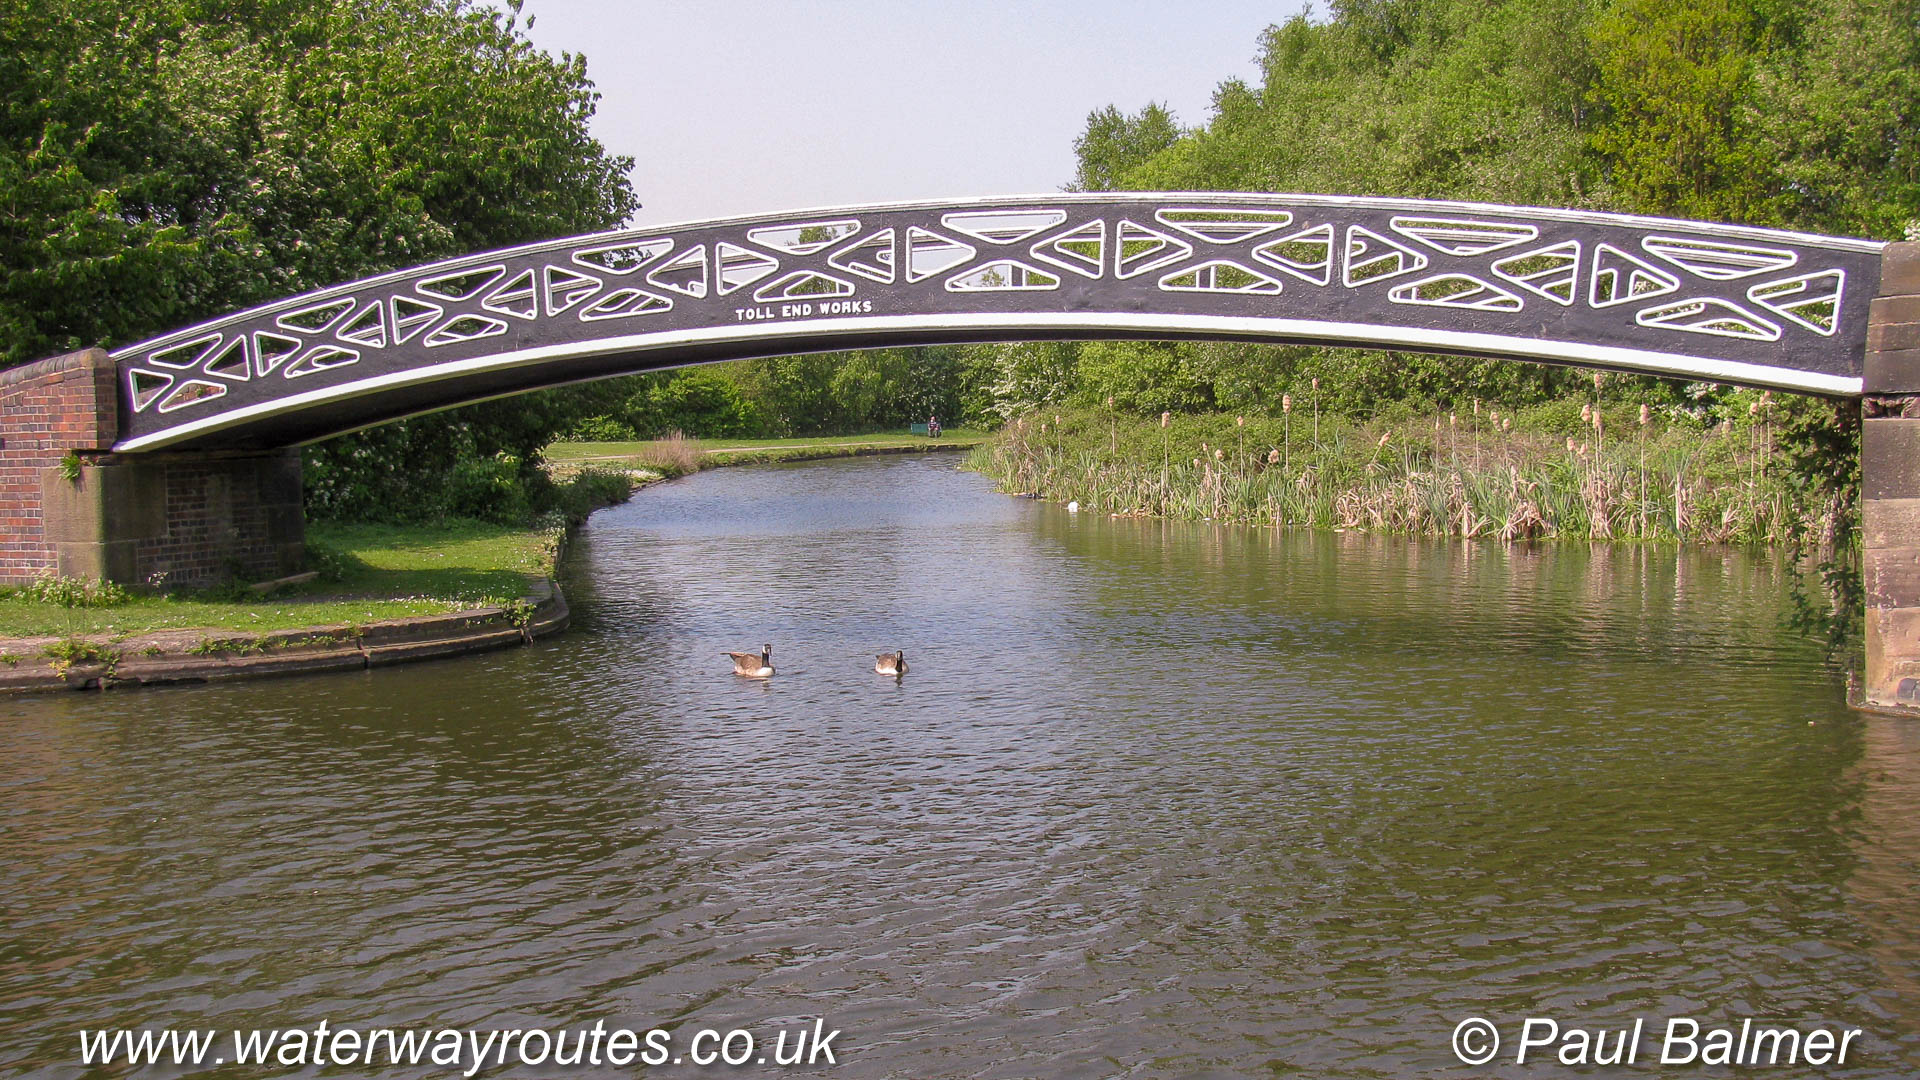
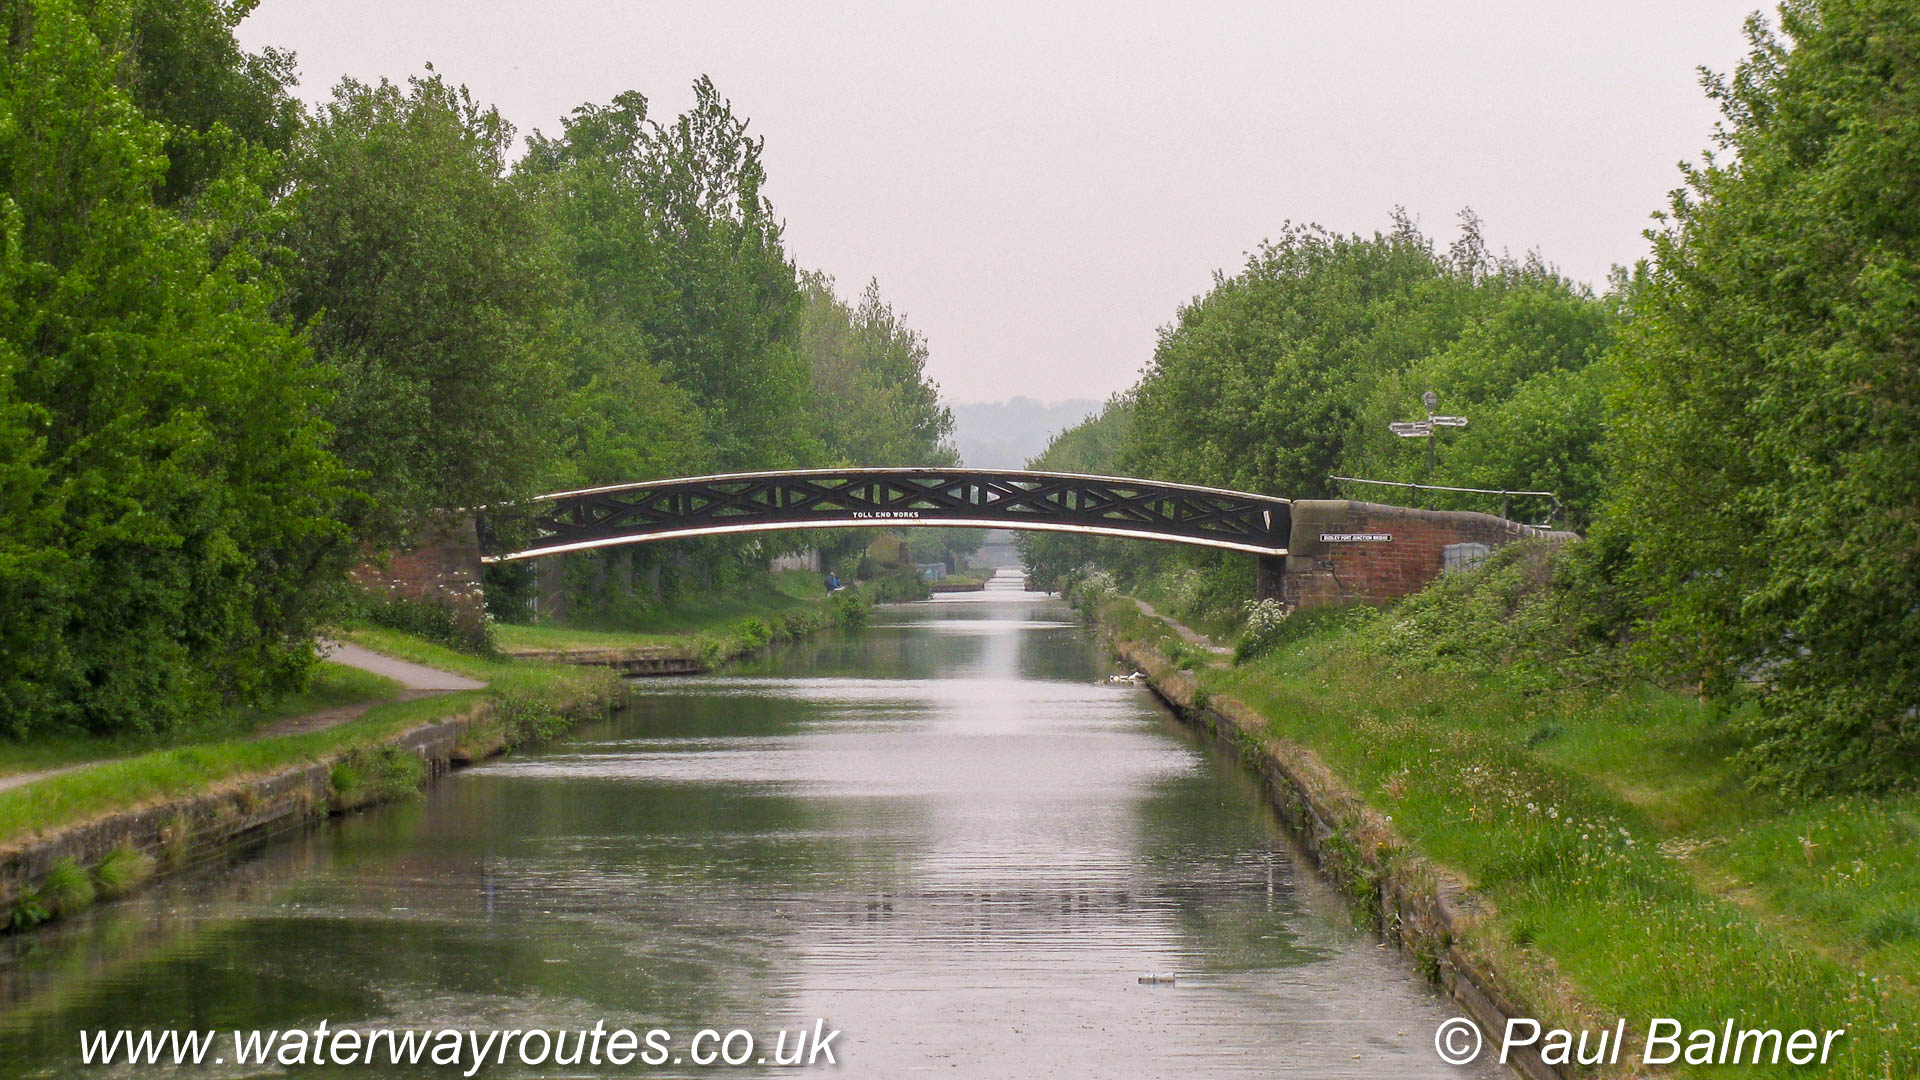
The top is missing from this former bridge which once crossed the end of a loop which passed to our right and re-joined the canal further ahead (as we look towards Deepfields Junction).
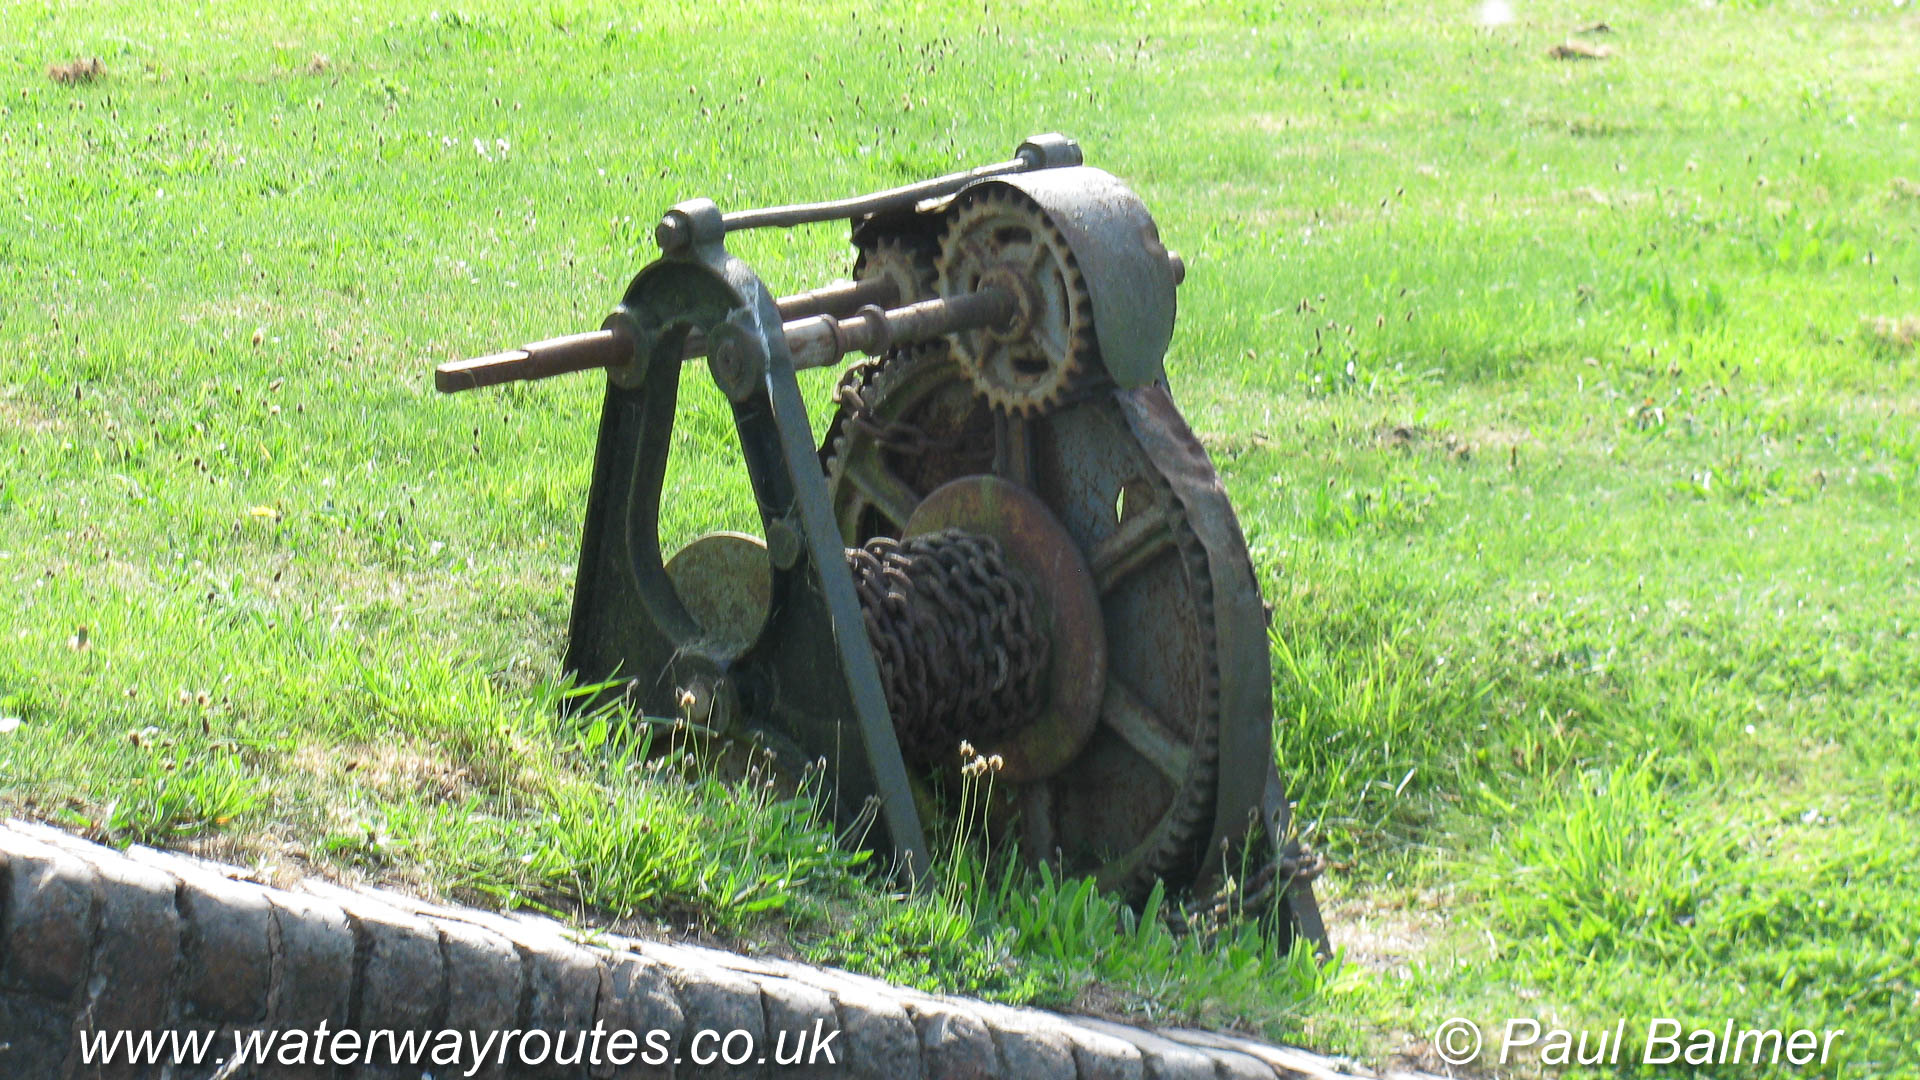
This winding mechanism once allowed a chain to be pulled taught across the canal outside Bradley Workshops to stop boat movements. Possibly more of a deterrent to stop mischievous youths than real theft.

Bradley Workshops make lock gates for use throughout the canal system. There are several stacked outside awaiting collection, mostly by road but sometimes by boat.
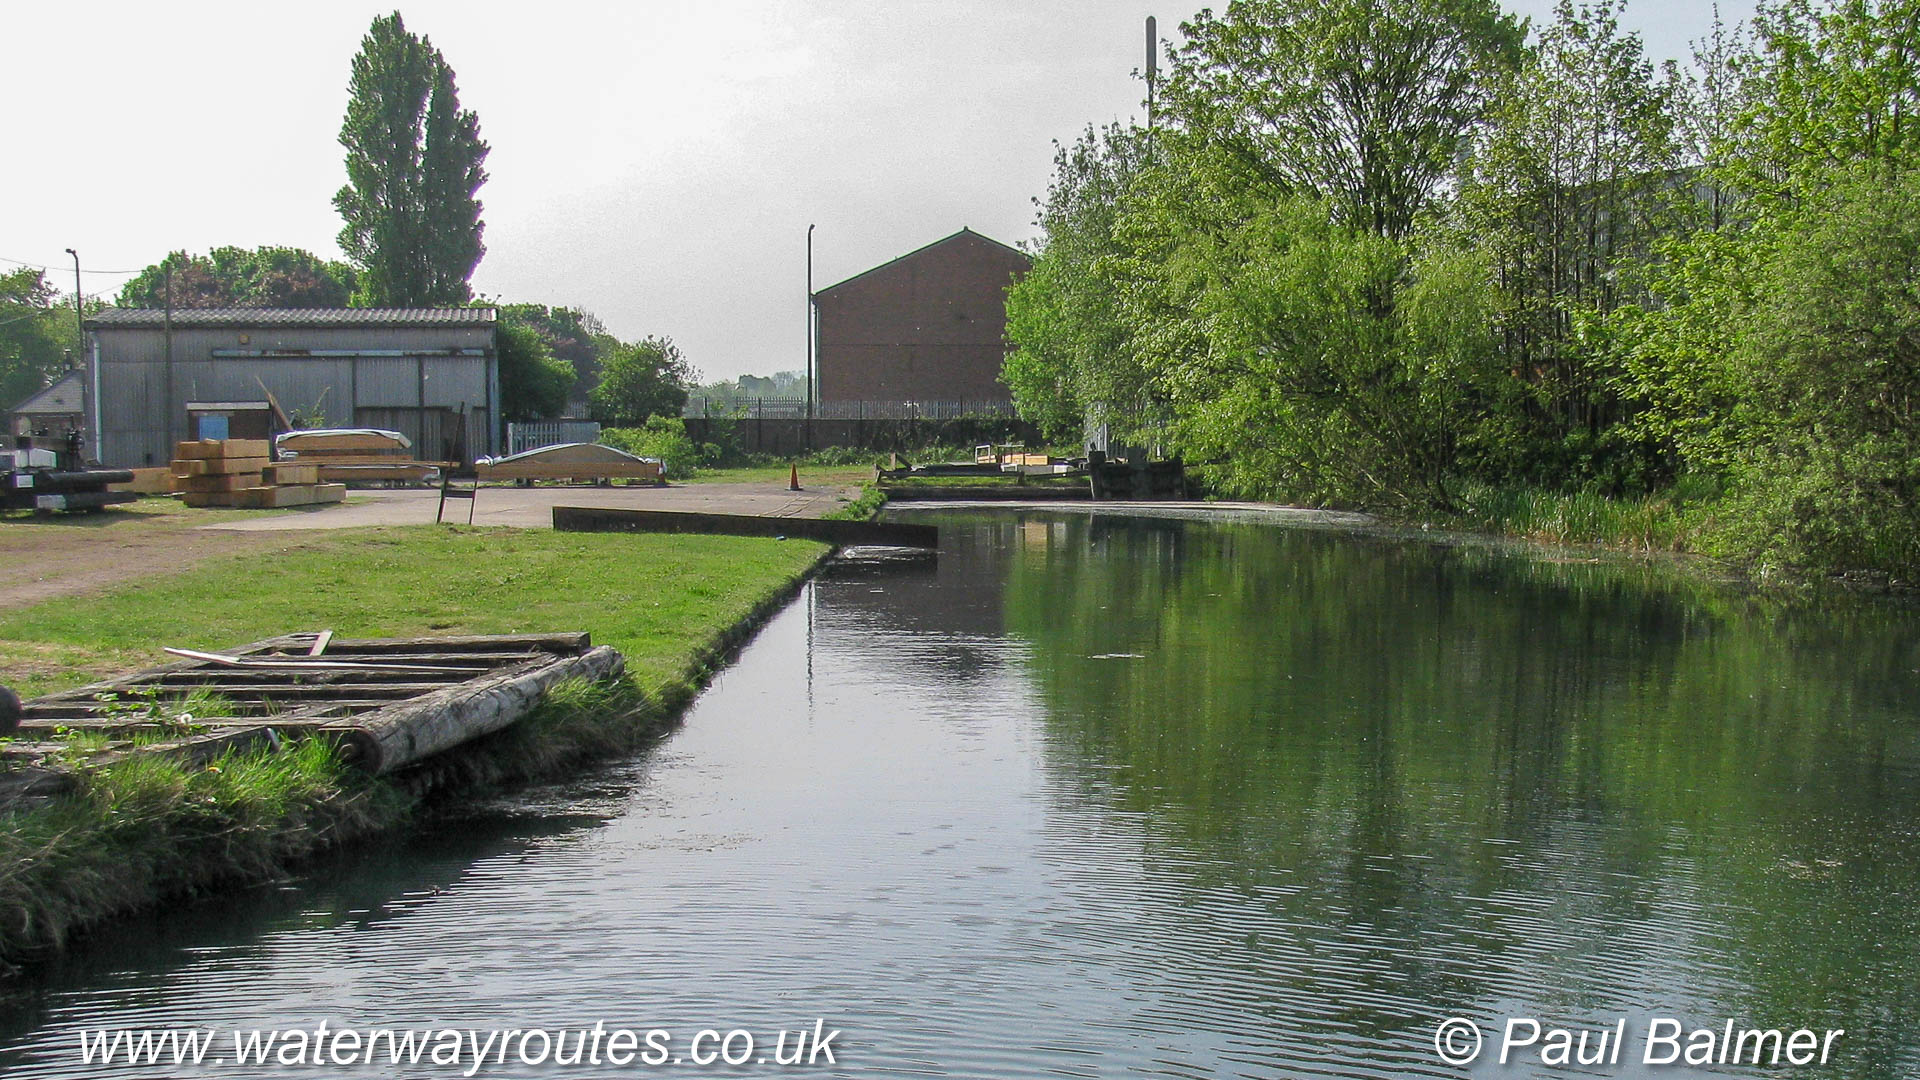
Bradley Workshops, where lock gates are made, are near the end of the Wednesbury Oak Loop. This once formed a complete loop of the Birmingham Canal Navigations (BCN) Old Main Line until it fell into decline and was severed.
The Birmingham Canal Navigations (BCN) are at a higher level than all the joining canals so water must be supplied from reservoirs or by pumping. A pumping station near Bradley Workshops lifts water from
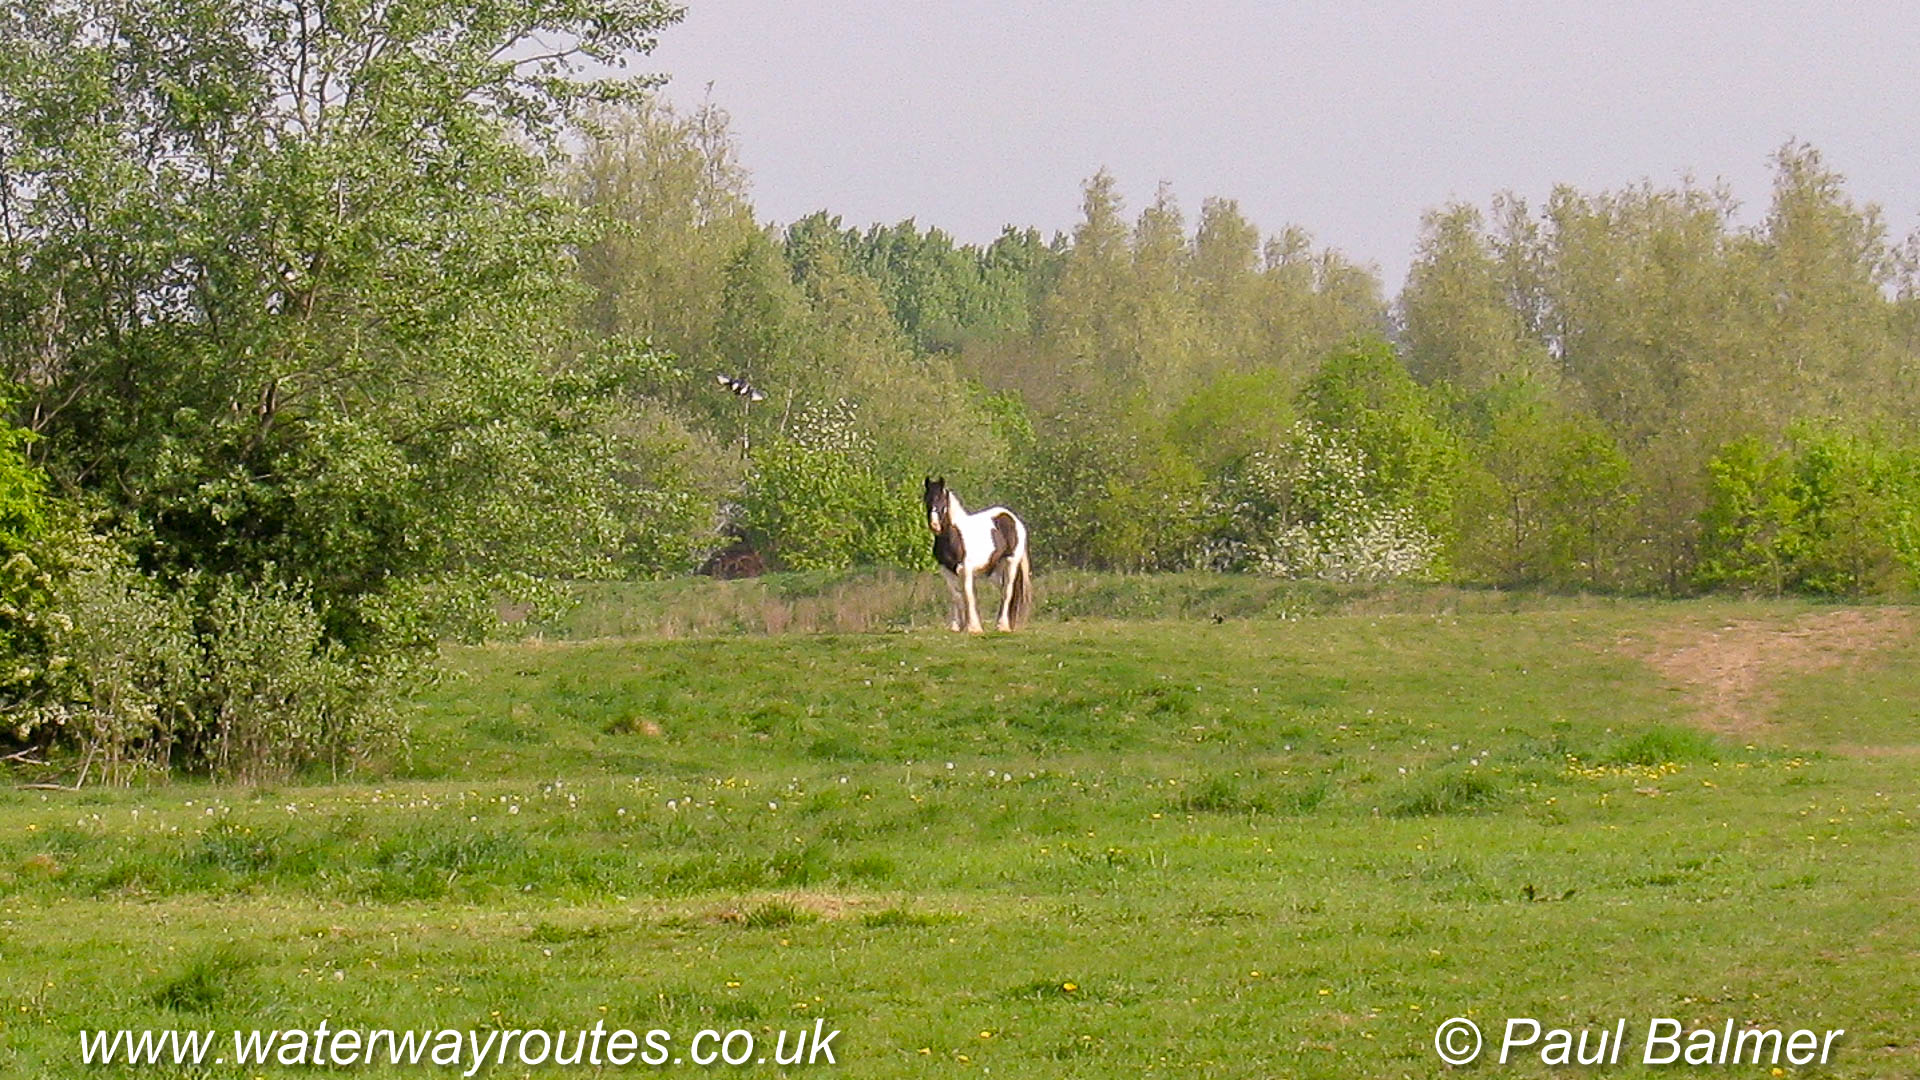
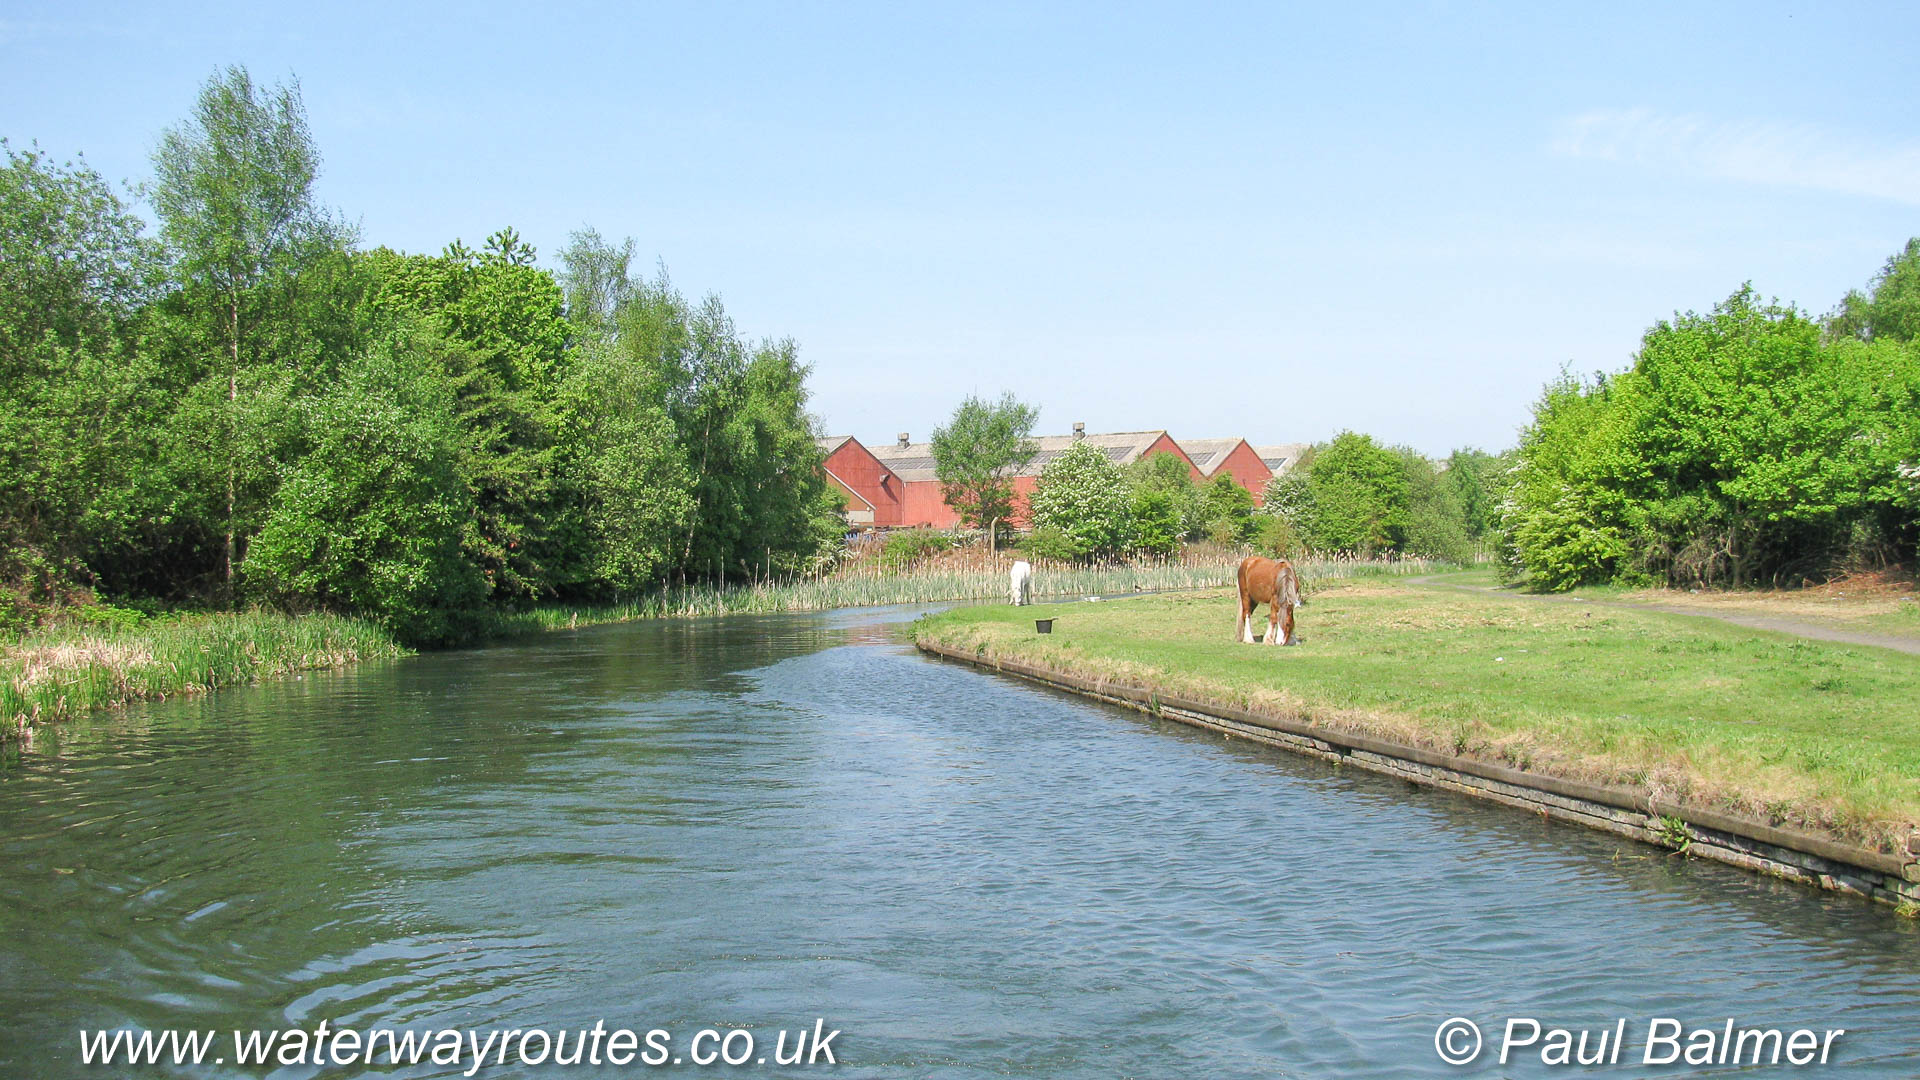
Found at several locations around the Birmingham Canal Navigations are horses tethered on a long line.
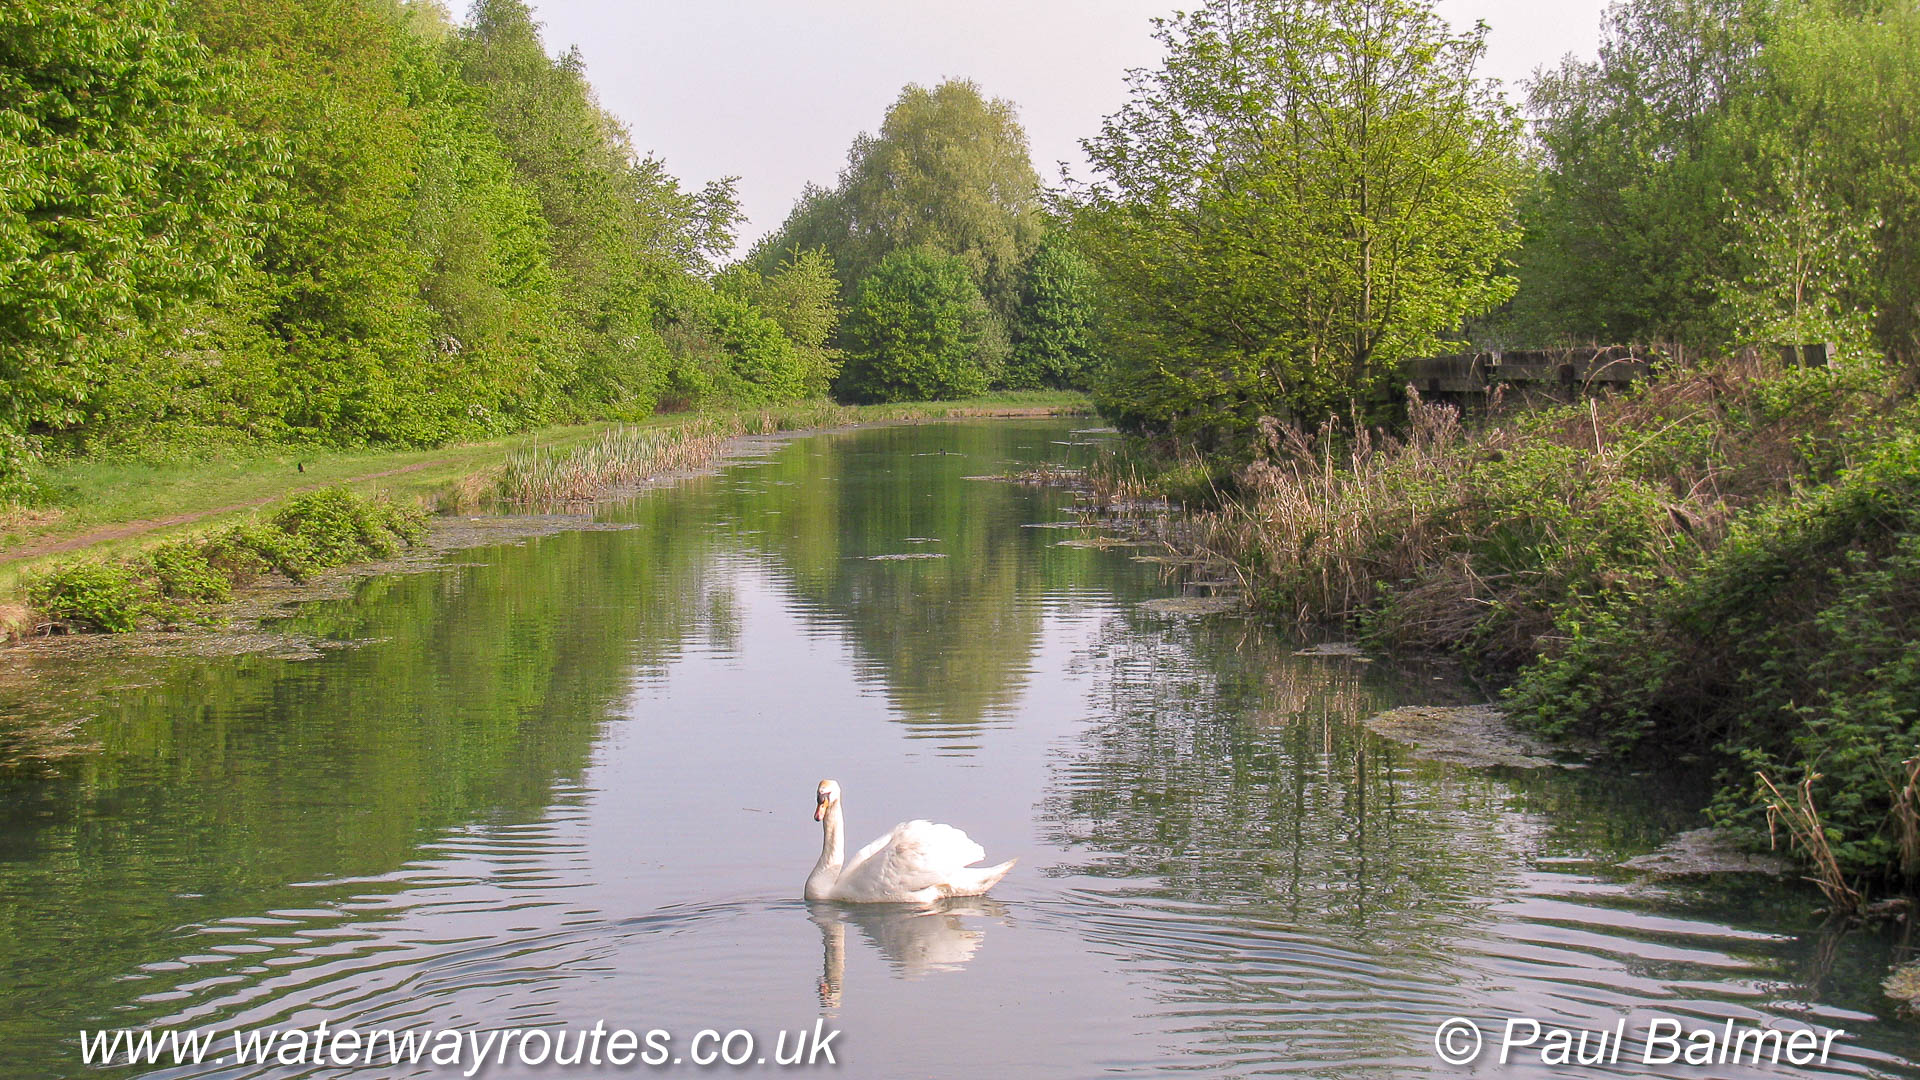
The swan kept a very close eye on us as we cruised past – perhaps it had a nest nearby.
The towpath is easily walk-able along the full length of the Wednesbury Oak Canal and it links with the footpath along the line of the proposed Bradley Canal to form a through route.
The route appears to skirt around the housing estate, but the canal was simply following the contours through open countryside when it was built and it’s the modern housing estate that has been built up to the line of the canal.
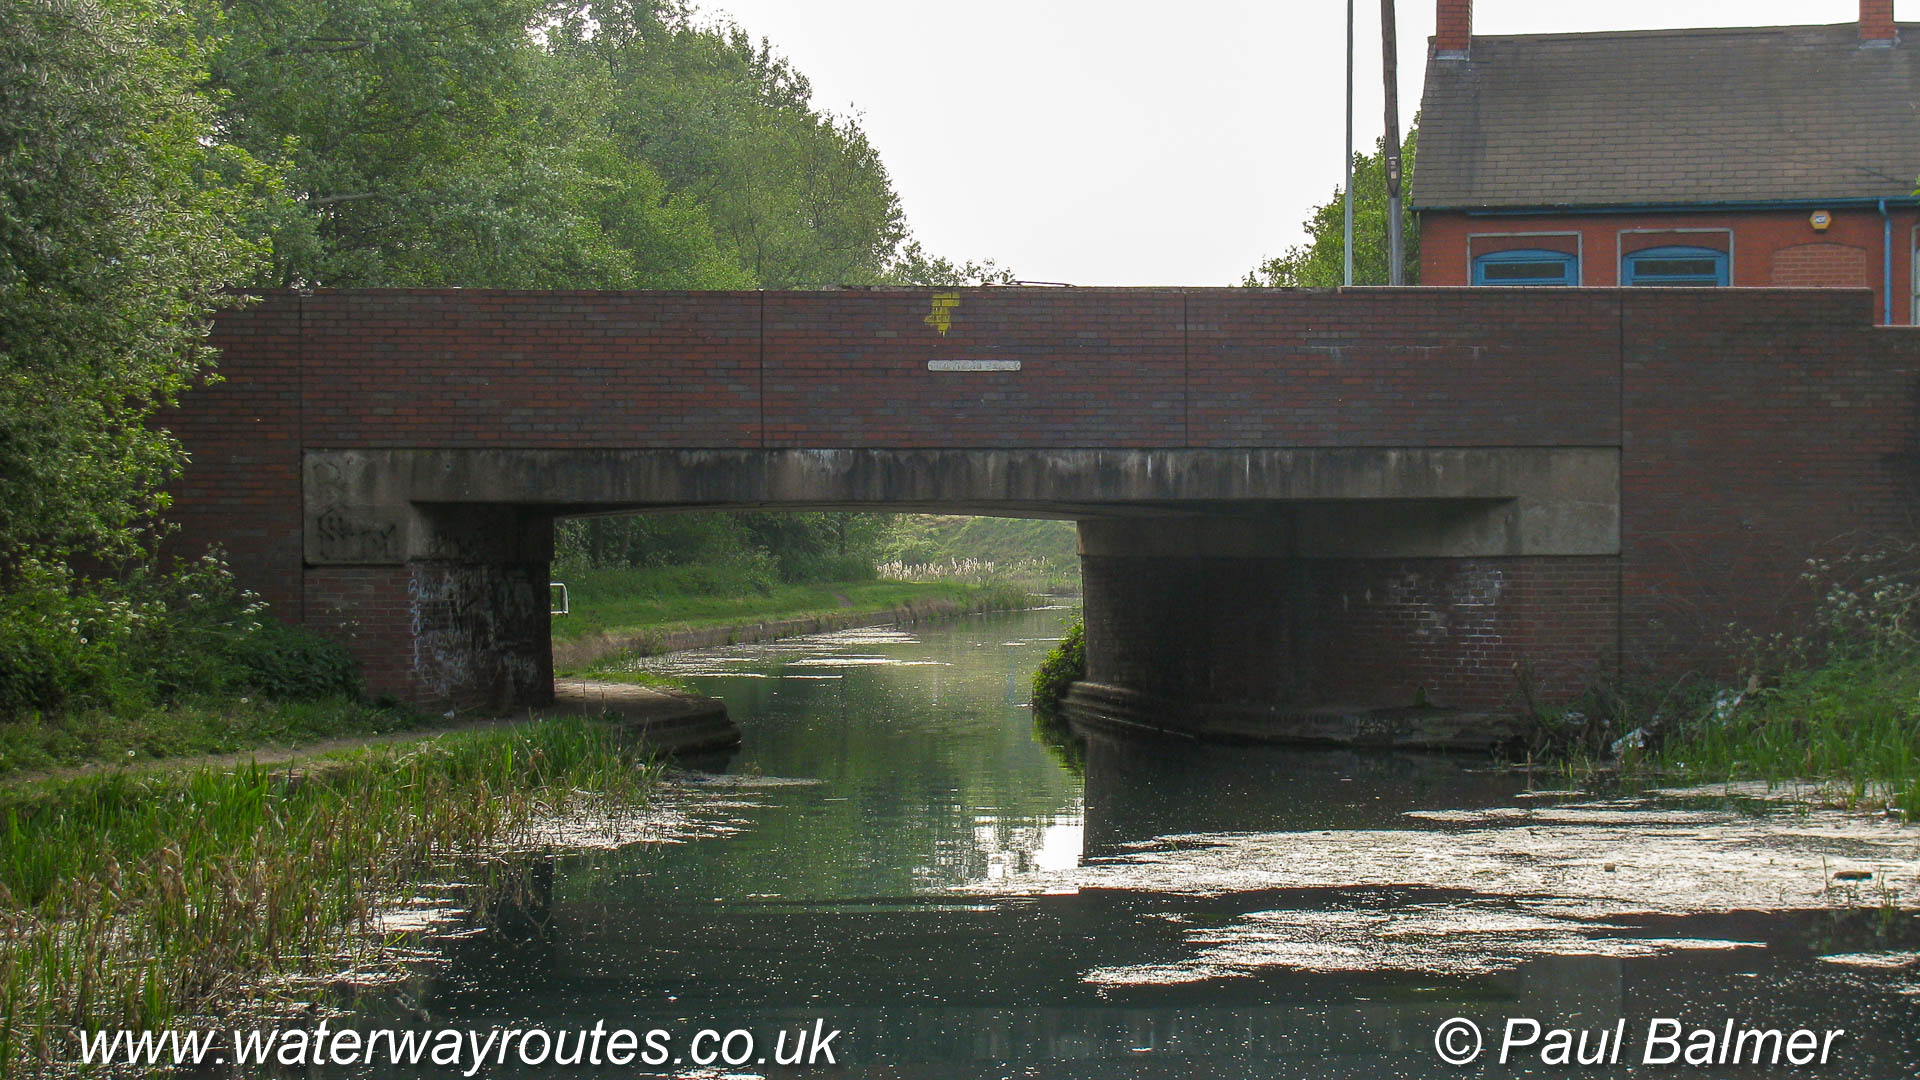
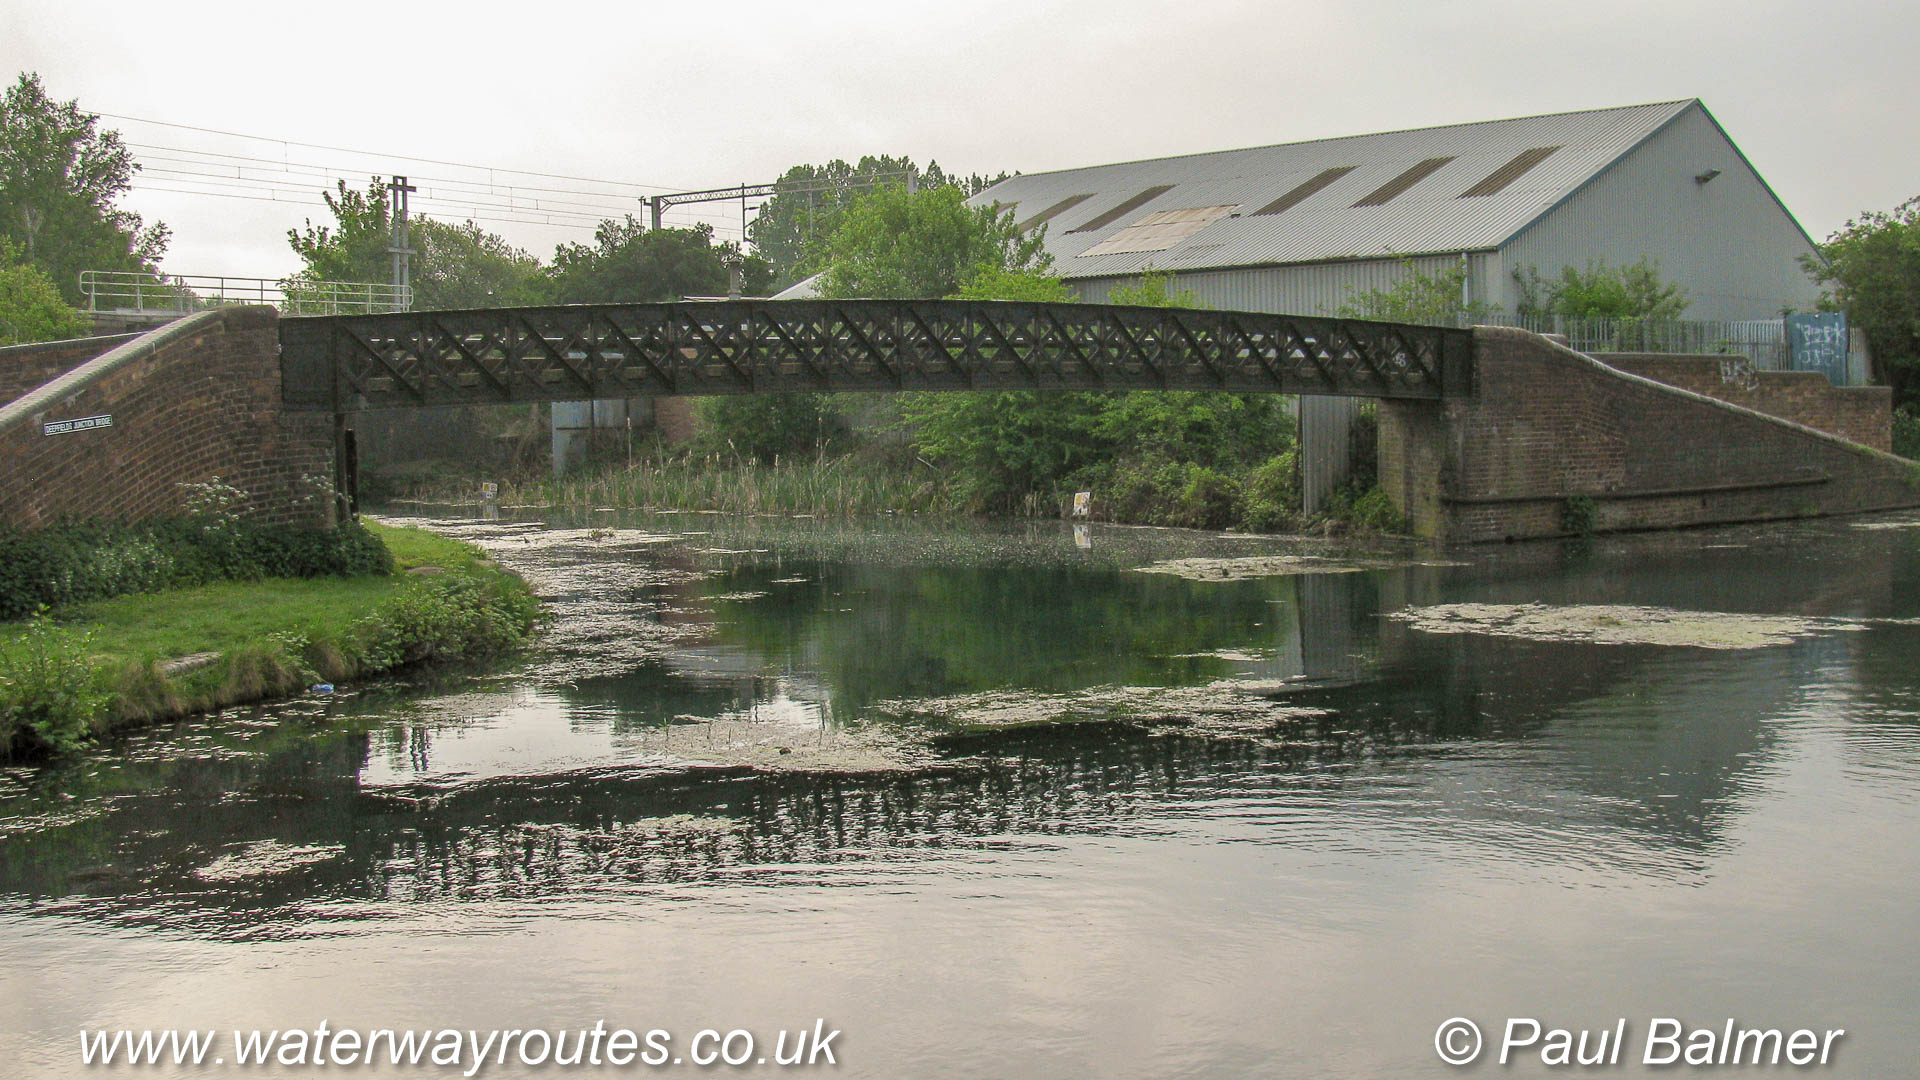
Deepfields Bridge is a modern replacement for the original bridge.
The New Main Line of the Birmingham Canal Navigations runs straight past Deepfields Junction between Birmingham and Wolverhampton.
Once a complete loop, known as the Wednesdbury Oak Loop, the remaining arm, often referred to as the Bradley Arm now only goes as far as Bradley Workshops.

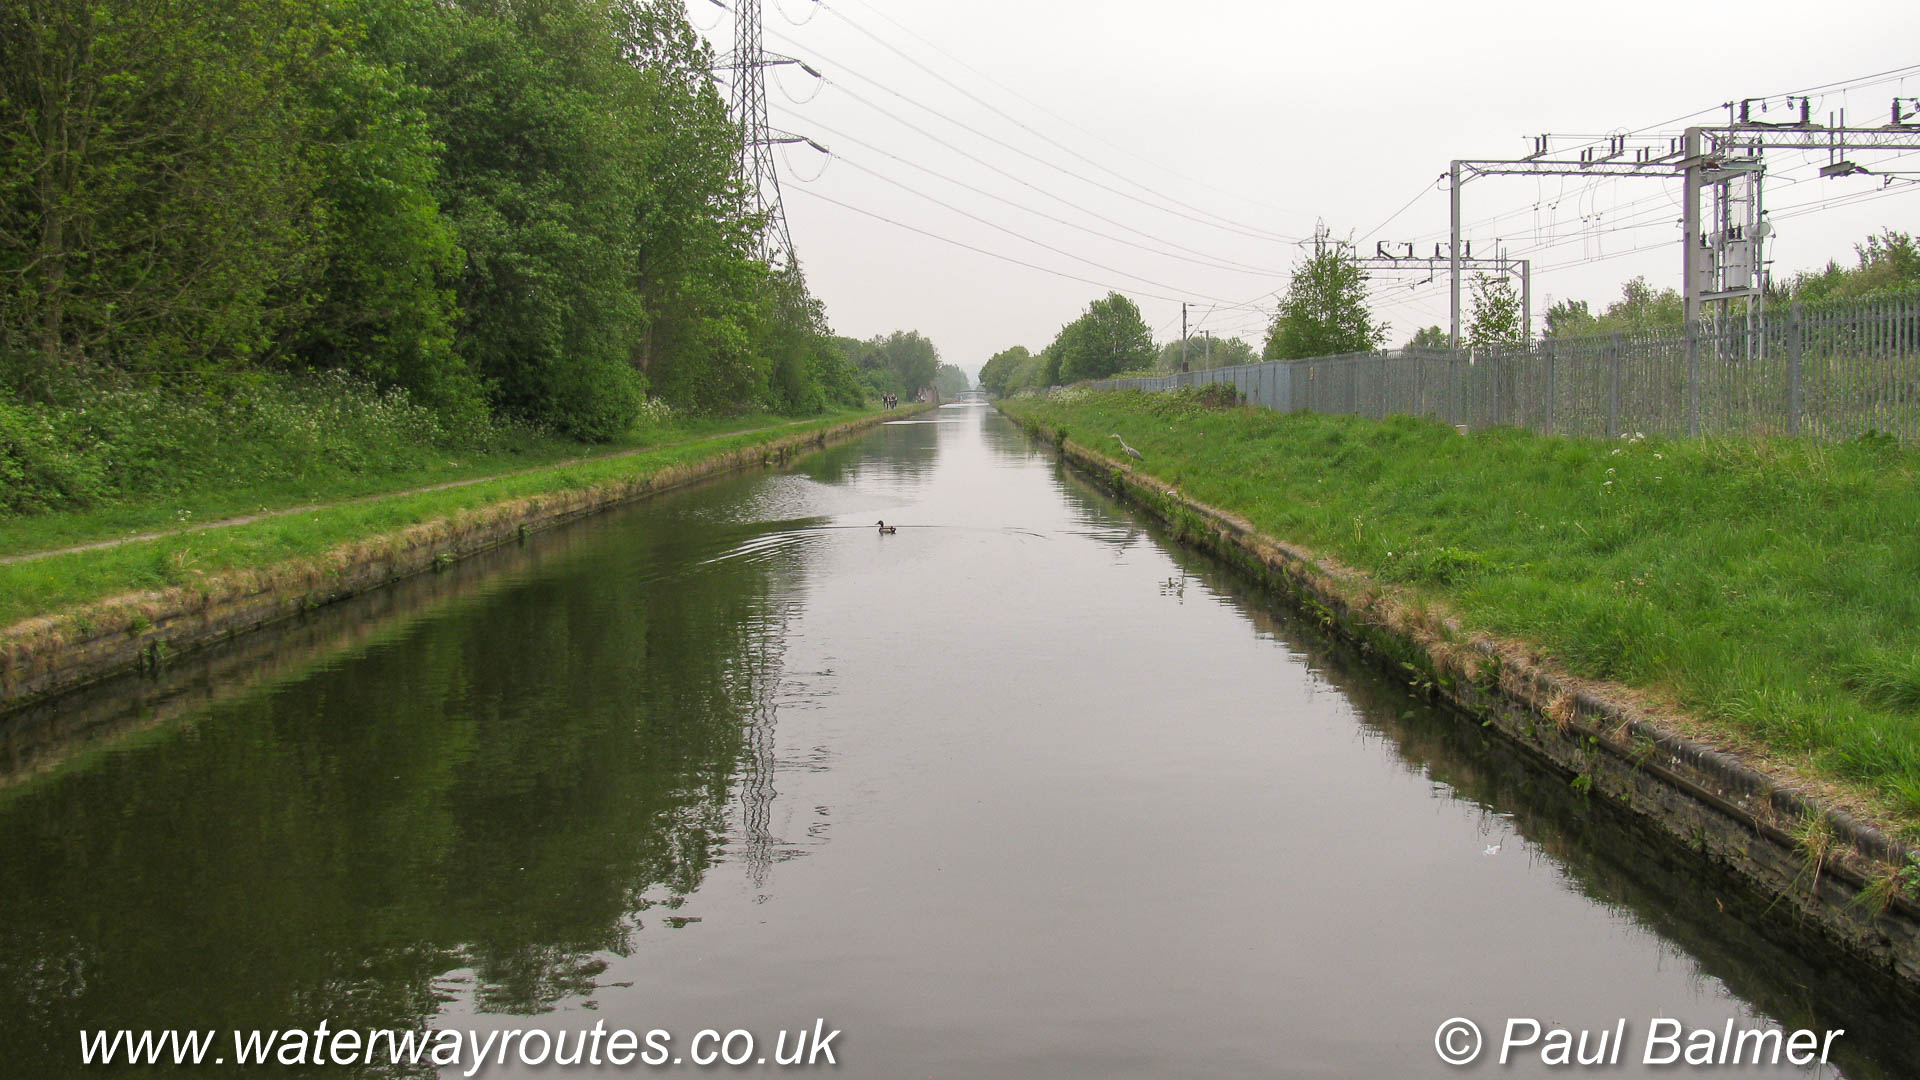
Immediately after Deepfields Junction the canal passes under the main Birmingham to Wolverhampton railway line, a little to the north of Coseley station.
The New Main Line of the Birmingham Canal Navigations runs straight past Deepfields Junction between Birmingham and Wolverhampton.
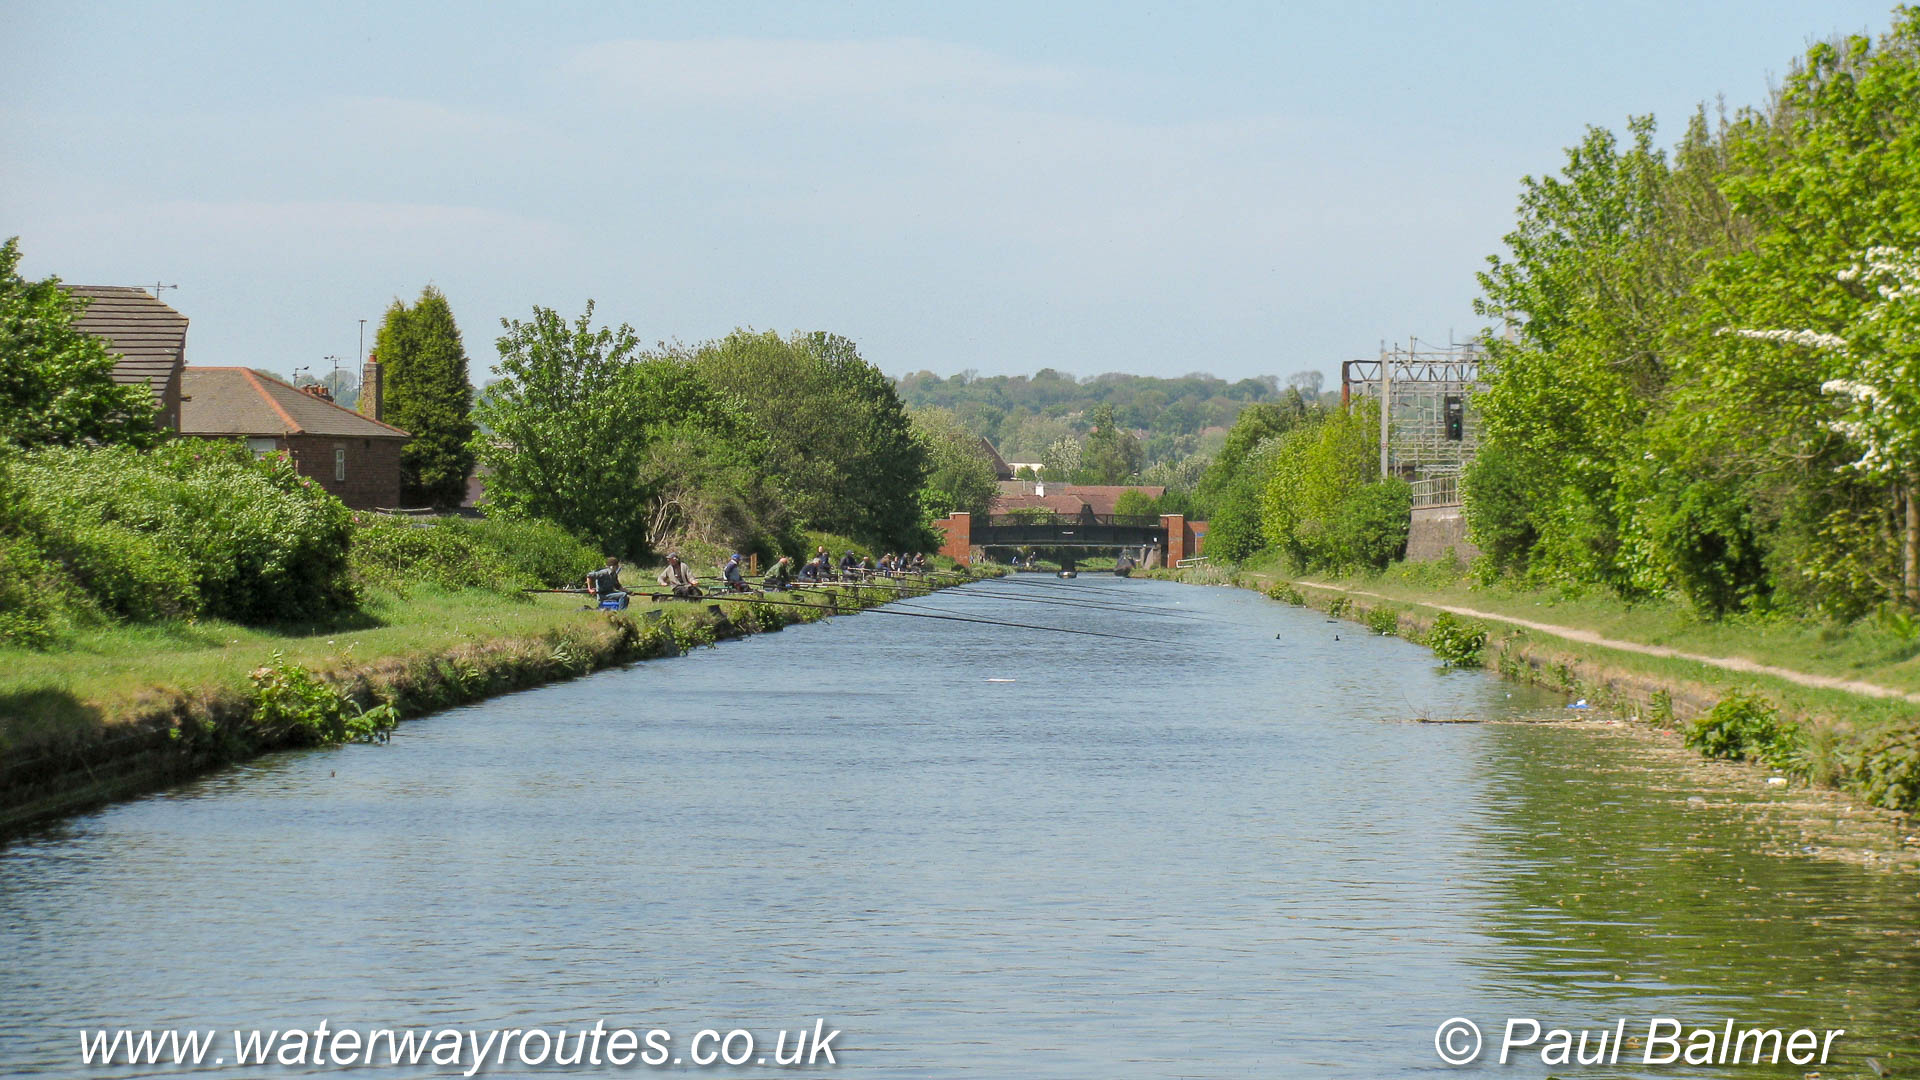
The BCN Wednesbury Oak Loop is the remaining part of the BCN Old Main Line which was severed at Bradley Workshops many years ago. The photo is taken from the BCN Main Line, with Wolverhampton to the left and Birmingham to the right.
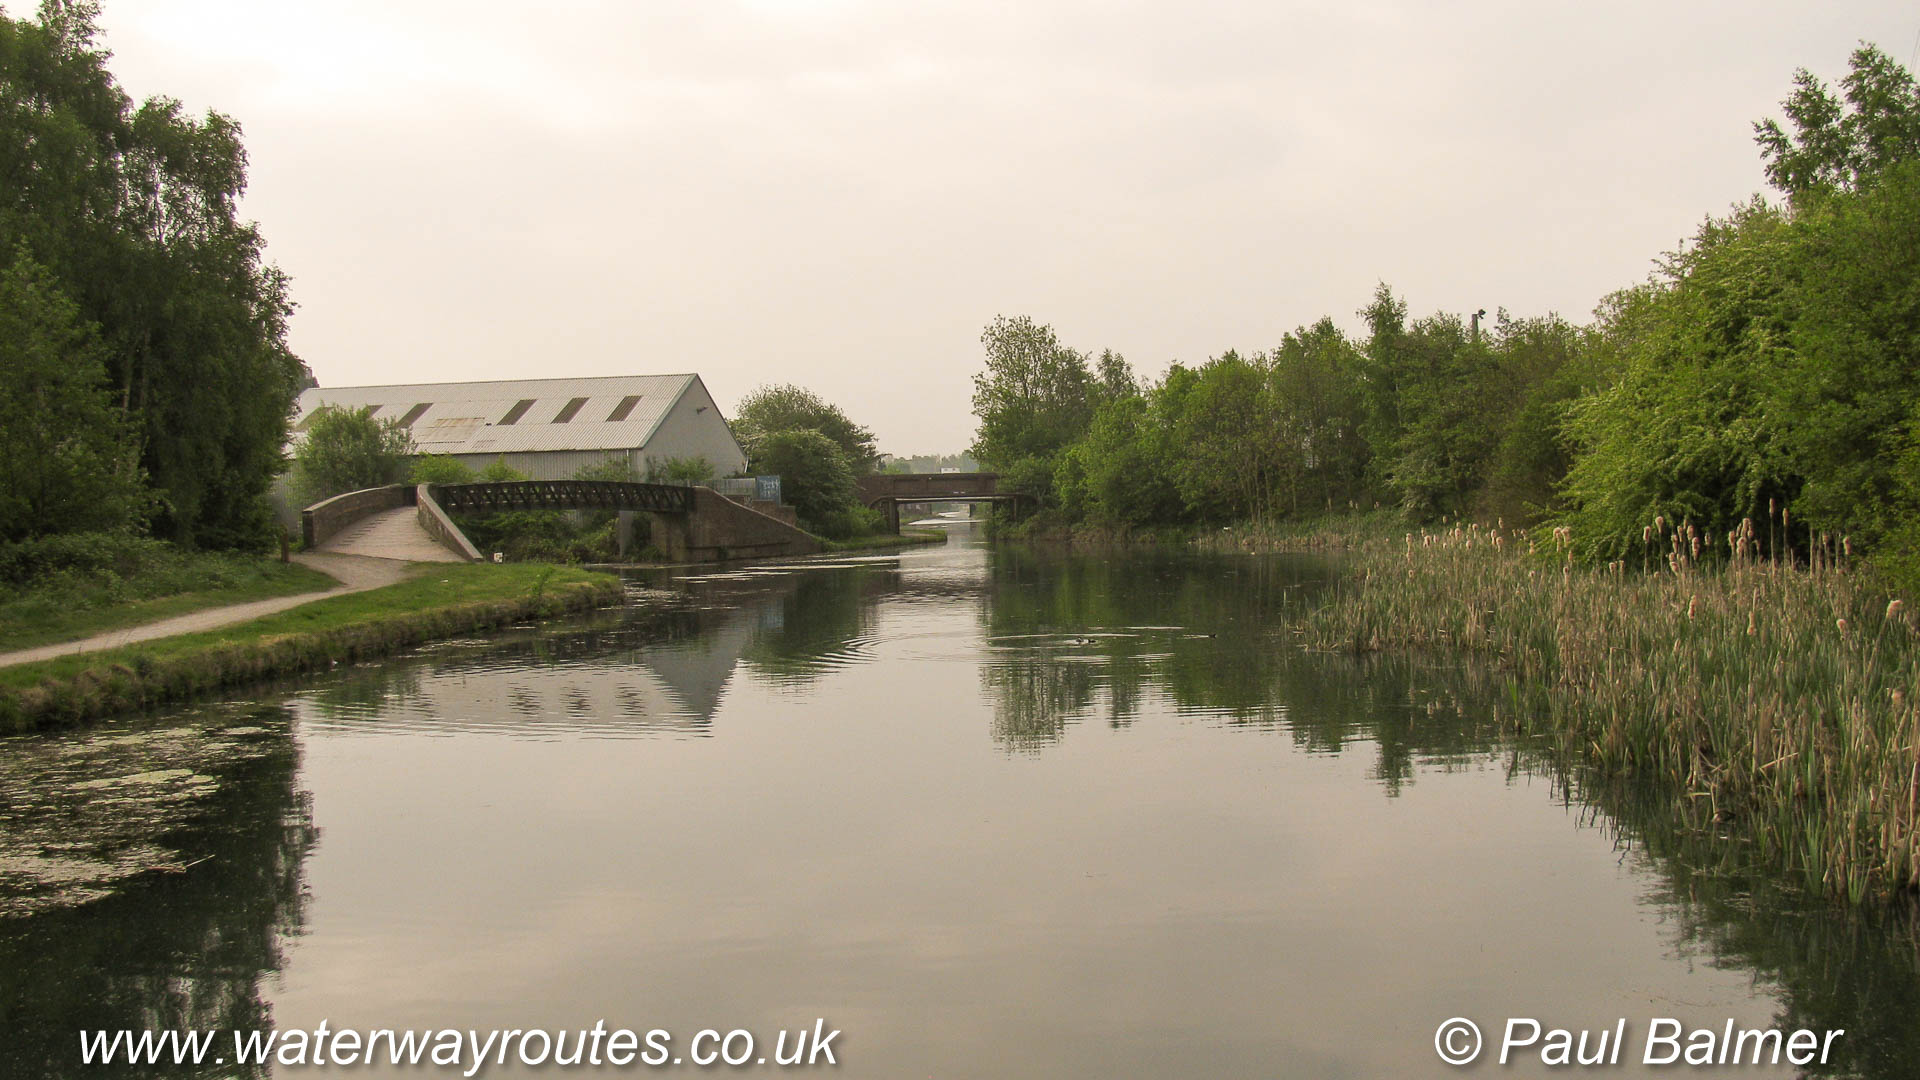
Looking along the Main Line of the Birmingham Canal Navigations on a gloomy morning towards Deepfields Junction. Birmingham is straight ahead, with Wolverhampton behind the camera.
Diverging under the towpath bridge on the left is the Bradley Arm, as the remaining length of the largely abandoned Wednesbury Oak Look is now called.
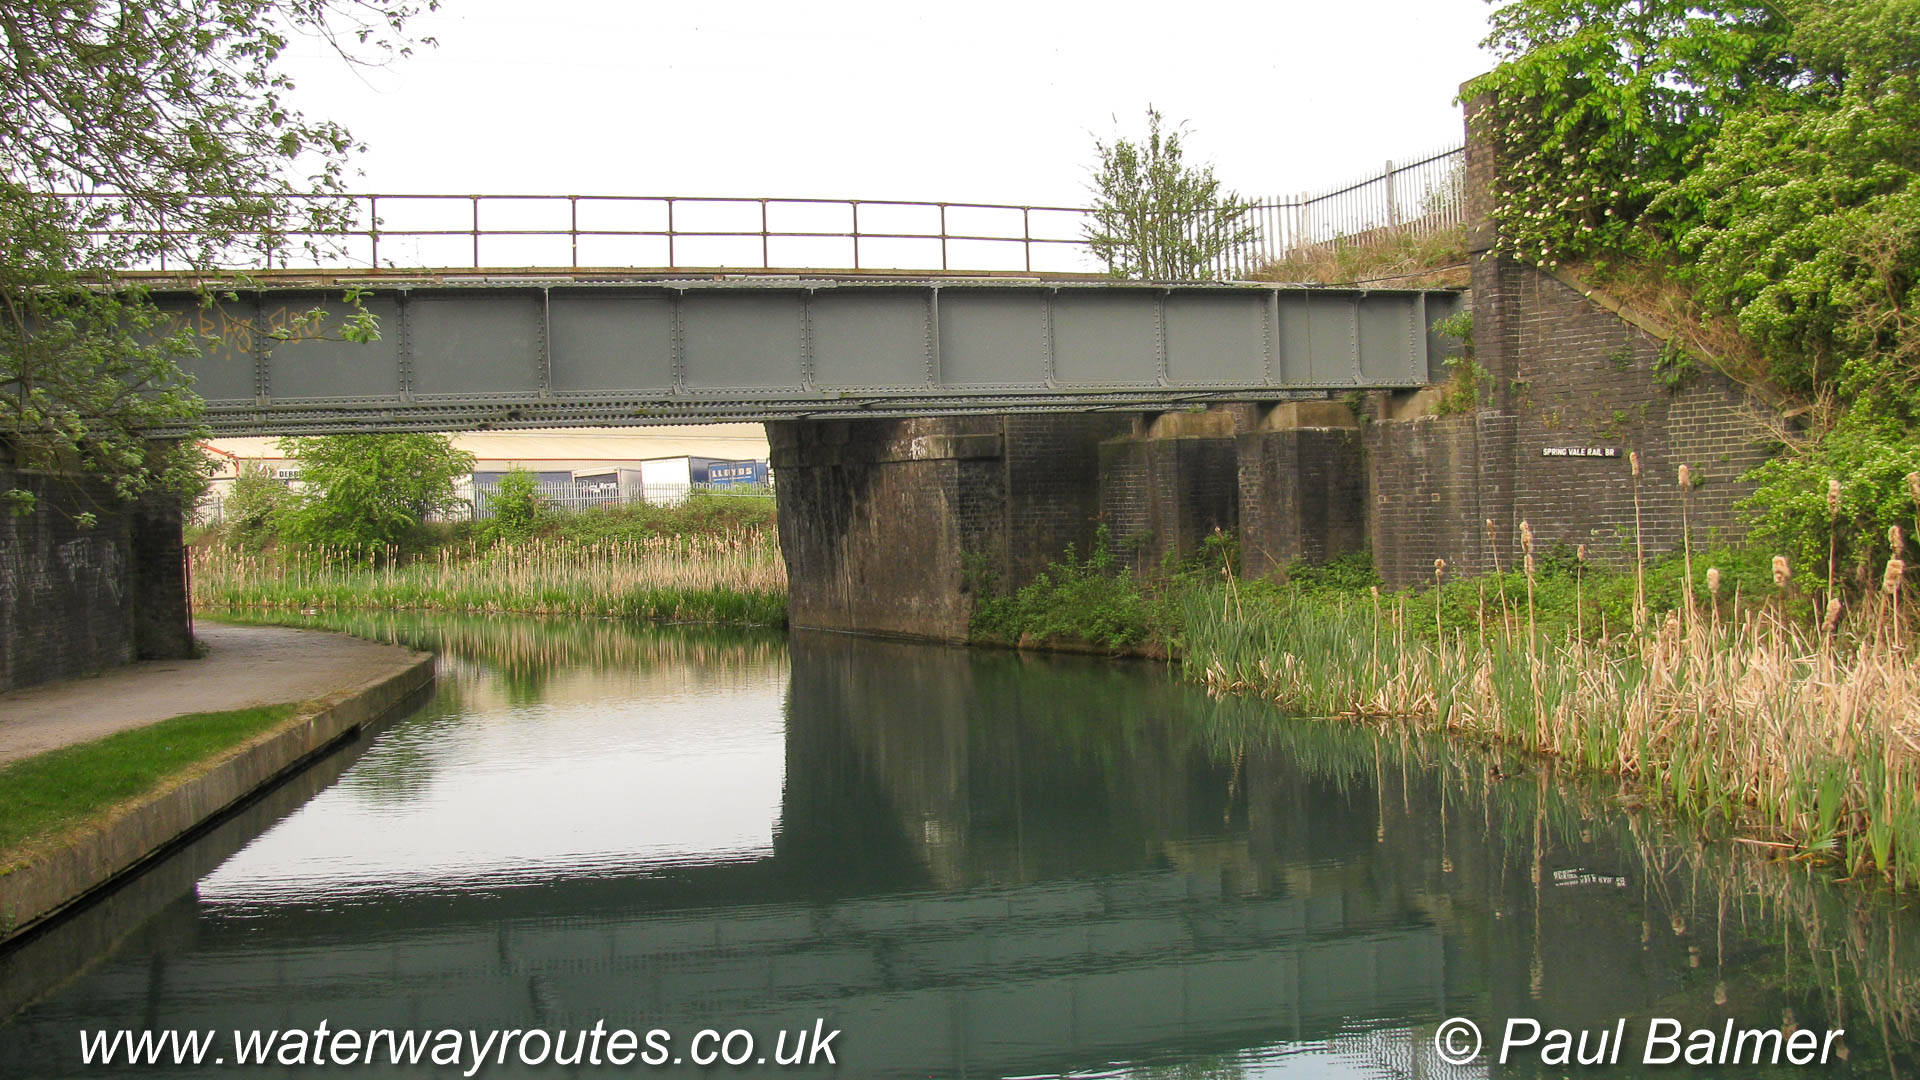
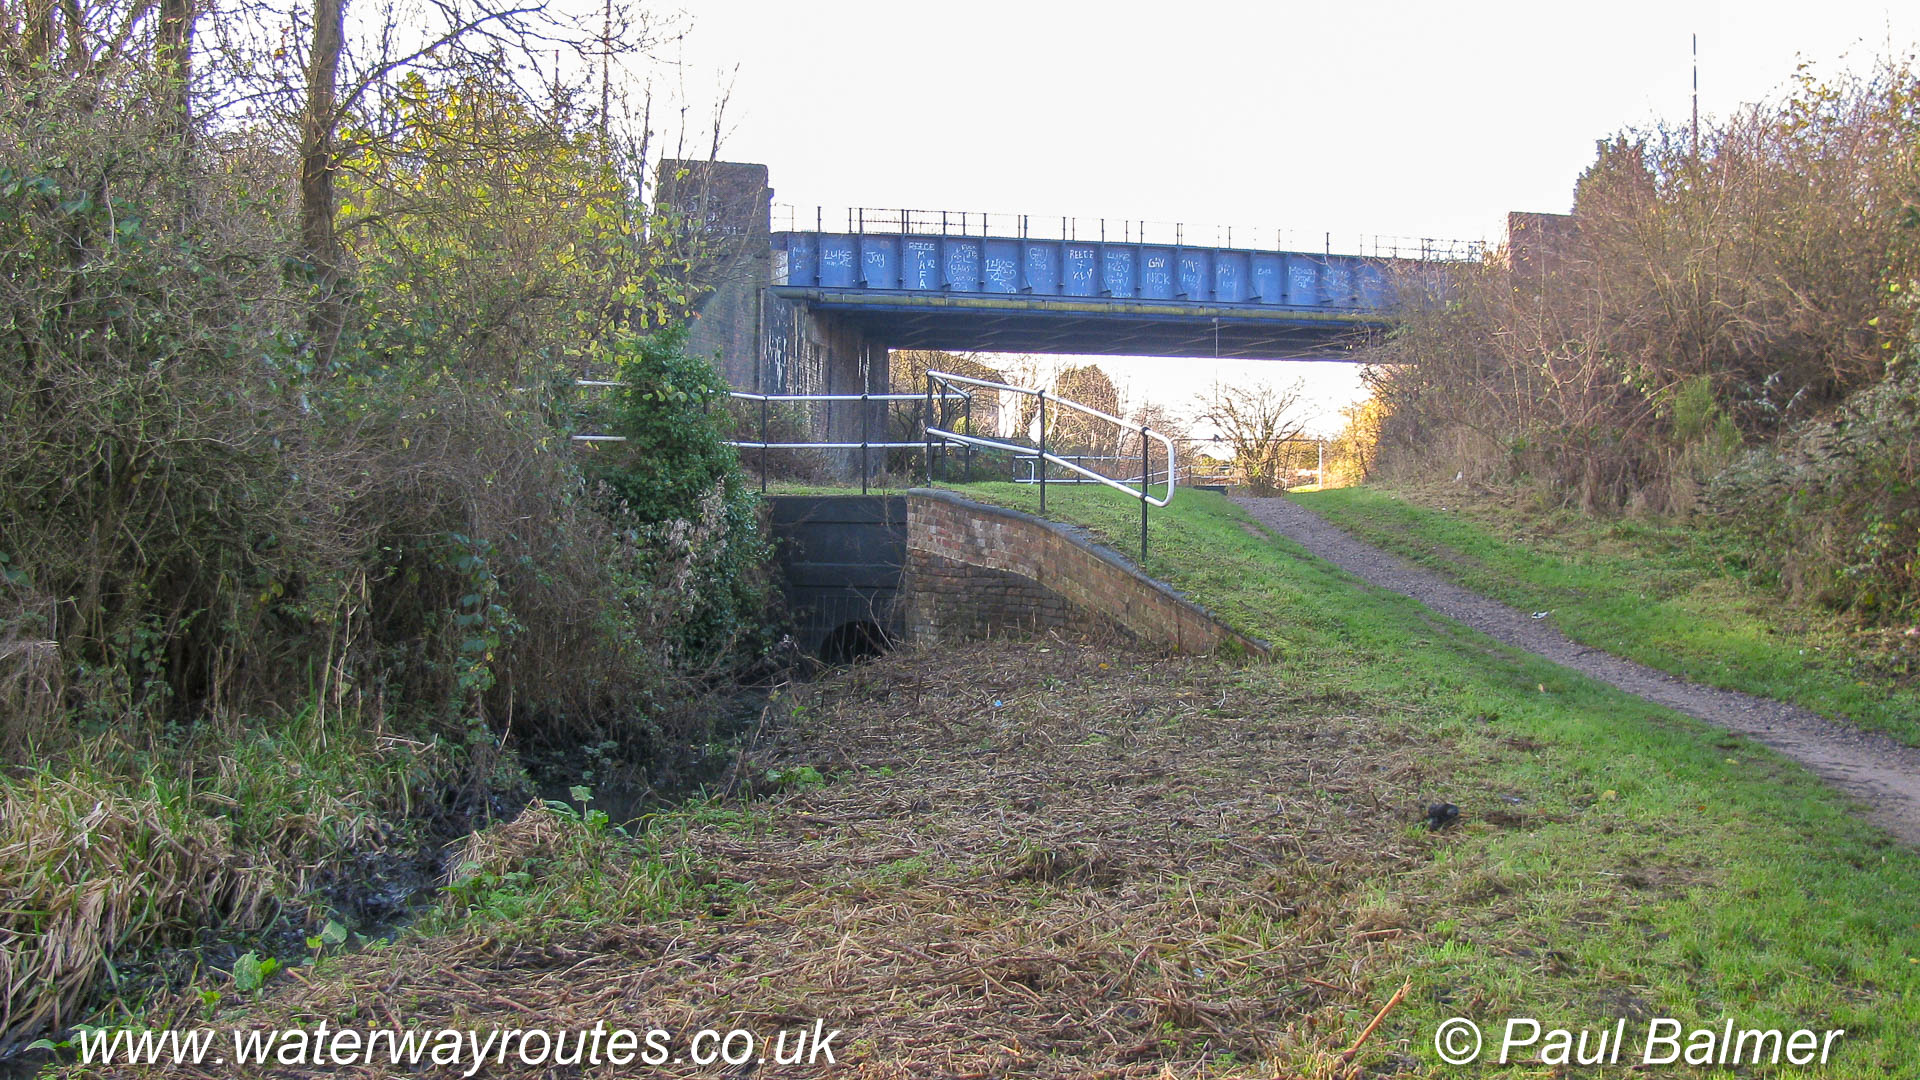
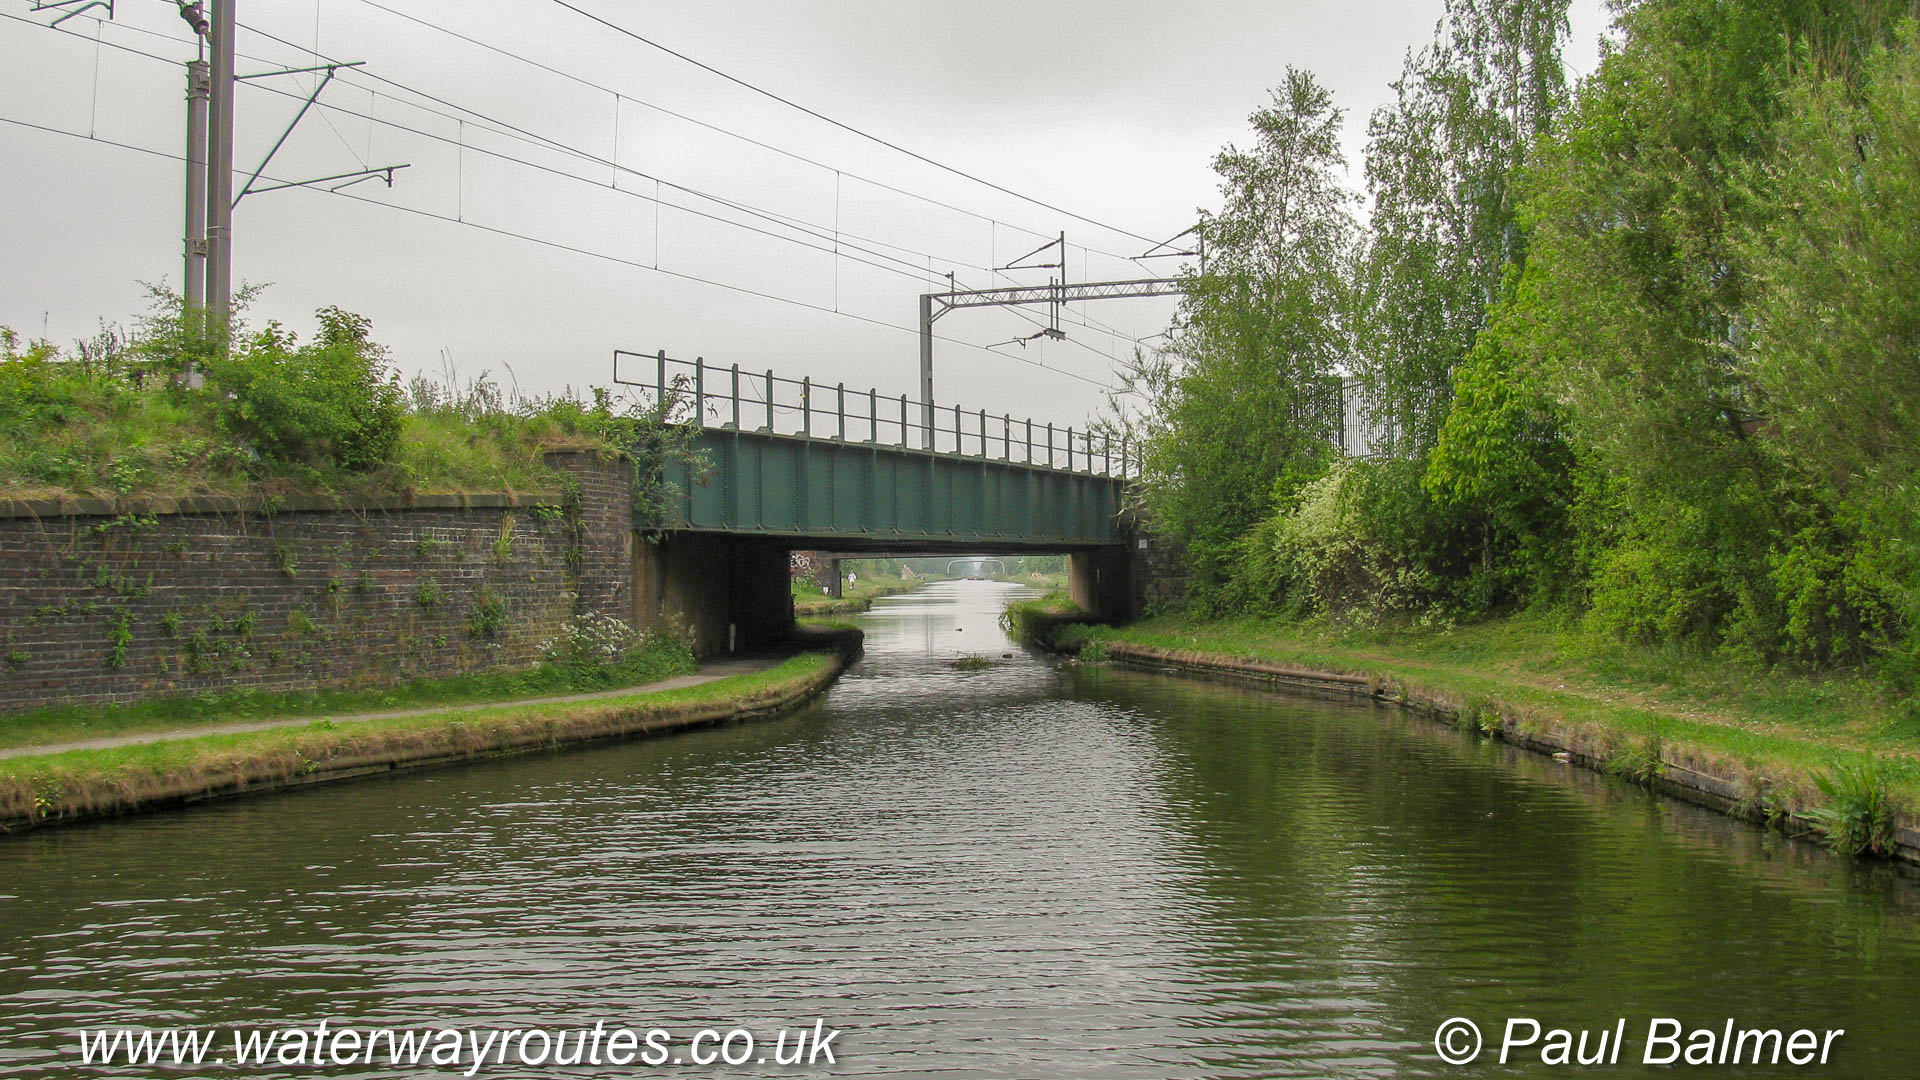
Spring Vale Rail Bridge carries the railway line between Birmingham New Street and Wolverhampton over the canal. The railway line stays close the the canal for most of that route as they both aim for a route which is as level as practicable.
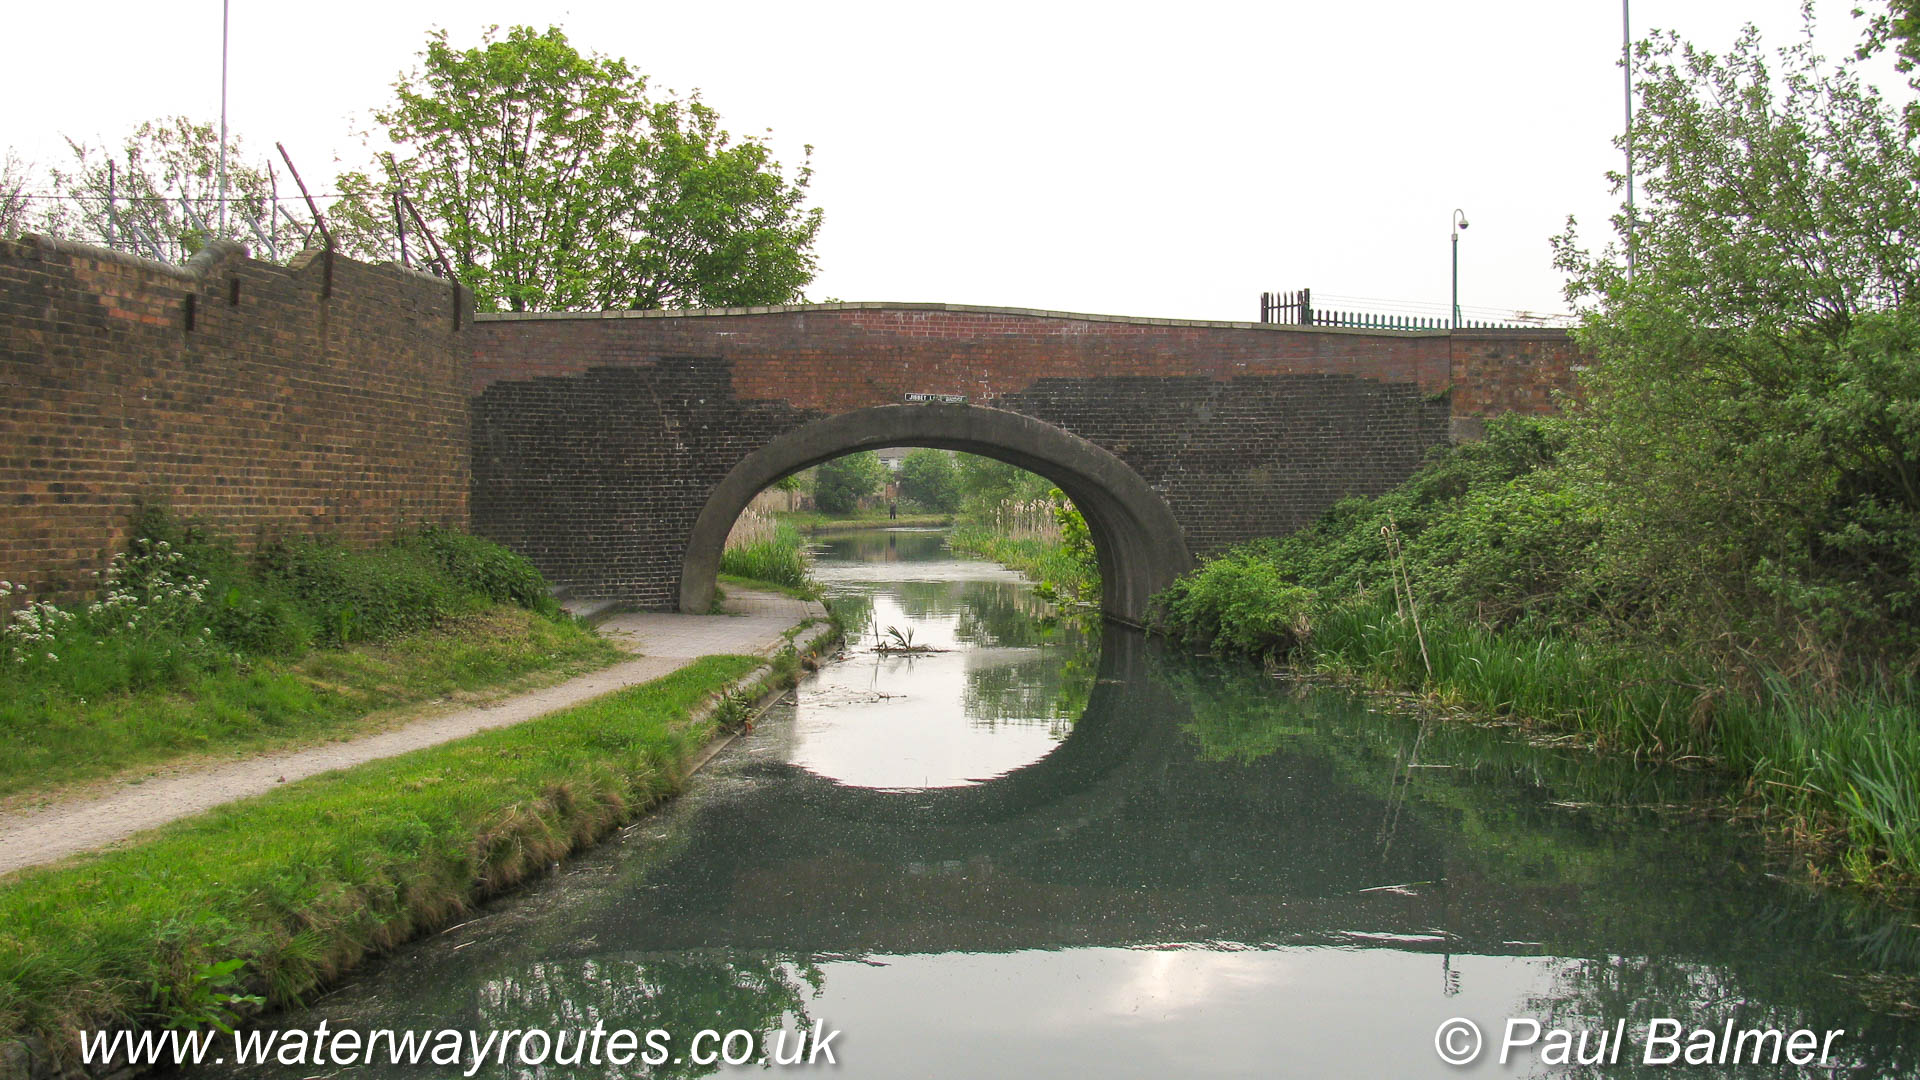
Jibbet Lane Bridge has been repaired using modern brickwork in a different colour. This is a common practice when repairing old structures when it may be impracticable or uneconomic to repair using identical materials and this makes it clear which is the new brickwork which is not trying to imitate the old.
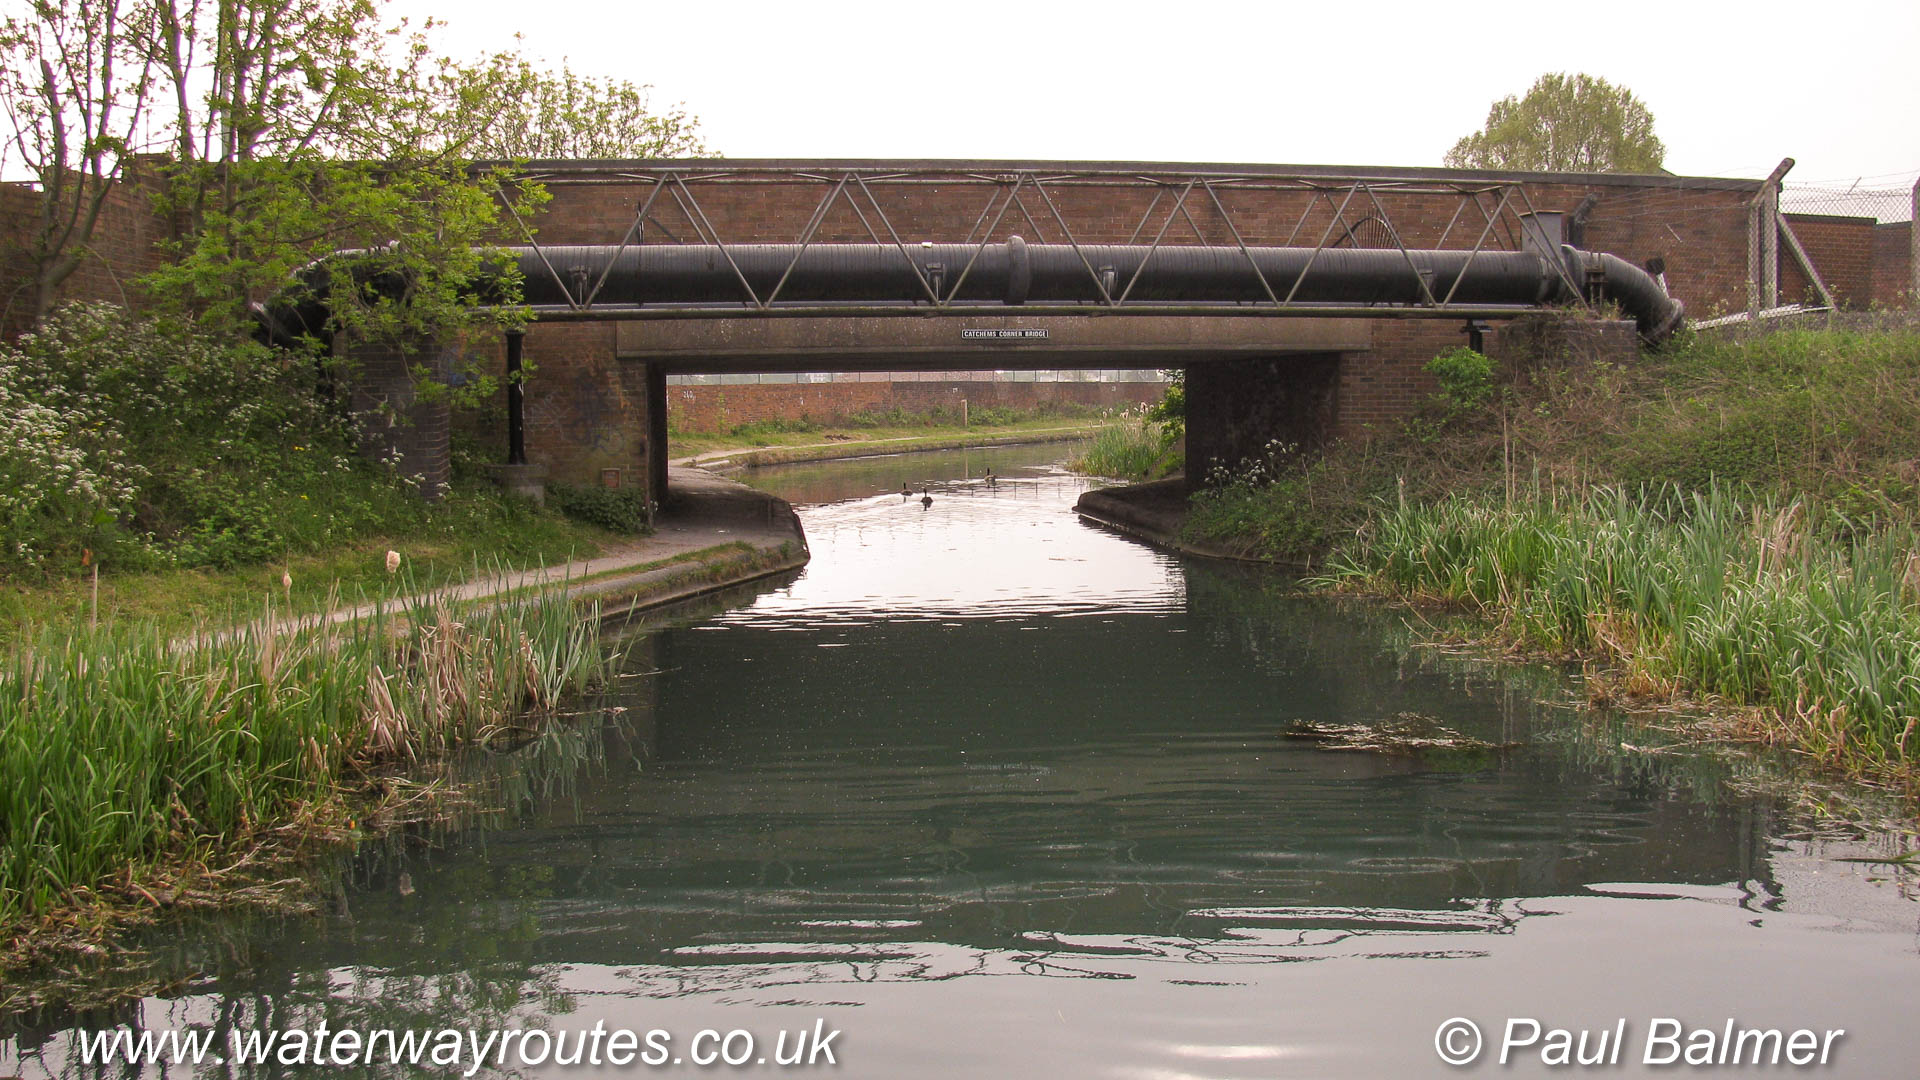
Catchems Corner Bridge does exactly what it says on the name plate.
The sharp corner immediately on the Wolverhampton side of this bridge makes the approach blind and catches out boaters who aren’t paying attention when they meet a boat coming the other way.
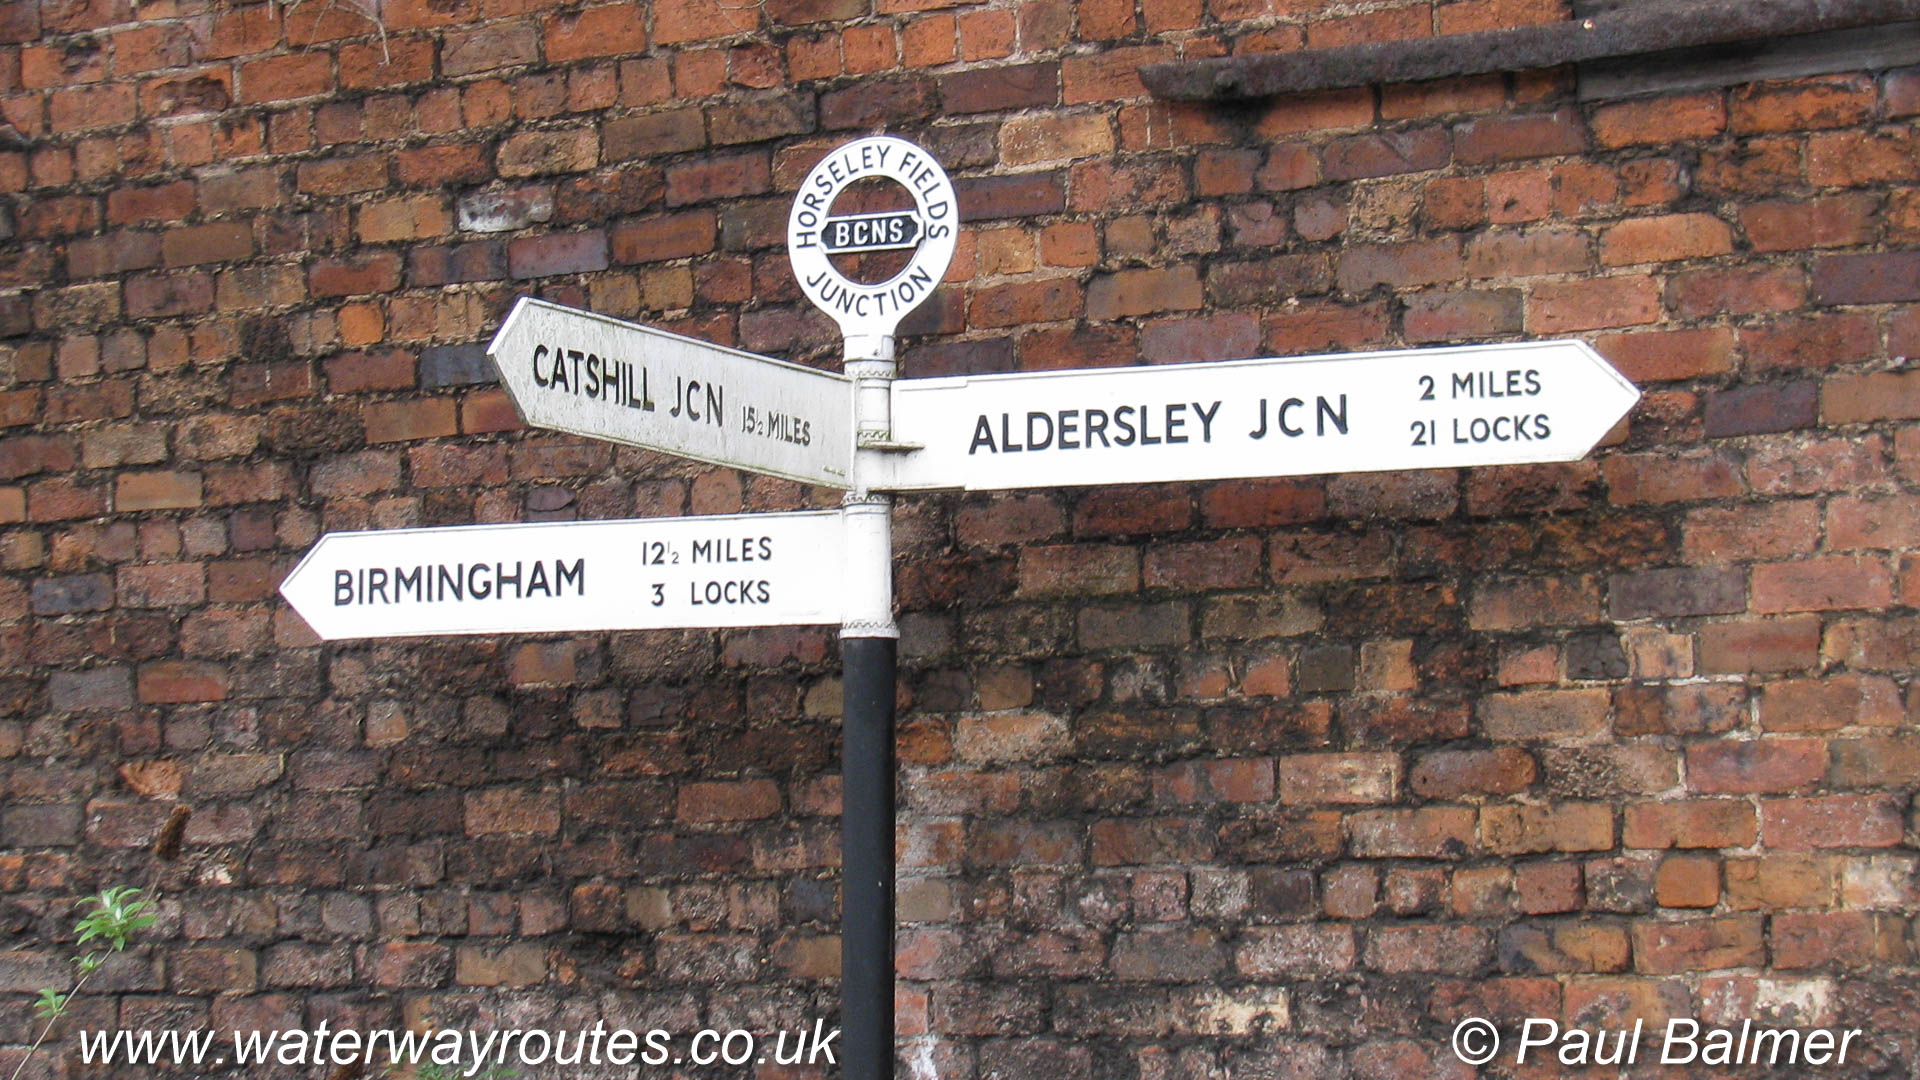
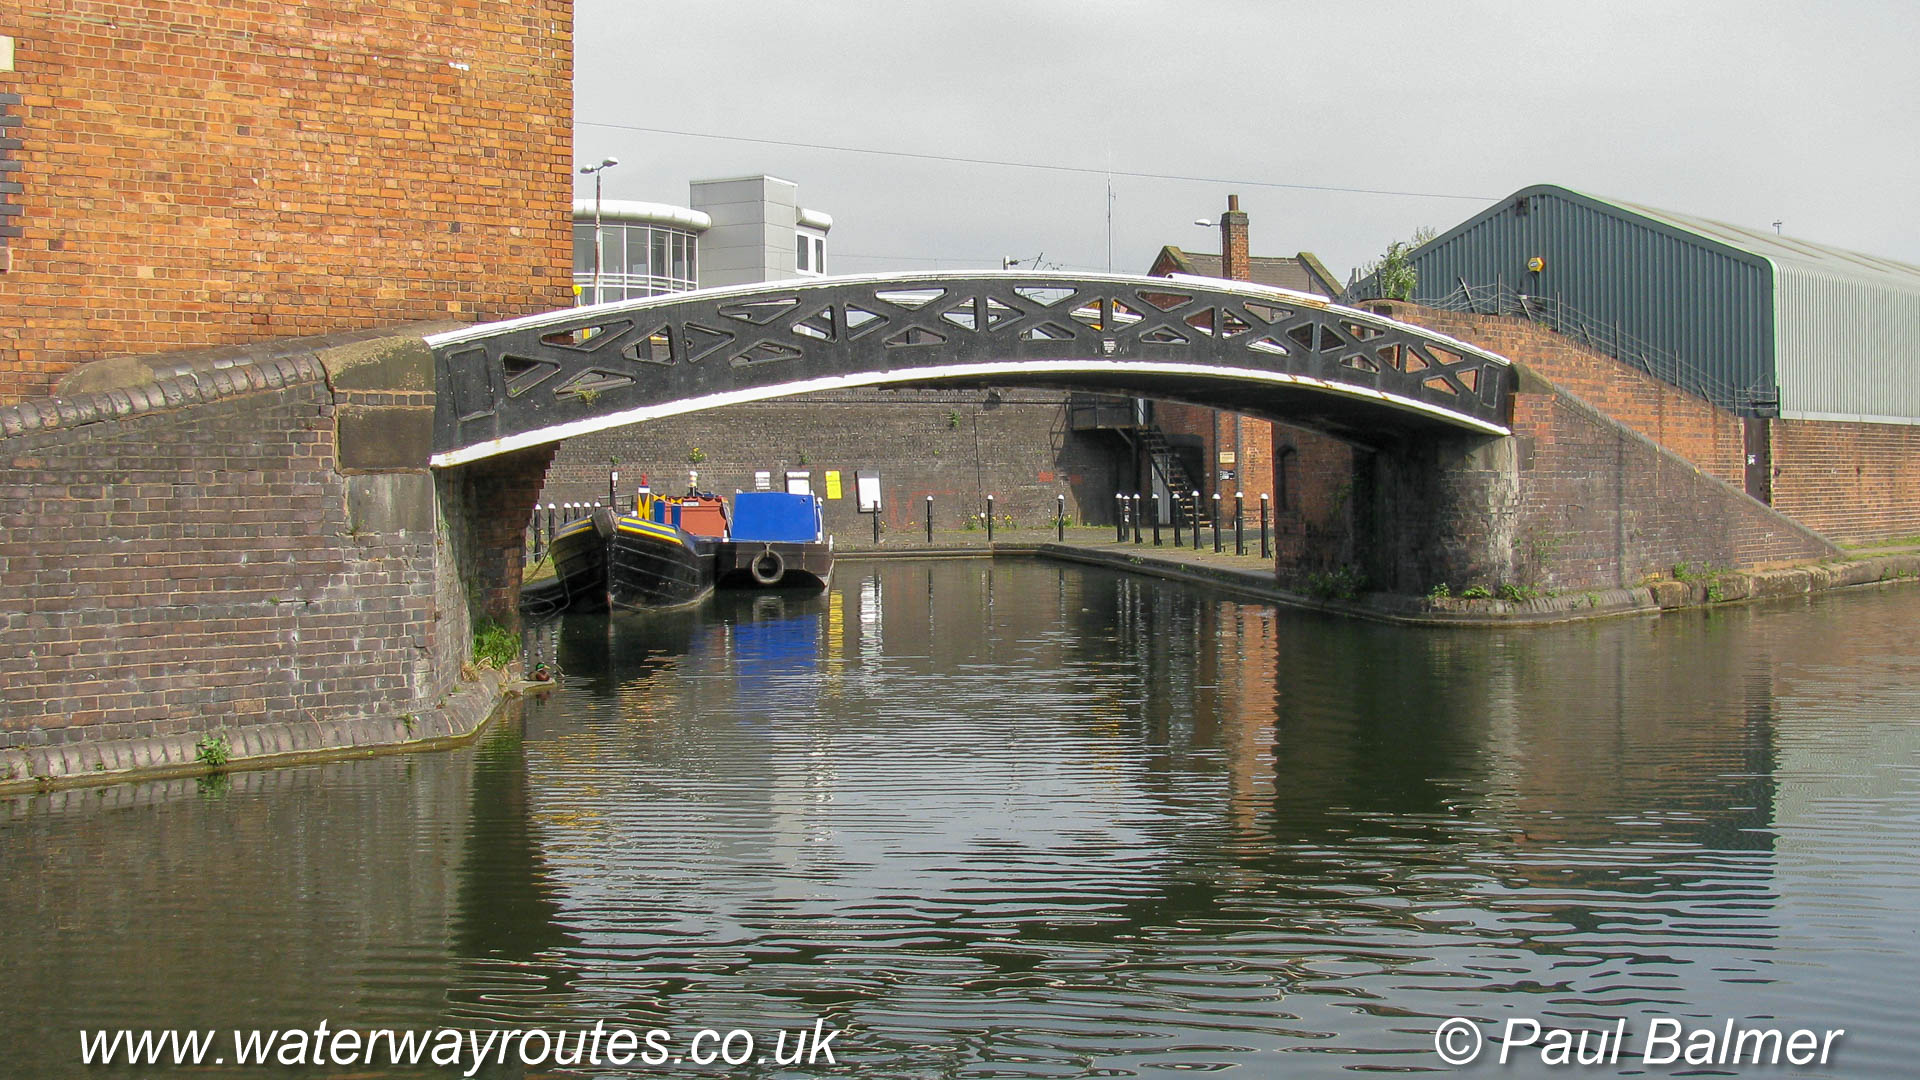
The Main Line of the Birmingham Canal Navigations passes Horseley Fields Junction on its way between Birmingham and Aldersley Junction in Wolverhampton.
Branching off is the Wyrley and Essington Canal on its way to Ogley Junction vi Catshill Junction.
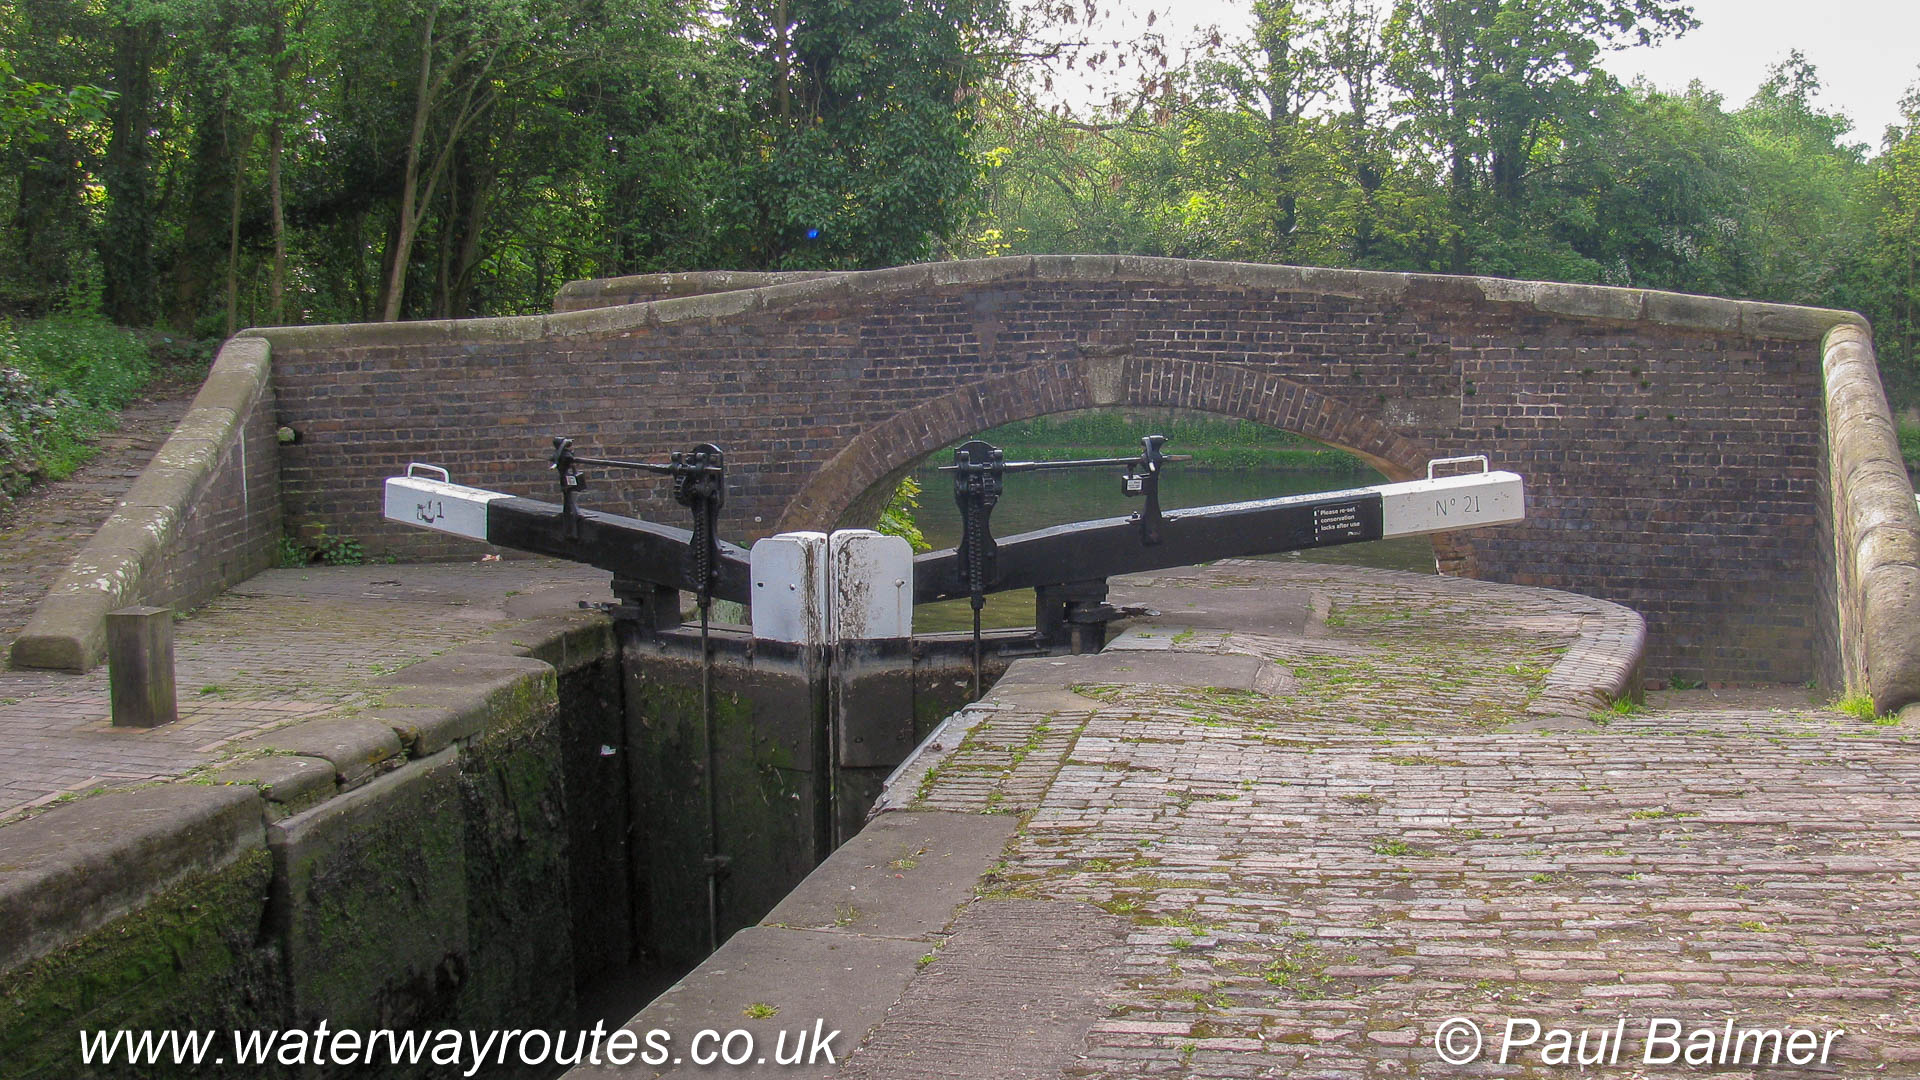
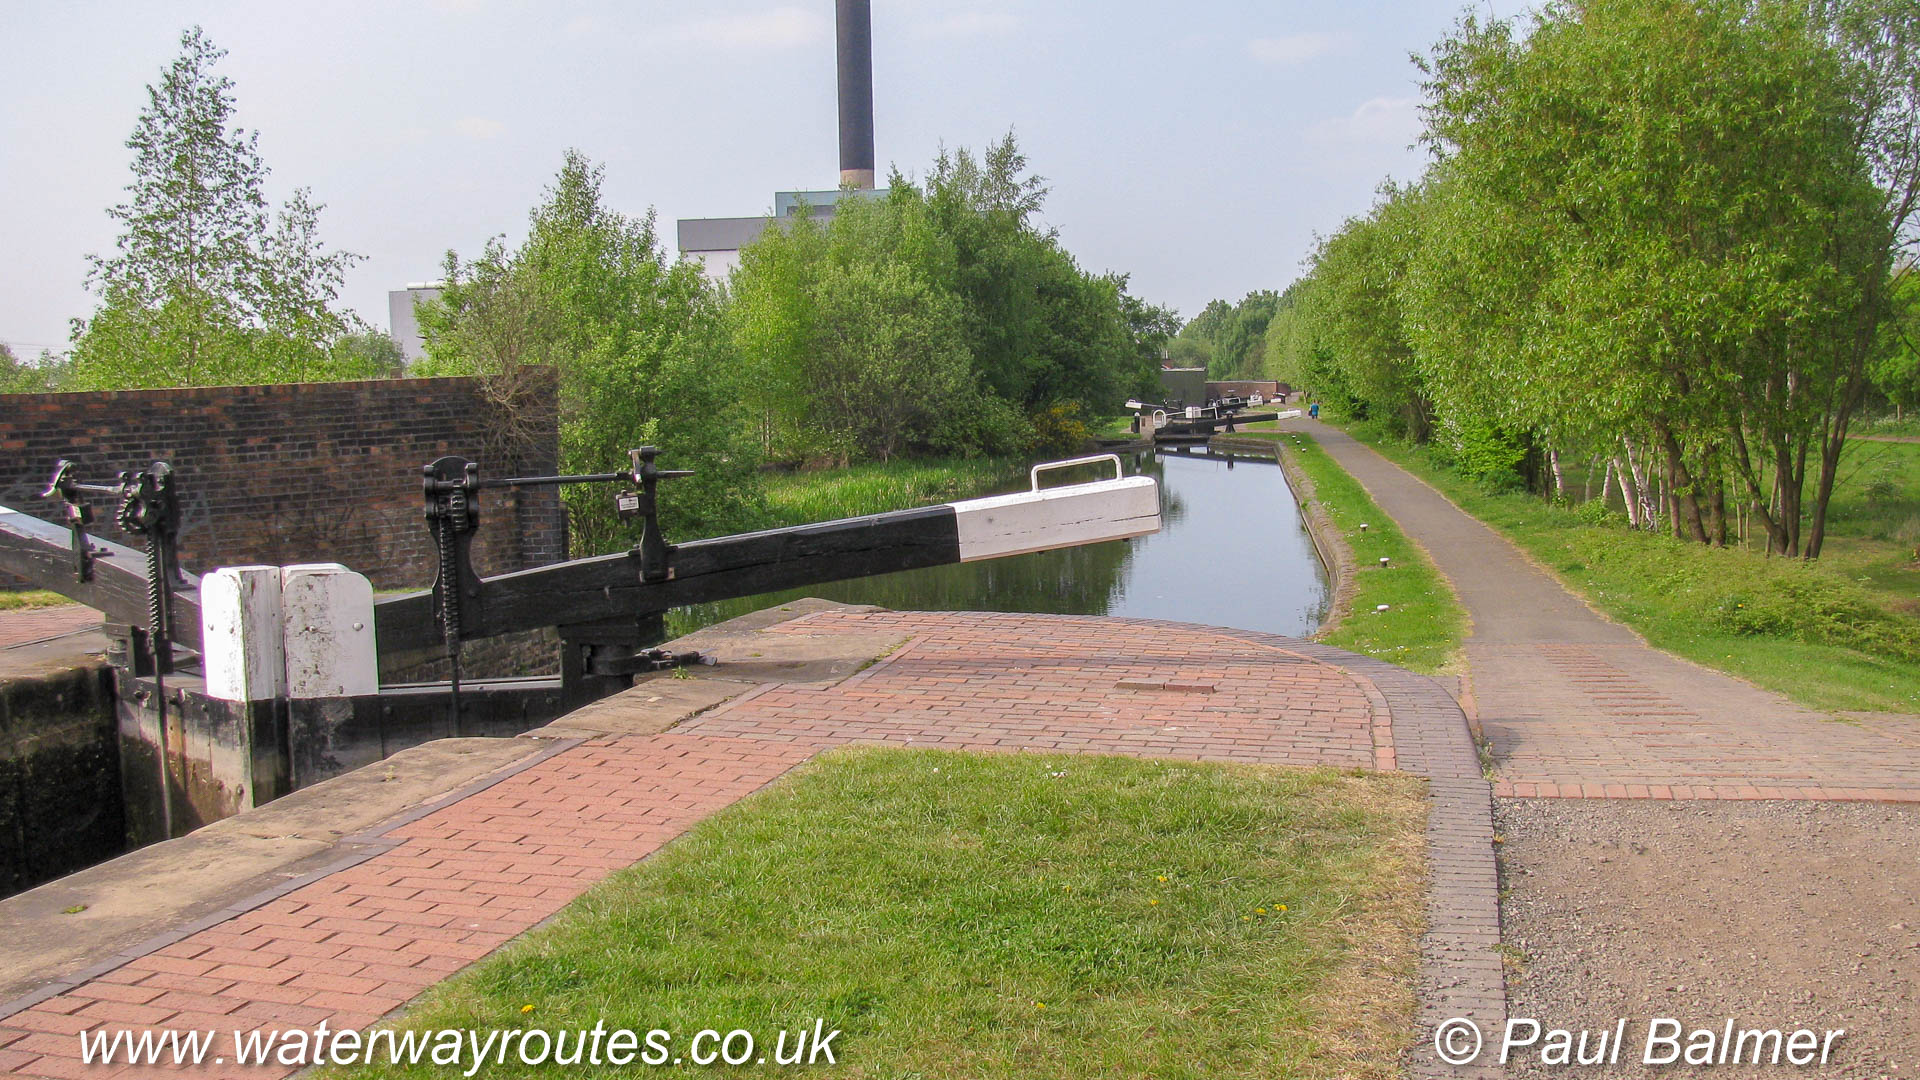
Wolverhampton Bottom Lock 21 marks the end of the Main Line of the Birmingham Canal Navigations (BCN).
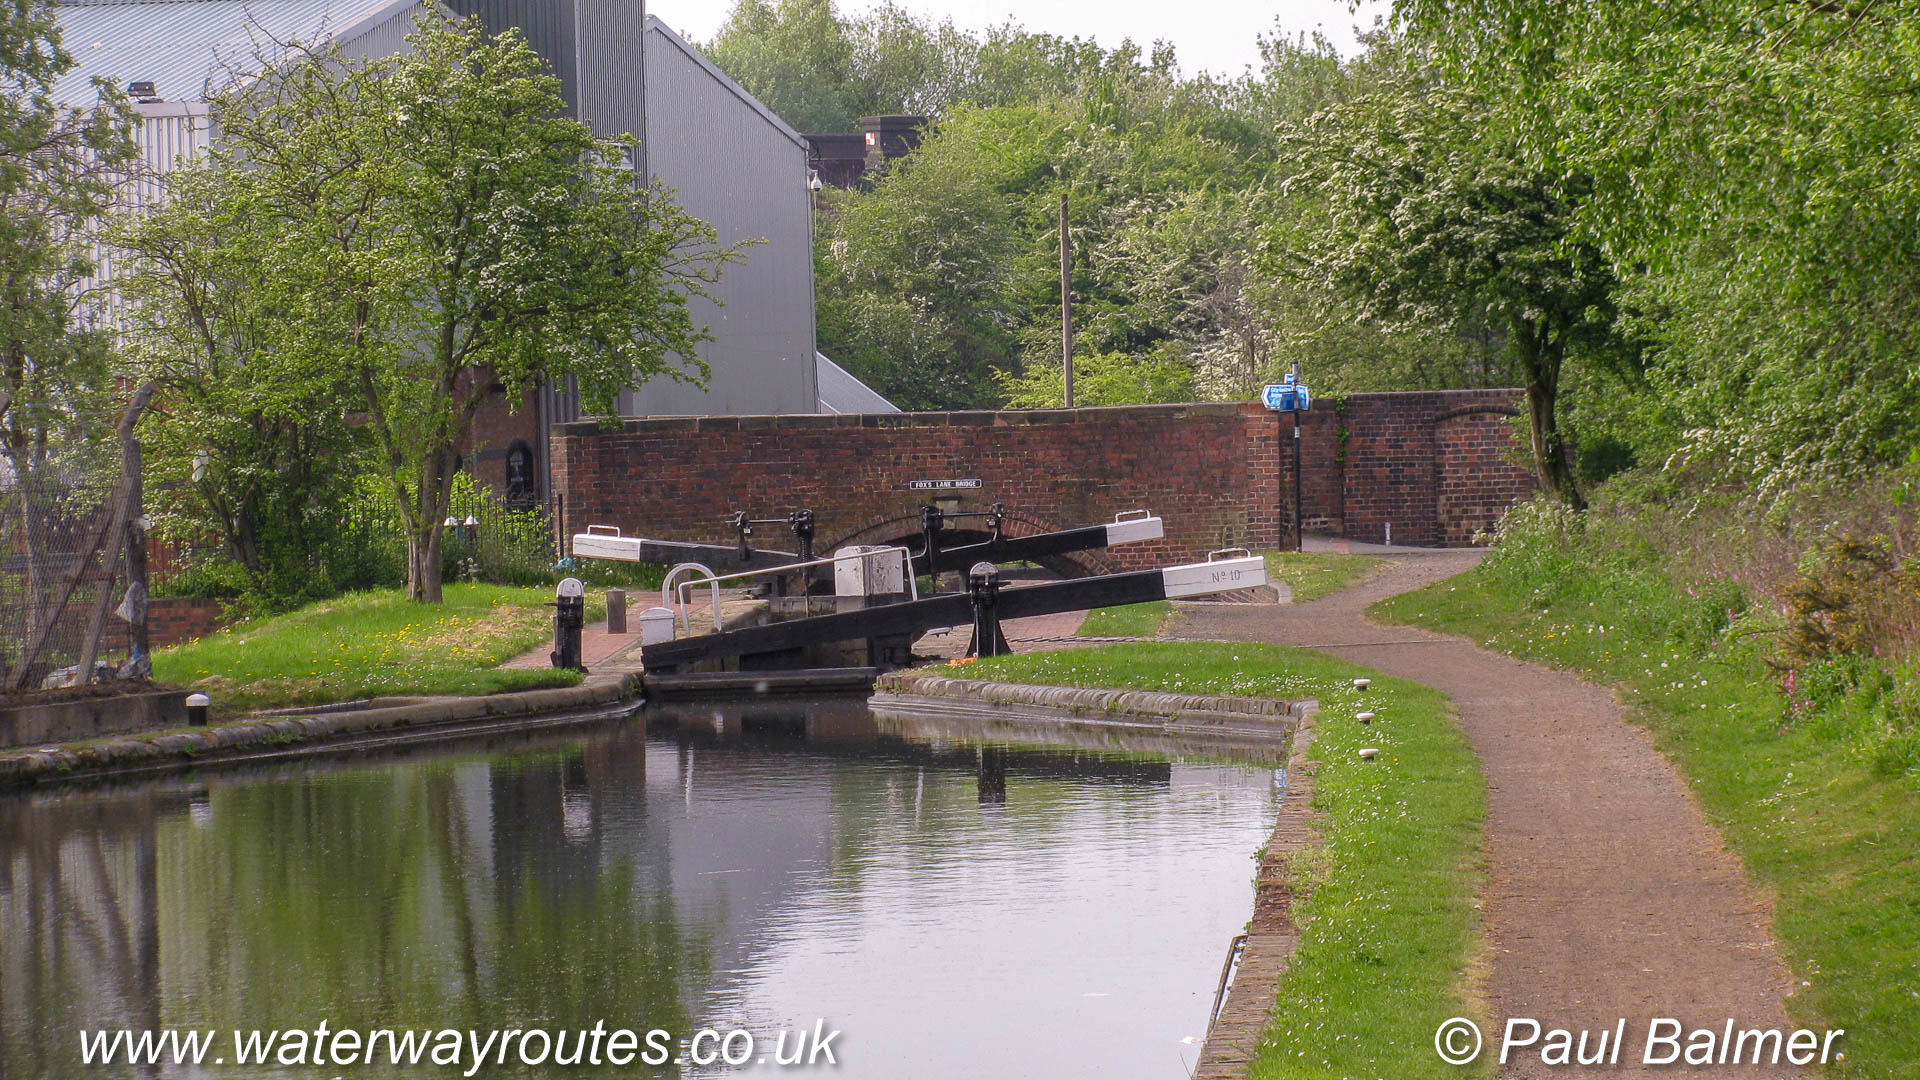
There’s an interesting bulge in the towpath between locks 20 and 21 on the Wolverhampton Flight. It appears to be deliberately shaped that way.
It possible this was introduced when boats were pulled by horses when the tow rope would tend to…
Lock 20 on the Wolverhampton Flight has single gates at both ends, with all the other locks having double gates at the bottom end.
The flight was originally built with twenty locks, with the bottom lock being deeper than the others. Later…
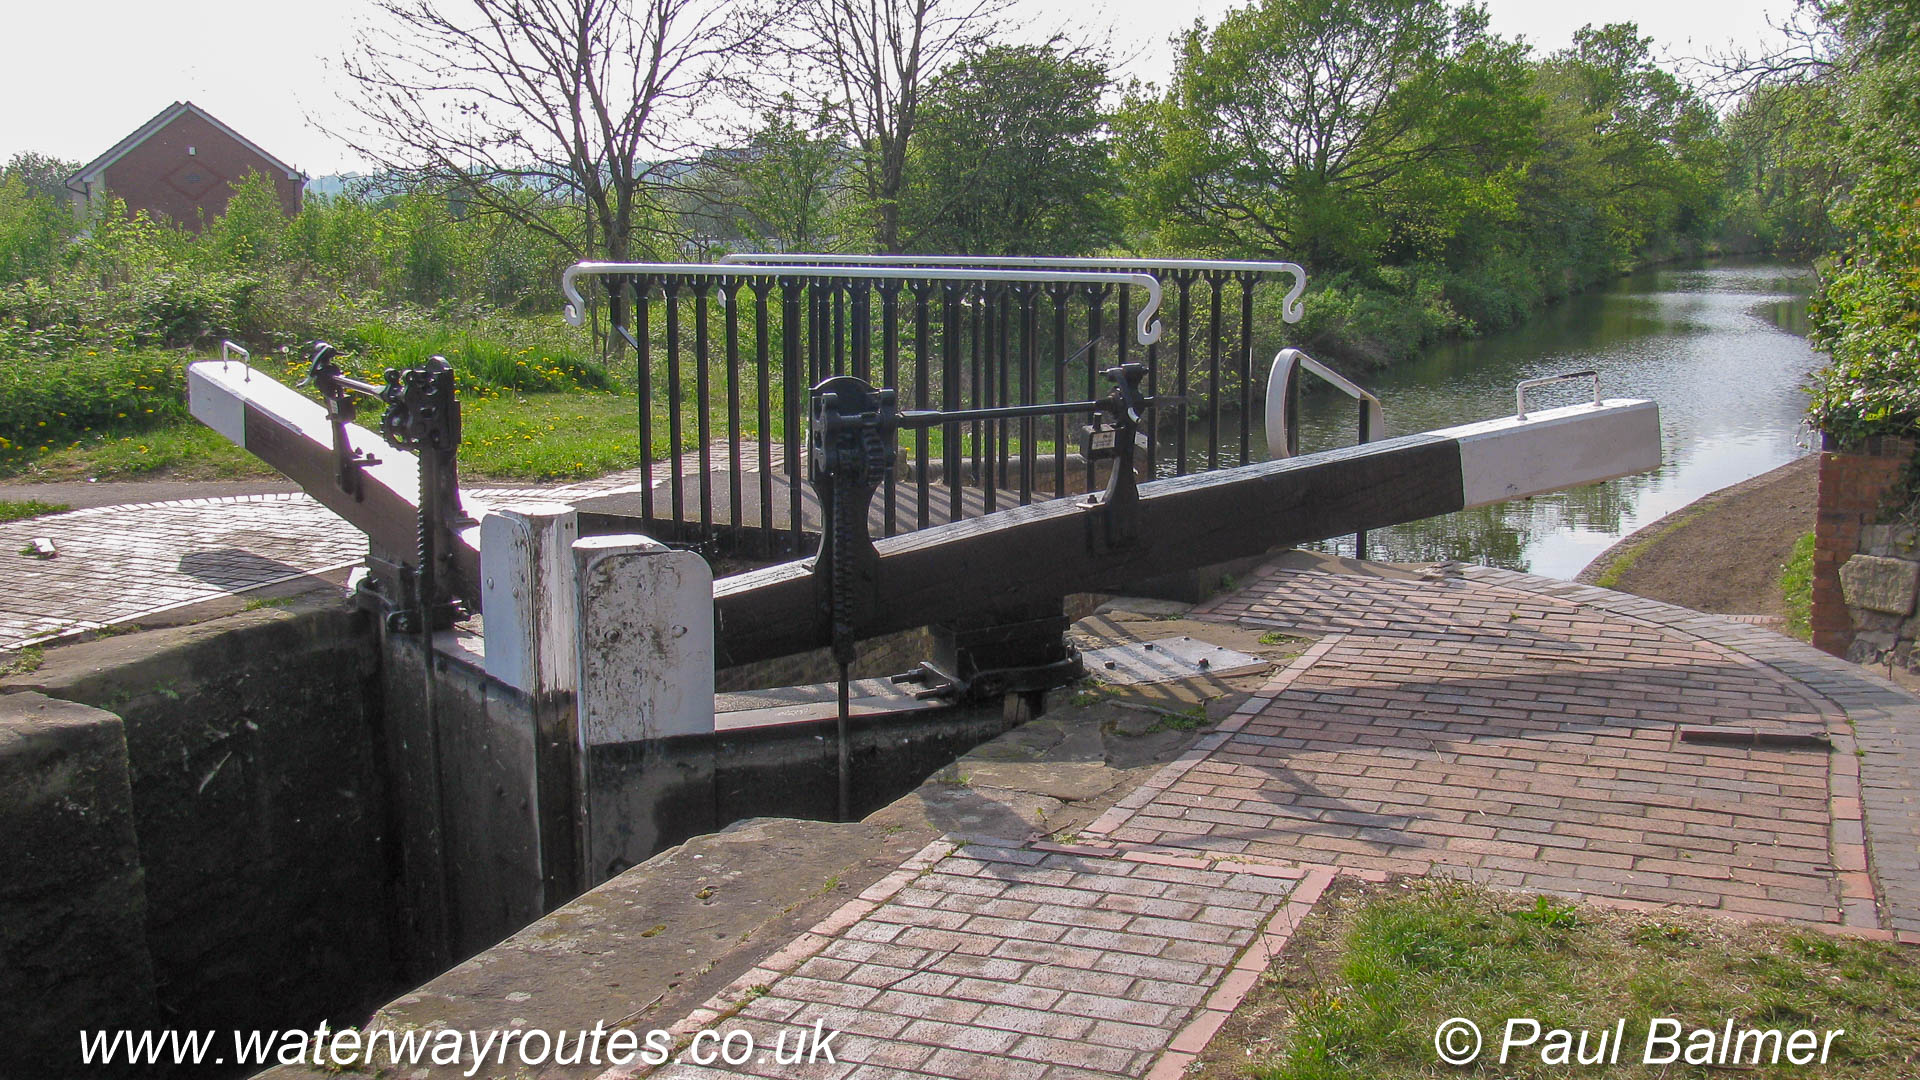
Except for Lock 20, all the locks in the Wolverhampton Flight have double bottom gates, and they all have single top gates.
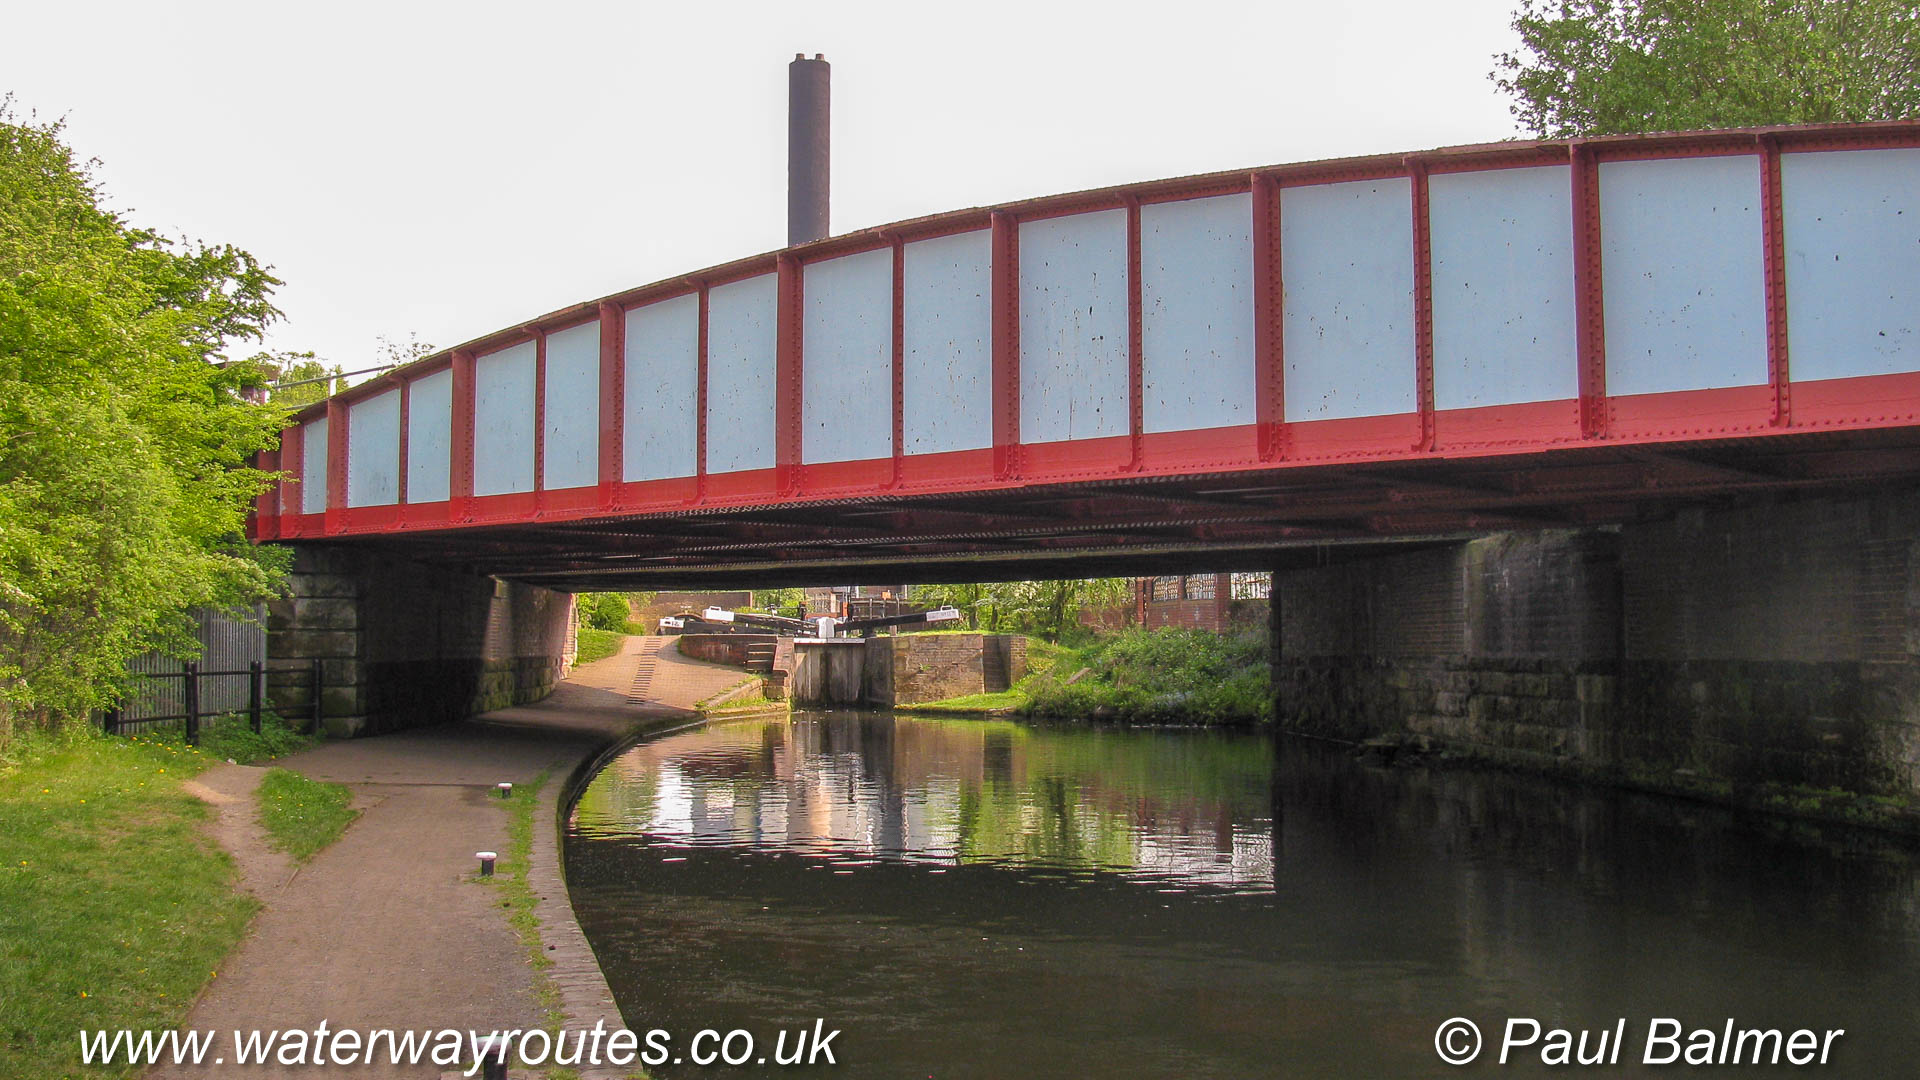
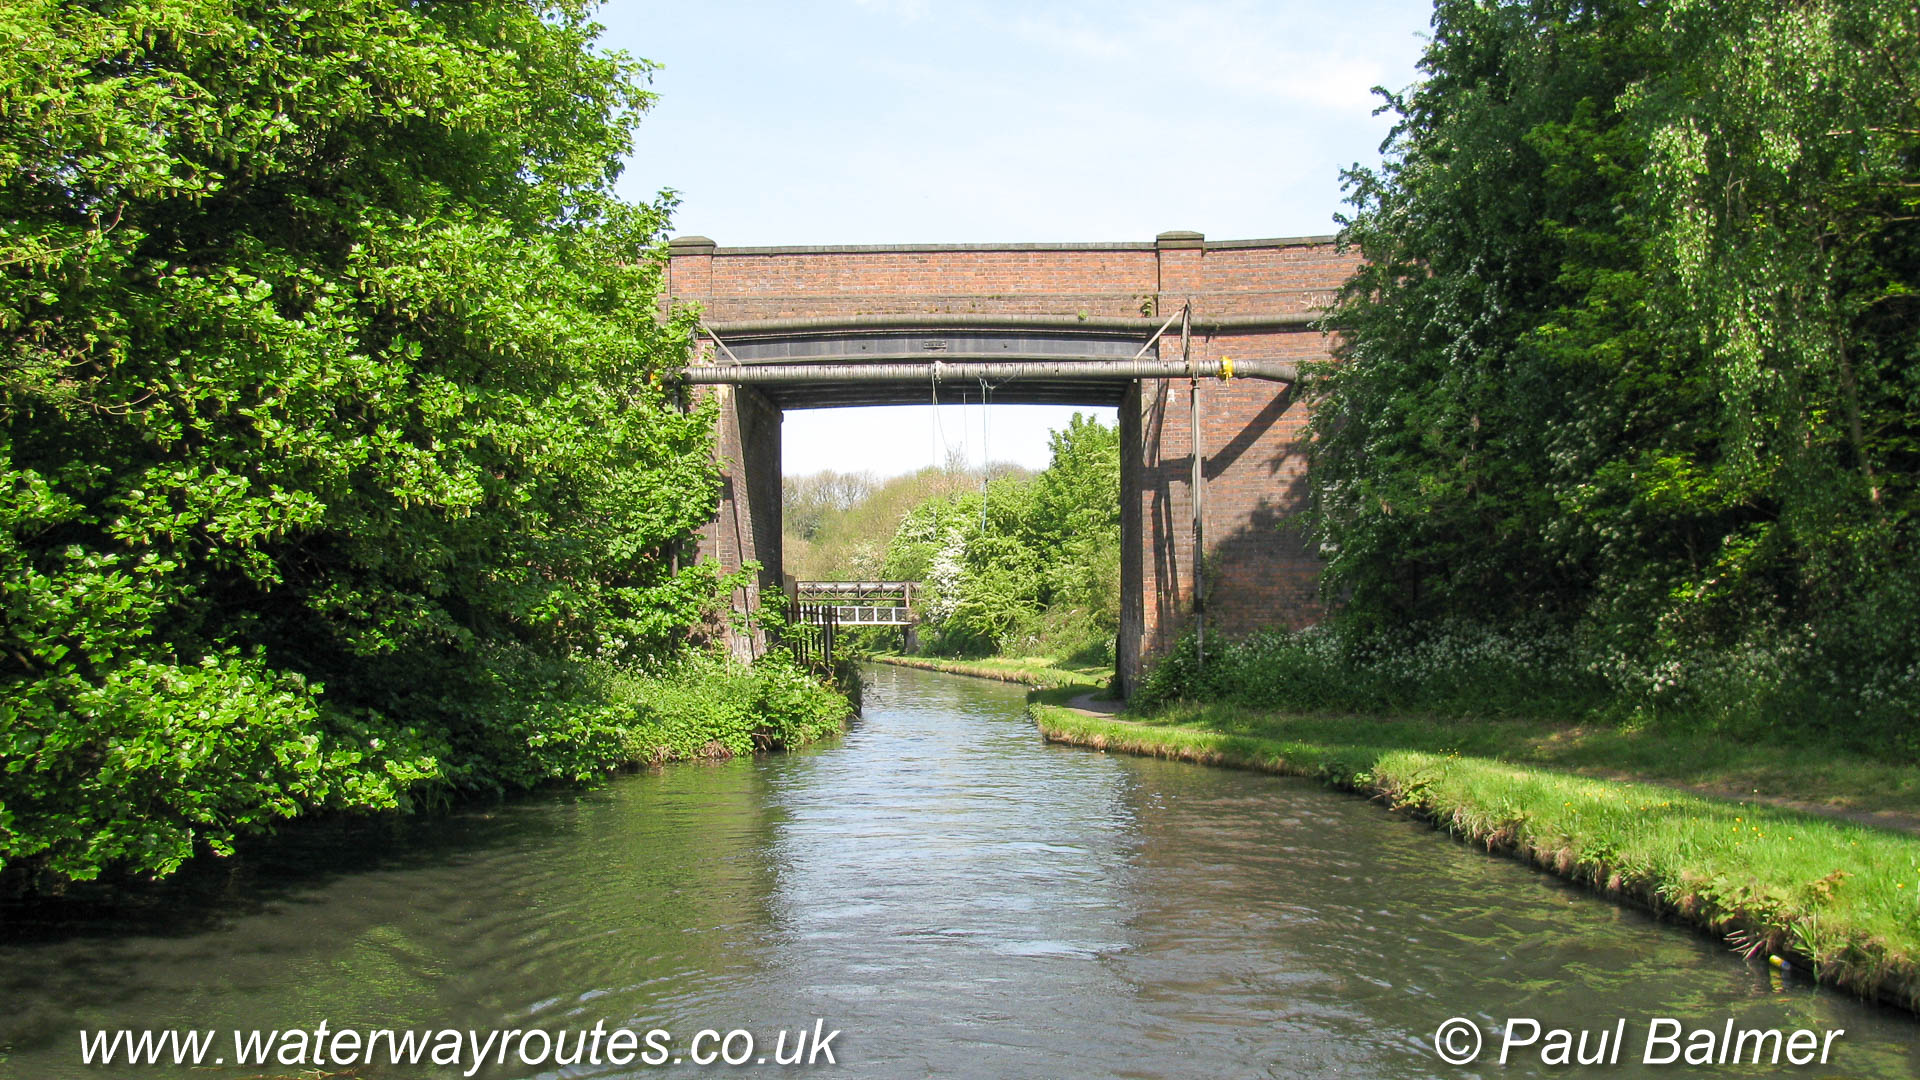
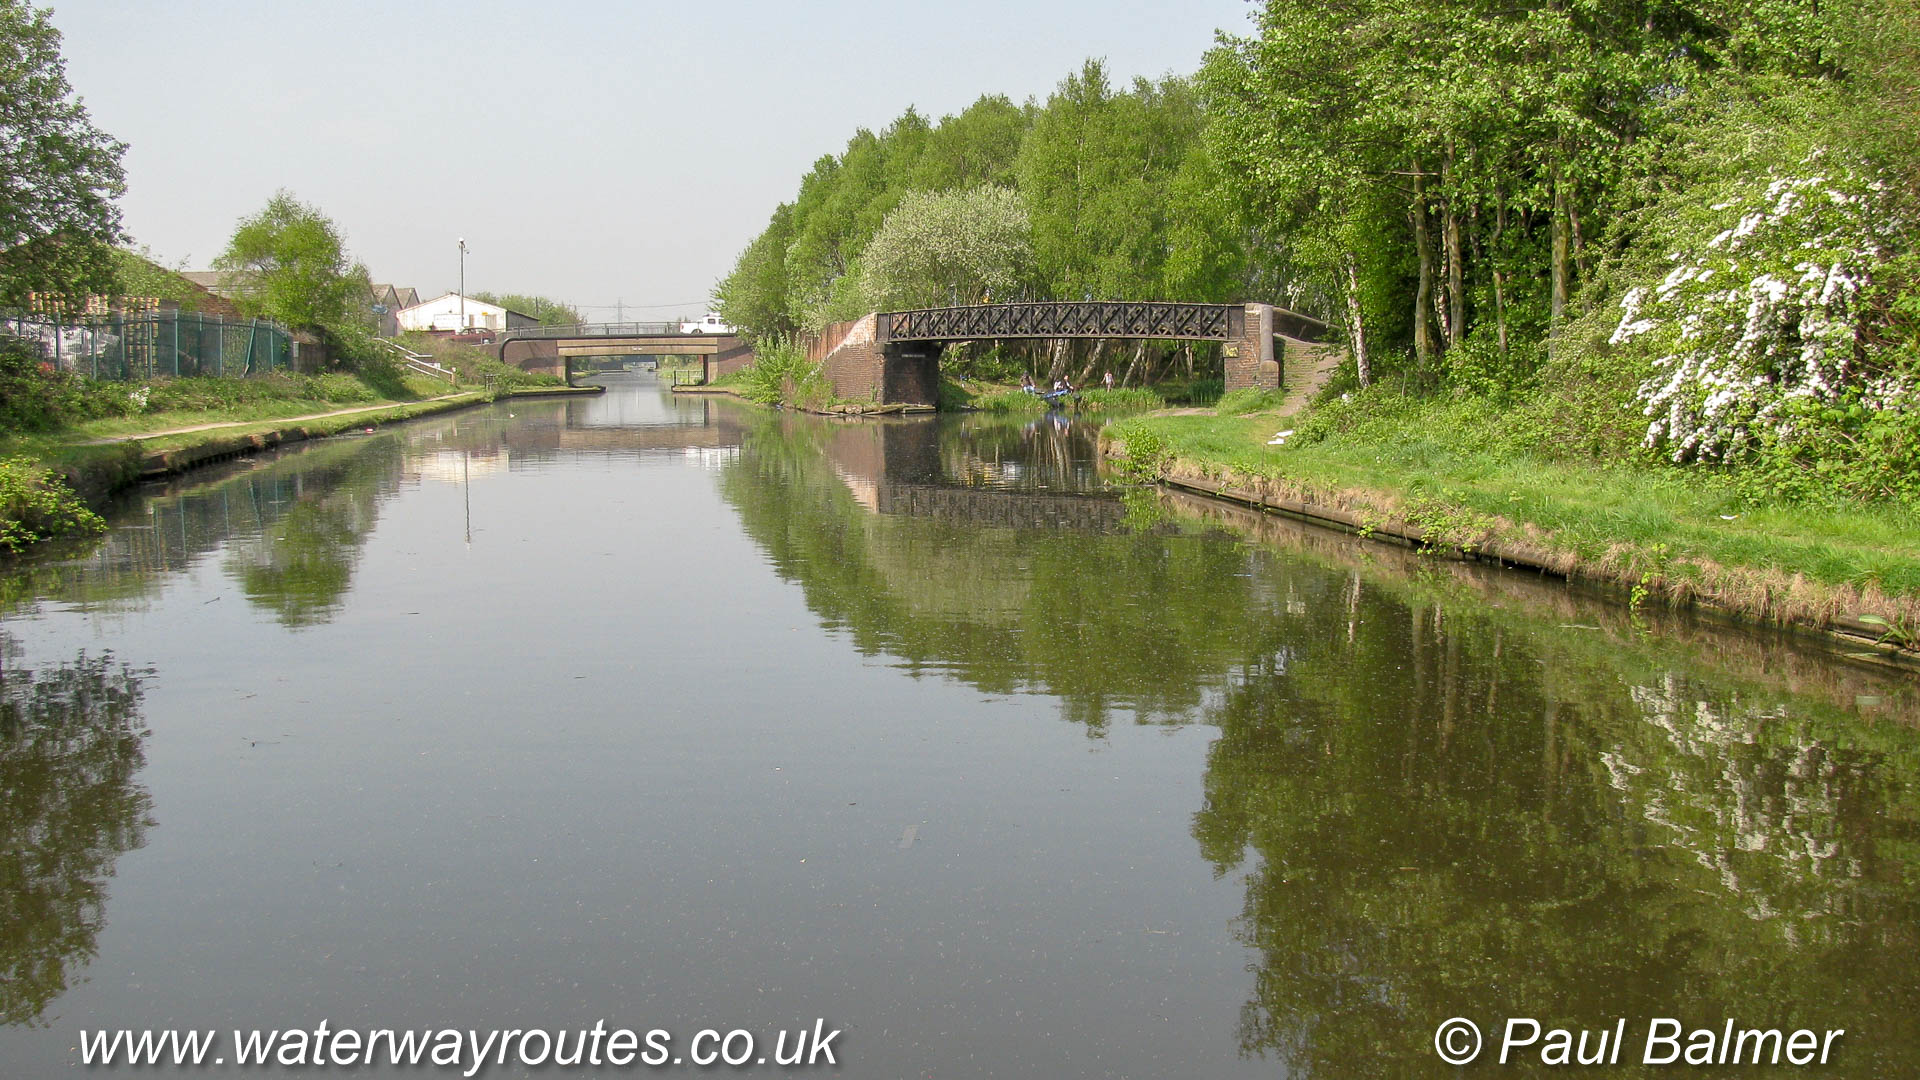
The Wolverhampton Flight is crossed by four times by railway lines, sometimes on low bridges like this and sometimes on much more impressive viaducts.
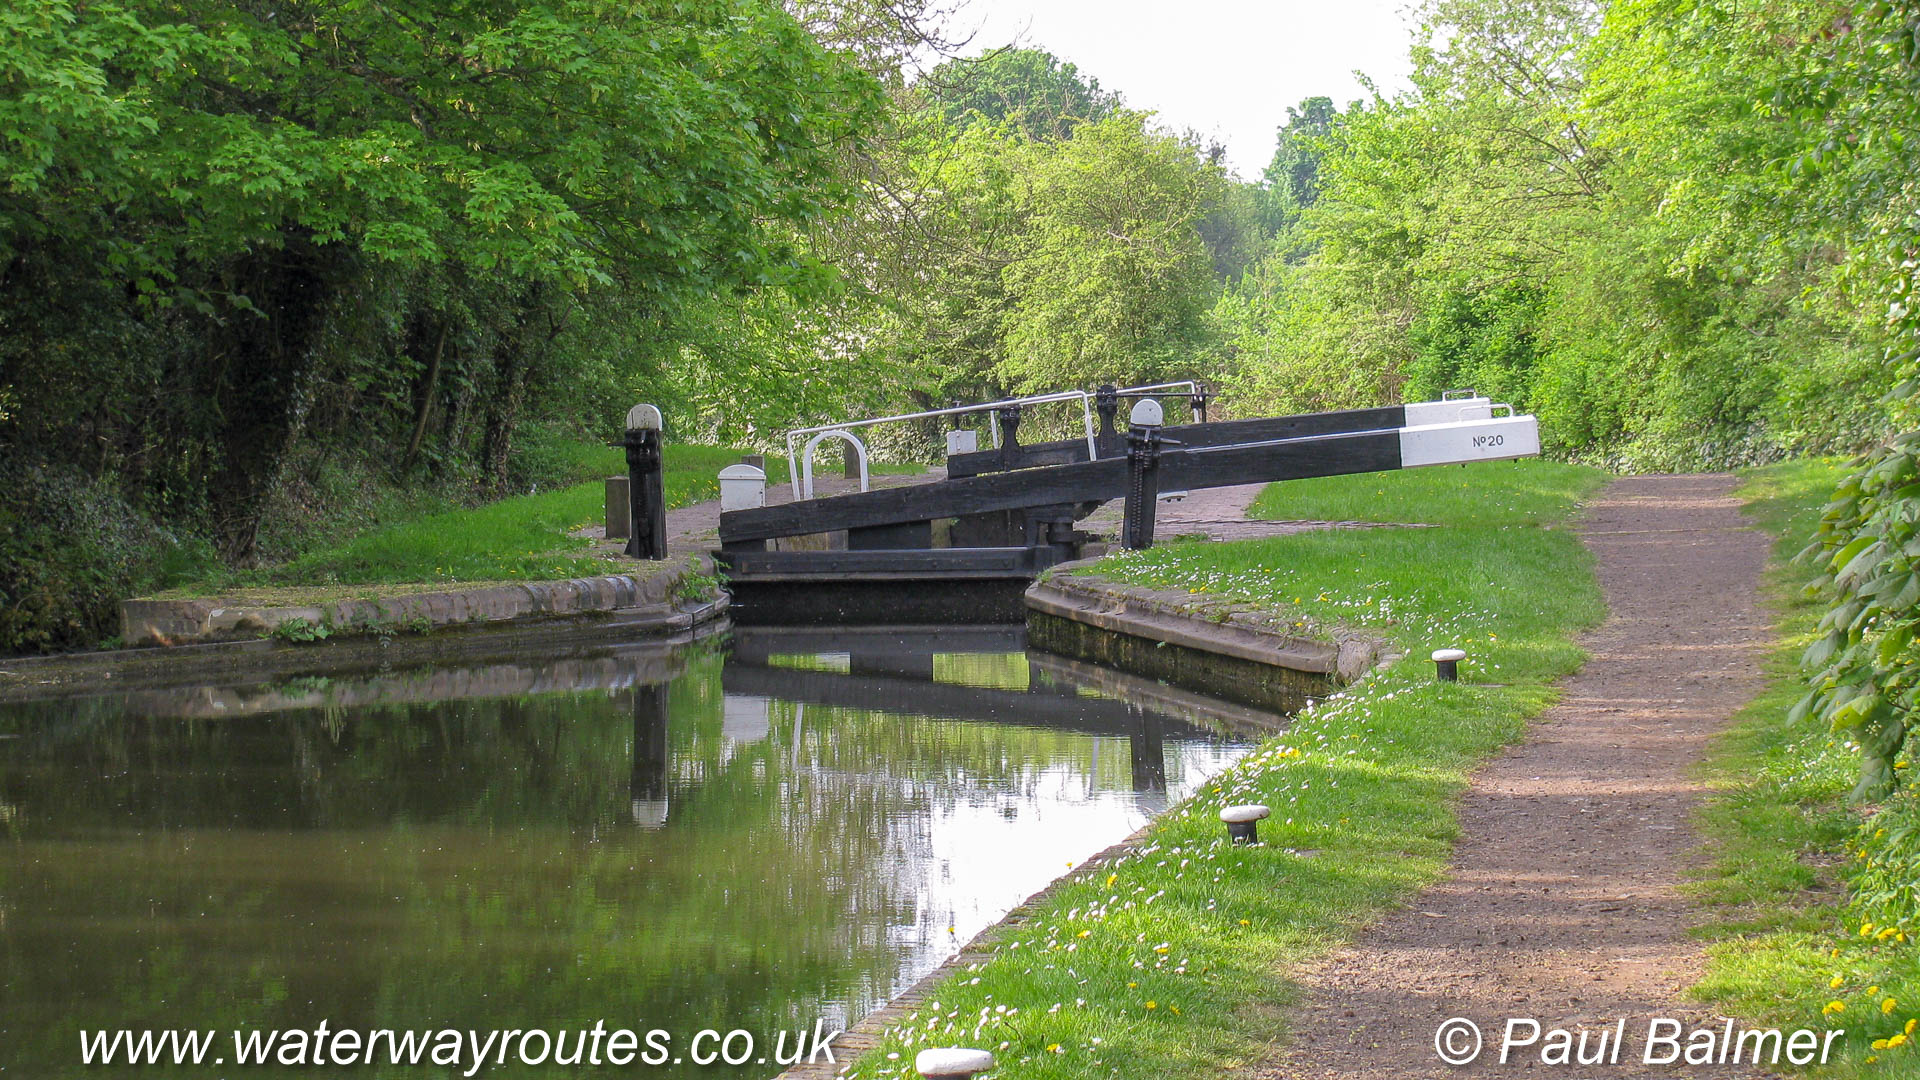
Many of the locks in the Wolverhampton Flight have bridges across the tail of the lock. This is Lock 10.
Despite being close to the centre of Wolverhampton the canal forms a lovely green route to or from the city.

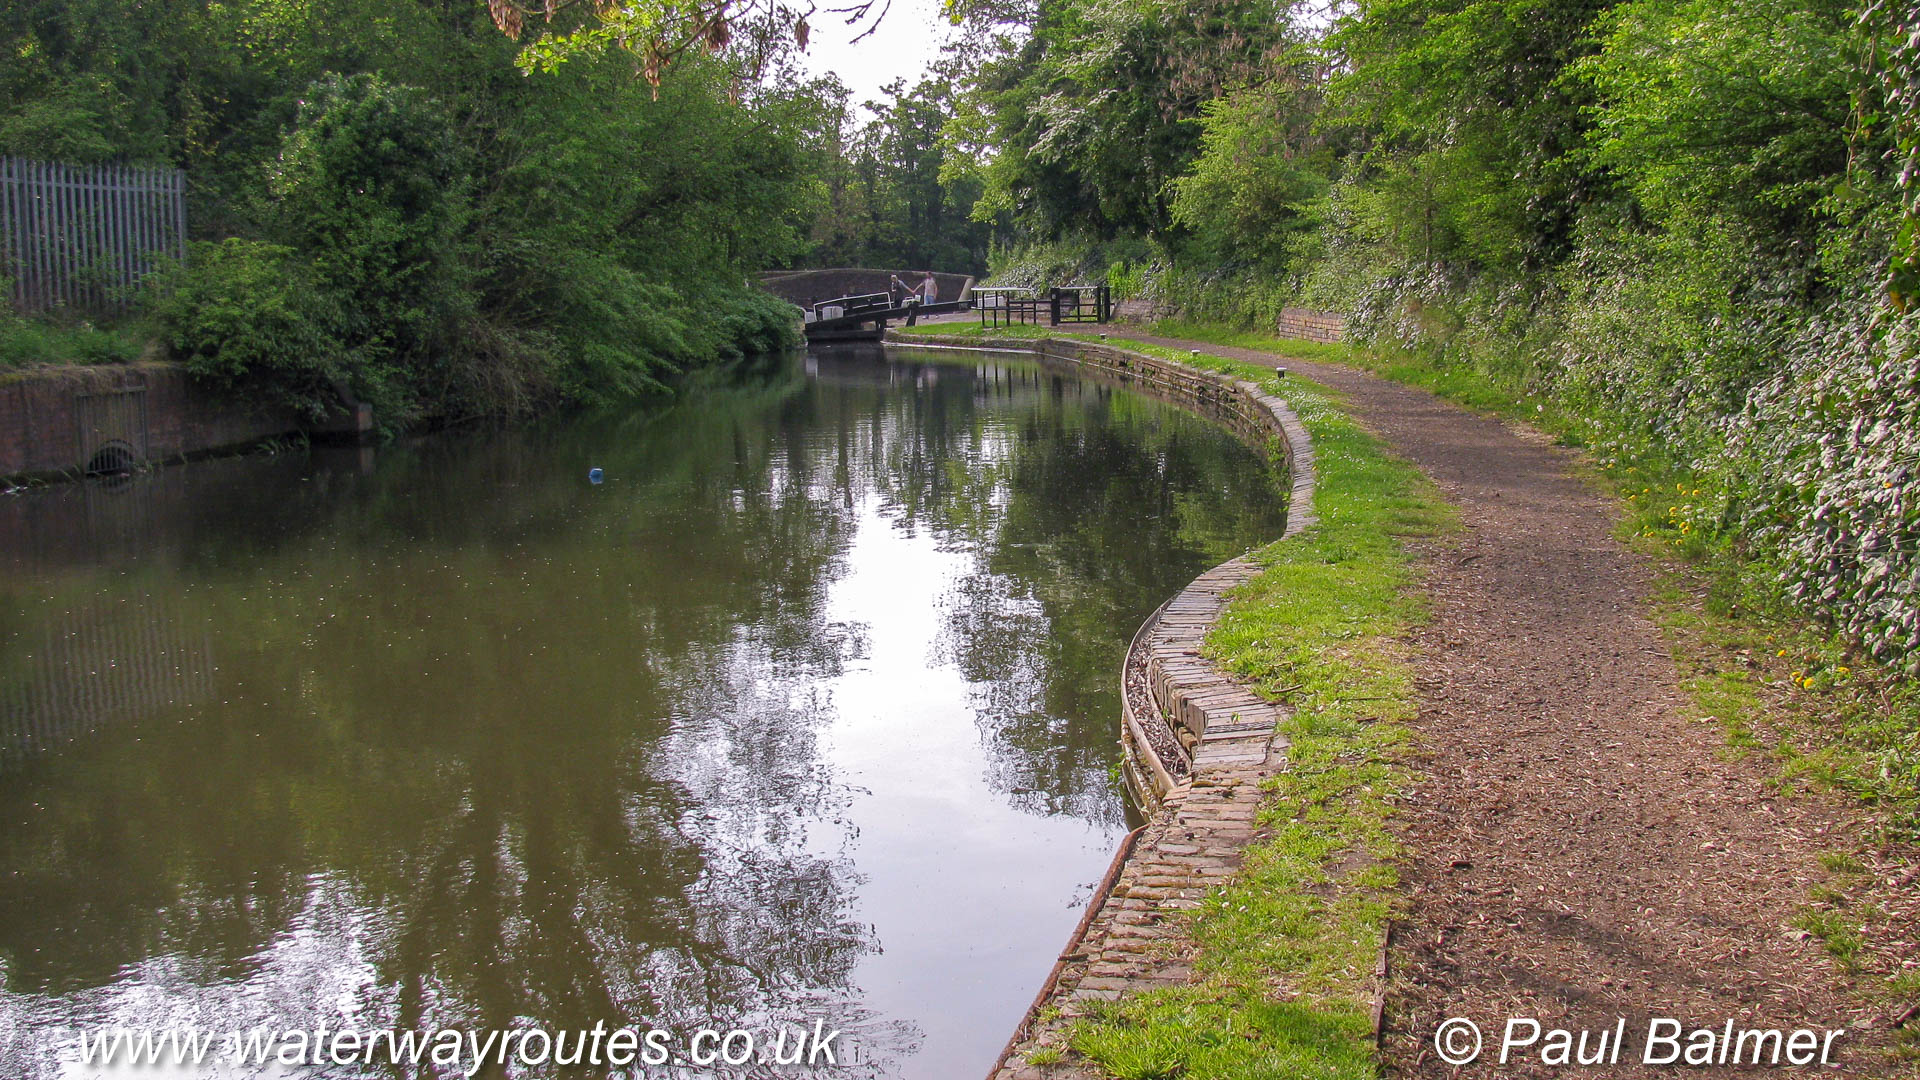
The locks on the Wolverhampton Flight are sensibly spaced so they are in easy walking distance for the crew, but far enough apart that boats can pass easily in the pound.
110424-162311 – SO 91810 98939 – BCN-ML 21-650
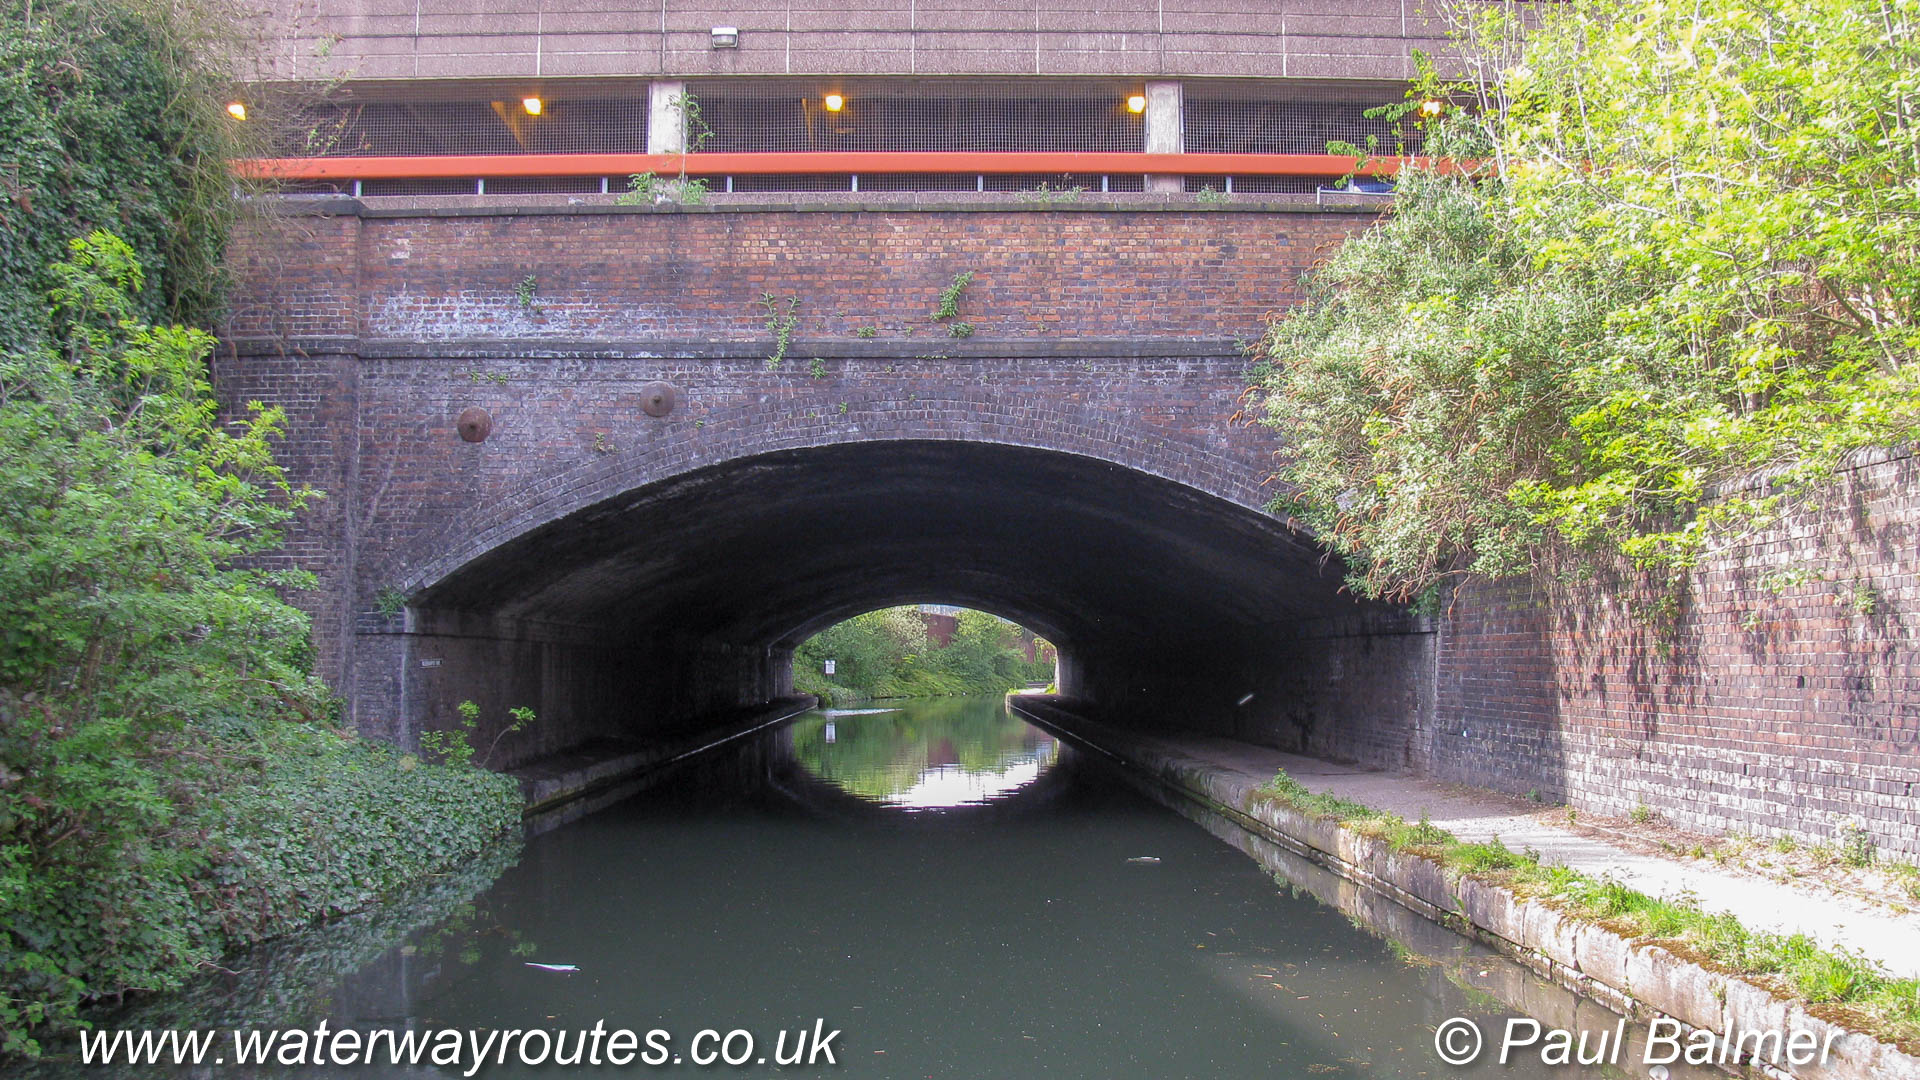
Almost a long bridge, this is Wolverhampton Tunnel which provides no restriction to navigation as two boats can pass just as easily in the tunnel as outside.
Approaching Pudding Green Junction where the New Main Line of the Birmingham Canal Navigations (BCN) continues straight ahead towards Factory Junction and Wolverhampton. Turning right under the
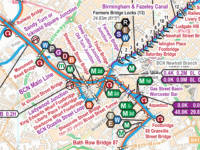 England & Wales Waterway Map for Download
by Rudolf Bischof
England & Wales Waterway Map for Download
by Chris Hutchins
England & Wales Waterway Map for Download
by Rudolf Bischof
England & Wales Waterway Map for Download
by Chris Hutchins
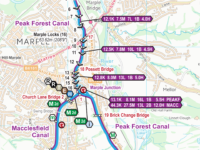 Cheshire Ring Map for Download
by Elaine
England & Wales Waterway Map for Download
by Tony Paxton
England & Wales Waterway Map for Download
by Mike Fielding
Cheshire Ring Map for Download
by Elaine
England & Wales Waterway Map for Download
by Tony Paxton
England & Wales Waterway Map for Download
by Mike Fielding
 RSS Blog Feed
Recent Comments