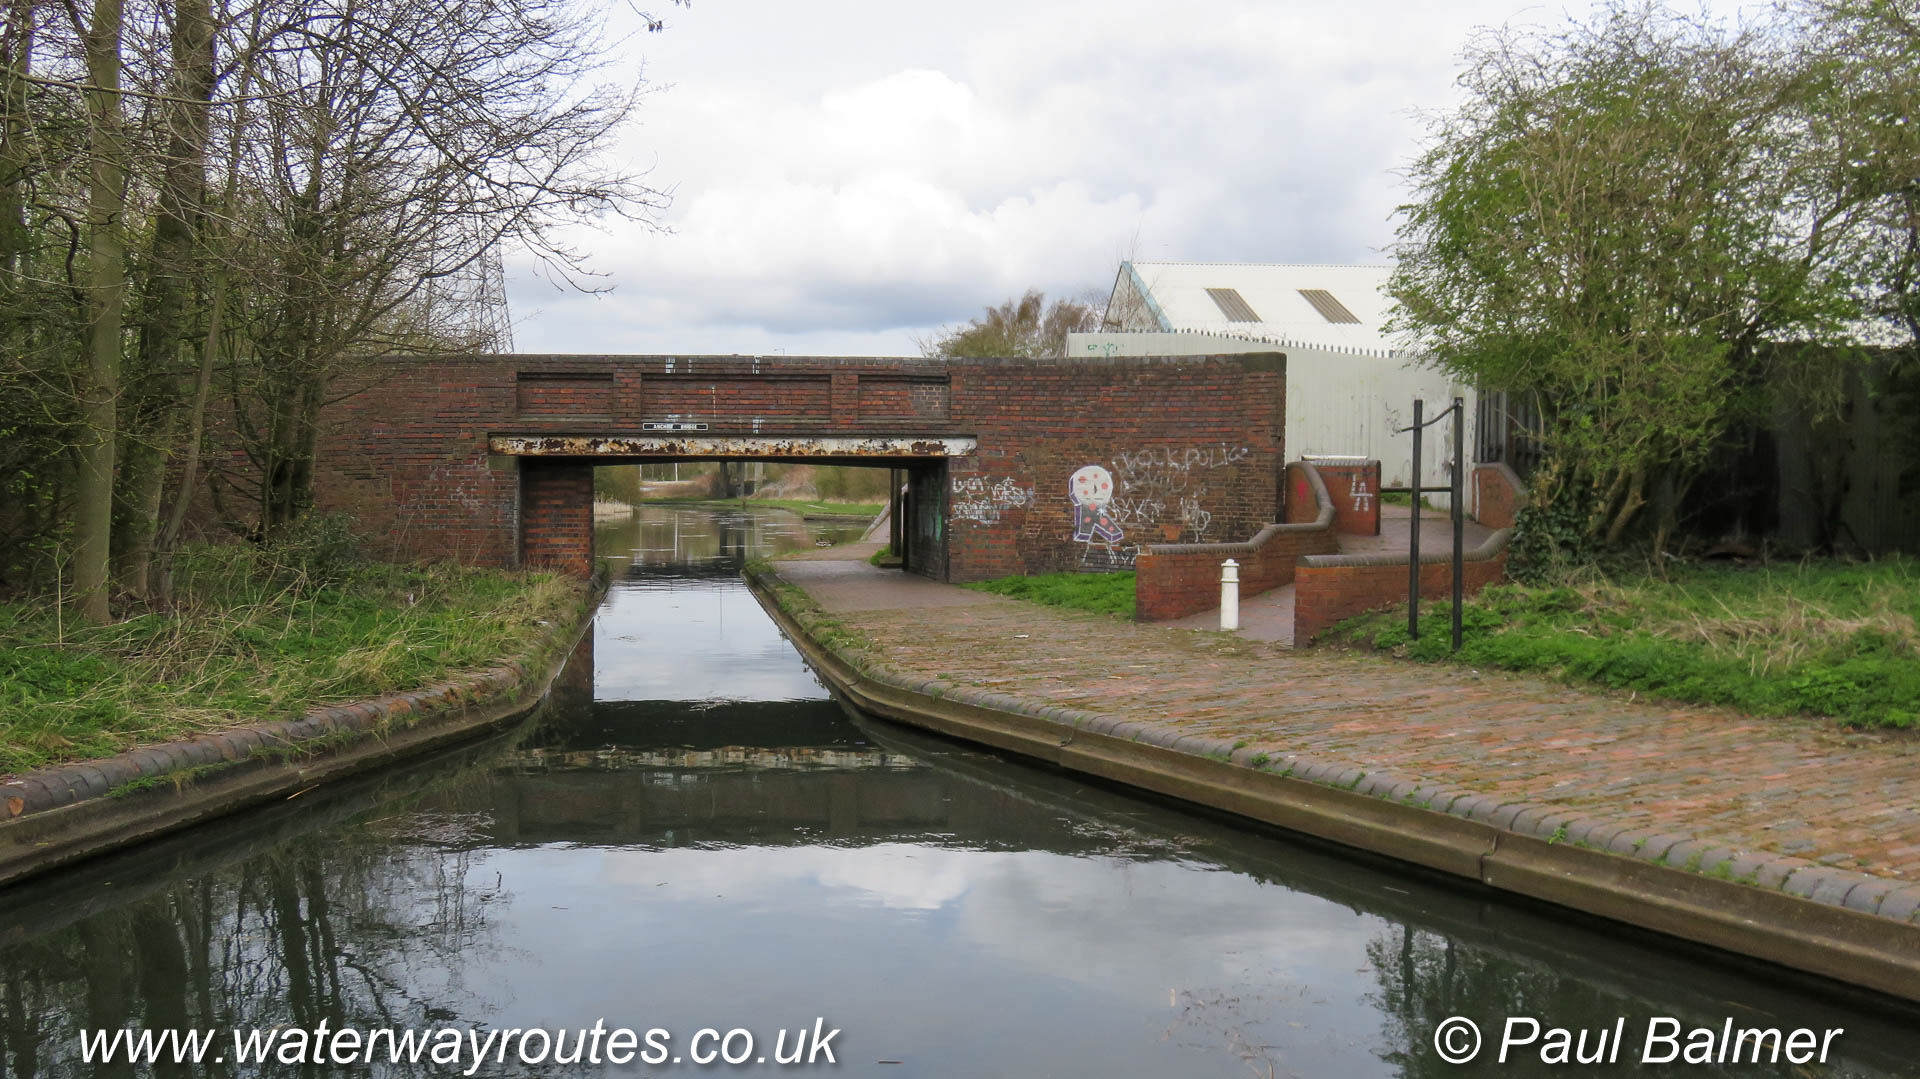
Anchor Bridge
Anchor Bridge is at the Wolverhampton end of the straightened route through Coseley Tunnel, with Deepfields Junction just beyond the bridge.
![]()
Maps and DVDs for the Waterways of Britain
Anchor Bridge is at the Wolverhampton end of the straightened route through Coseley Tunnel, with Deepfields Junction just beyond the bridge.
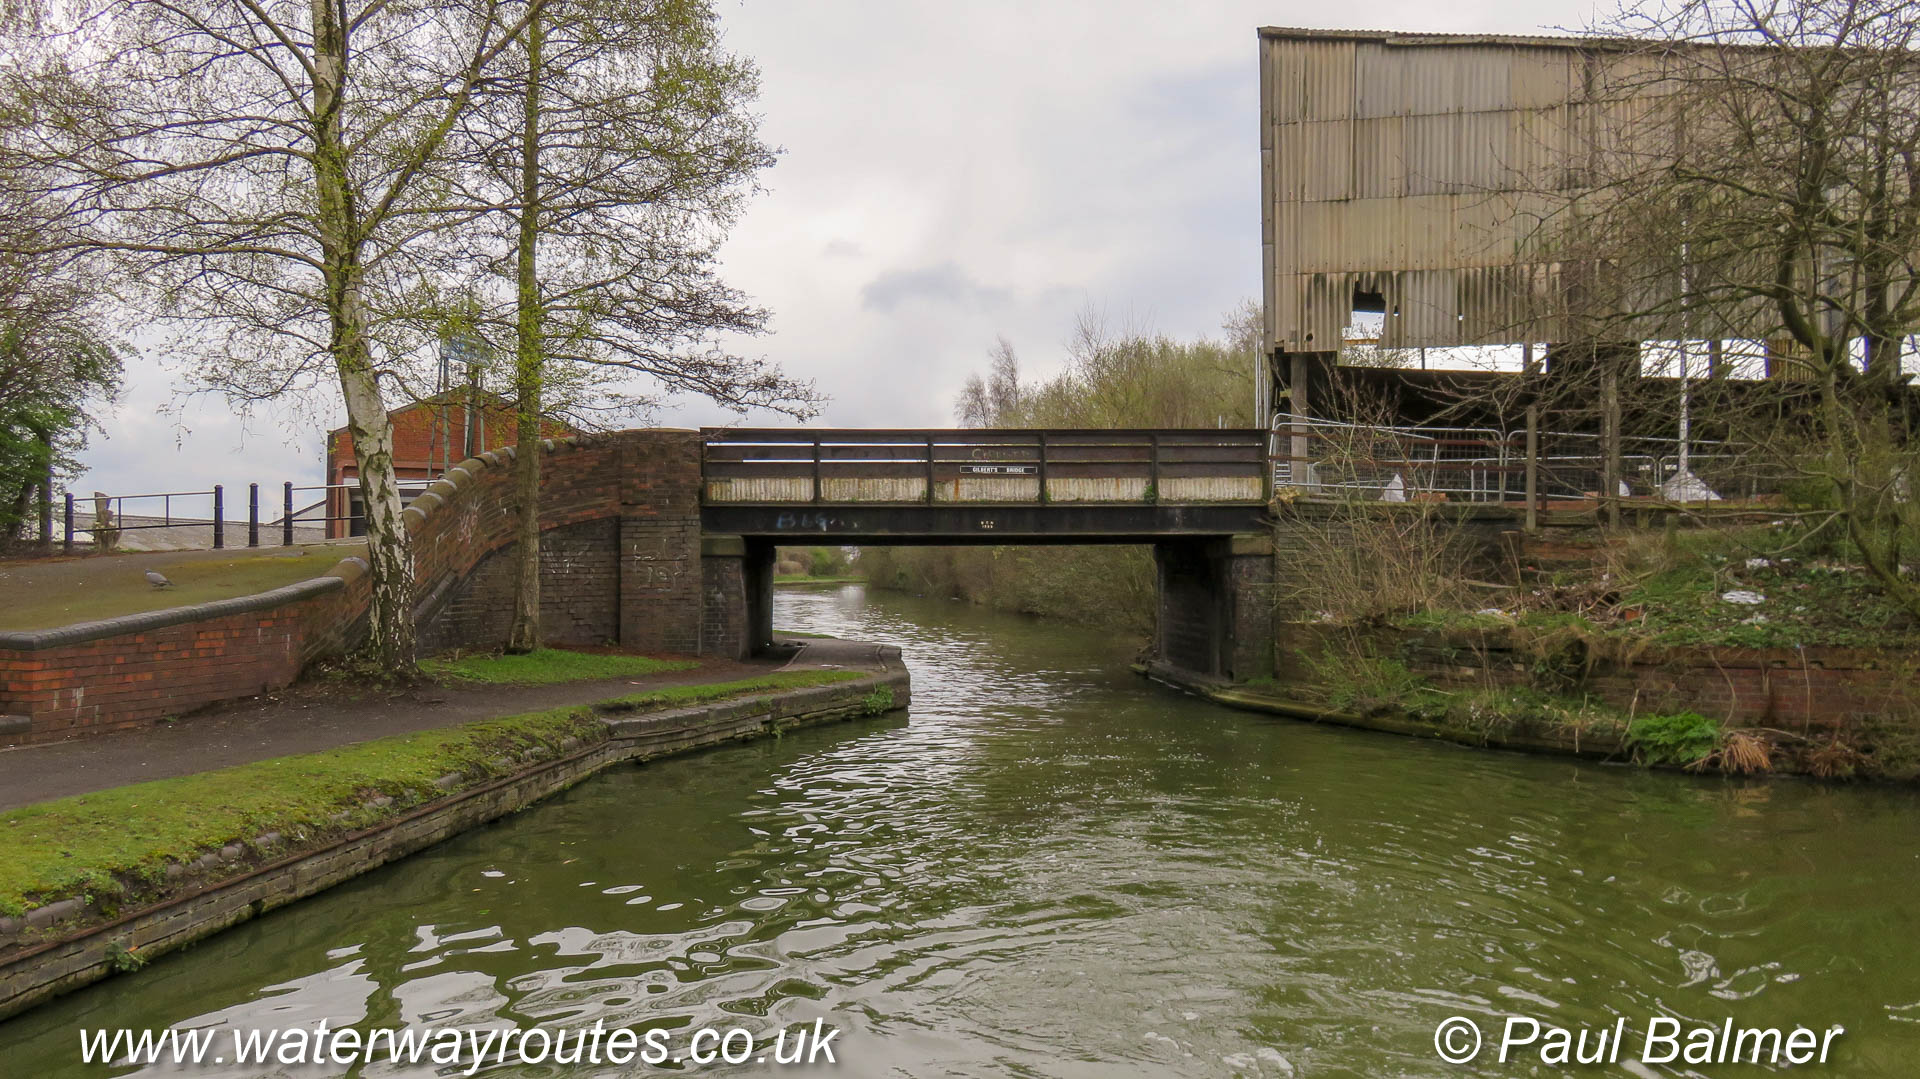
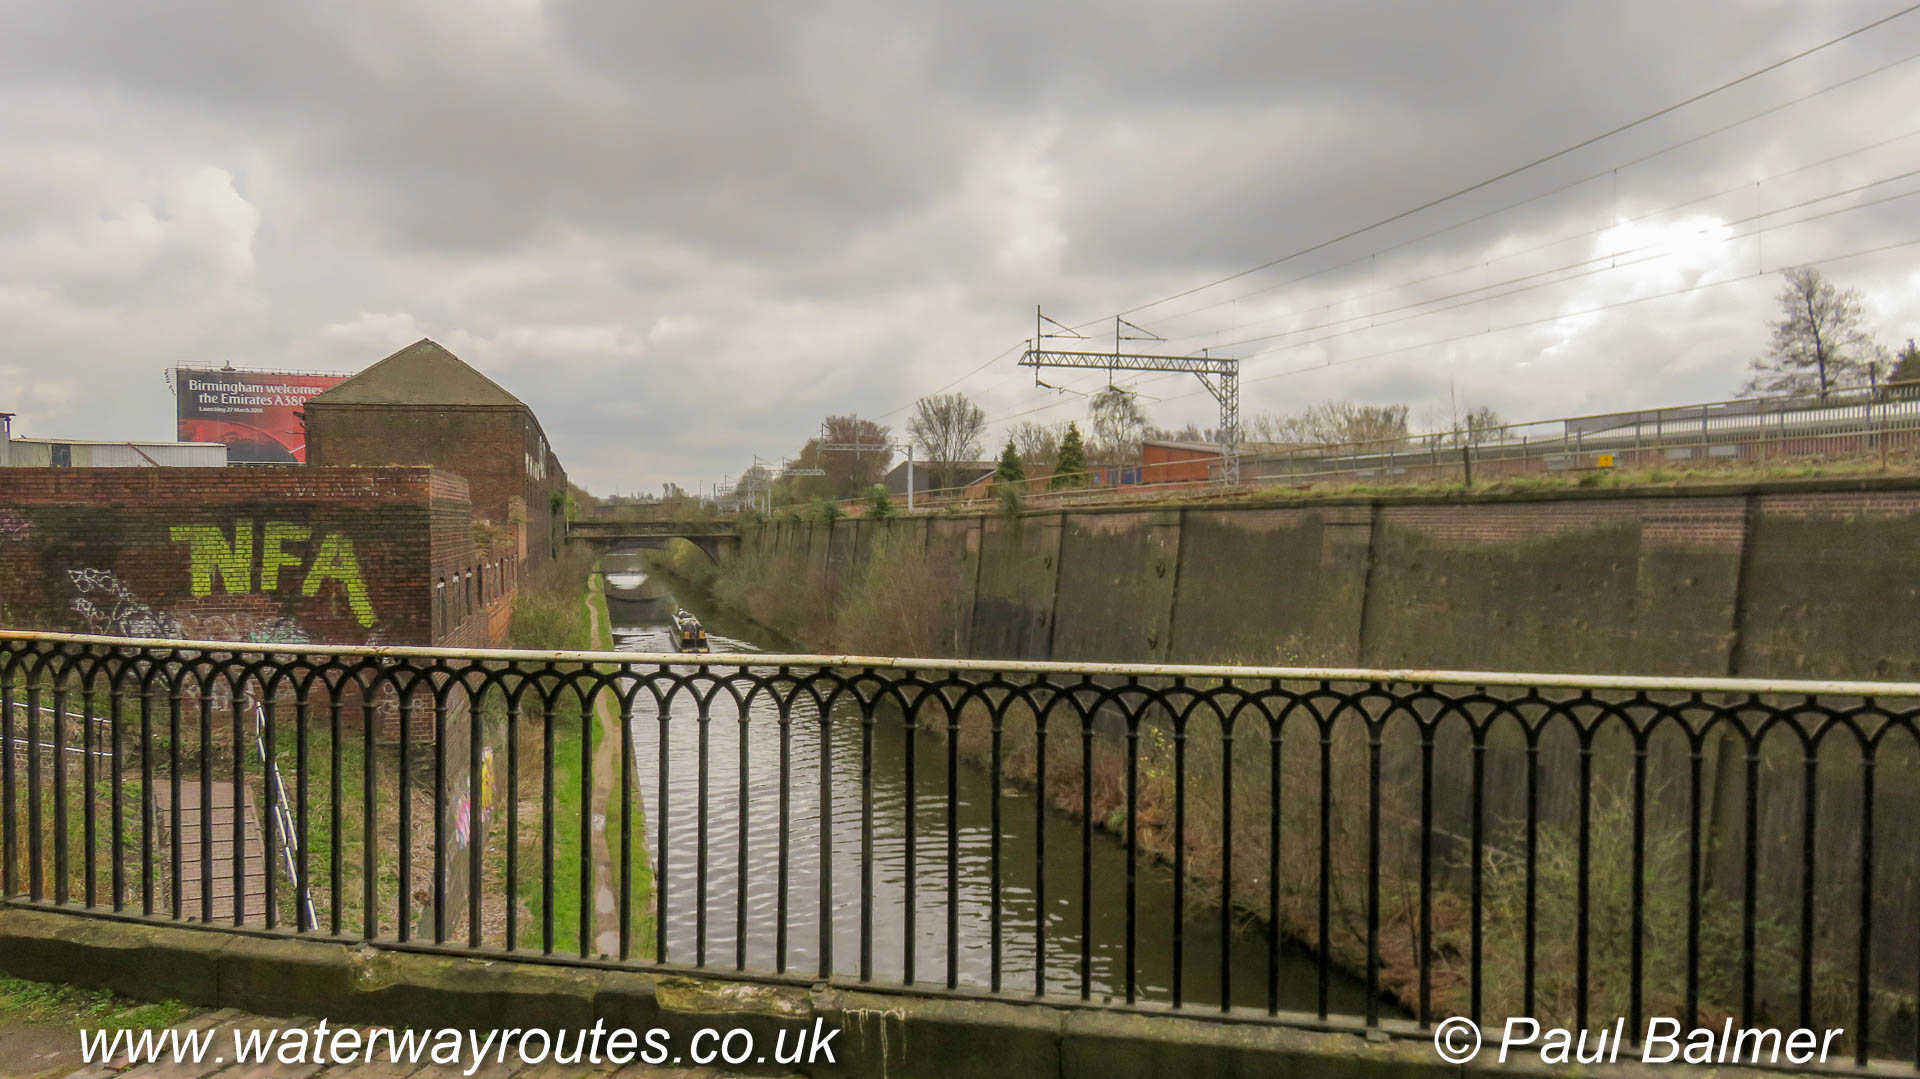
Looking along the Old Main Line towards Factory Junction, with Tipton Junction behind the camera.
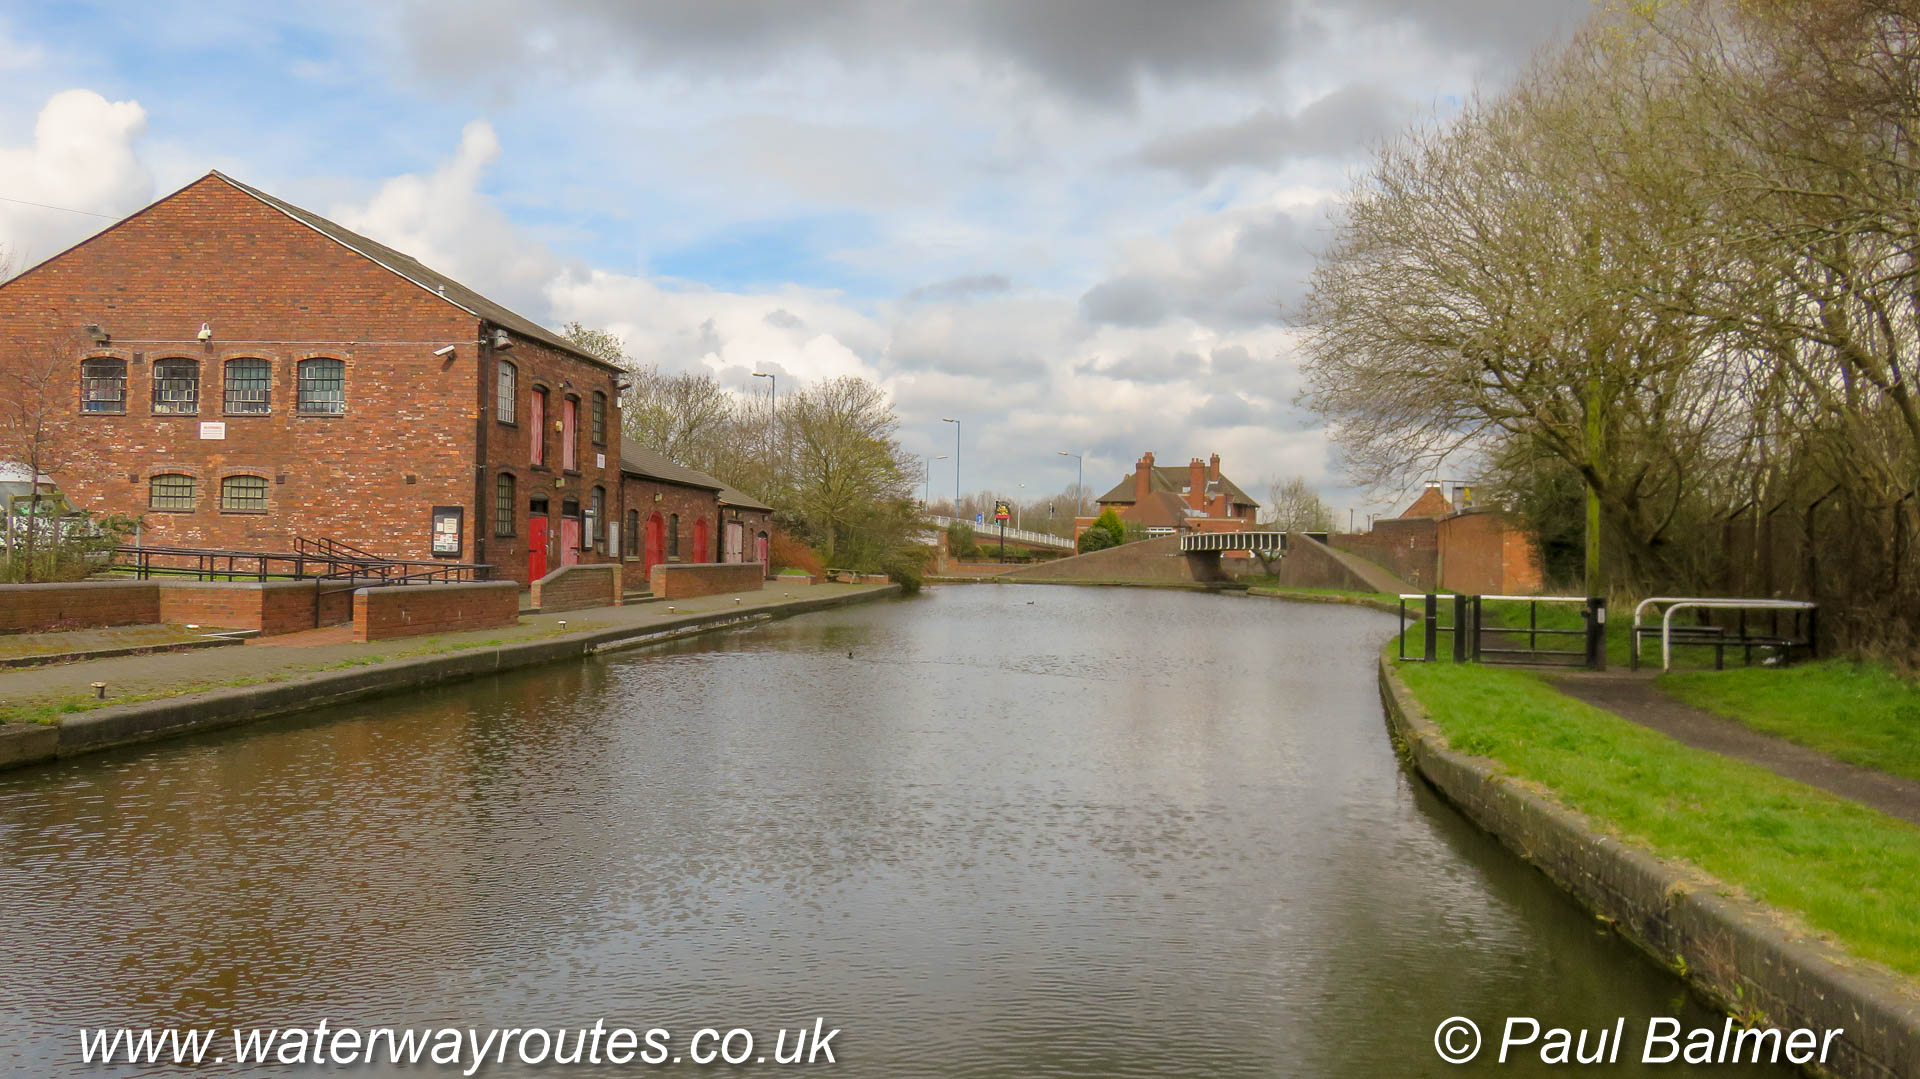
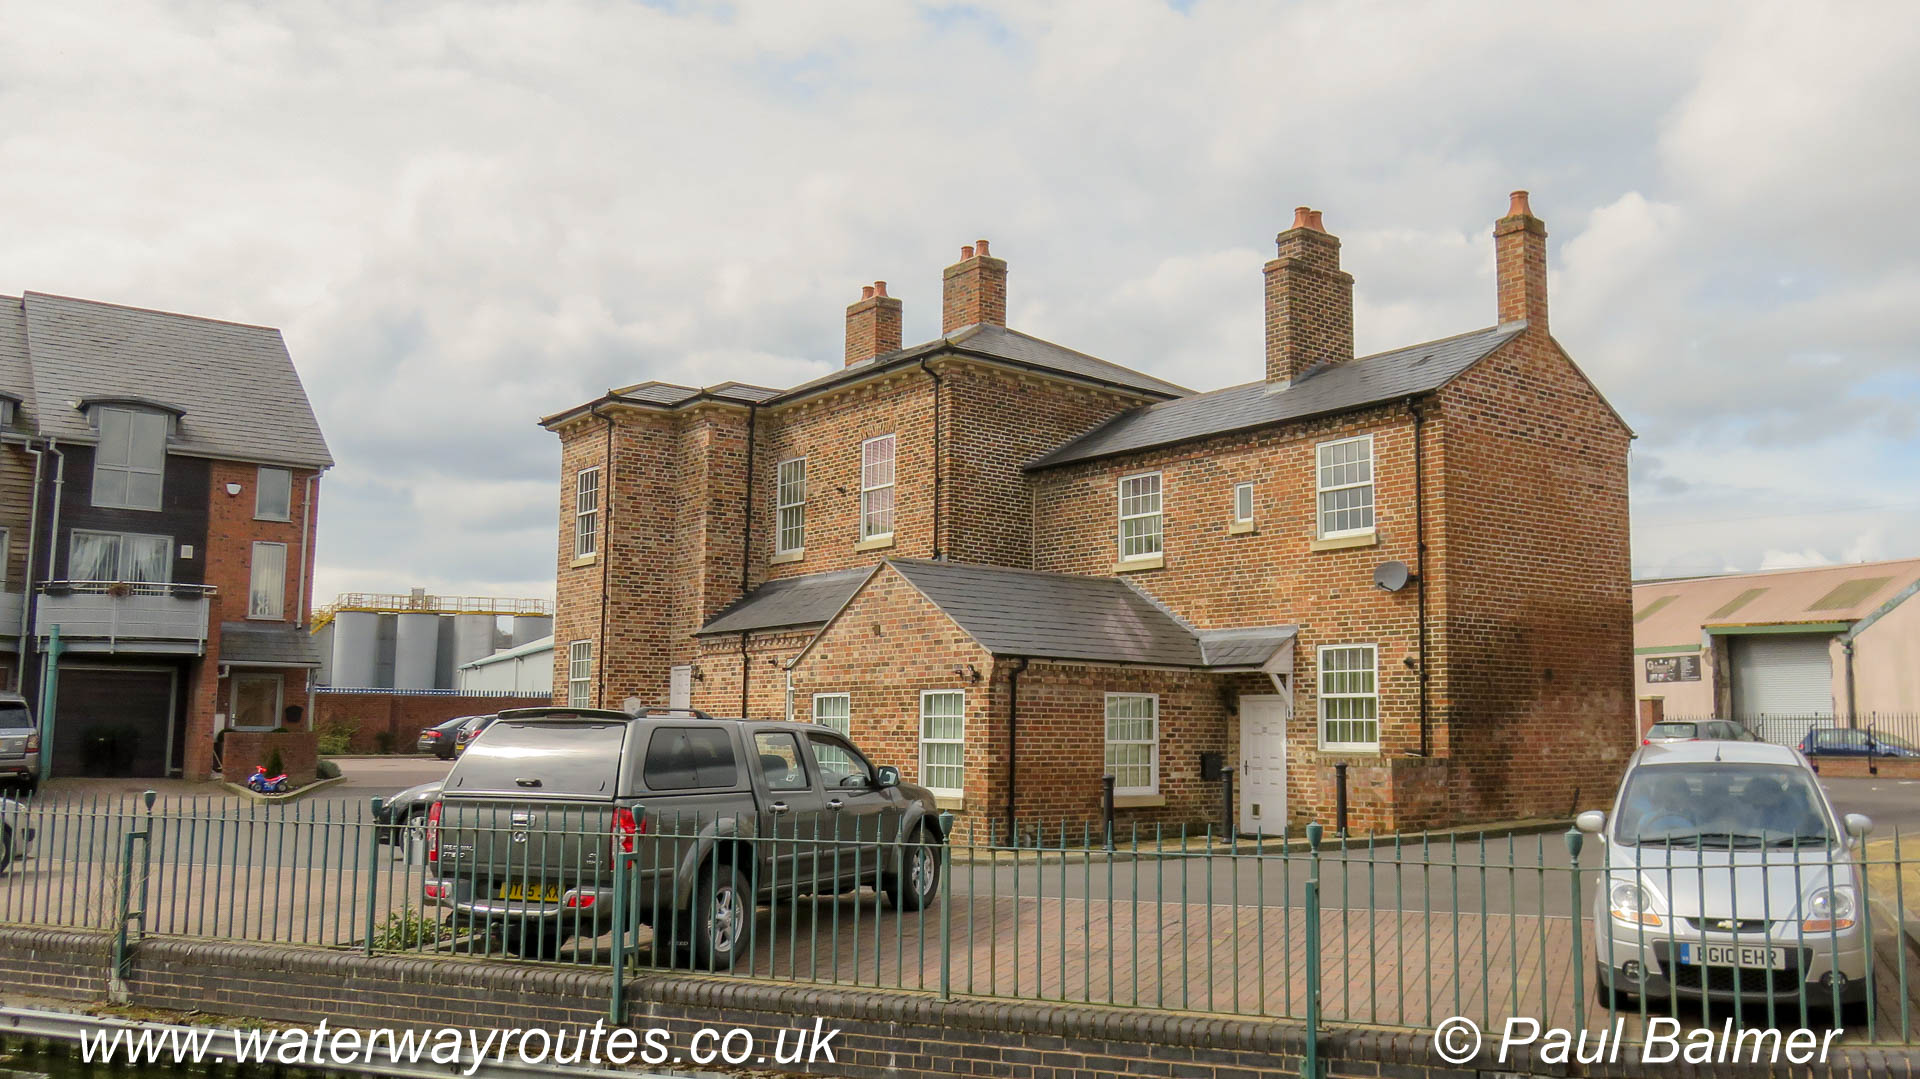
On the left, with the red doors, are the former canal buildings with the ground floor used as stables for the horses and the upper floor used for
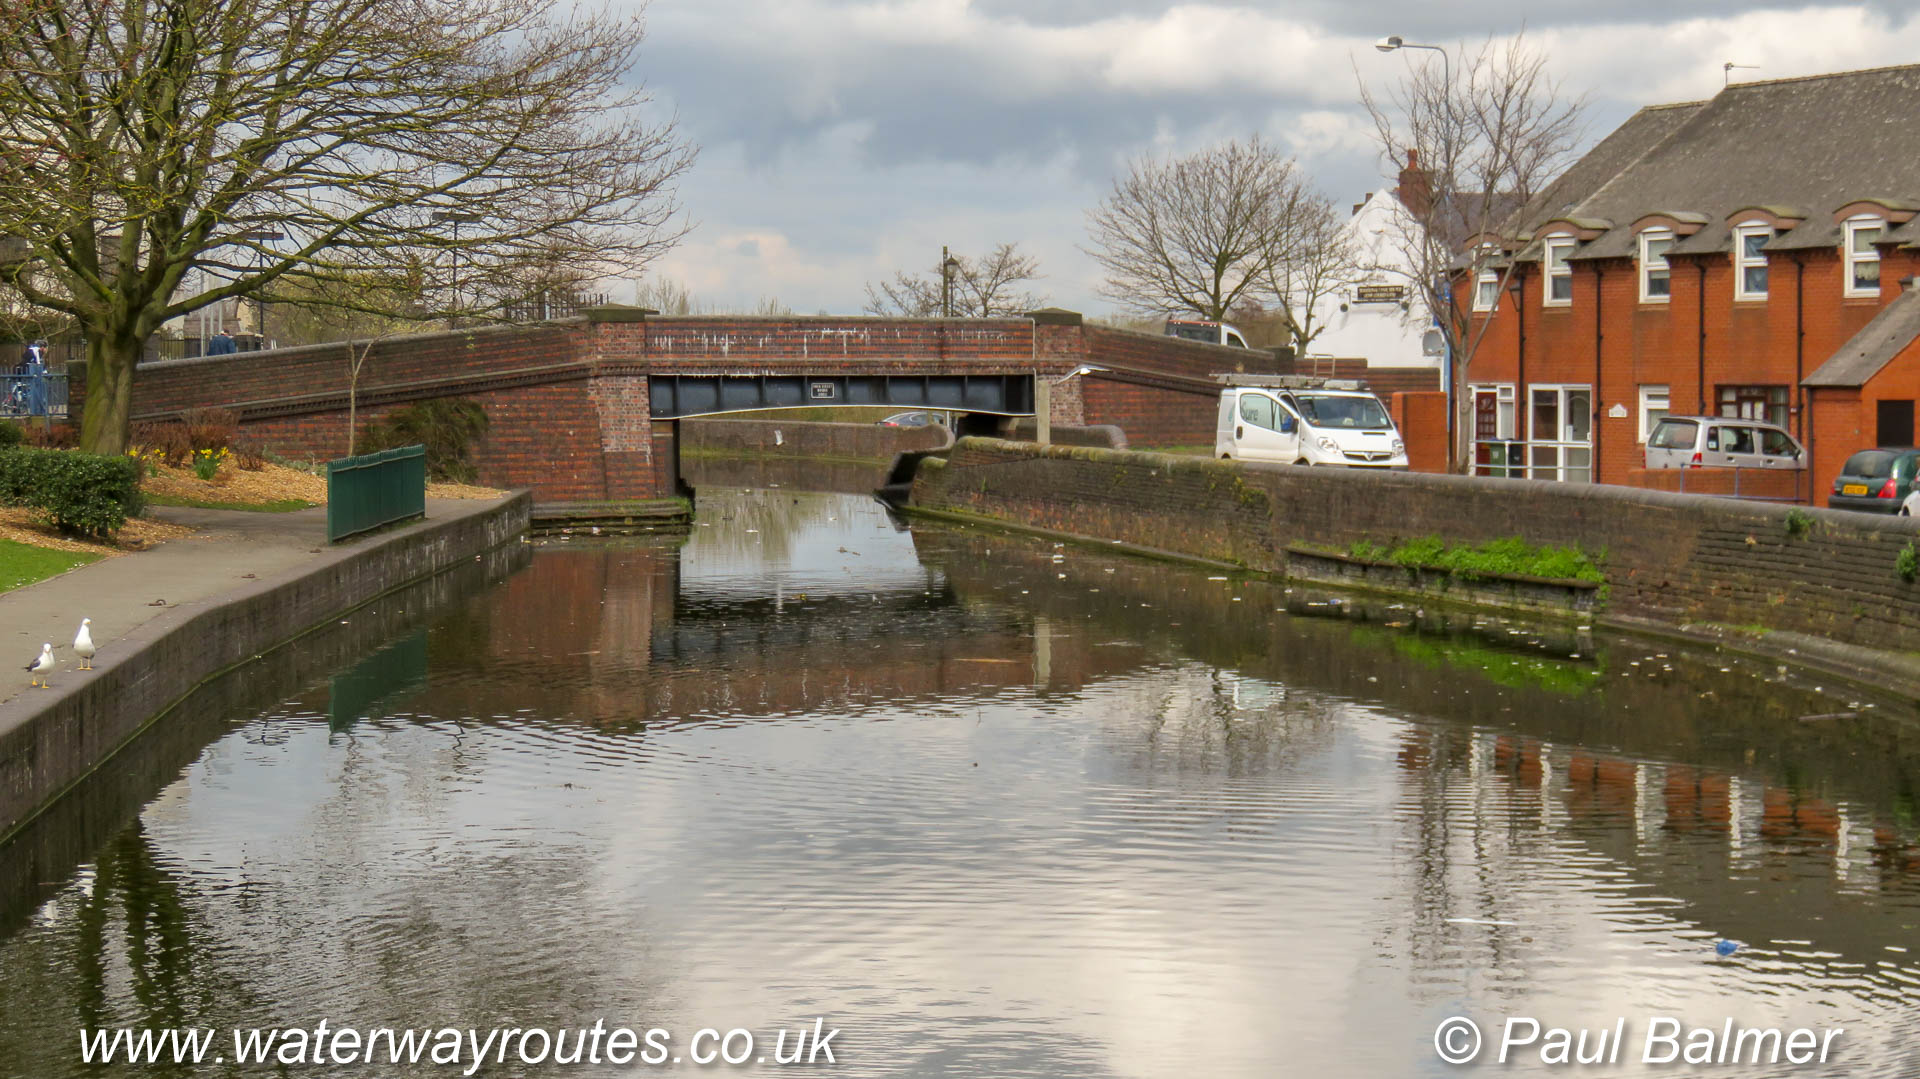
Owen Street Bridge may look like it’s been there for some time but the plaque on the metal arch says
The steps up to the brick wall at the side of the canal mark the location of the former Tipton Green Junction with the now abandoned Tipton Green Branch.
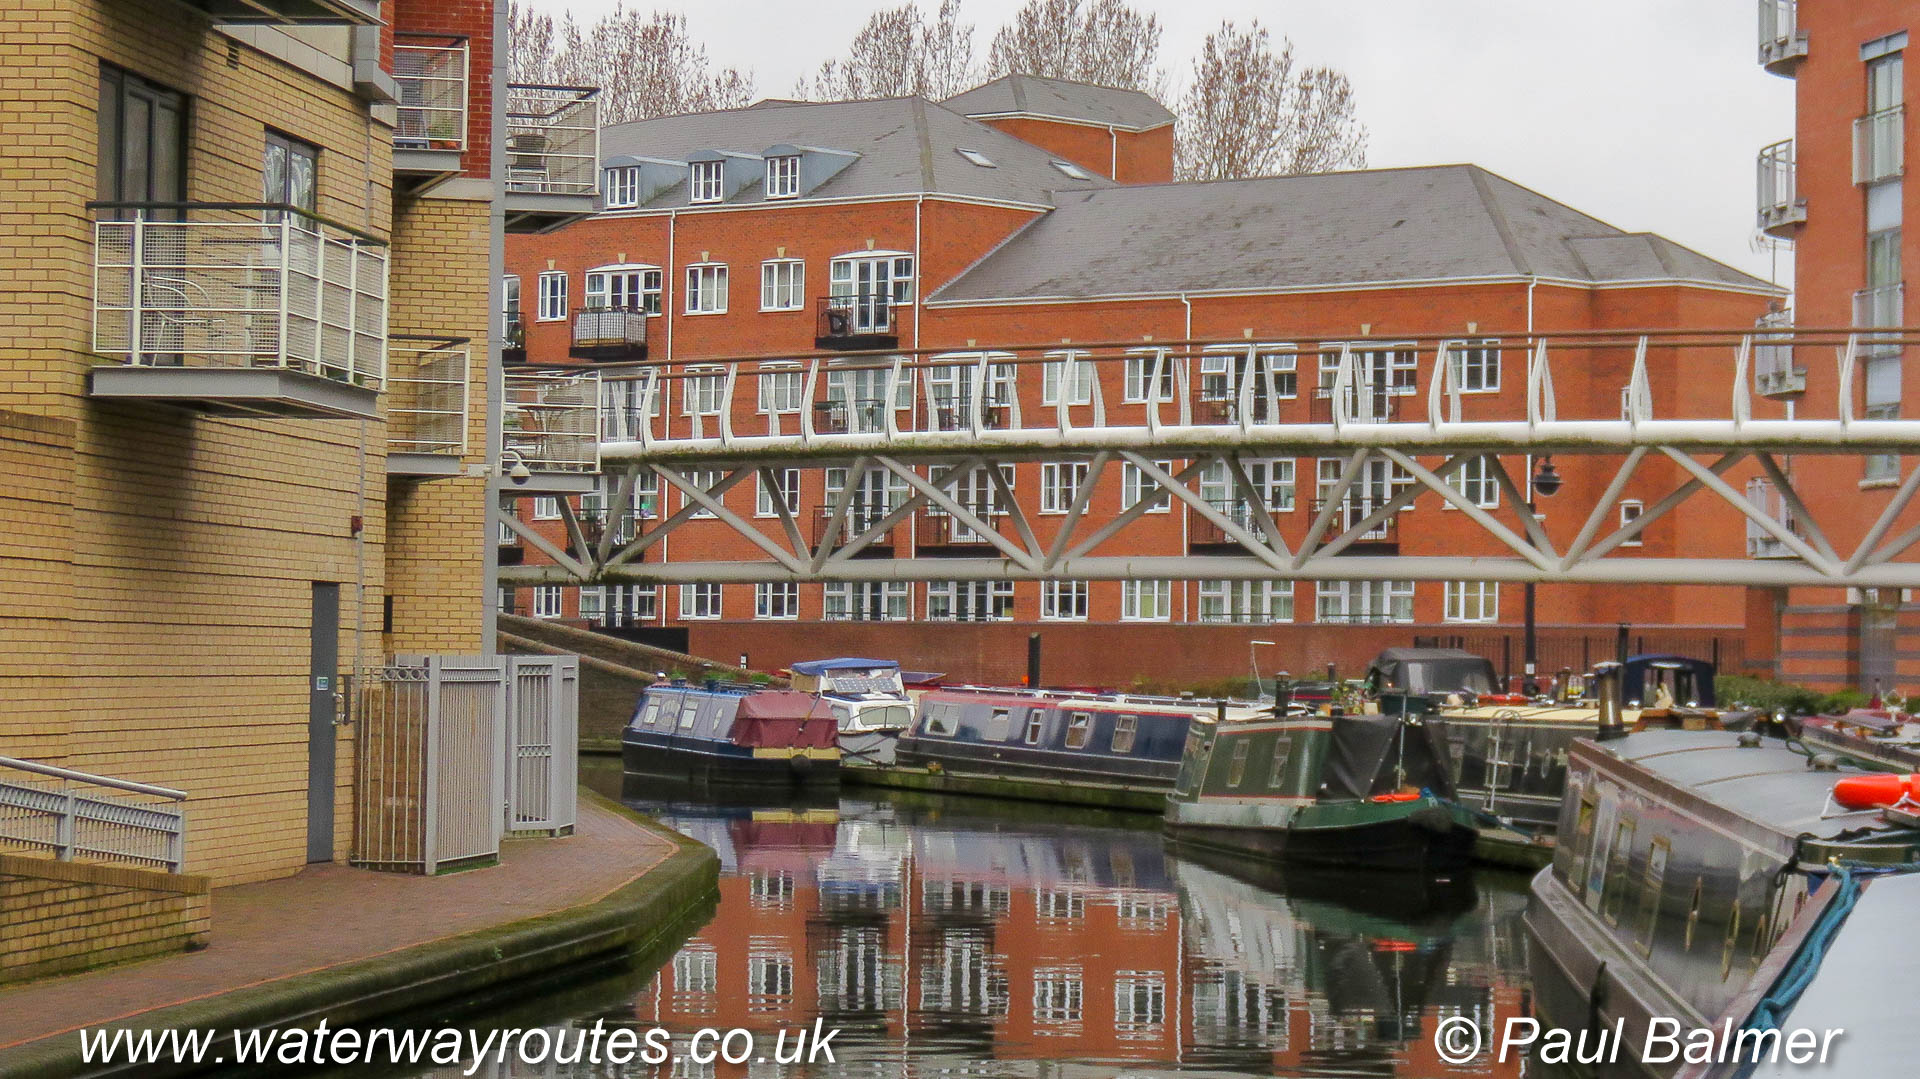
The original building has the white front door and had one window each side. It;s been carefully extended to several times its original size in carefully matching brickwork and style.
Some modern housing developments have incorporated former arms and wharves to make them look attractive, although I’ve never seen a boat enter this arm.
The Netherton Tunnel Branch, viewed from the Tividale Aqueduct which carries the old Main Line over the branch.
Another example of a flat topped bridge along the Old Main Line.
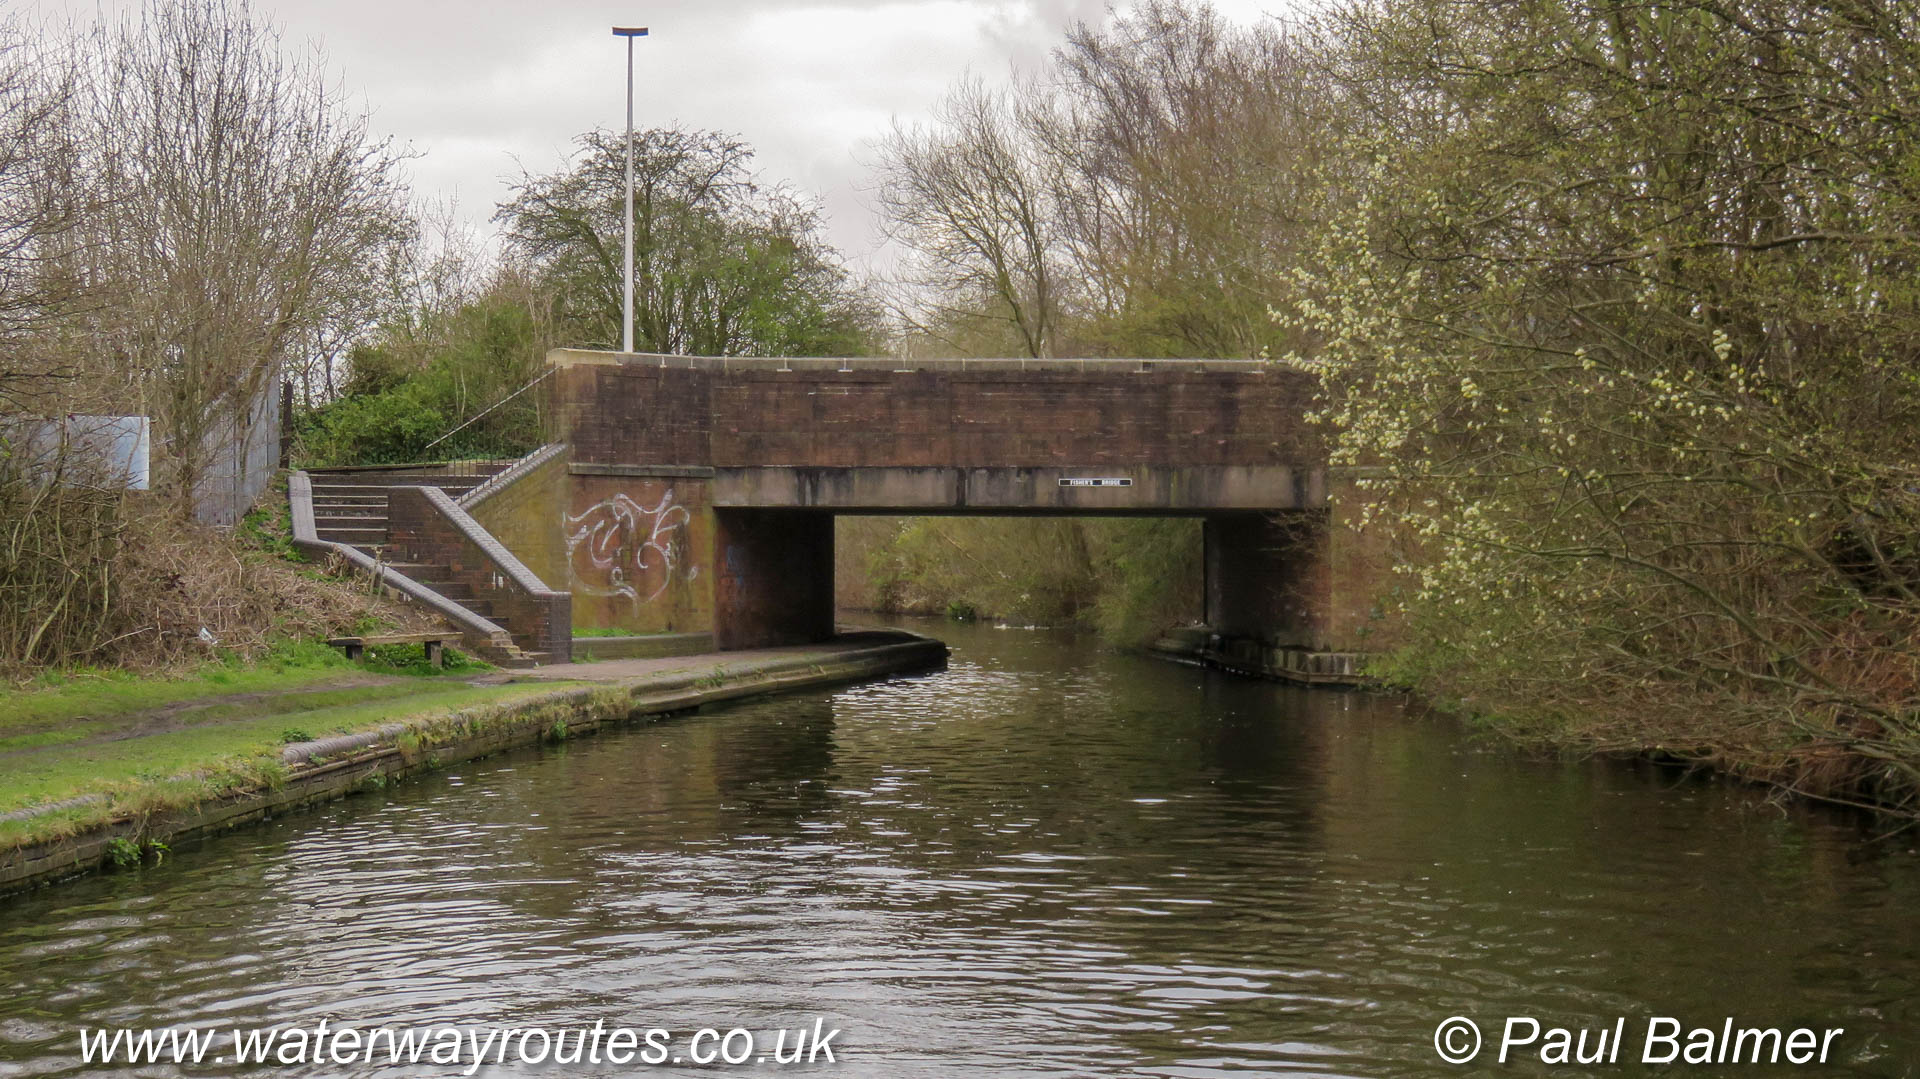
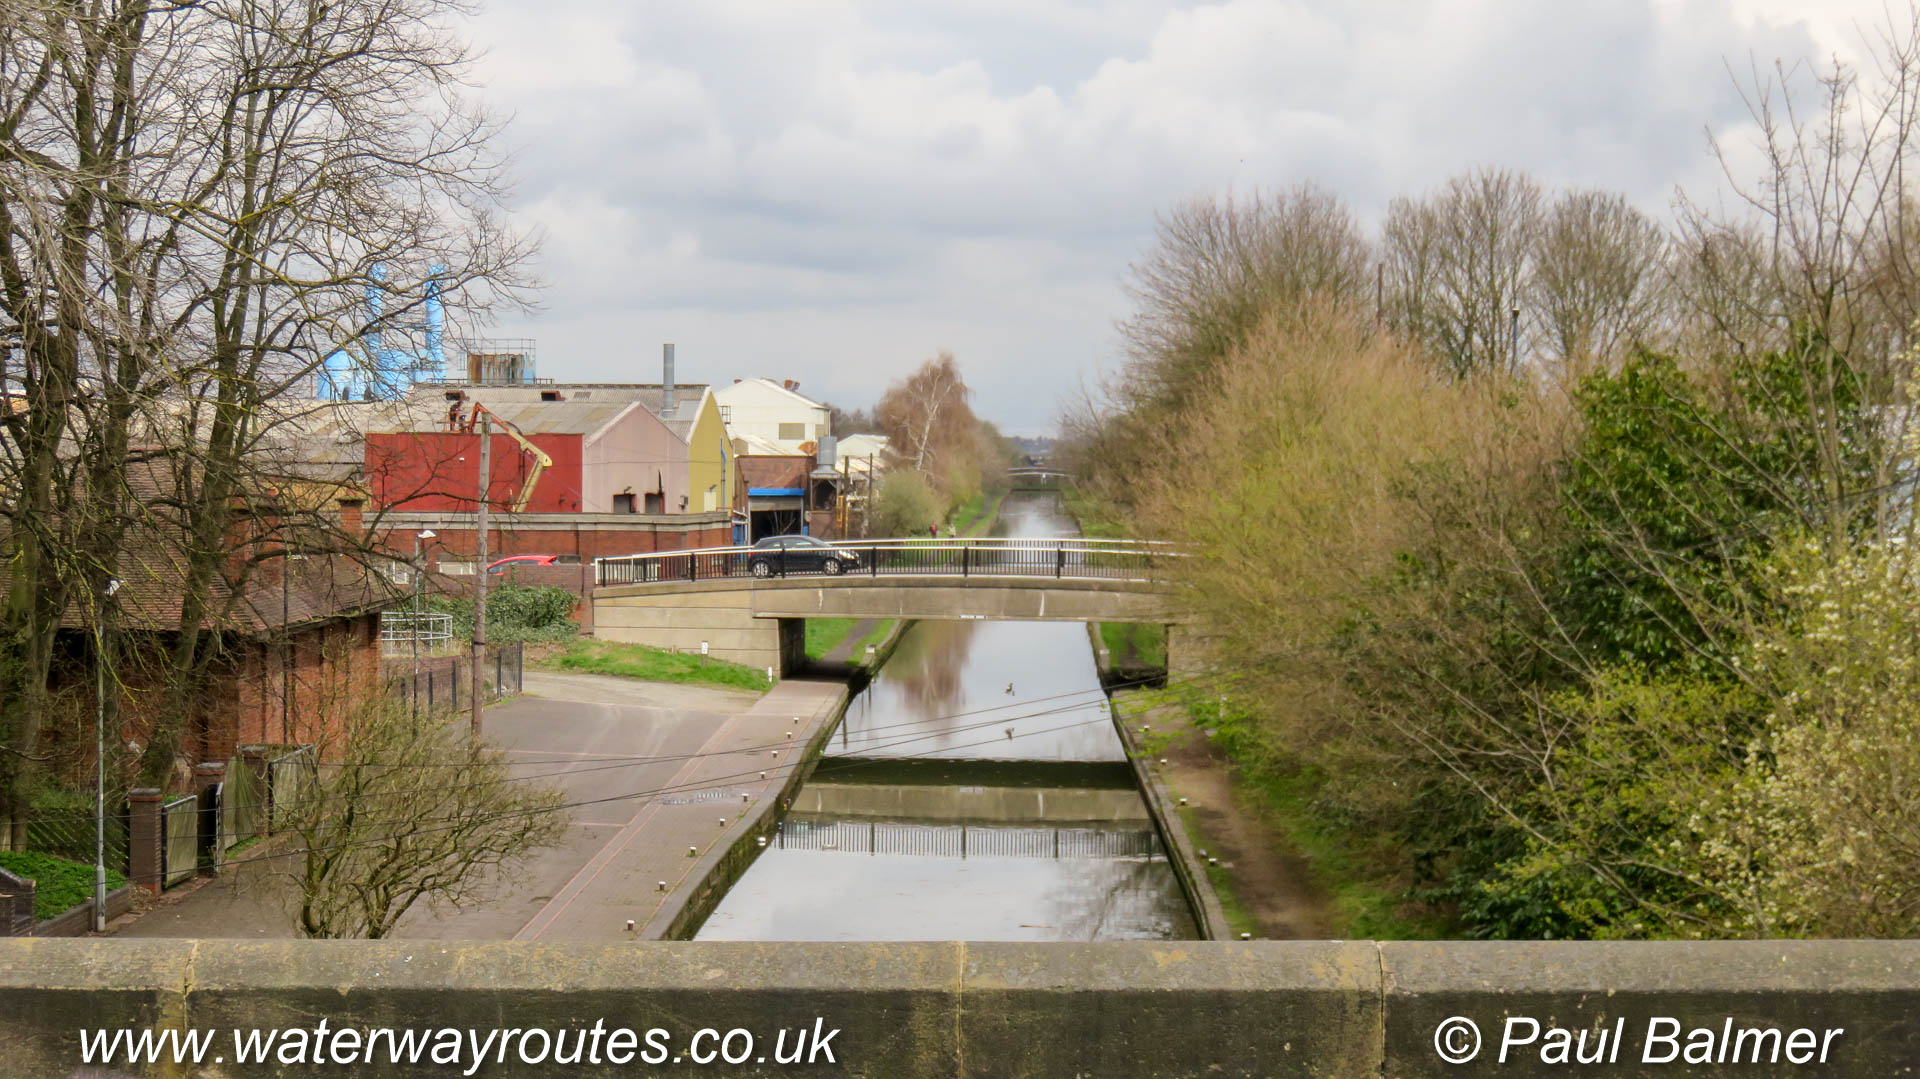
Fisher’s Bridge is one of several along the Old Main Line which now has a flat span where the original bridge, probably a traditional arched style, has been replaced to meet the requirements of modern road traffic.

Looking from the Wolverhampton side, the location of Brades Hall Junction only becomes obvious at the last moment when the entrance to the Gower Branch appears under the towpath bridge.
Looking along the Gower Branch towards Albion Junction where it meets the New Main Line. The railway runs parallel to the New Main Line on the far bank.
The bottom lock on the Gower Branch is a single lock, with single top and bottom gates. Albion Junction with the New Main Line is just available in the distance. The upper locks are behind the camera.
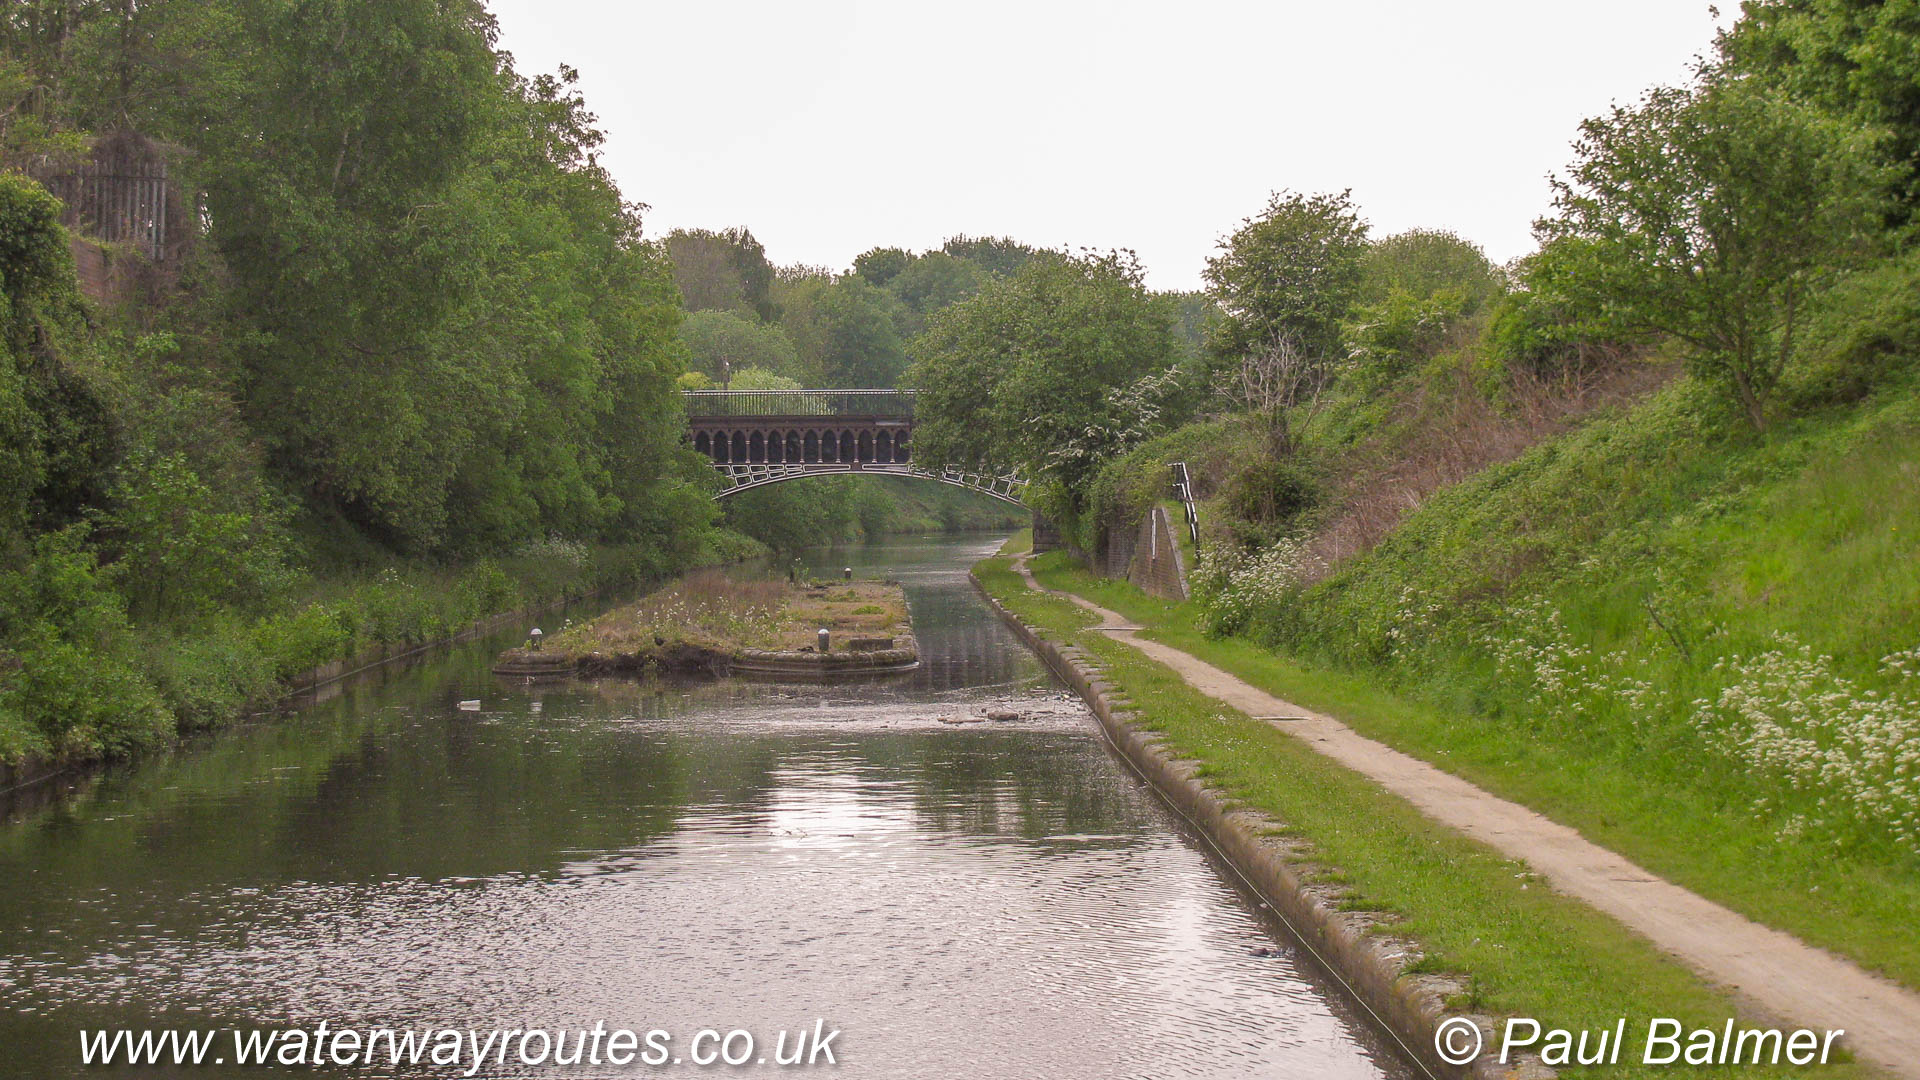
At Brades Hall Junction the Old Main Line of the Birmingham Canal Navigations (BCN) runs from Birmingham (behind the camera) to Wolverhampton (straight ahead).
At Brades Hall Junction the Old Main Line of the Birmingham Canal Navigations (BCN) runs from Birmingham (behind the camera) to Wolverhampton (straight ahead).
Almost hidden under the M5 Motorway is Spon Lane Junction where the widened channel allows full length boats to turn.
The views from the canal will have changed many times during their lifetime. Originally serving factories and works making noises and belching smoke next to the canal along both sides.

Now mostly filled in the Former Chemical Arm is one of many around the BCN that allowed access directly to factories and works for the loading and unloading of boats.
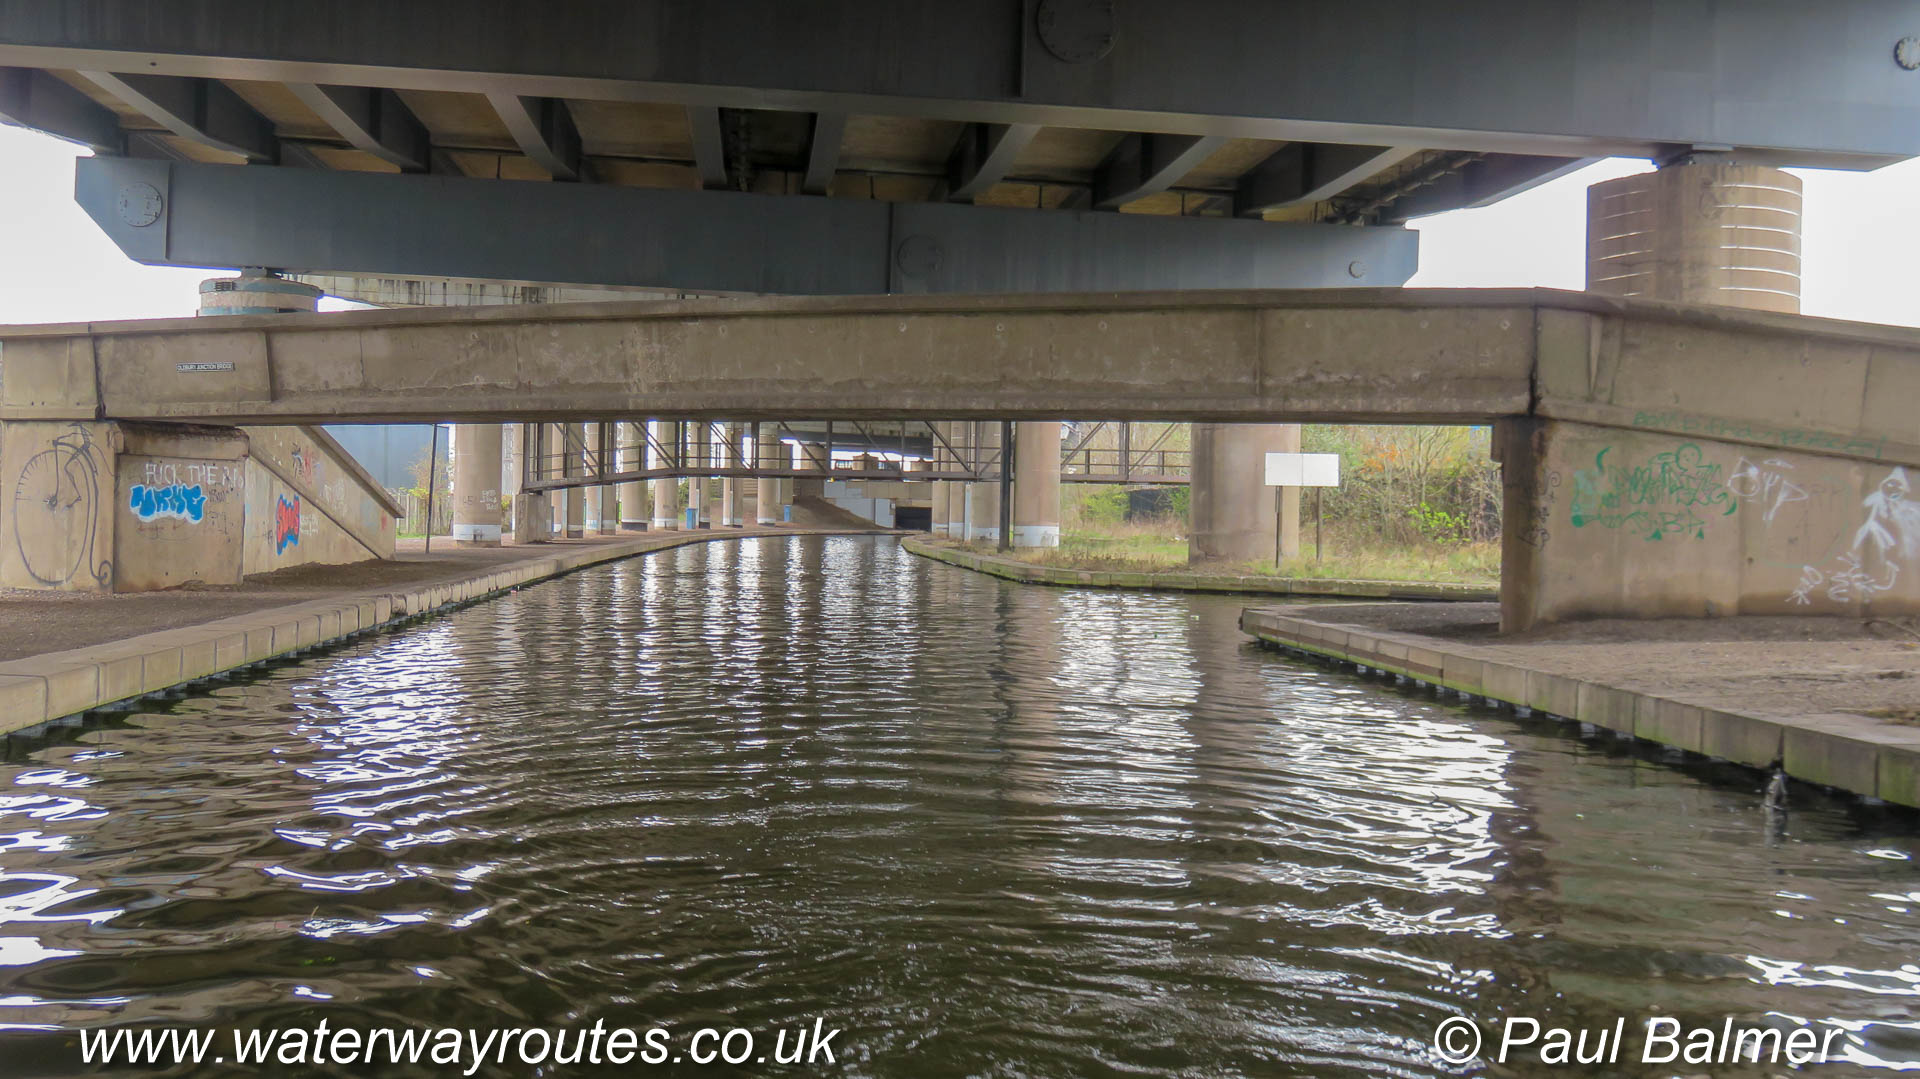
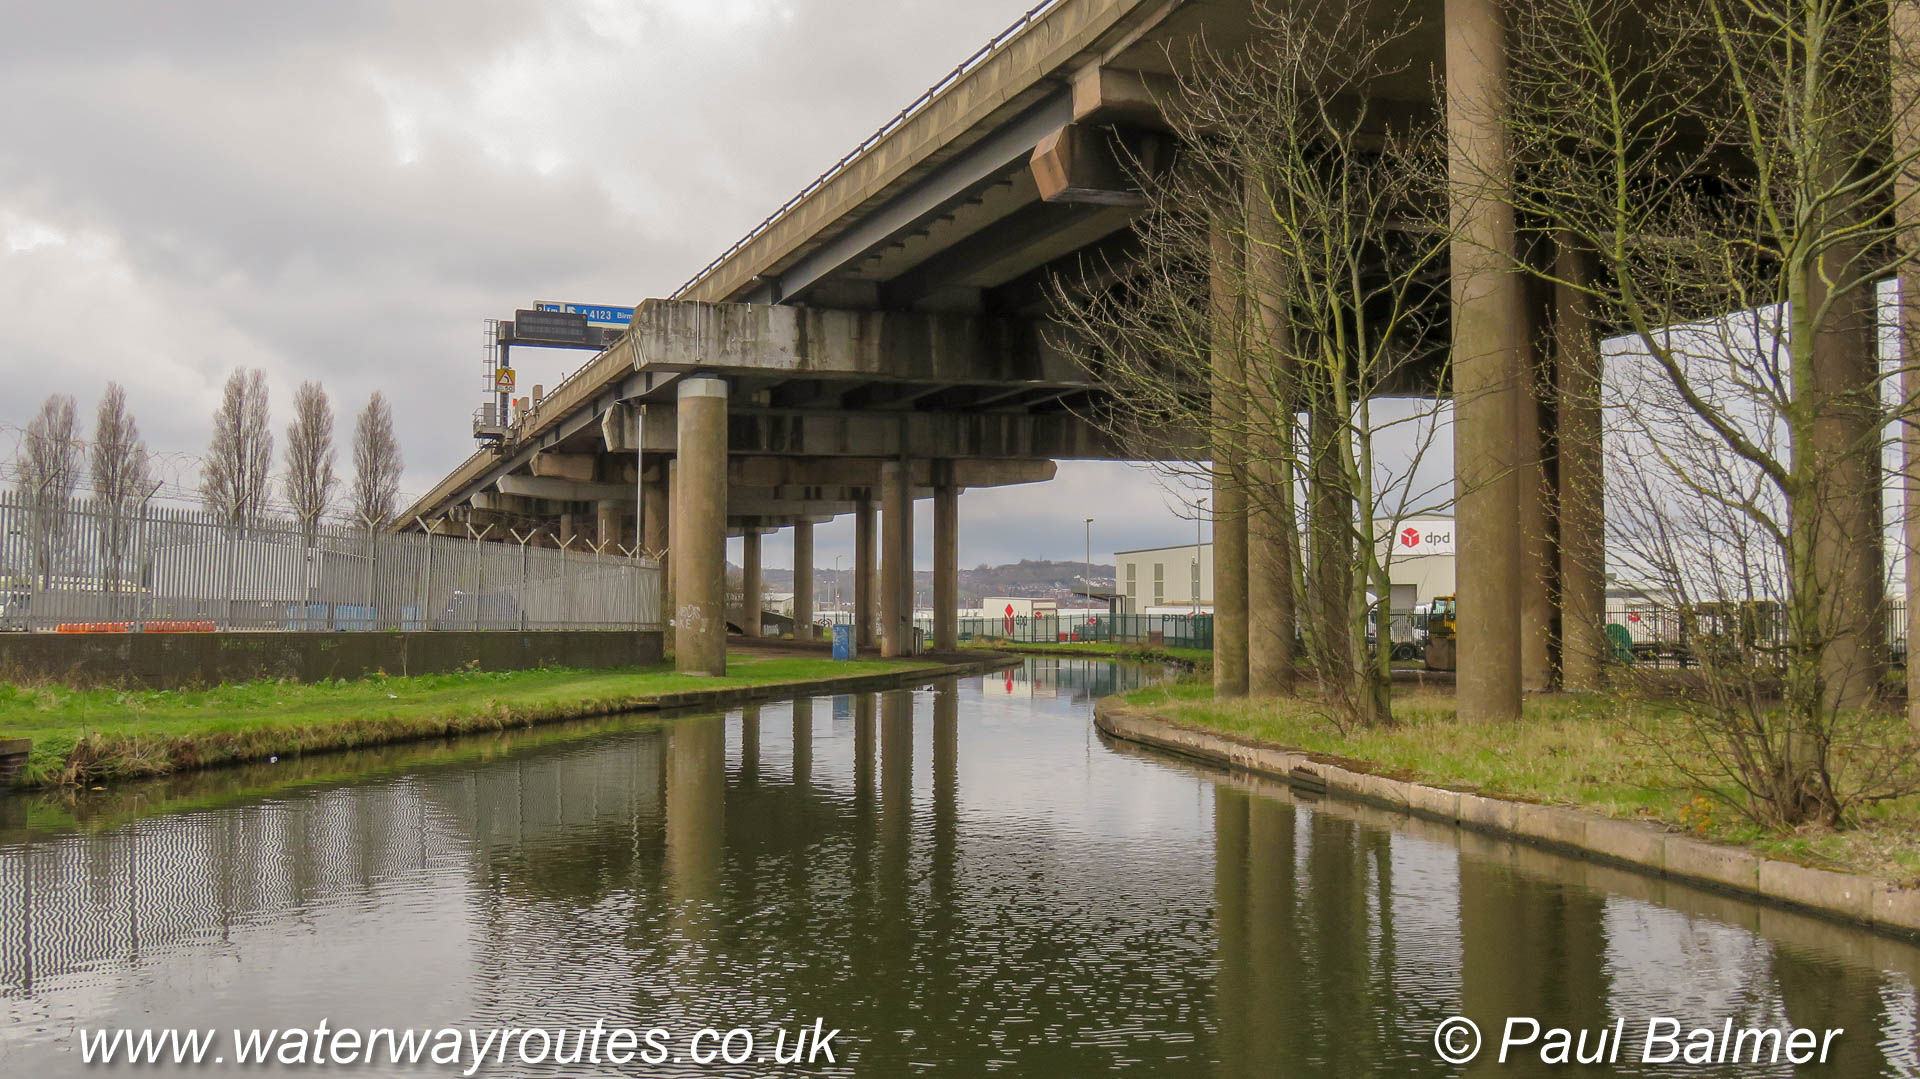
Looking from the Wolverhampton Side, Oldbury Locks Junction hides under the motorway bridges and is marked by the gap in the right hand towpath where the Titford Canal heads towards Oldbury Locks.

Look carefully just before the footbridge and you can just see the break in the left hand edge of the canal where the Titford Canal diverges to the left at Oldbury Locks Junction.
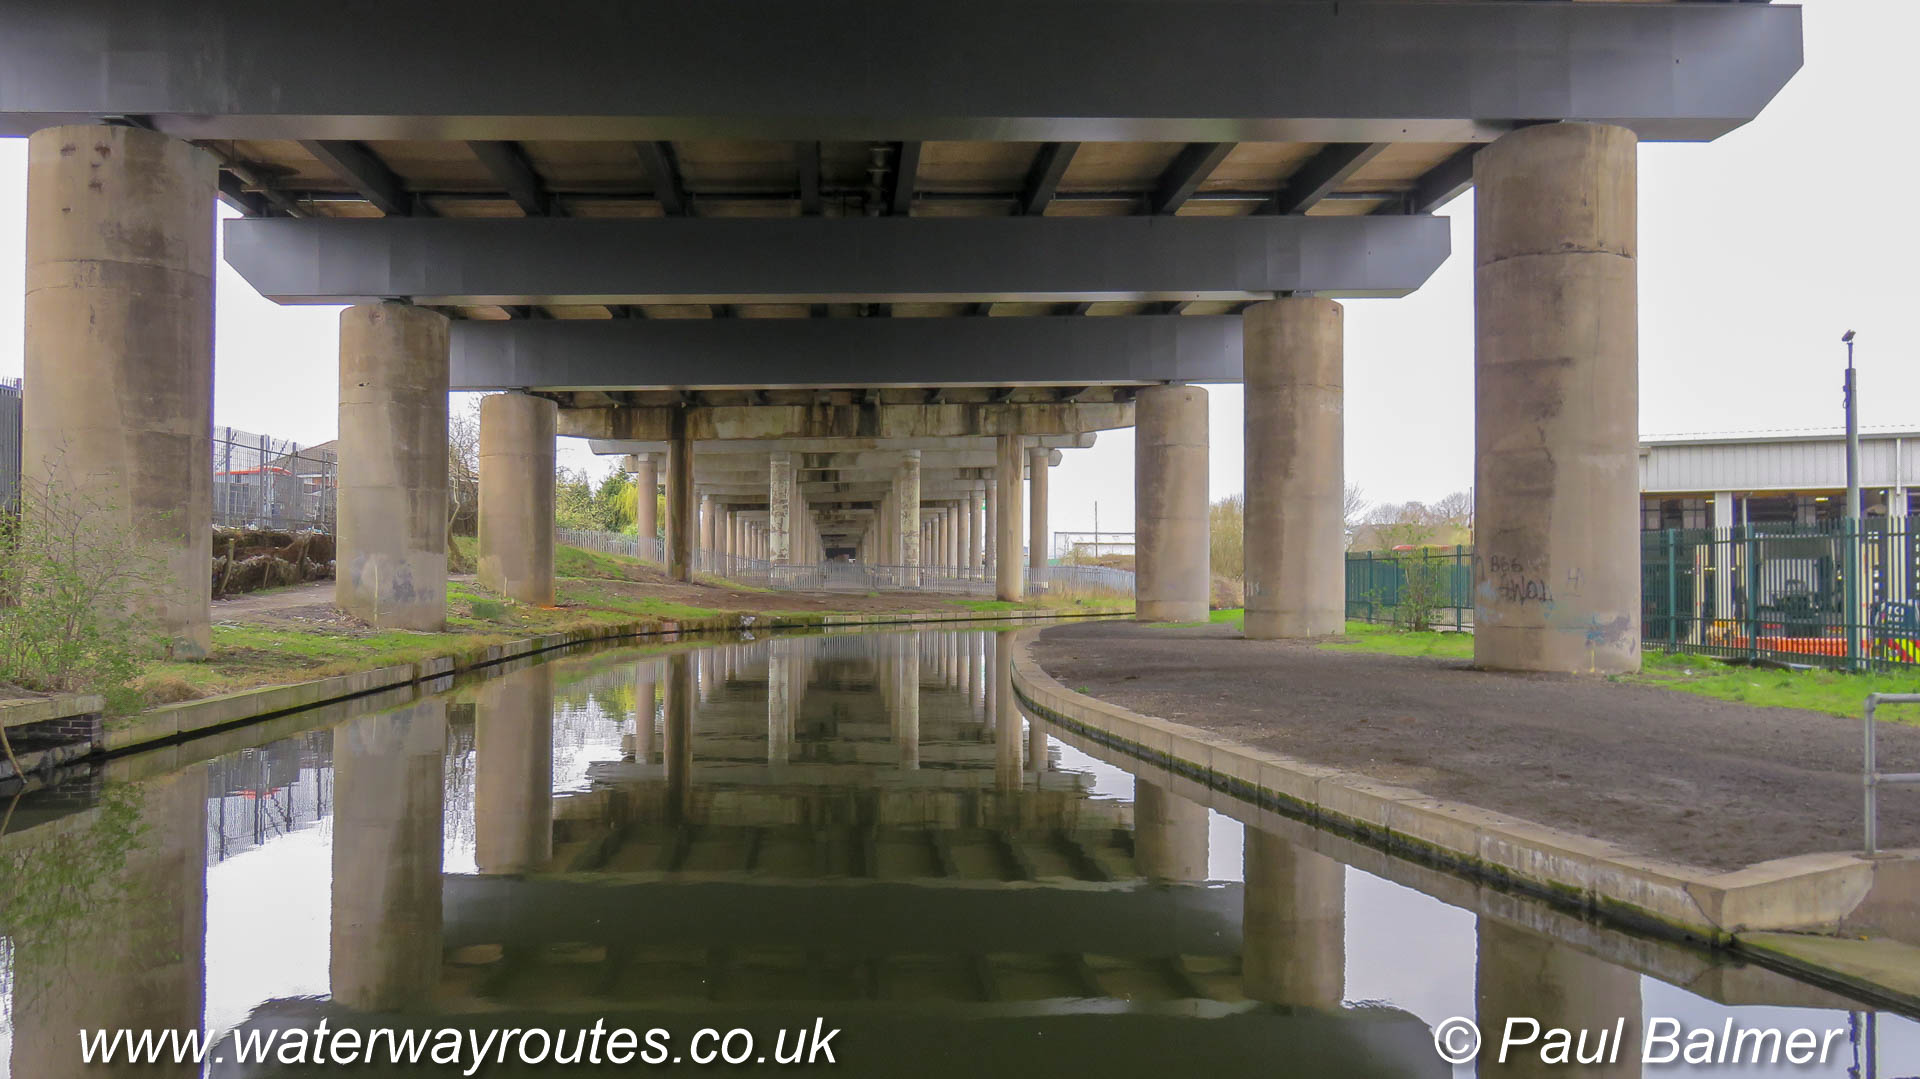
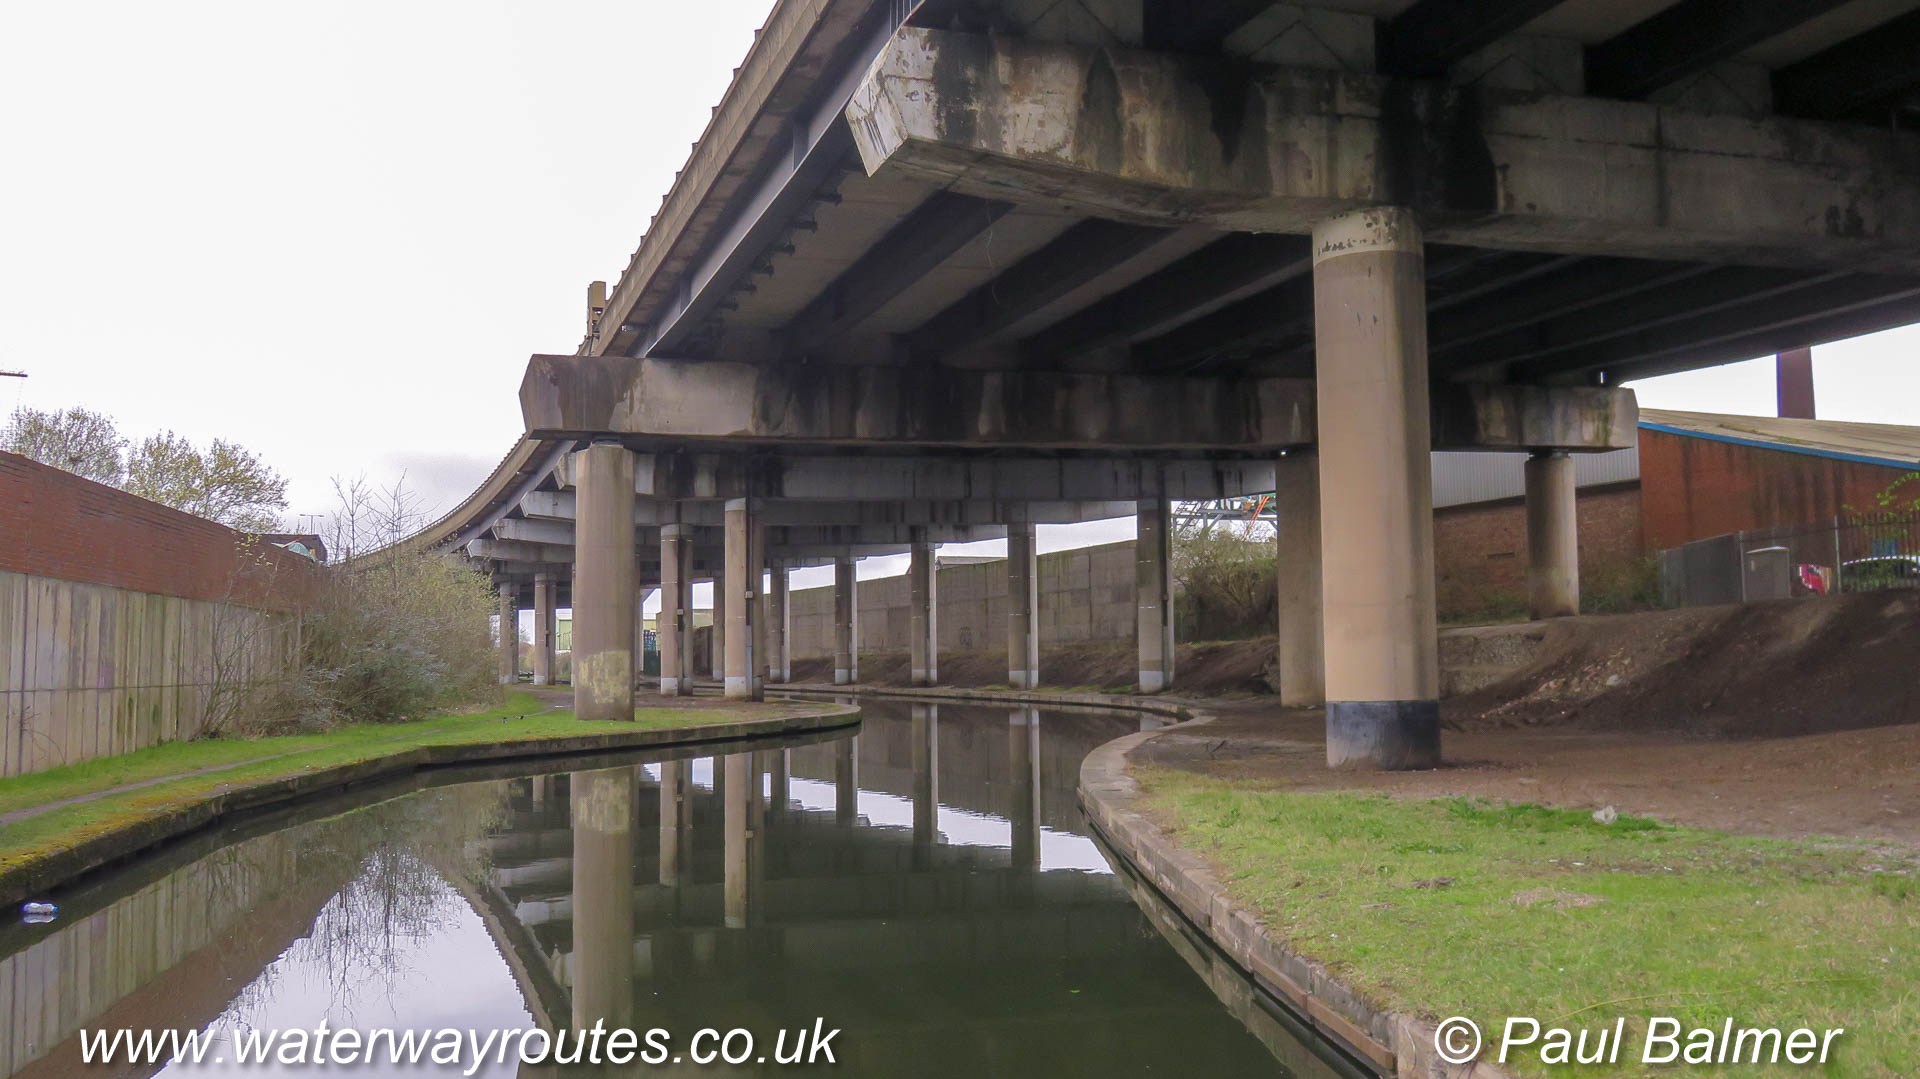
The motorway strides straight into the distance where the Old Main Line continues to wander around the landscape, challenging the motorway builders to position their piers carefully around the canal.
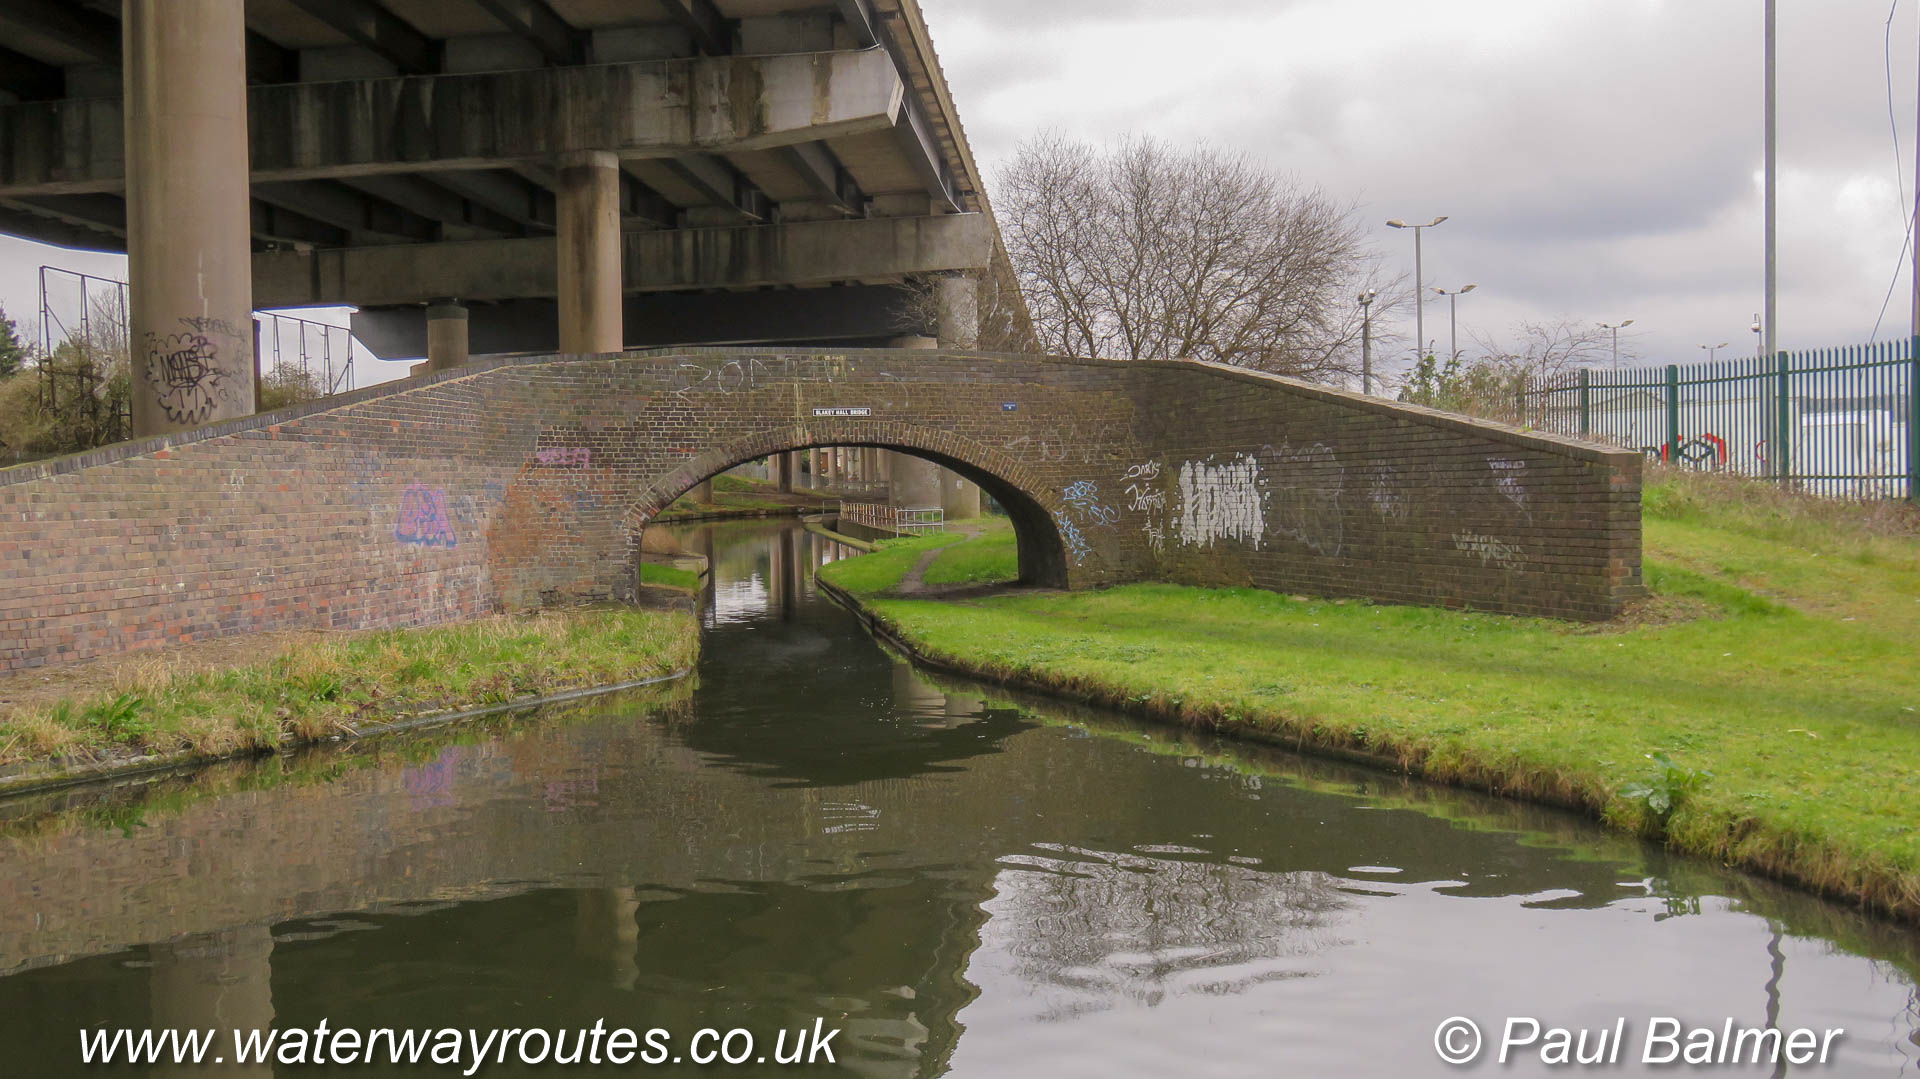
Providing a contrast in building styles and techniques.
The traditional Blakeley Hall Bridge would have stretched the canal builders skills to construct a bridge which straddles
I wonder how many people driving along the M5 Motorway overhead realise the Old Main Line of the Birmingham Canal Navigations (BCN) is underneath.
Looking from Old Main Line on the Steward (or Stewart) Aqueduct towards Wolverhampton.
Looking towards Birmingham from the aqueduct which carries the Old Main Line over the New Main Line. The straight channel of the New Main Line forms a contrast to the twisting route of the Old Main Line we are on.
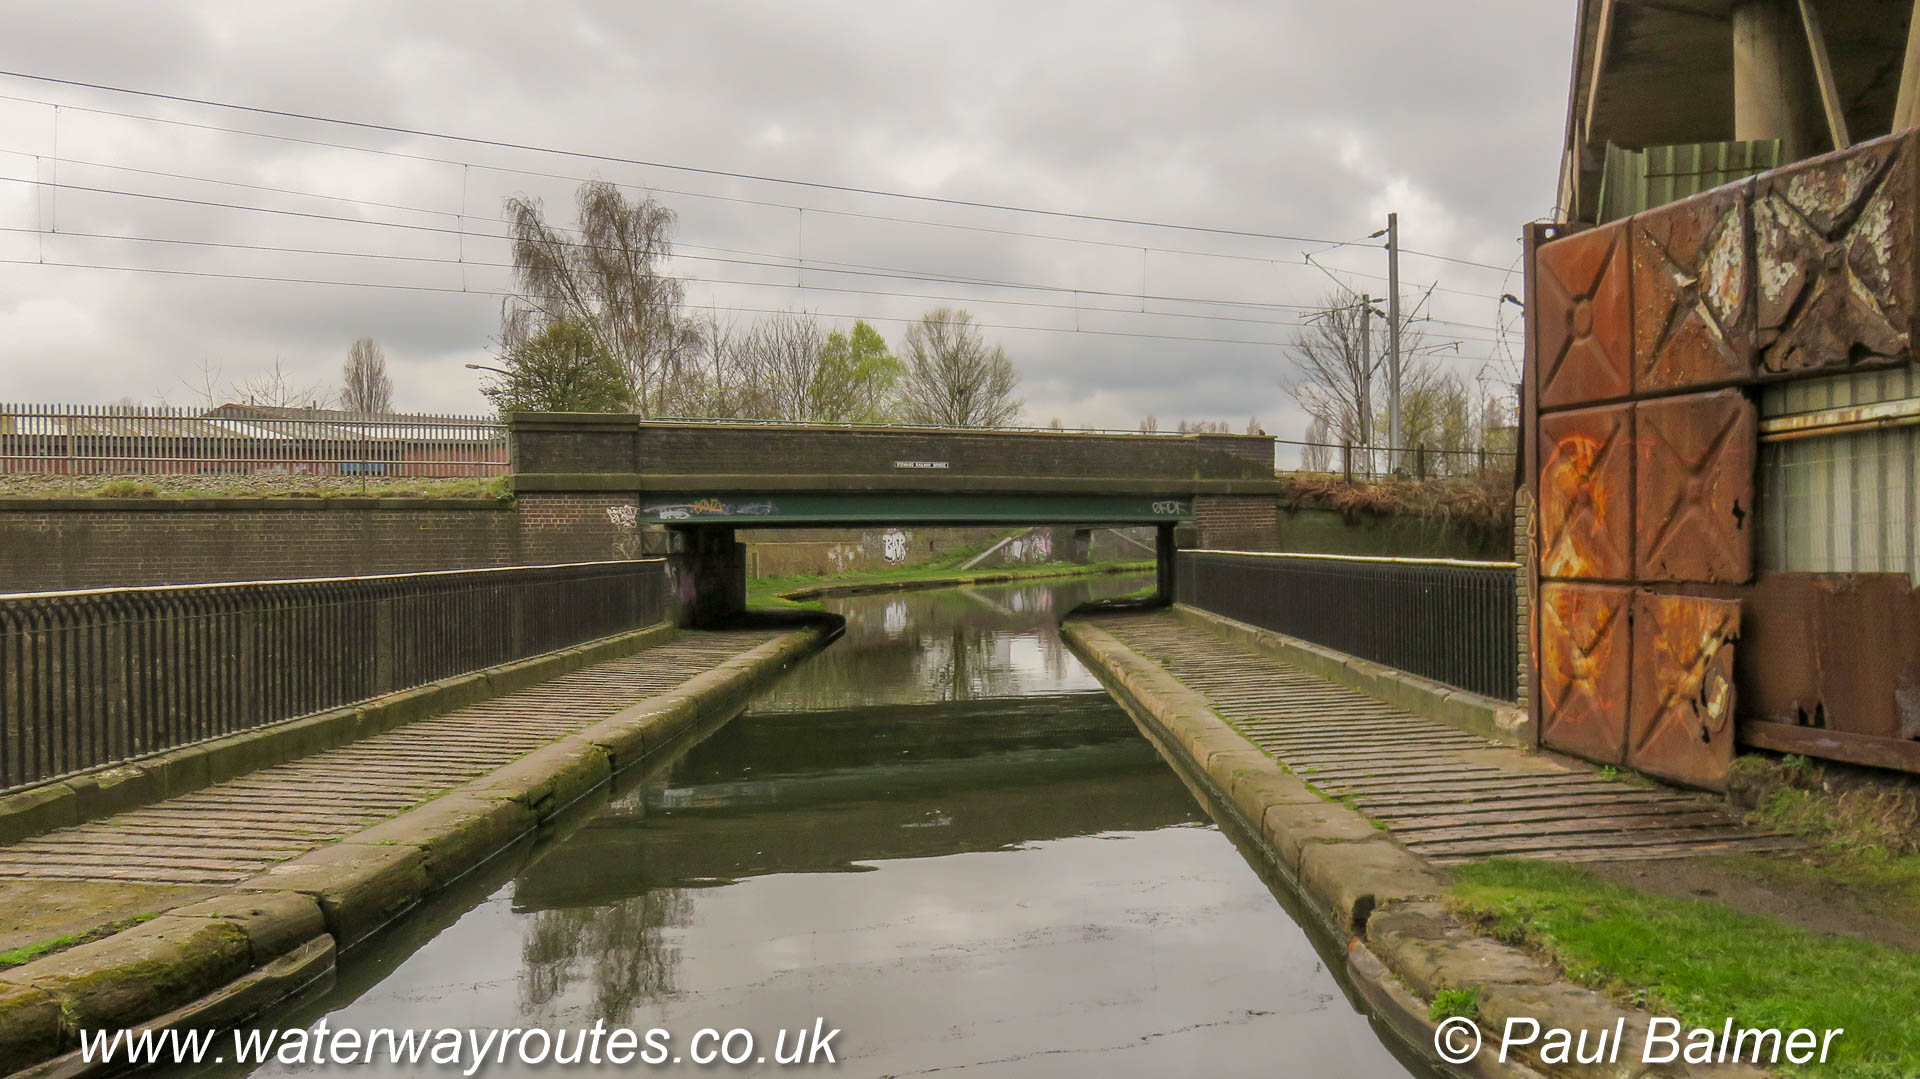
The slightly narrowed channel with the railing each side marks the Steward (or Stewart) Aqueduct which carries the Old Main Line over the New Main Line just before the railway bridge.
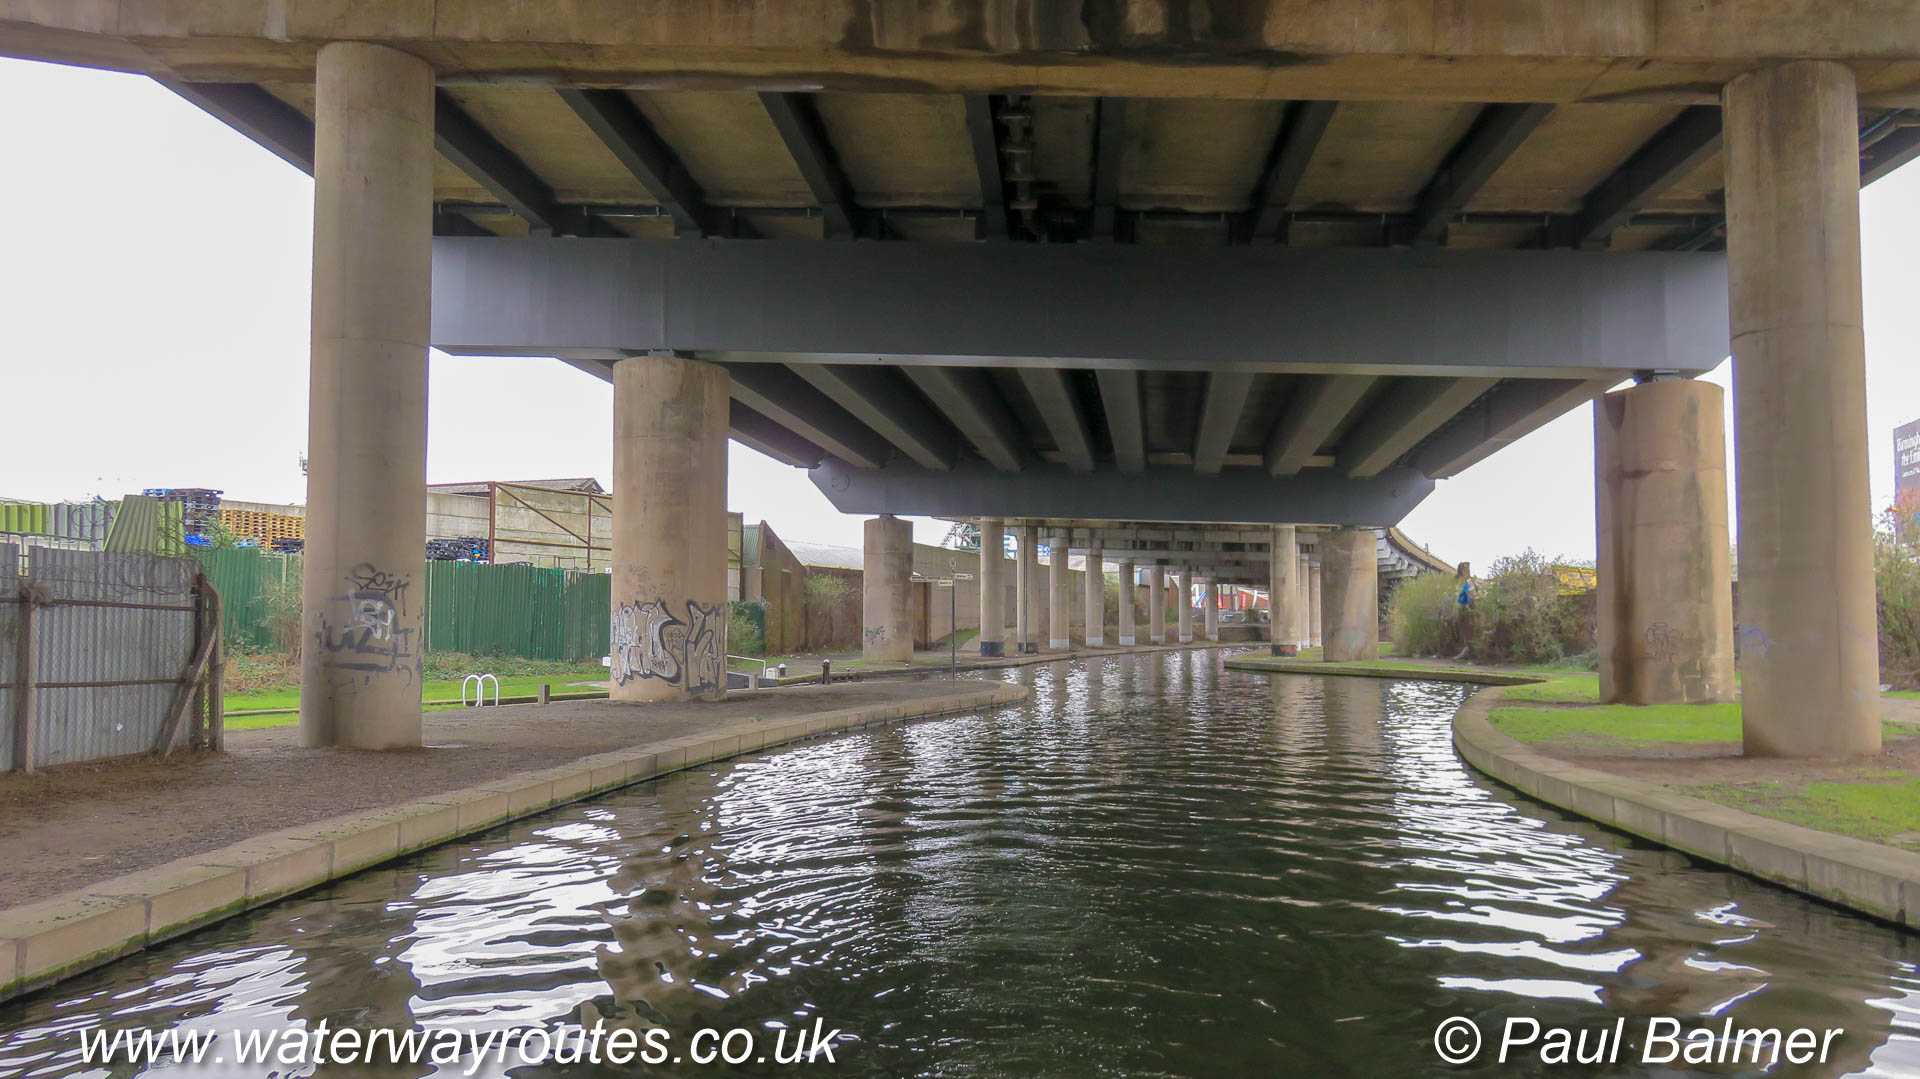
Looking towards Spon Lane Junction from the Wolverhampton side, the M5 Motorway bridges provide a roof over the canal.
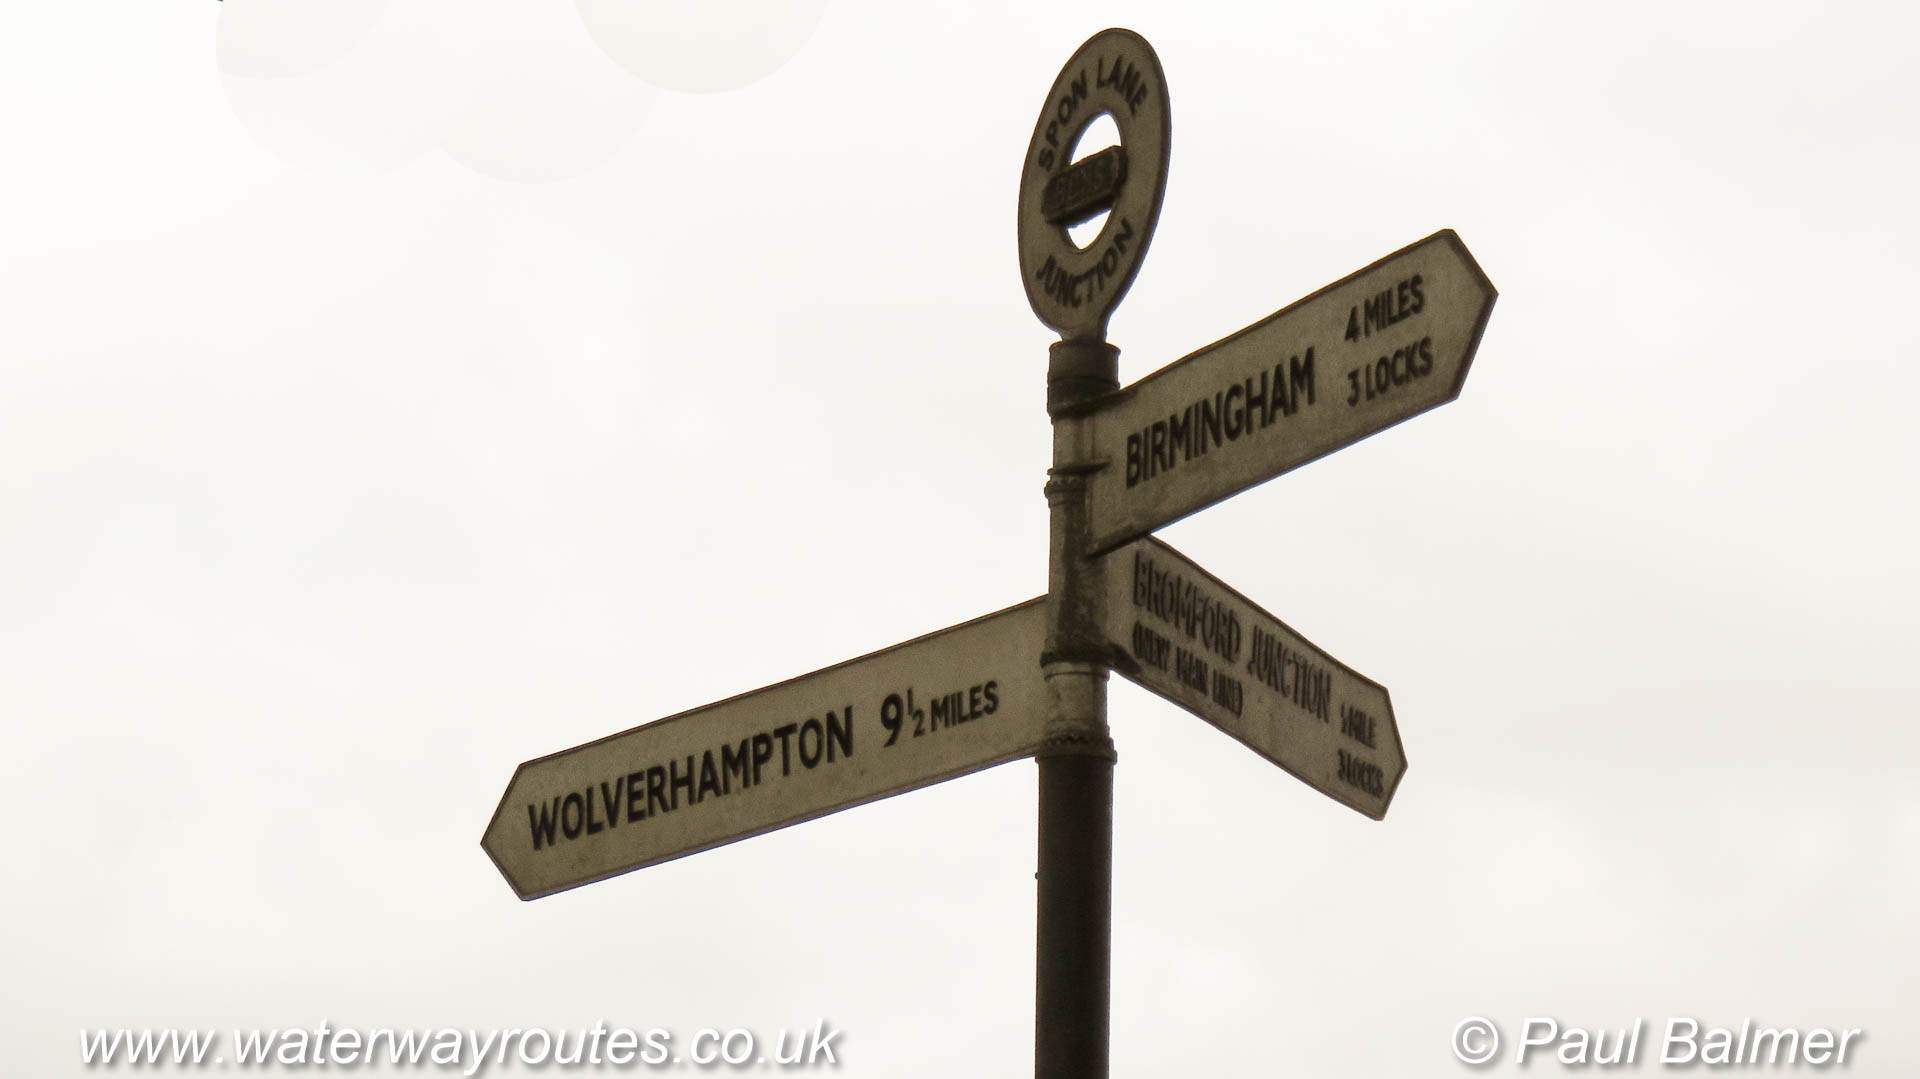
Spon Lane Junction is where the Spon Lane Branch diverges from the Old Main Line of the Birmingham Canal Navigations.
Spon Lane Junction is where the Spon Lane Branch diverges from the Old Main Line of the Birmingham Canal Navigations.
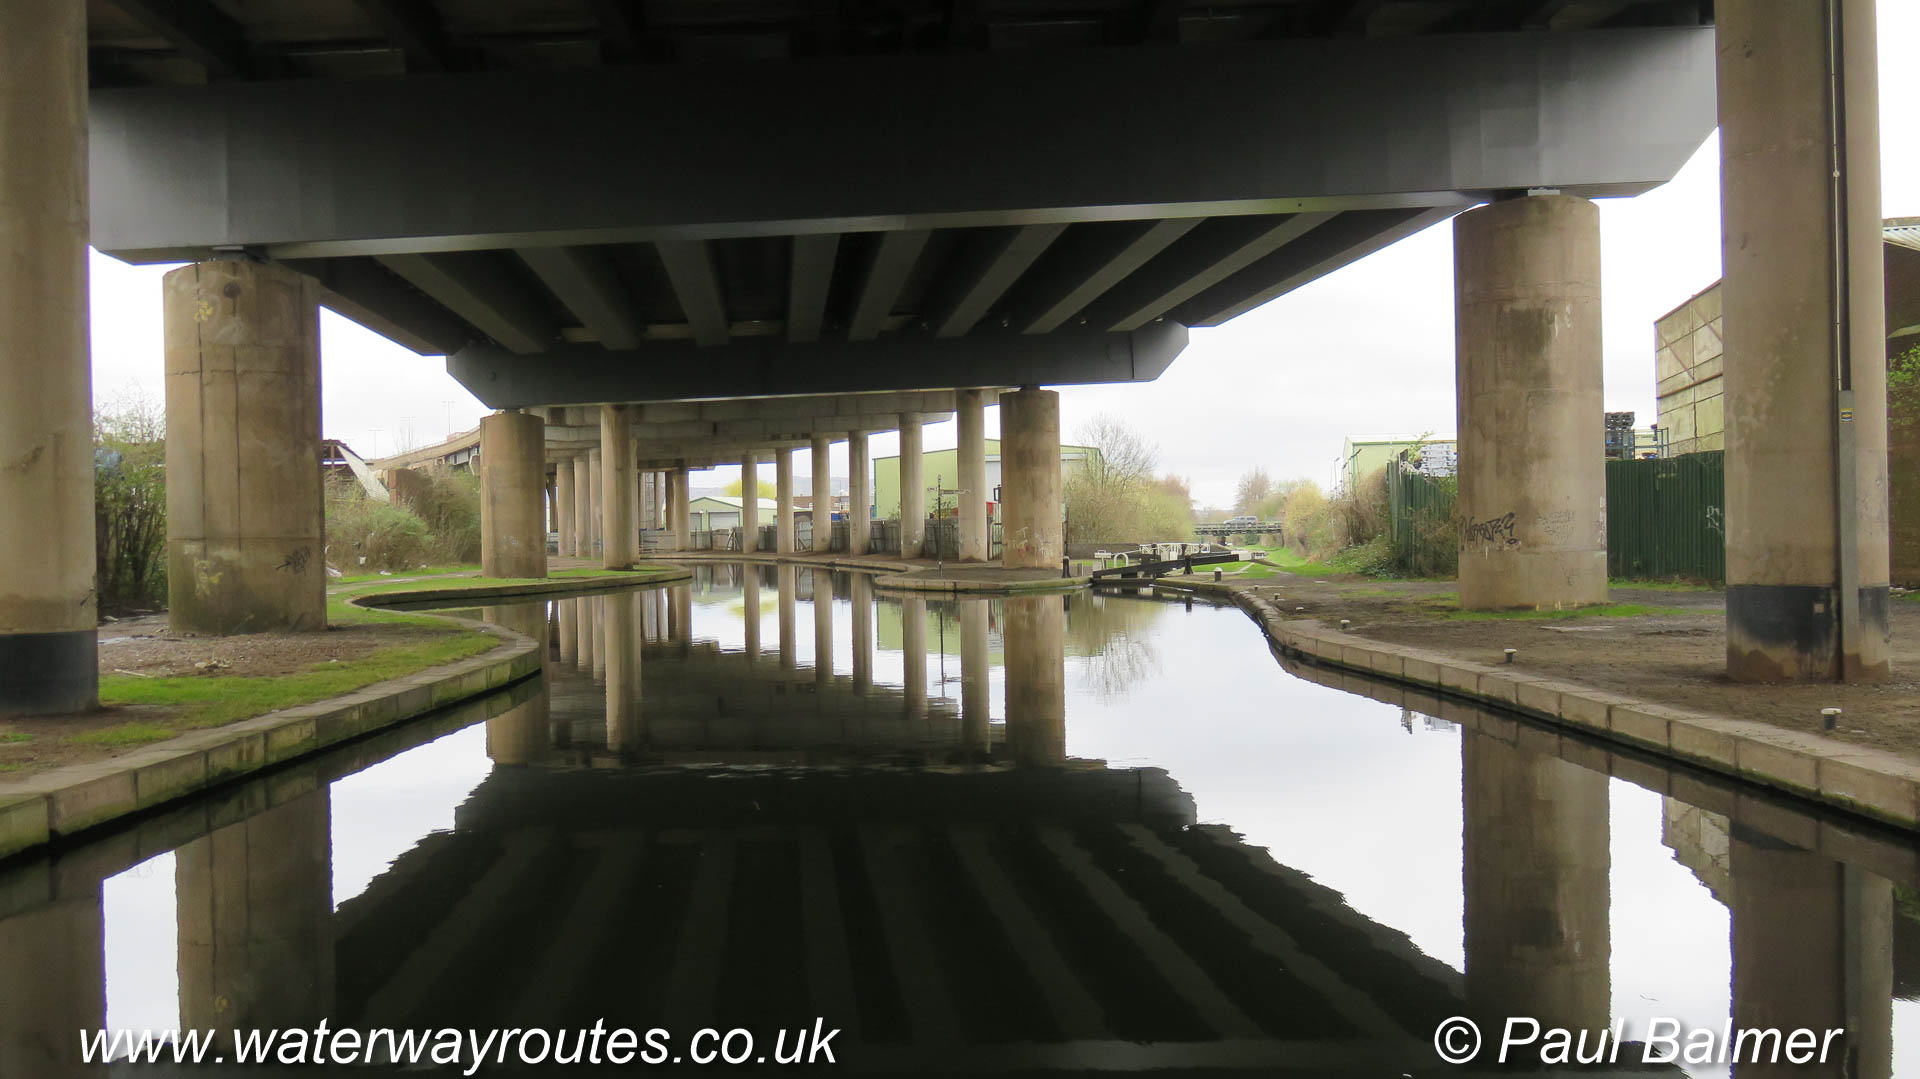
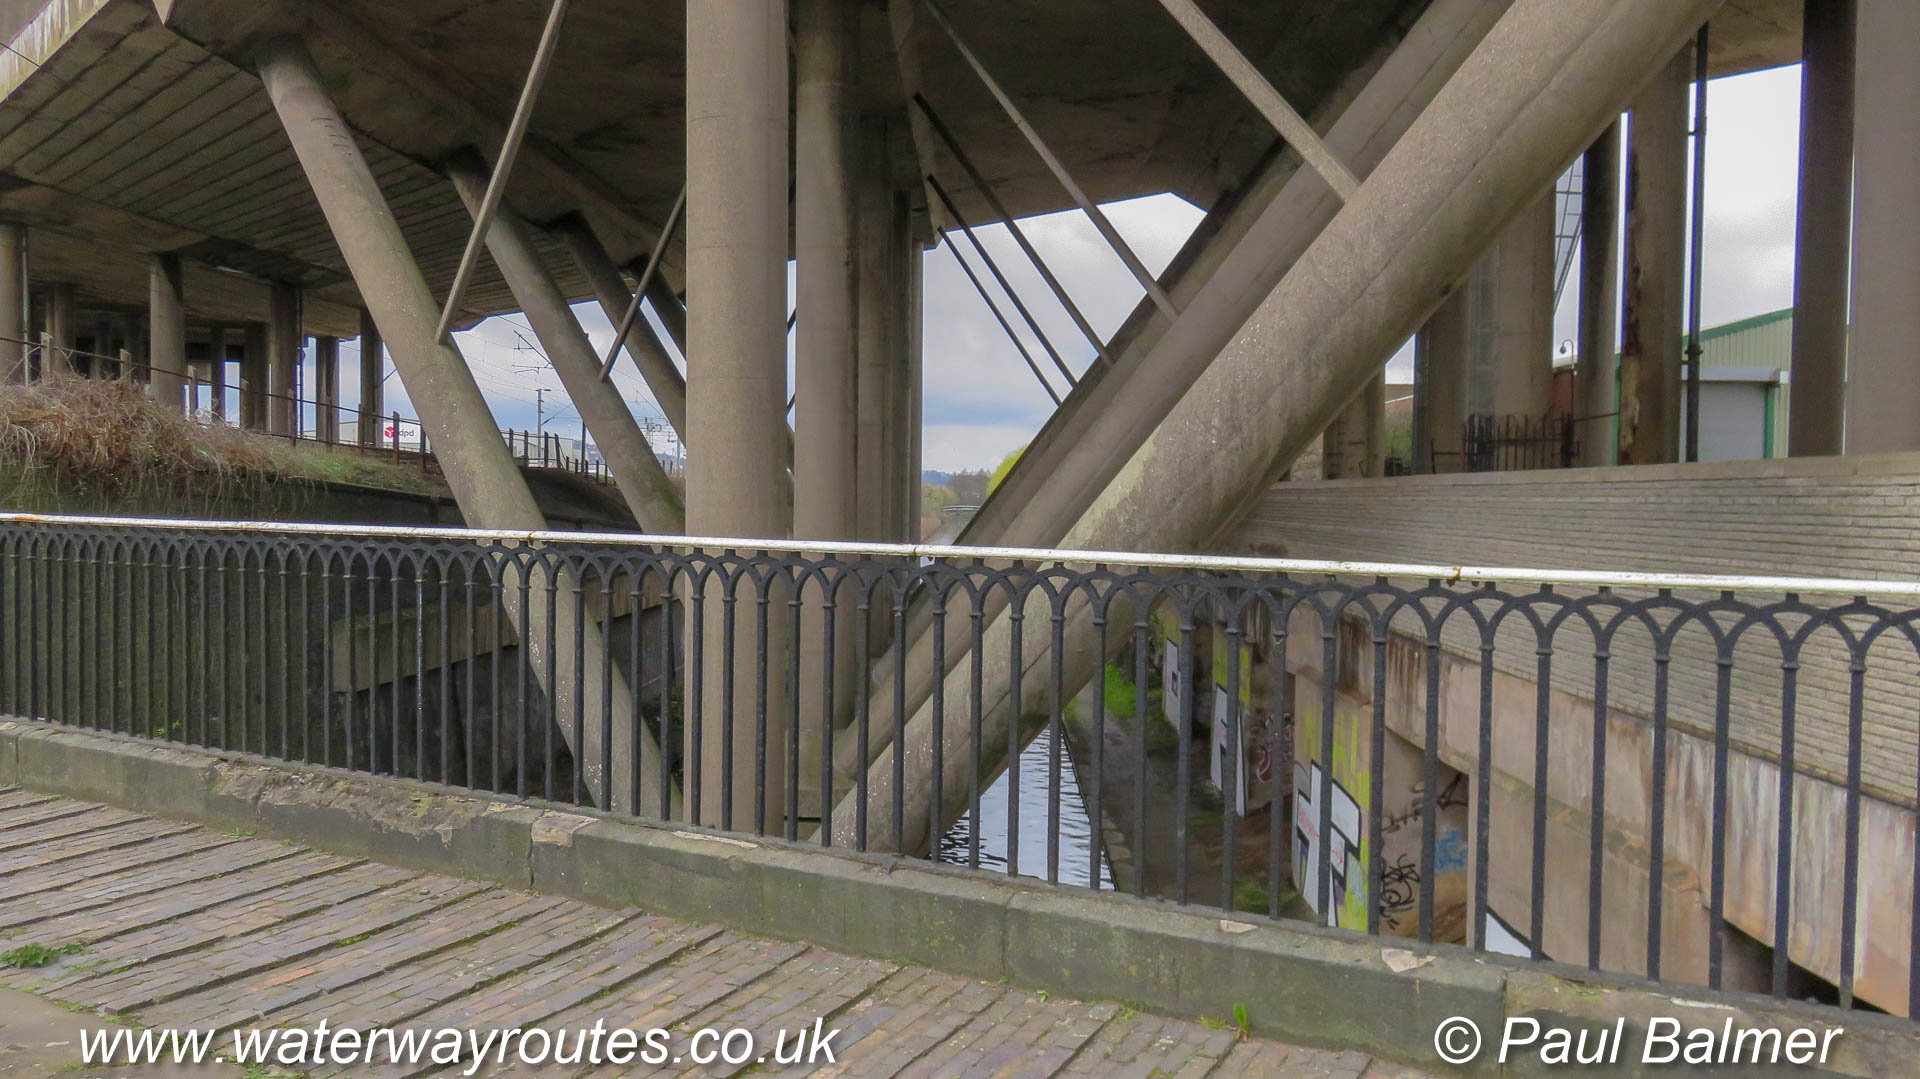
There are several stretches of the Old Main Line when the M5 Motorway provides a roof over the canal. Handy to keep the rain off, or provide shade on hot summer days.
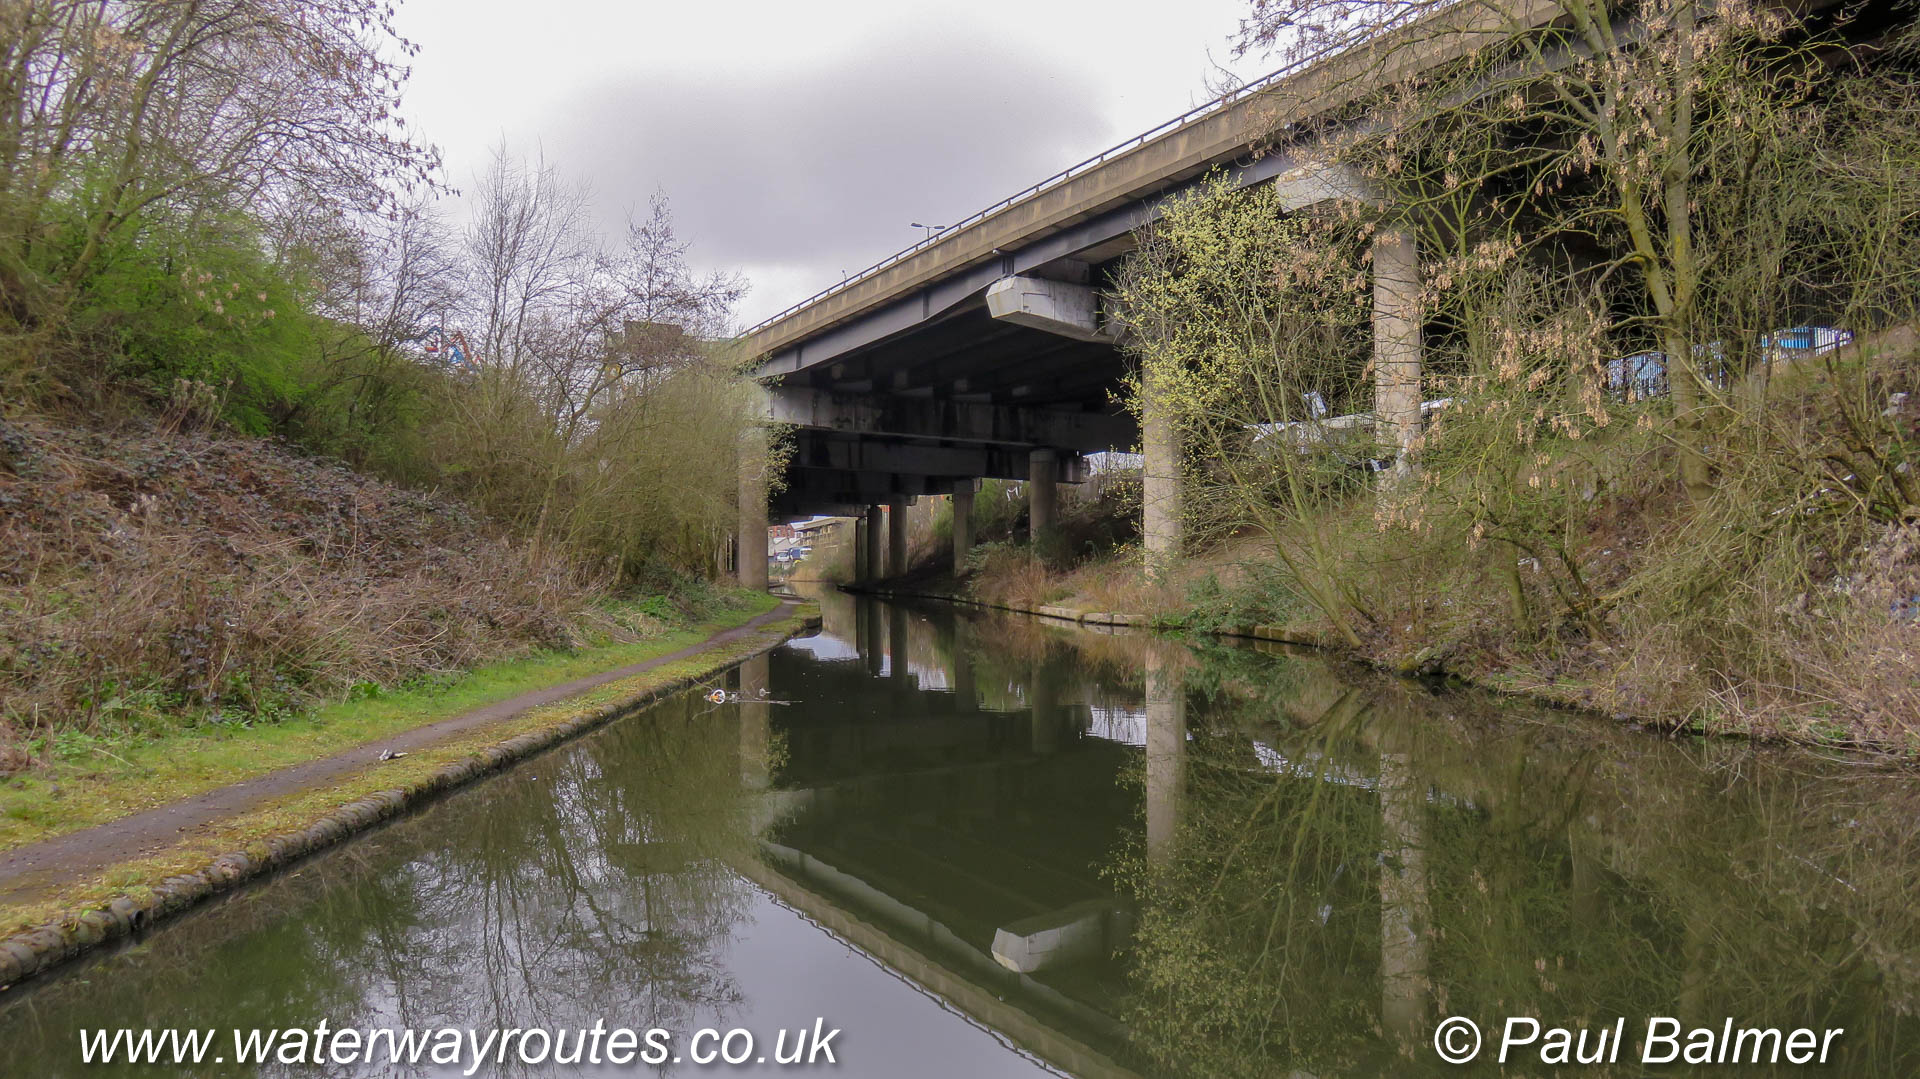
The M5 motorway strides over the Old Main Line in several locations as it threads its way through Birmingham.
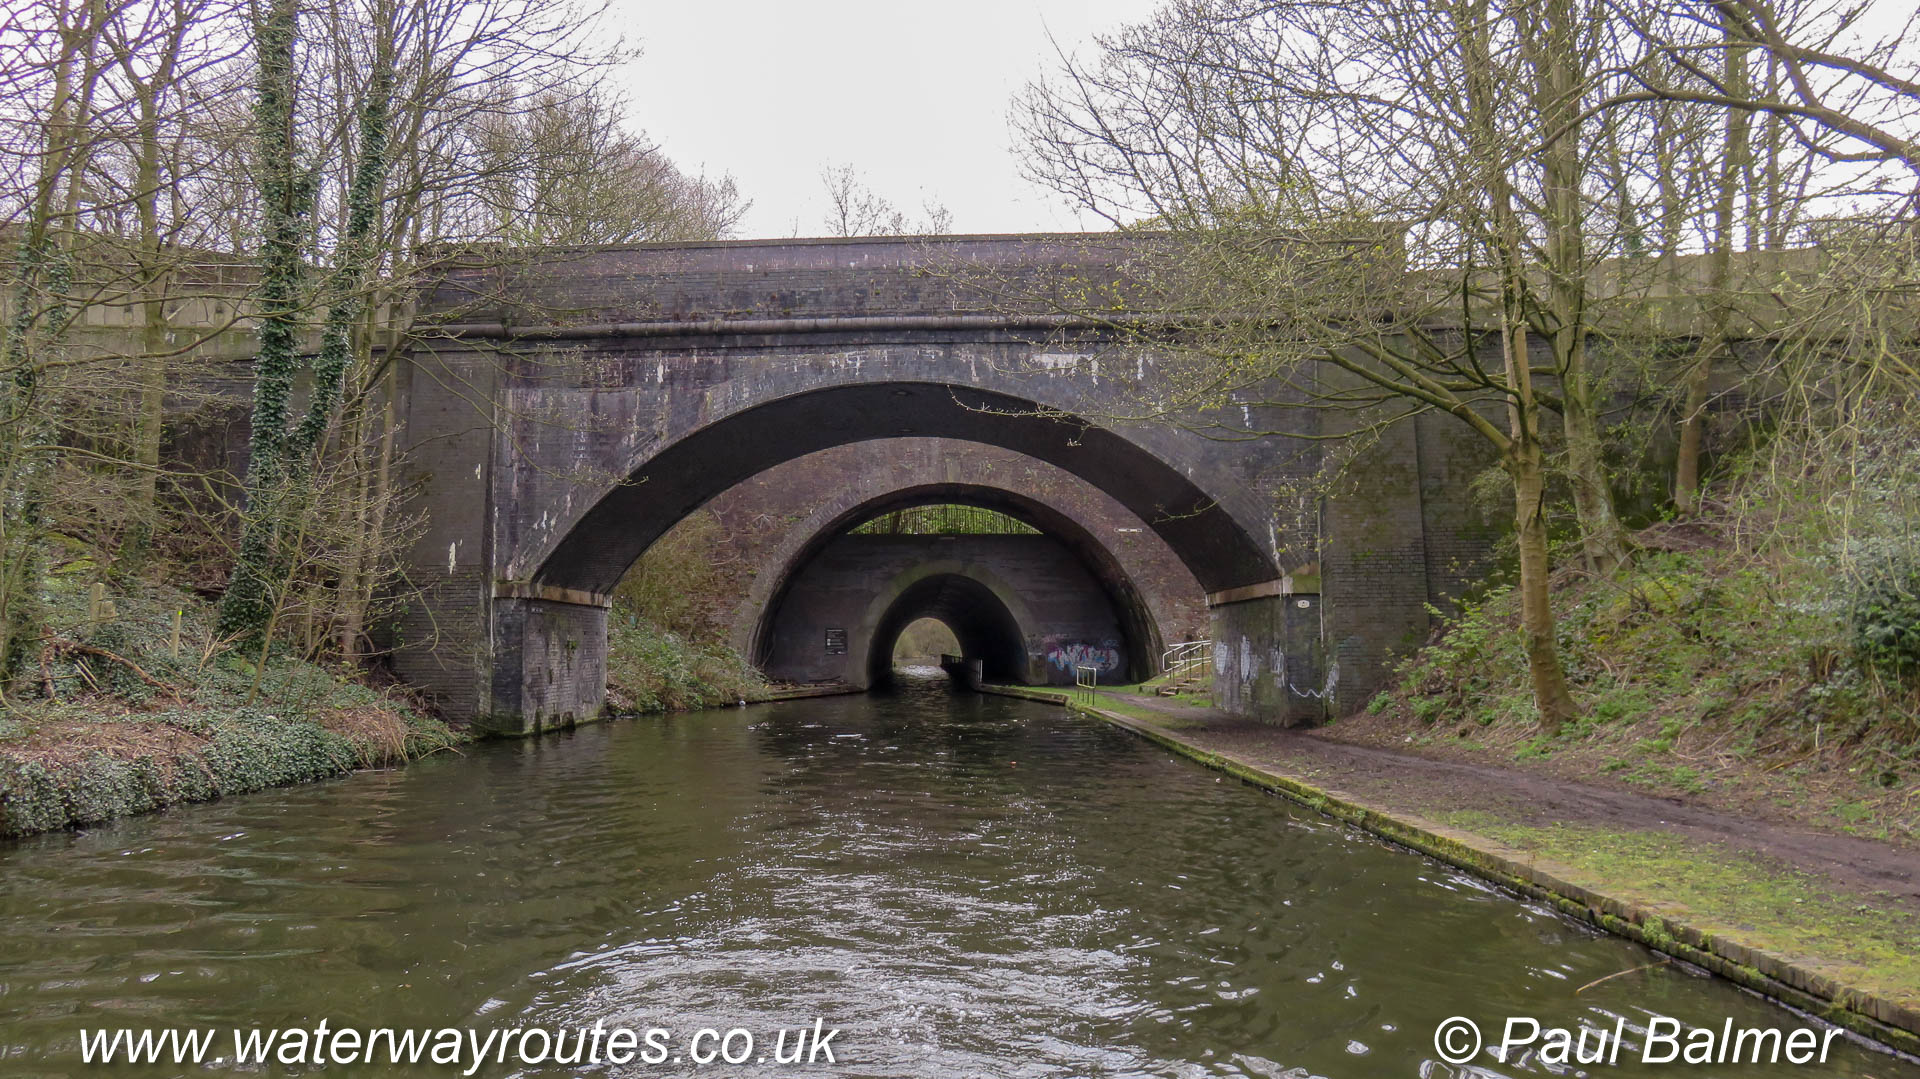
Summit Rail Bridge, in the foreground, then Summit Bridge, in the middle, both stride across the full width of the canal without interrupting boat movements.
Summit Tunnel wouldn’t be recognised by the old canal builders as it’s a modern addition, built to carry a new road across the canal.
Looking uphill at Smethwick Locks from the Middle Lock towards the Top Lock.
Looking along the Old Main Line towards Smethwick Junction where it merges with the New Main Line to form the Main Line towards Birmingham.
Approaching WInson Green Junction along the Soho Loop. Immediately beyond the bridge is the junction with the Main Line of the Birmingham Canal Navigations. That runs between
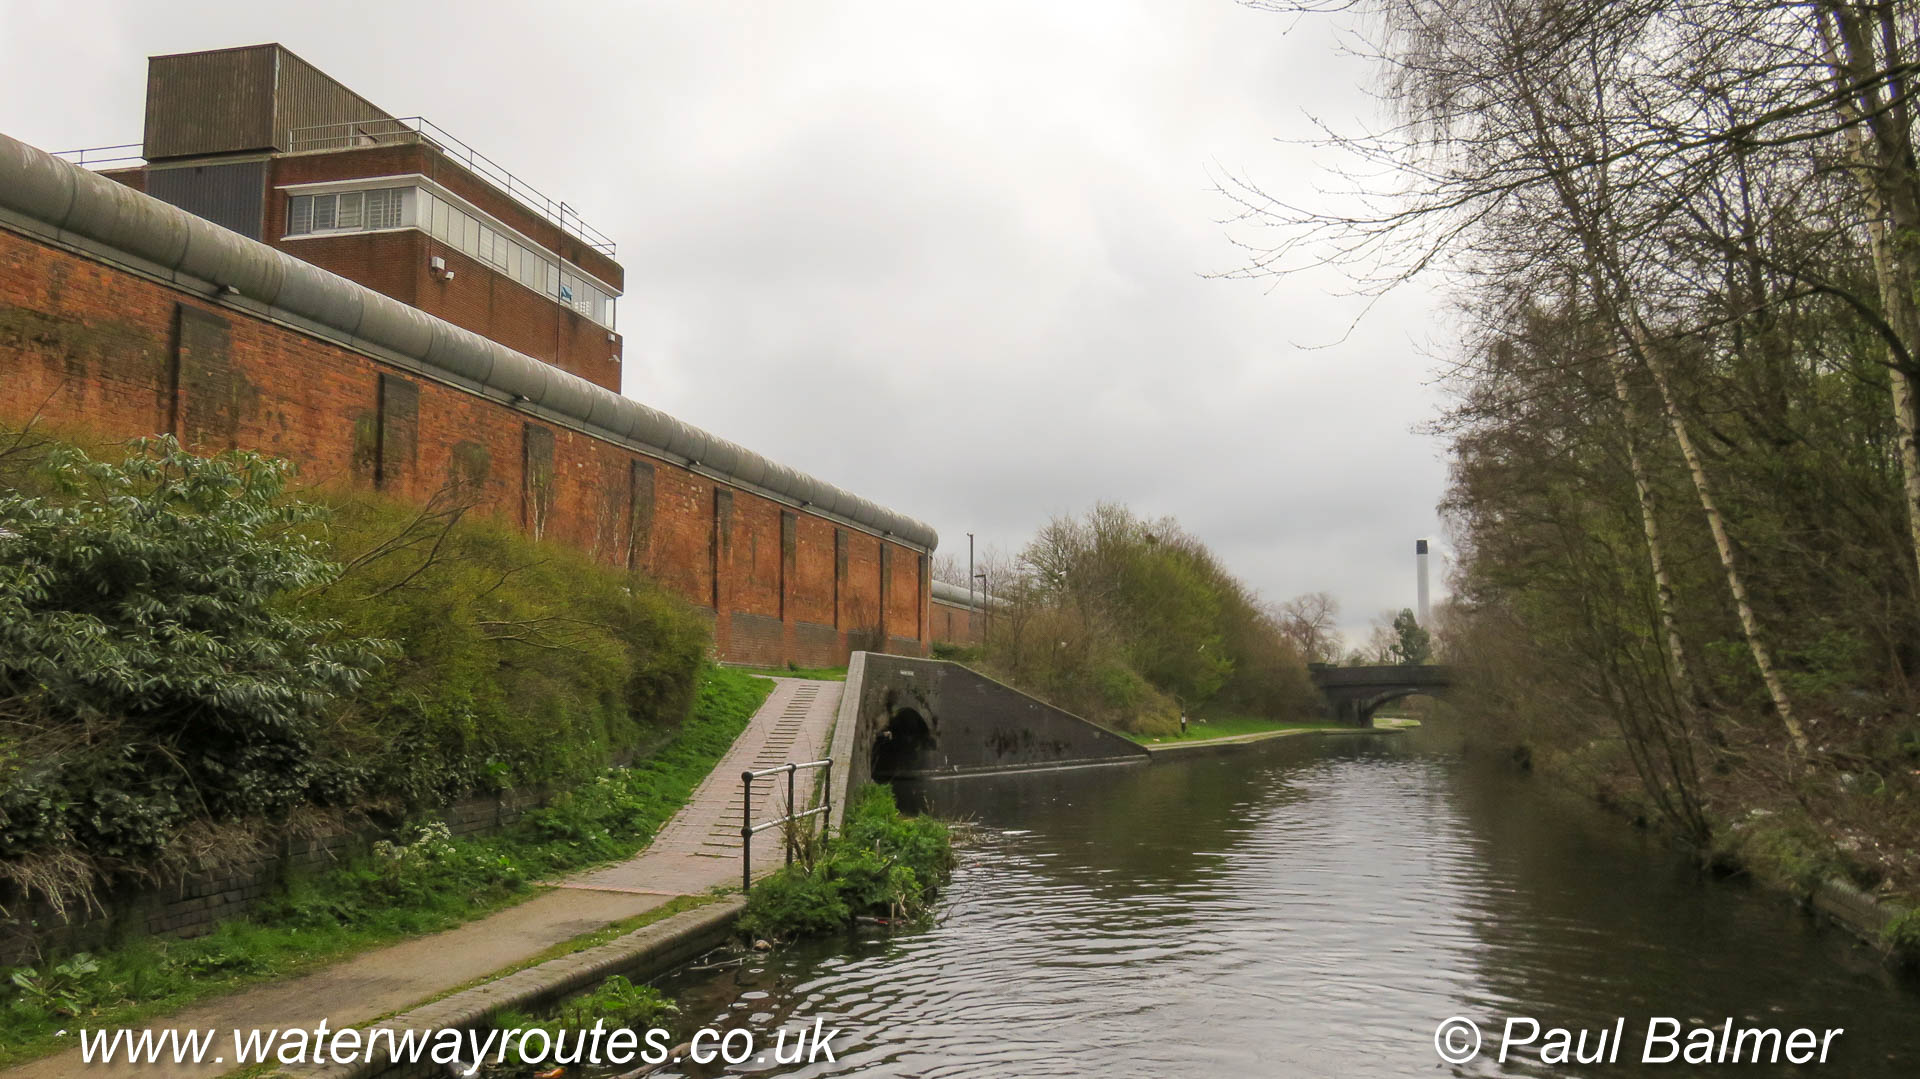
HM Prison Birmingham, sometimes known as Winson Green Prison, stands next to the Soho Loop, with its boundary marked by the High Brick Walls.
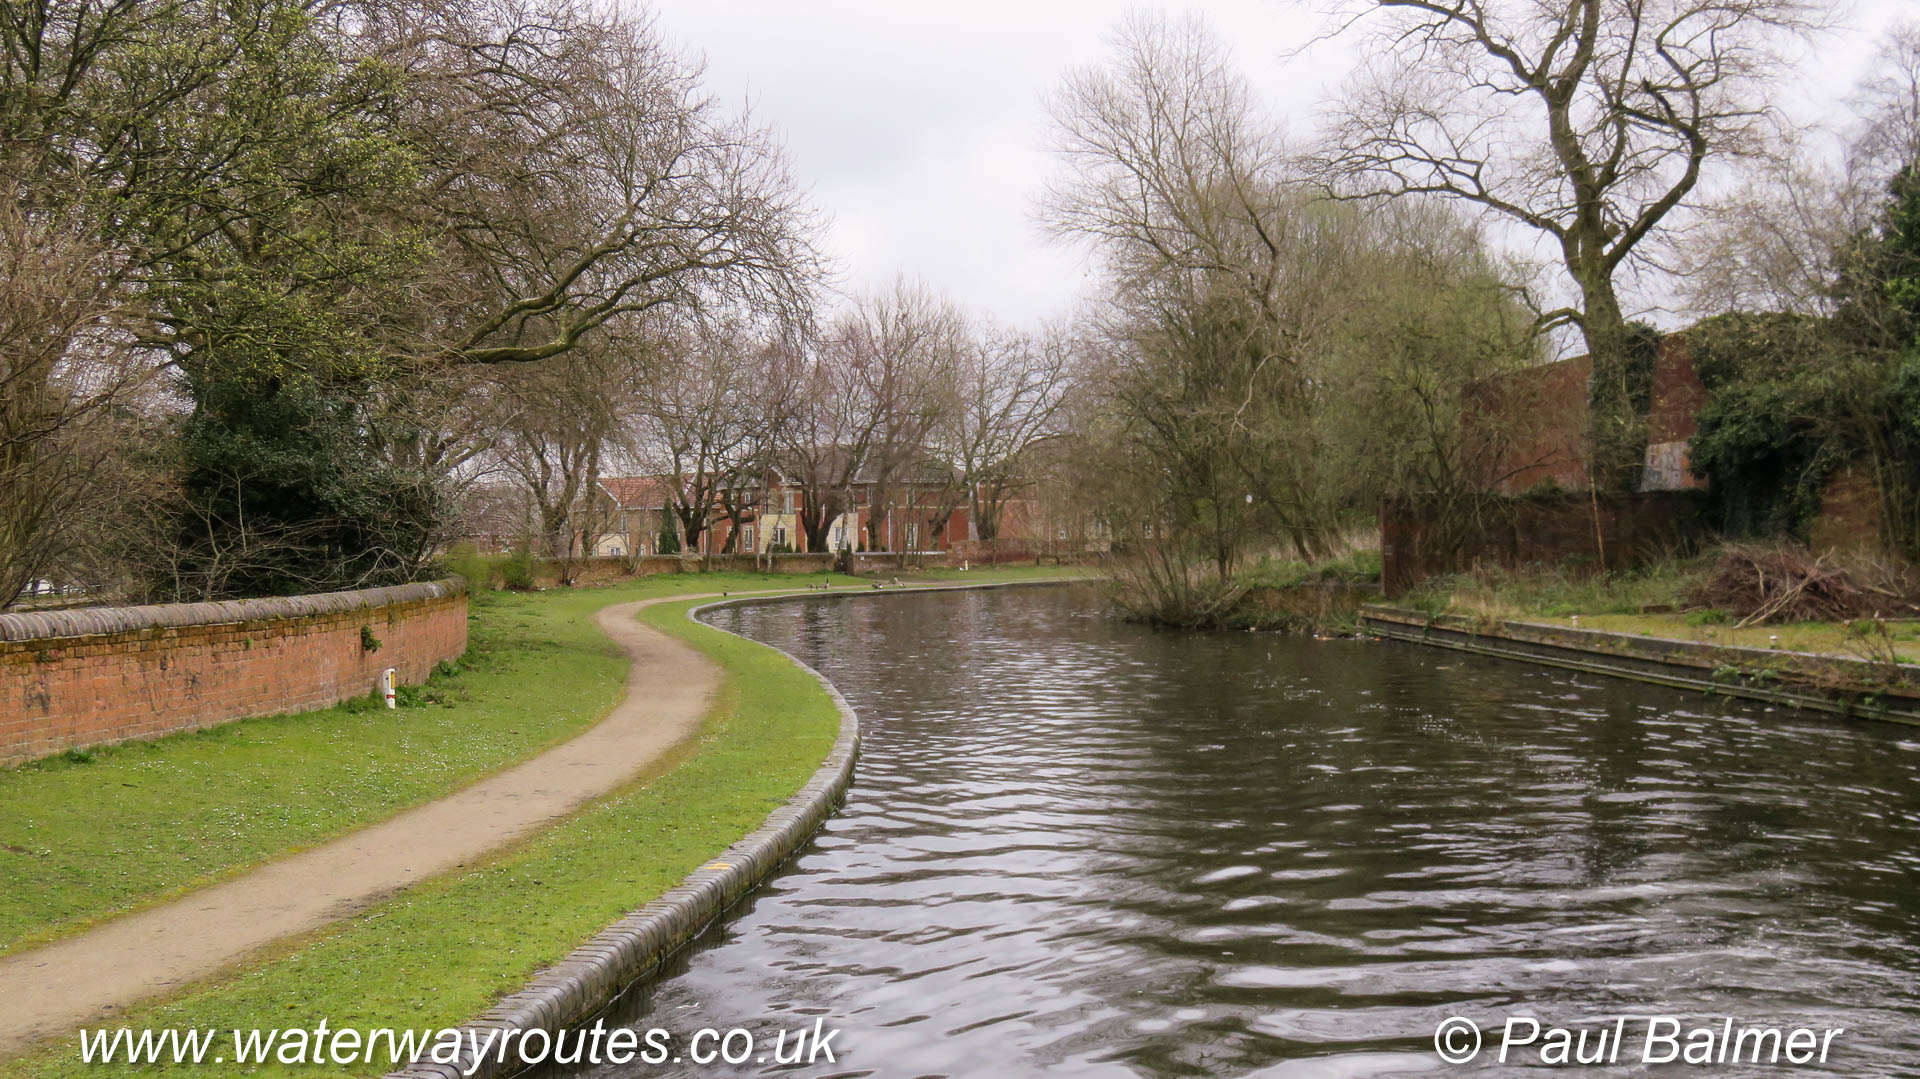
Wide sweeping curves with houses set well back from the towpath makes for a lovely cruise along the Soho Loop.
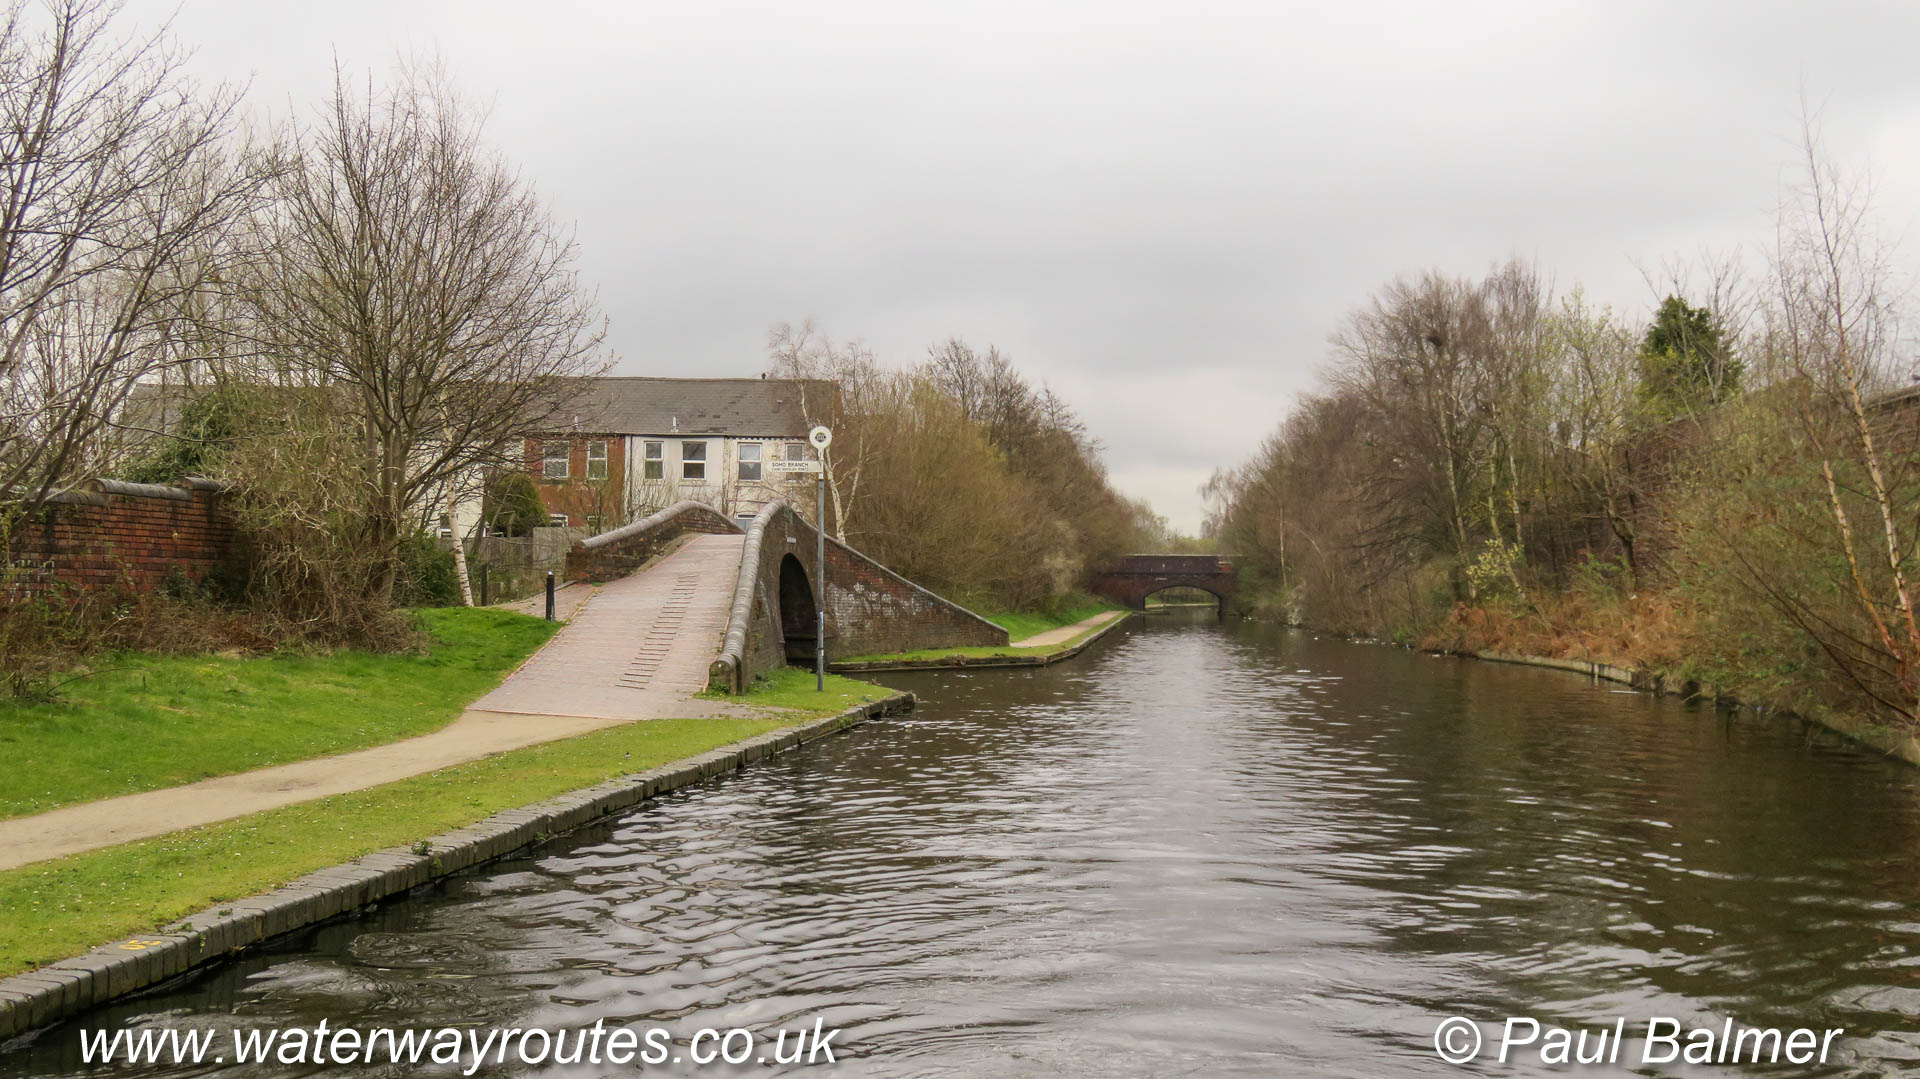
The bridge carries the towpath over the entrance to the Soho Branch into Hockley Port.
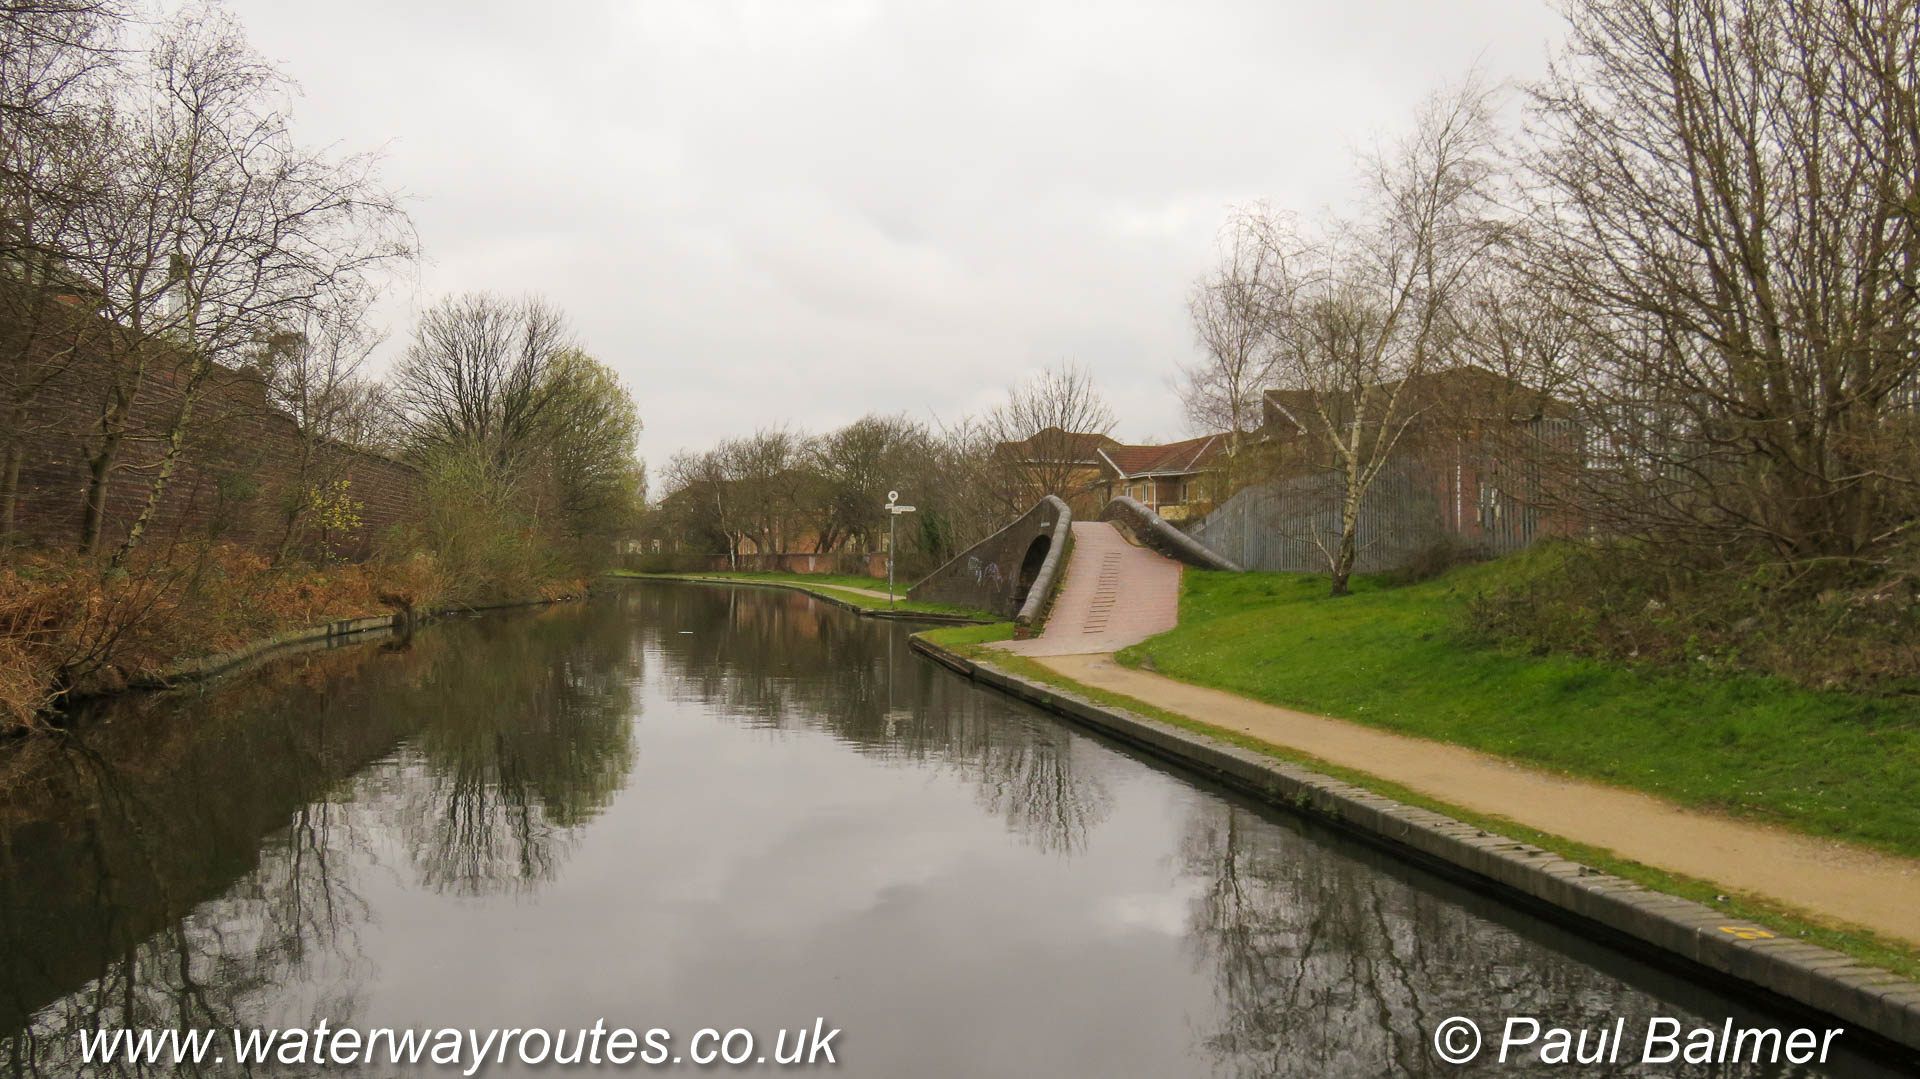
Looking along the Soho Loop towards Wolverhampton the towpath bridge marks the entrance to the Soho Branch into Hockley Port.
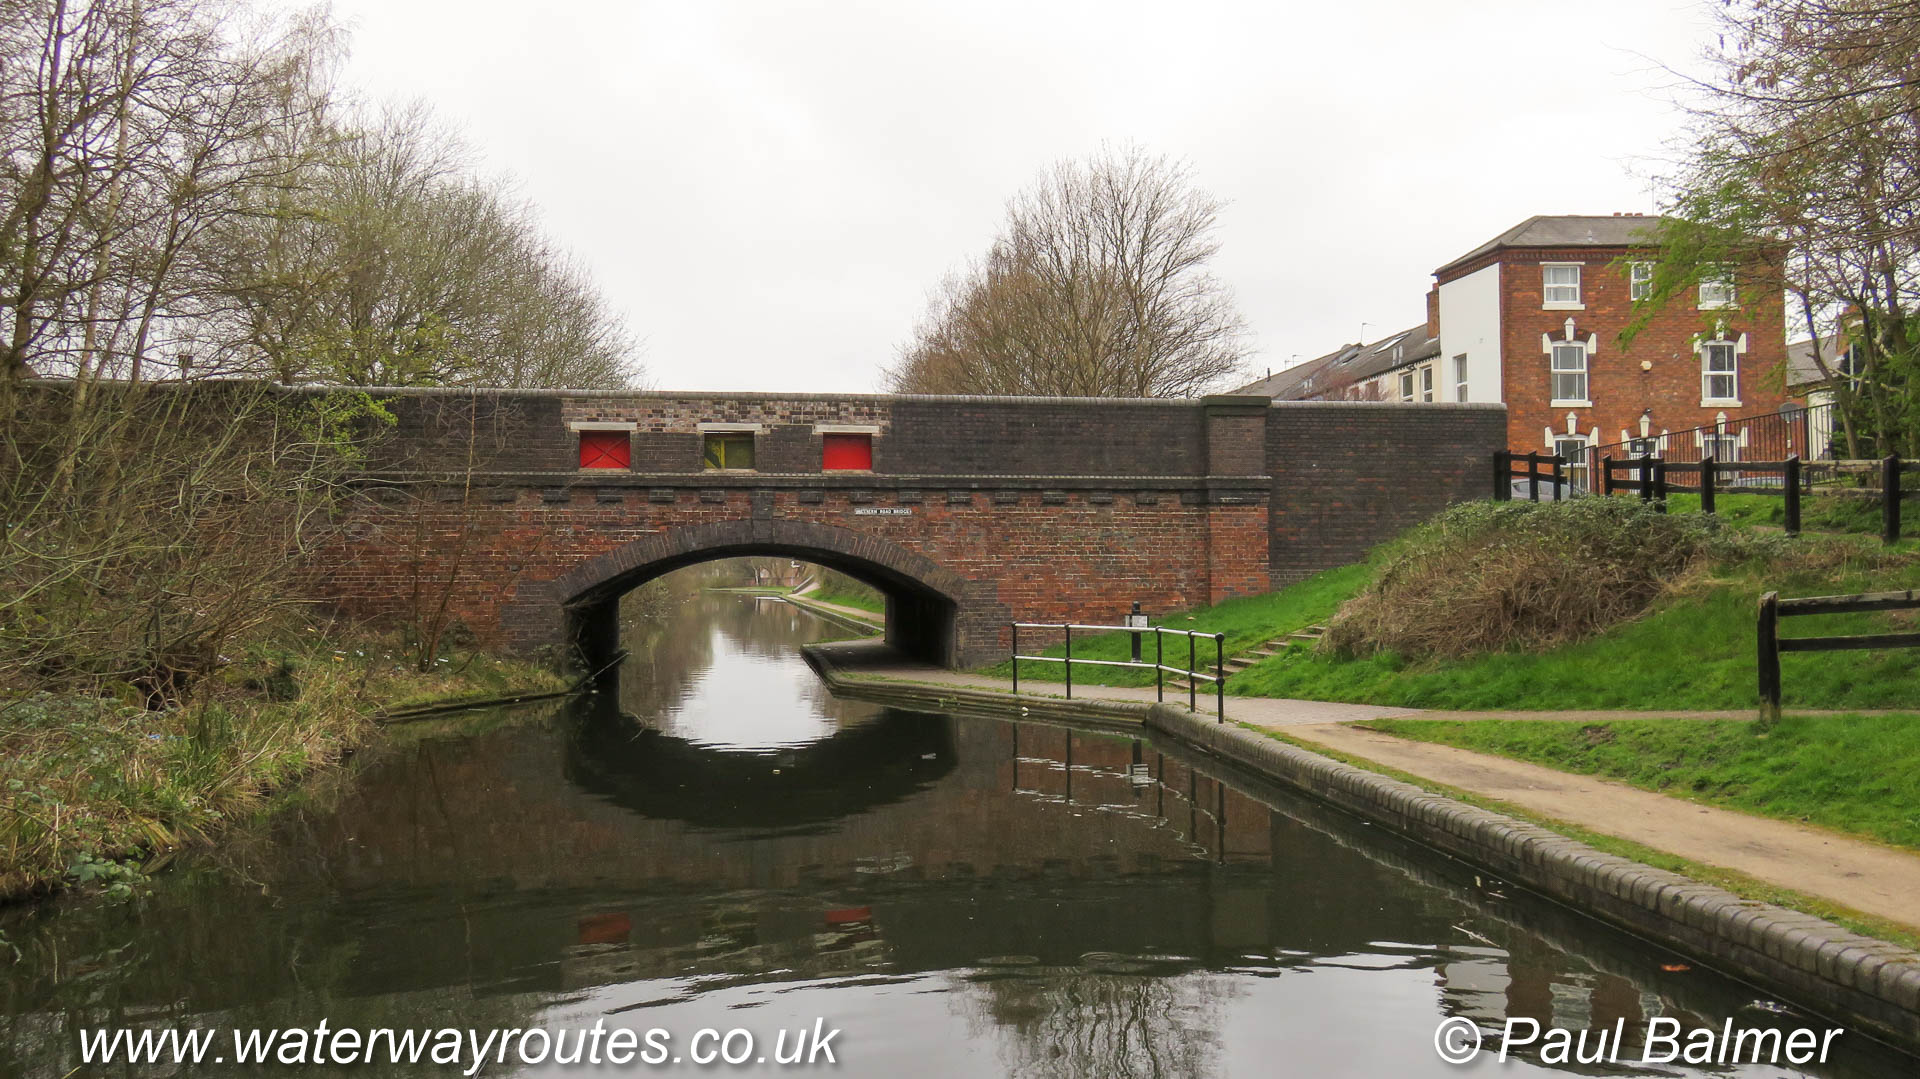
Western Road Bridge is typical of many around the Soho Loop. The red doors in the bridge parapet give access for the fire service to take water from the canal for fire fighting purposes. Birmingham is
A short length of the Soho Loop has wonderful long range views towards the centre of Birmingham.
Parts of the loop run between high sided industrial buildings which restrict the views, rather like being in a cutting.

Rotton Park Junction is immediately beyond the Railway Bridge and it is a four-way junction. Straight ahead is the Icknield Port Loop.
This is looking into the Icknield Port Loop at Rotton Park Junction where it meets the Main Line of the Birmingham Canal Navigations at right angles.
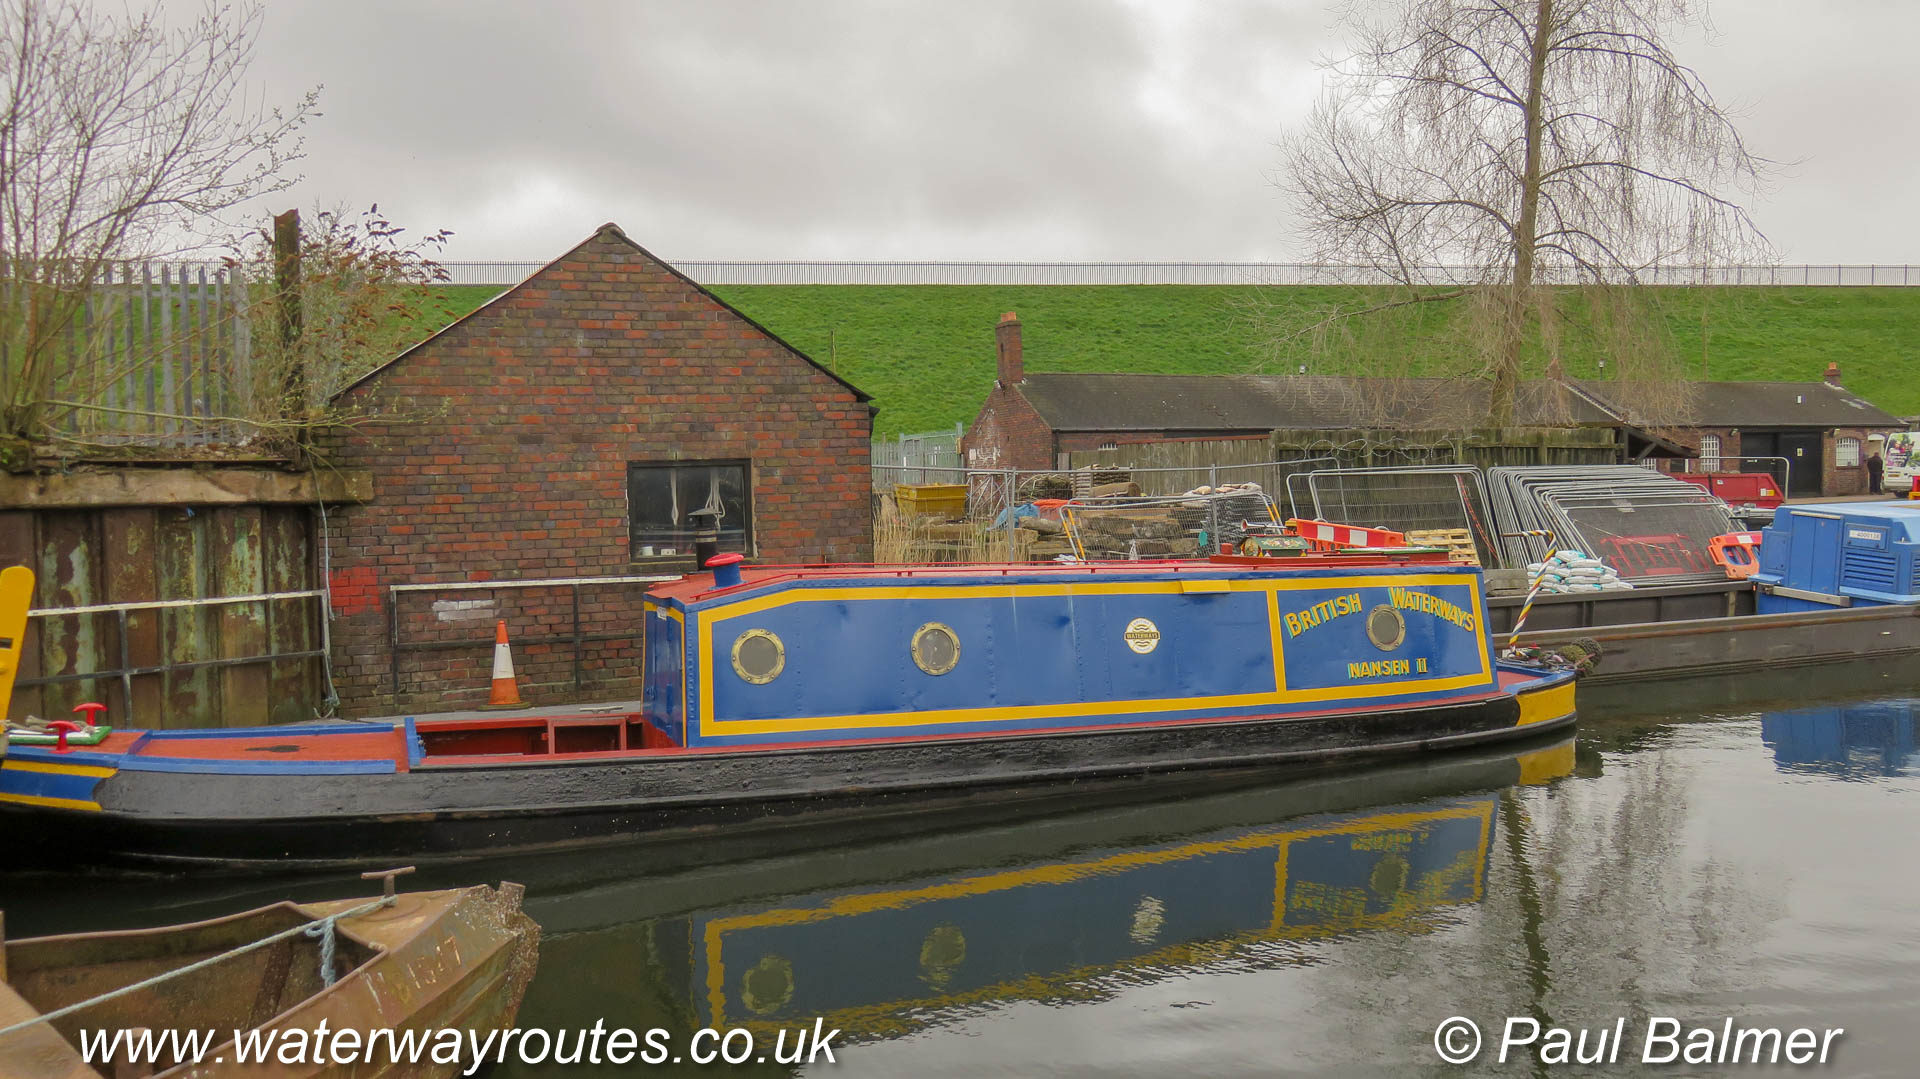
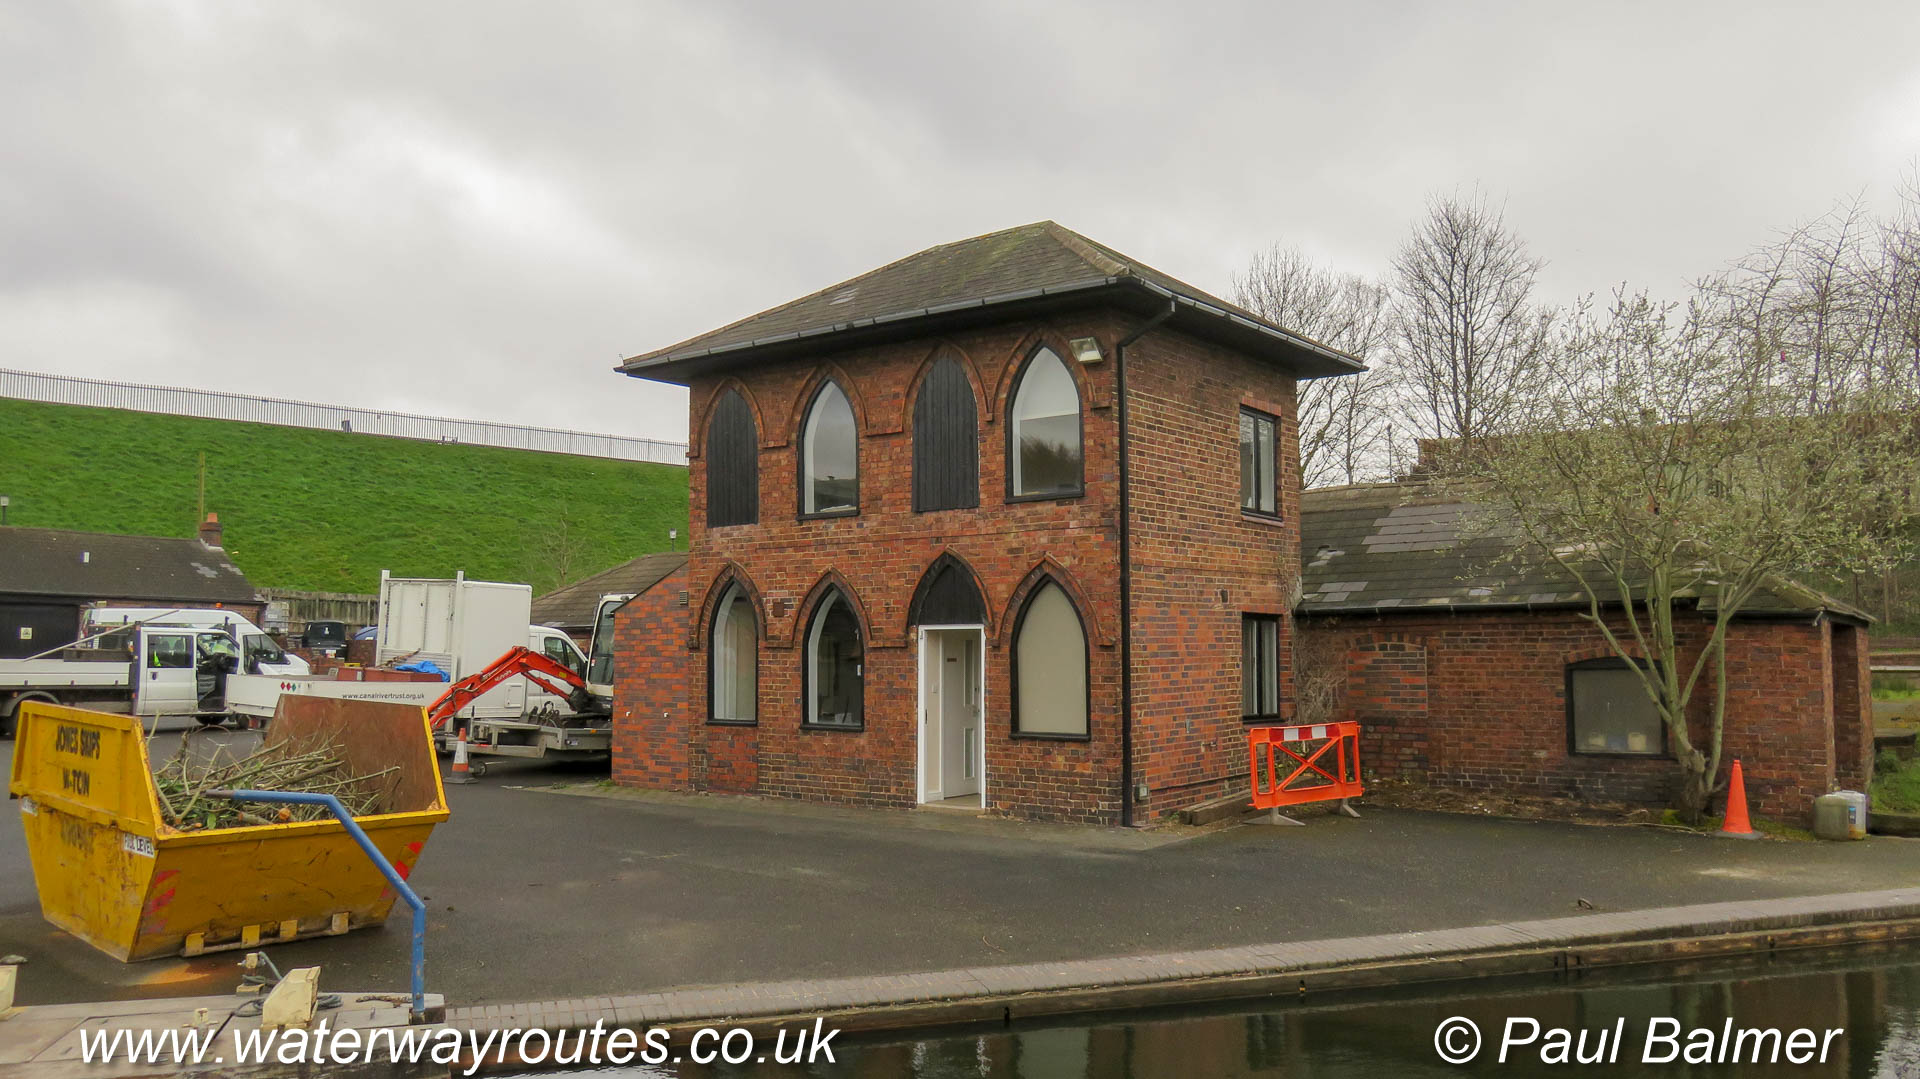
The Canal & River Trust base on the Icknield Port Loop is often used for mooring historical craft.
The Icknield Port Loop has contained canal owners workshops and other facilities for many years, and is still used by the Canal & River Trust today.
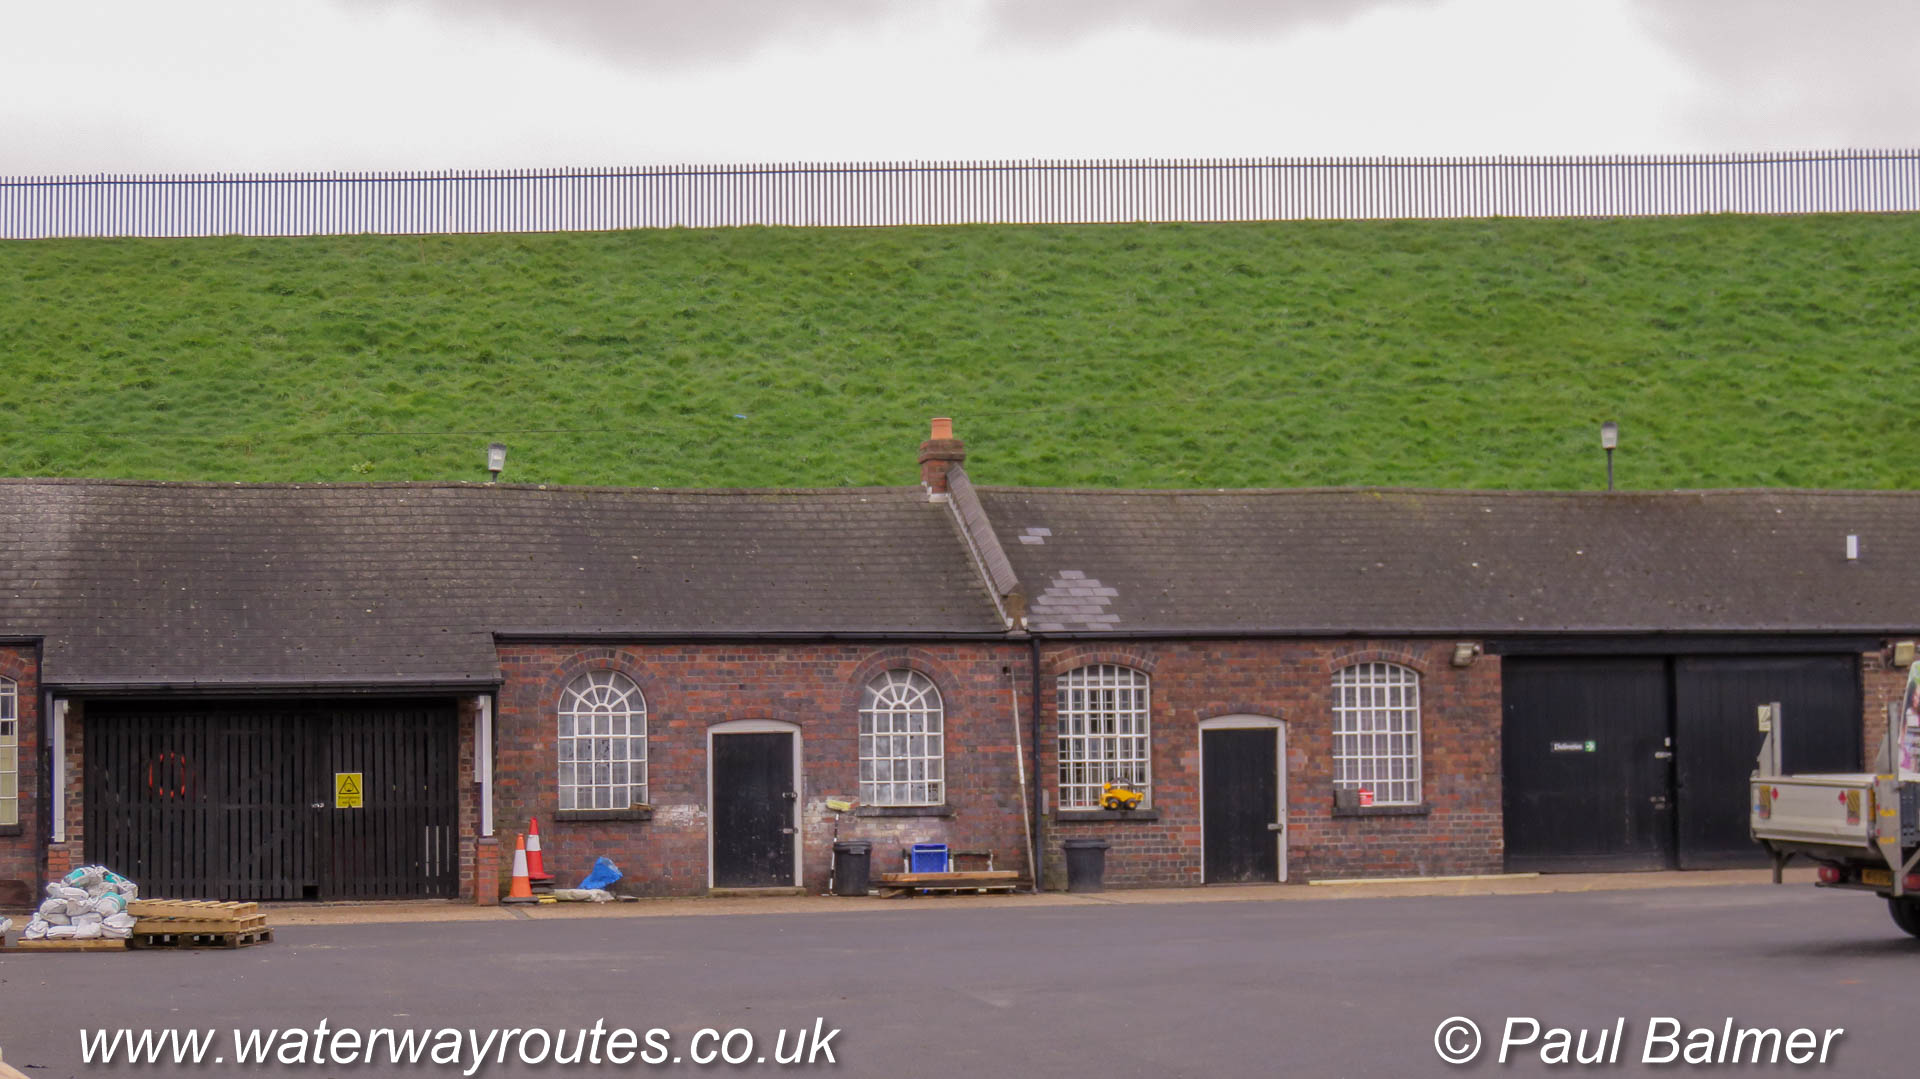
Rather different in style from the other buildings at the depot, this building has unusually shaped windows.
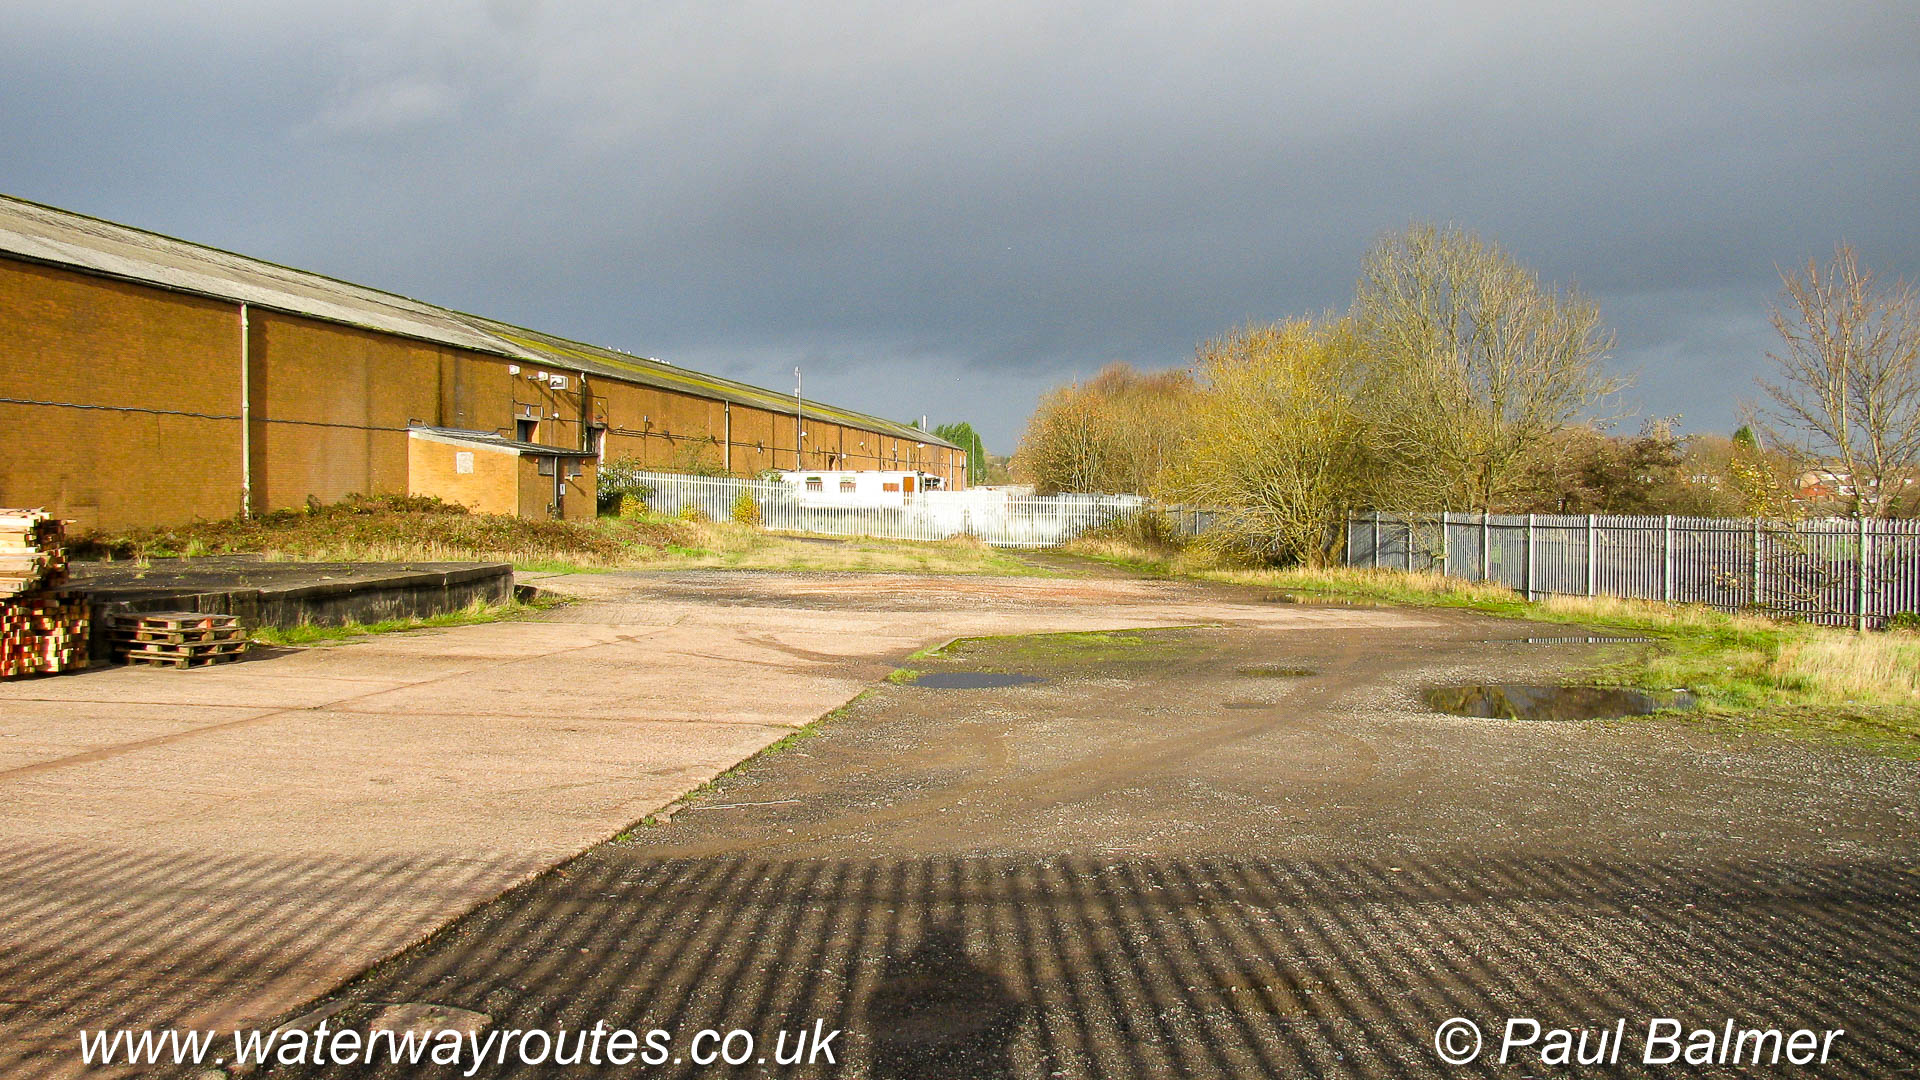
Many of these once fine building s are lying derelict. It’s likely they will be demolished and replaced by modern developments once
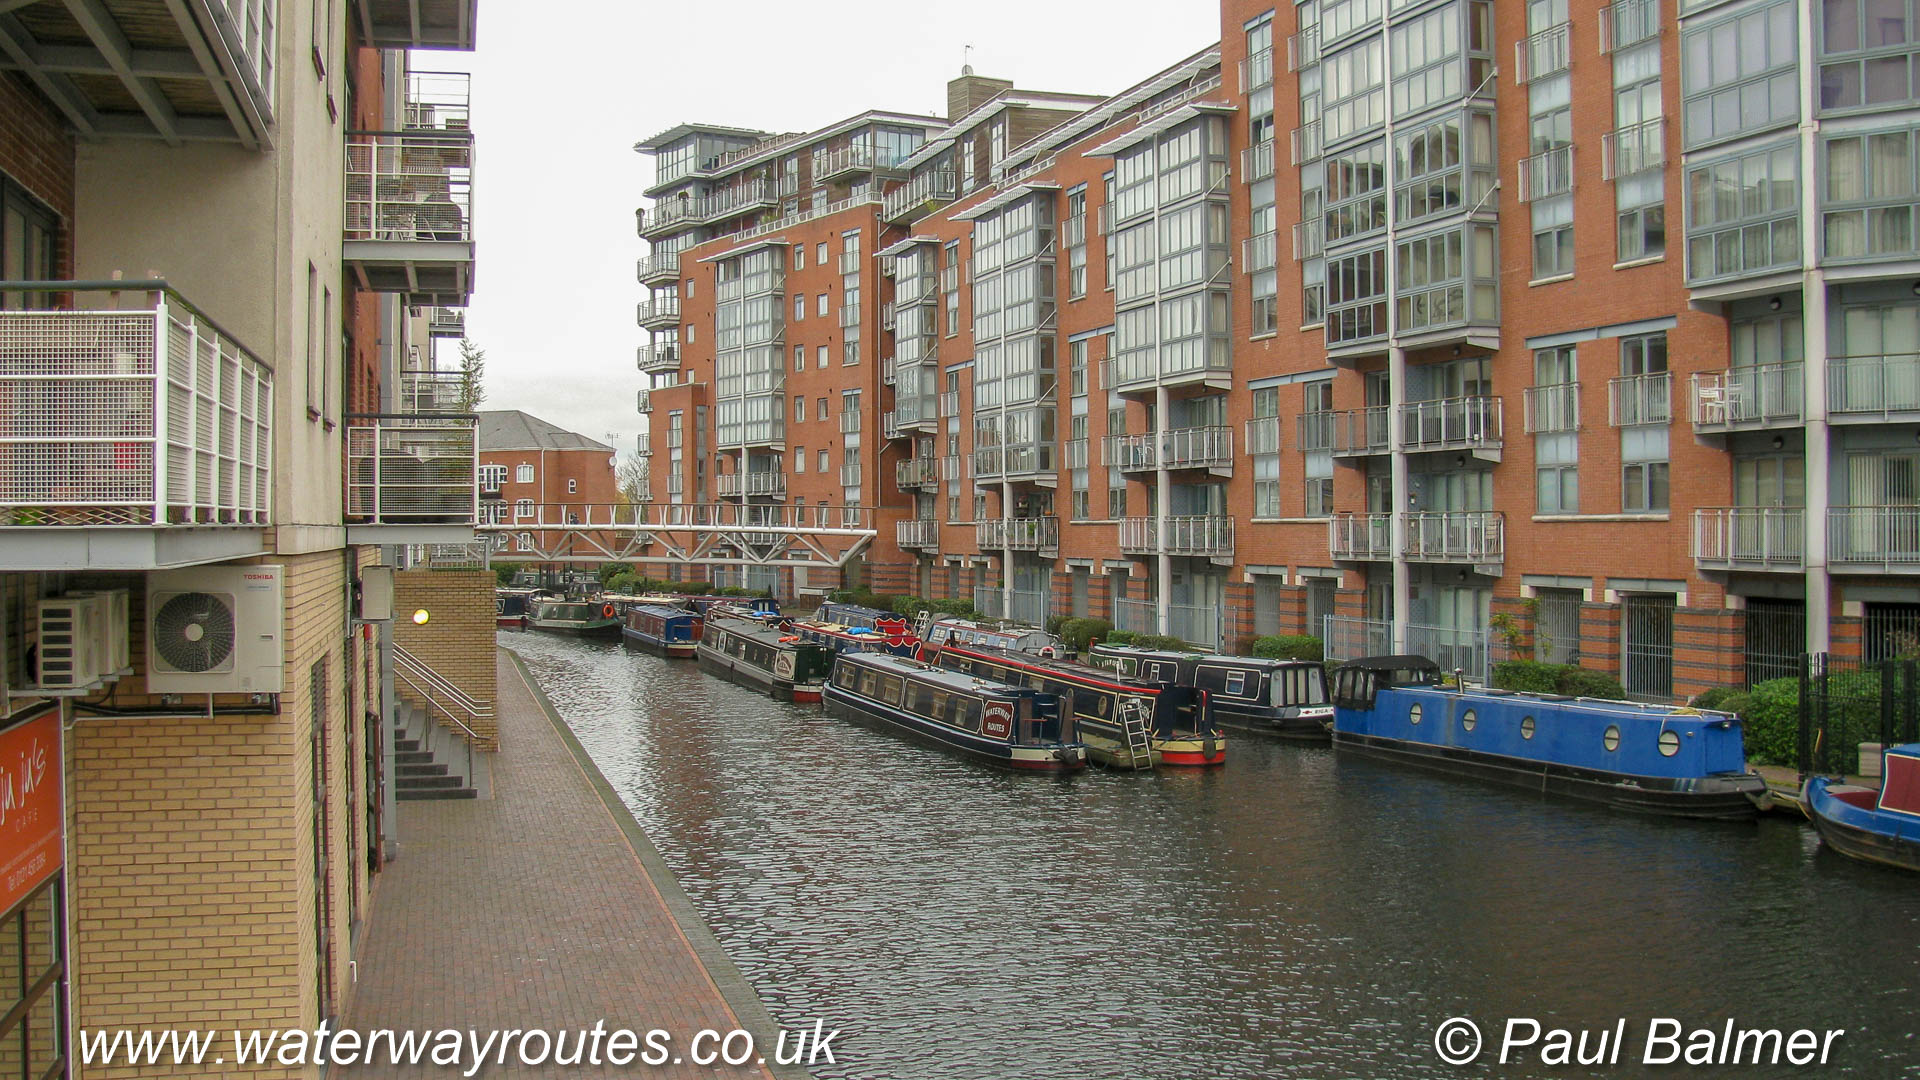
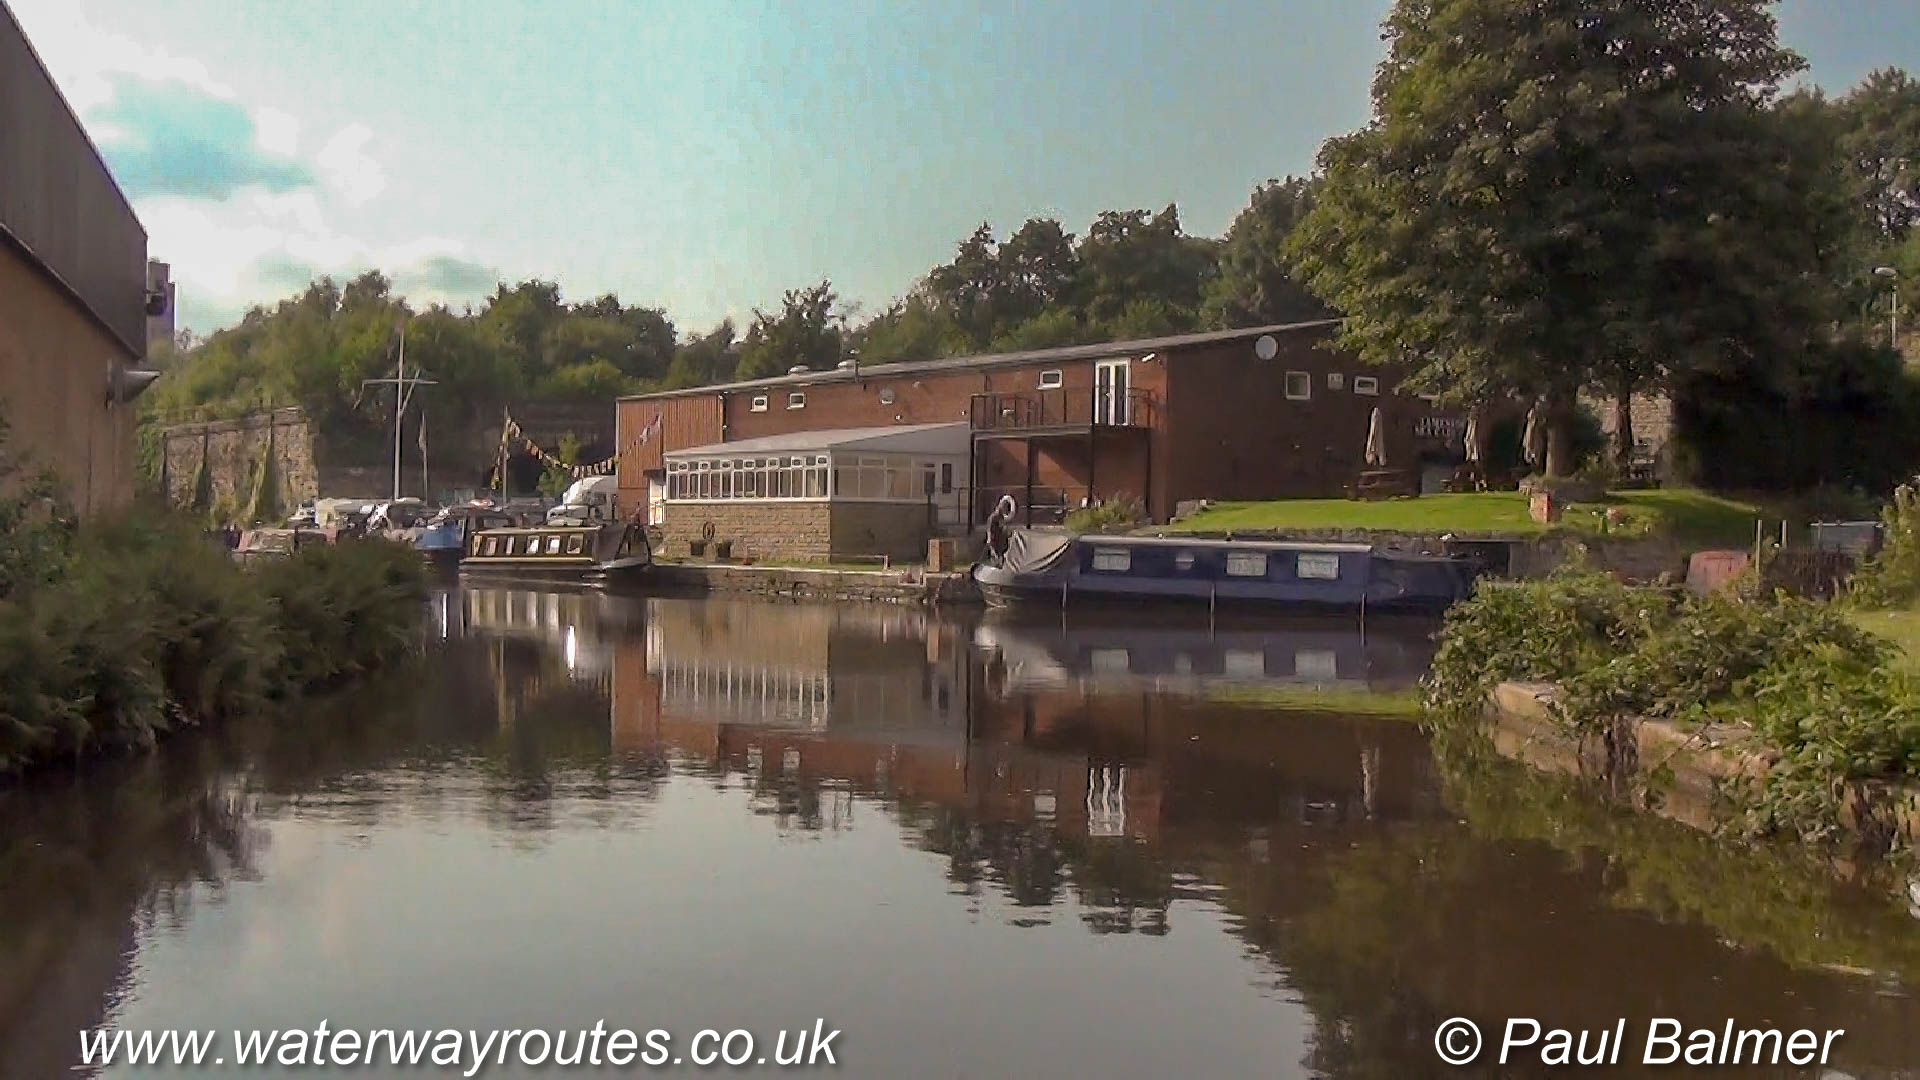
Our Waterway Routes narrowboat is about the leave Sherborne Wharf Marina on the Oozells Street Loop of the Birmingham Canal Navigations (BCN).
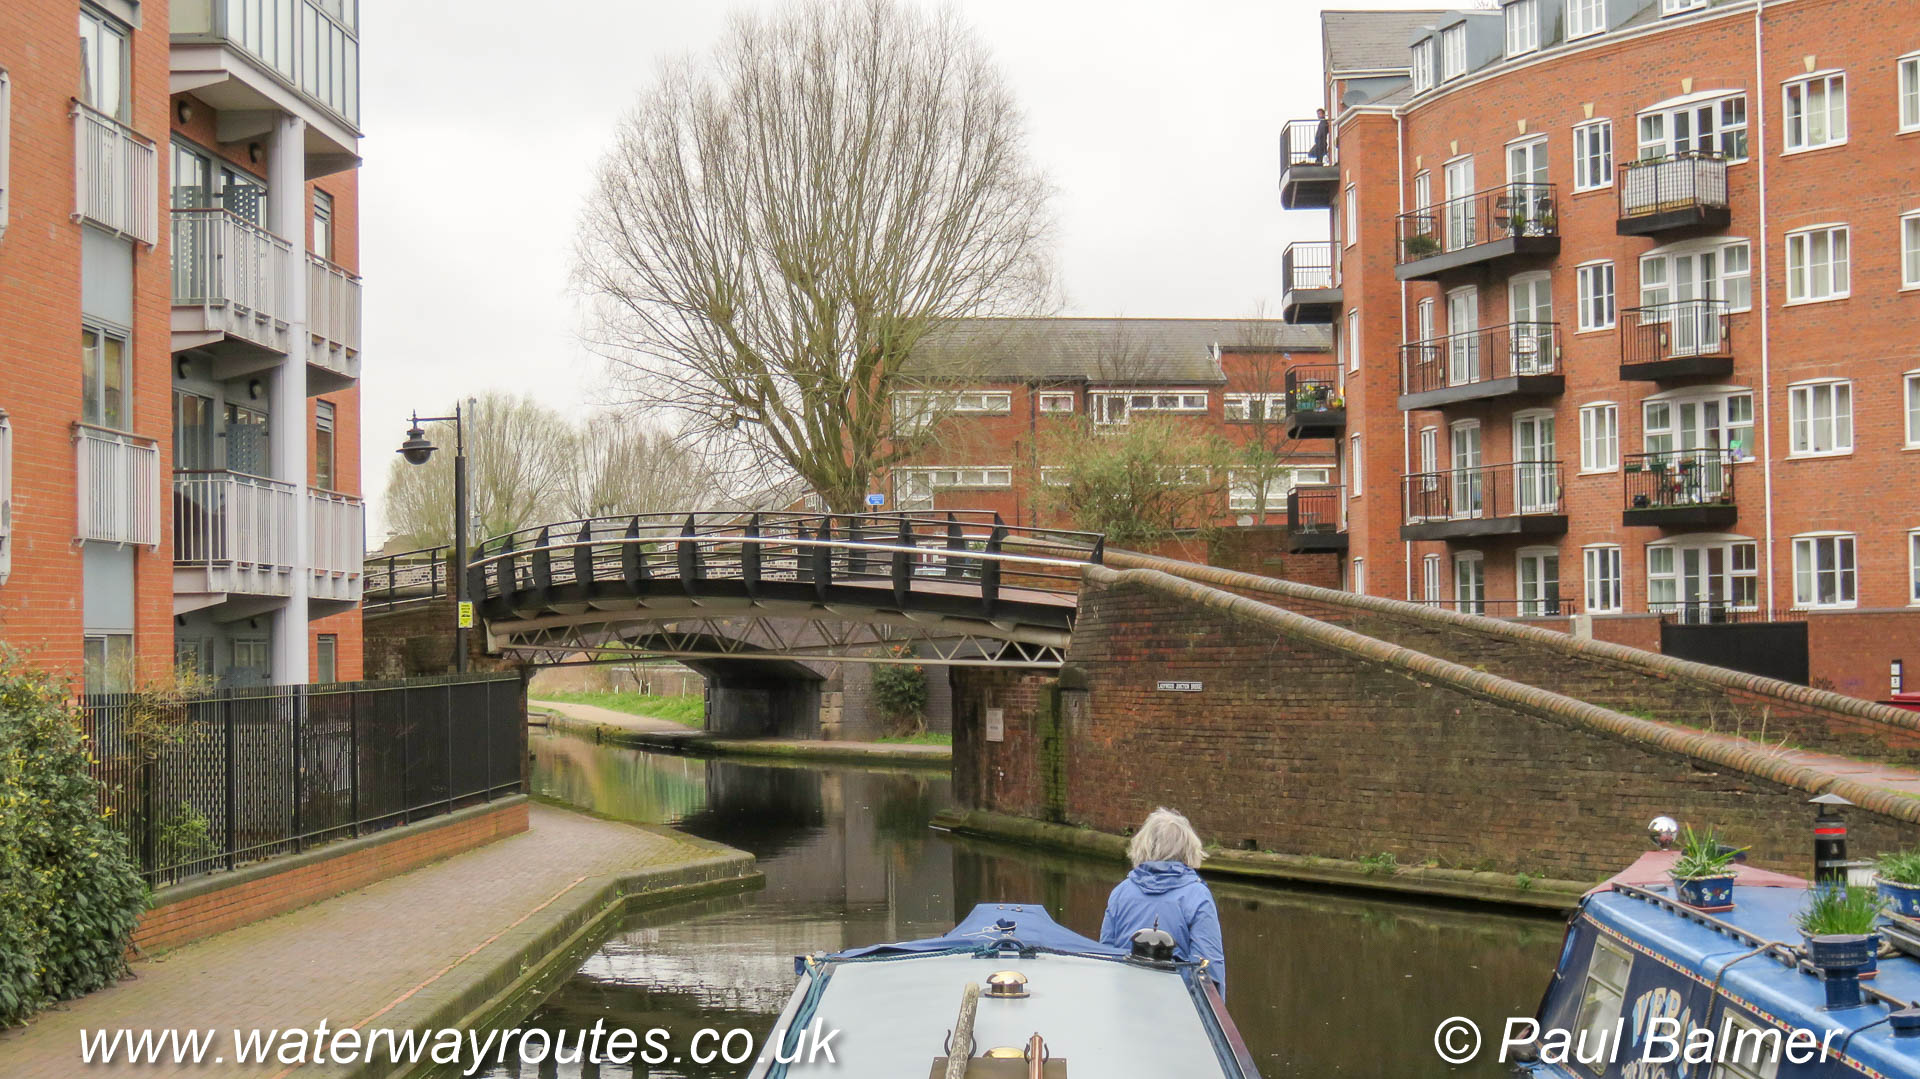
Under the bridge is Ladywood Junction where the Oozells Street Loop meets the Birmingham Canal Navigations (BCN) Main Line. Wolverhampton is almost straight ahead at this shallow angle junction.
The view from our Waterway Routes narrowboat on its home mooring in Sherborne Wharf Marina.
Ladywood Junction is just out of sight where the Oozells Street Loop curves to the left.
< Next Hollinwood Canal Next > < Waterhouses Junction Jn with Werneth Branch Canal > Still looking ready for boats for 500, (¼ mile) above Waterhouses Junction. Waterway and Kilometerage HOLL 04.455.05 OS Grid Reference SD...
< Next Hollinwood Canal Next > < Fairfield Junction Waterhouses Junction > The Hollinwood Canal turns sharp left above Waterhouses Lock 19. The level top to the grass embankment straight ahead marks the line of the...
Fairfield Junction sits immediately above Fairfield Top Lock 16. The Hollinwood Canal once ran straight ahead where the short remaining arm is now used for a marina.
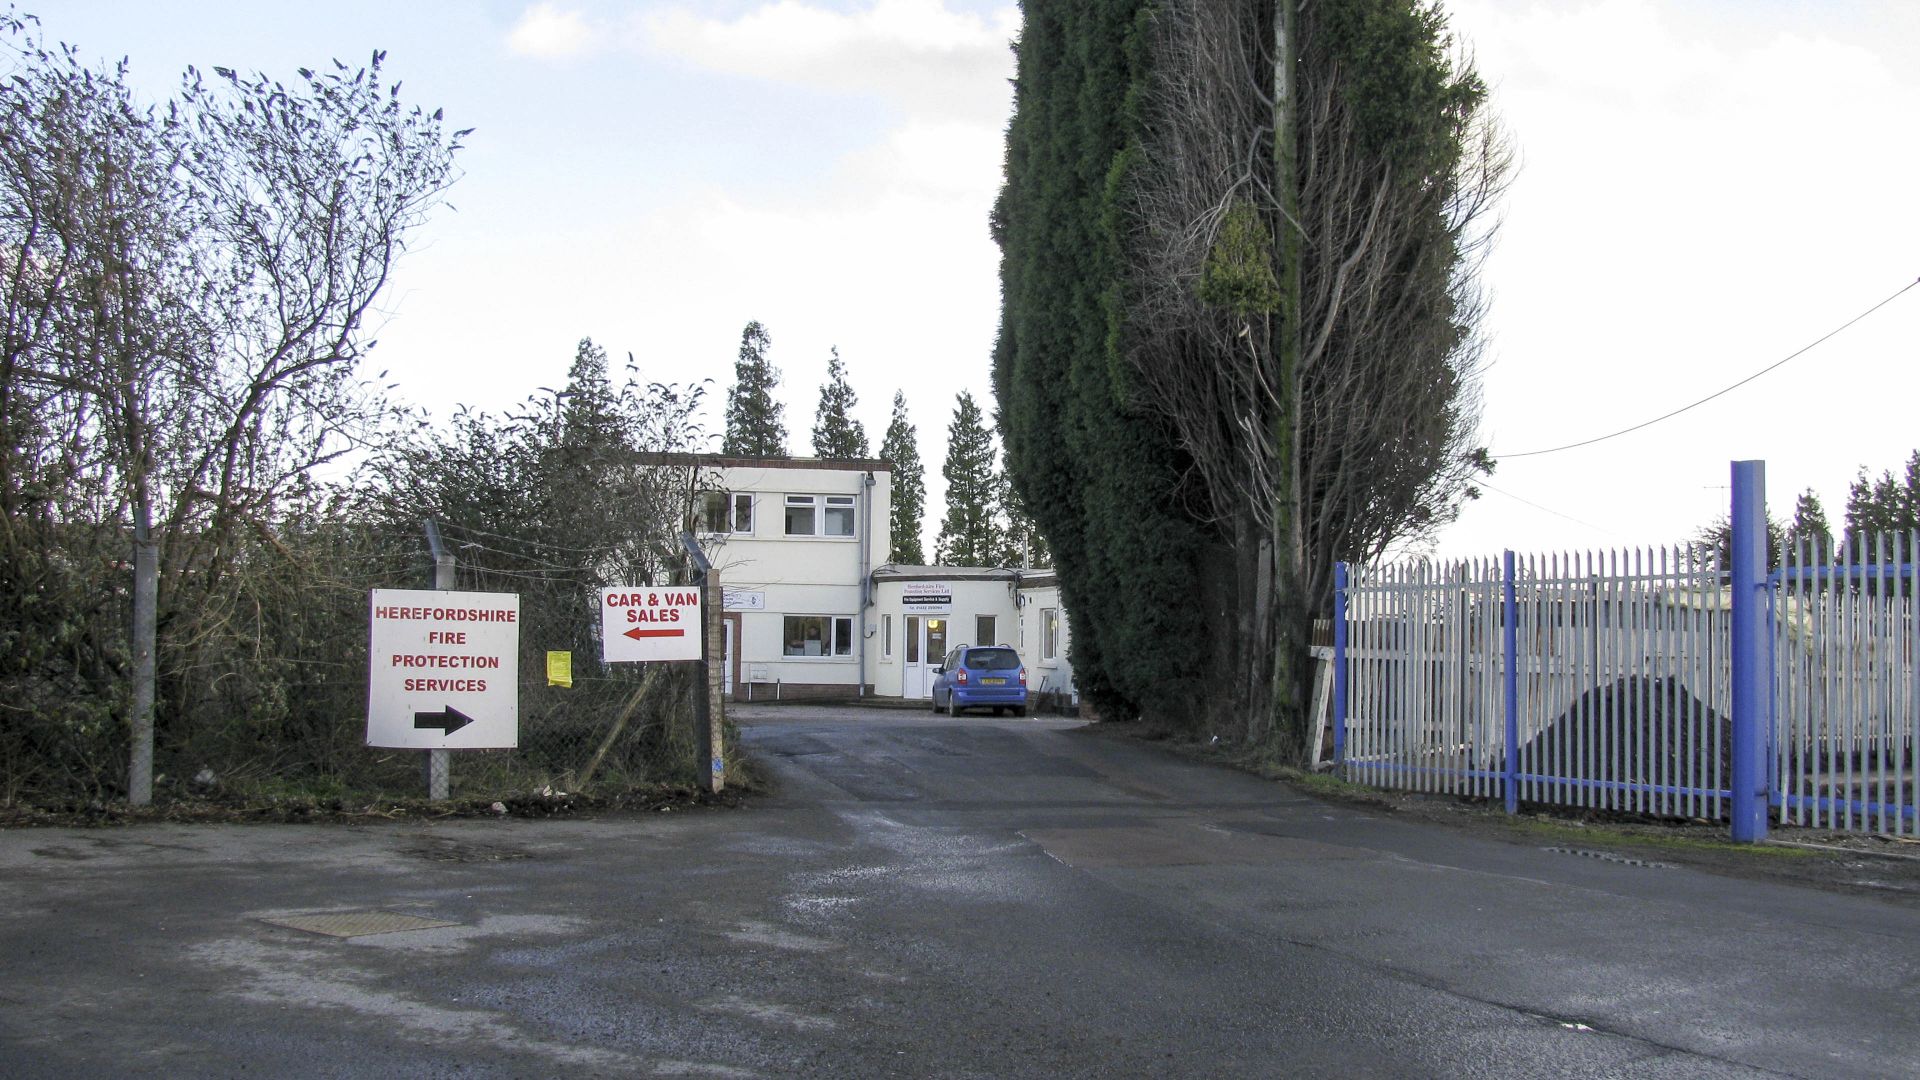
< Next H&G Canal Next > < End of Navigation Entry to Hereford > A very slight hump in the road, next to the trees, marks the location of a former bridge crossing the HerefordshiRe &...
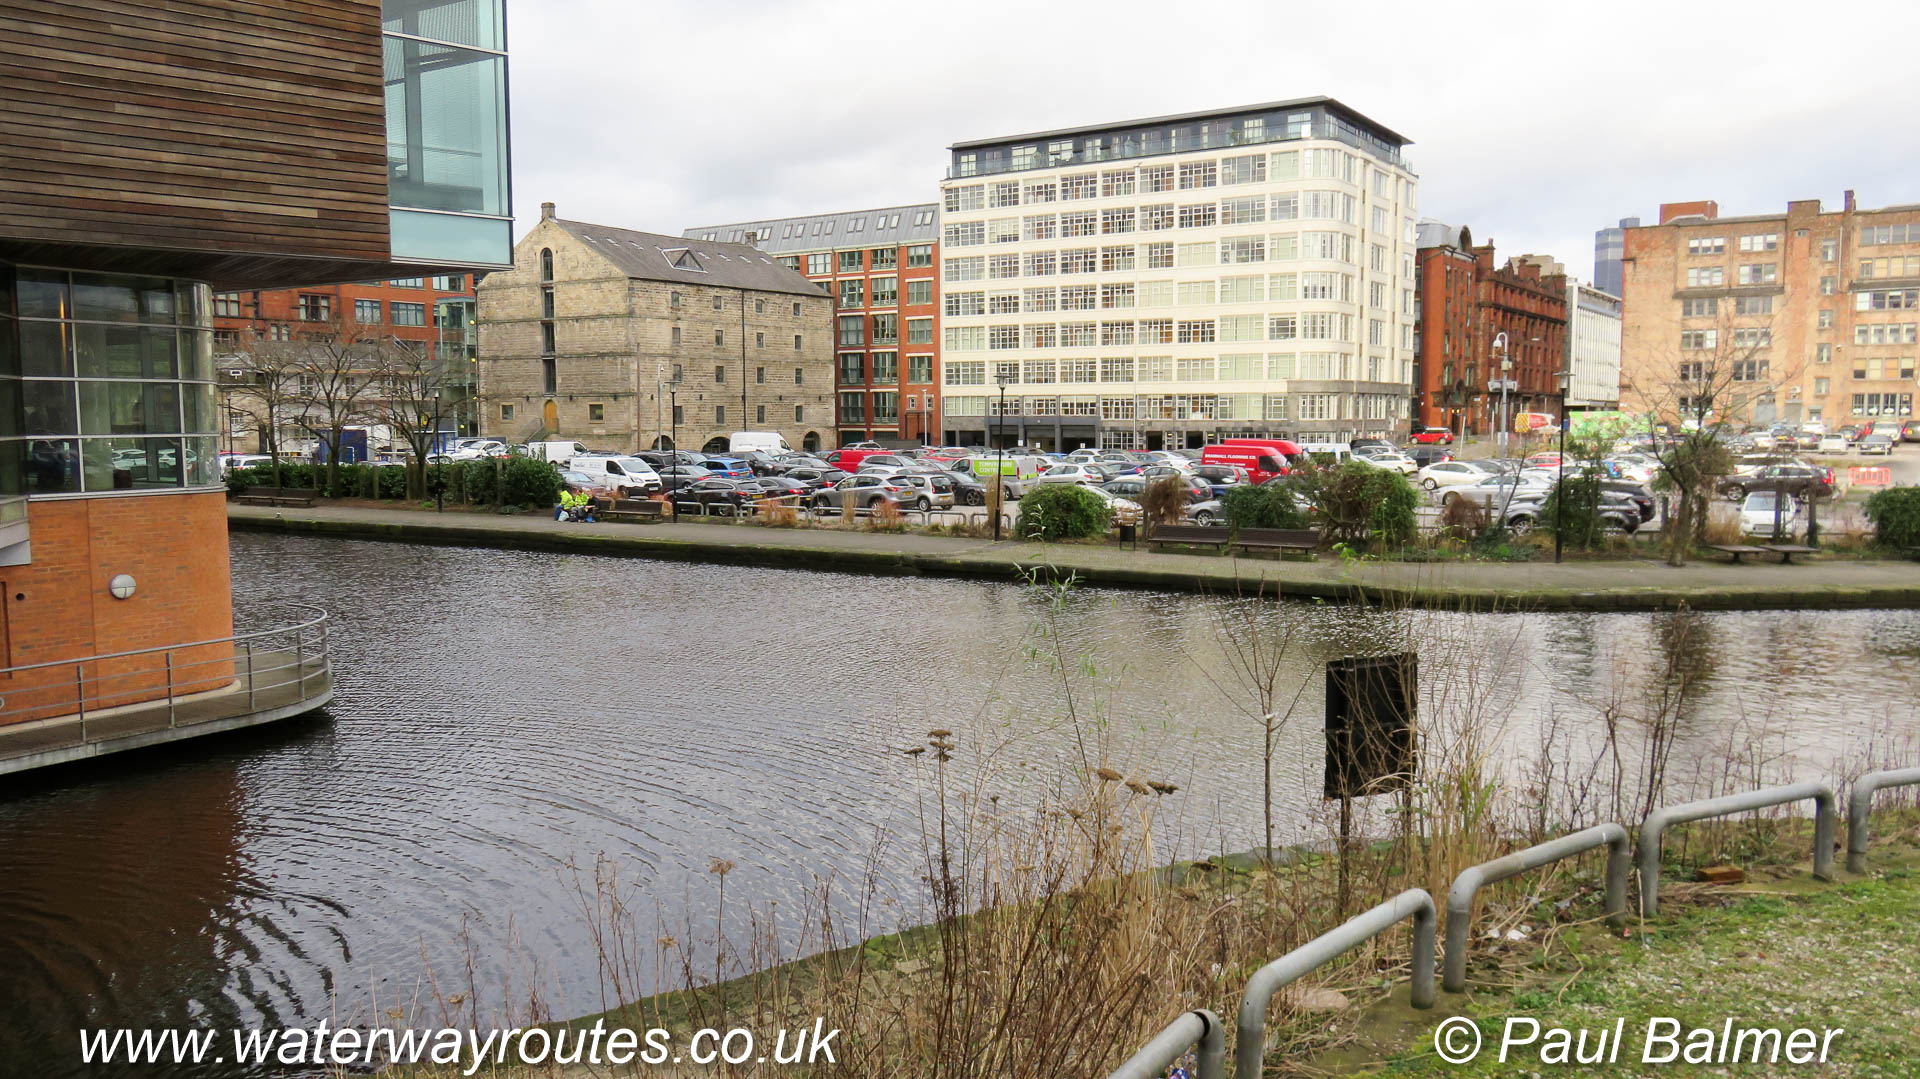
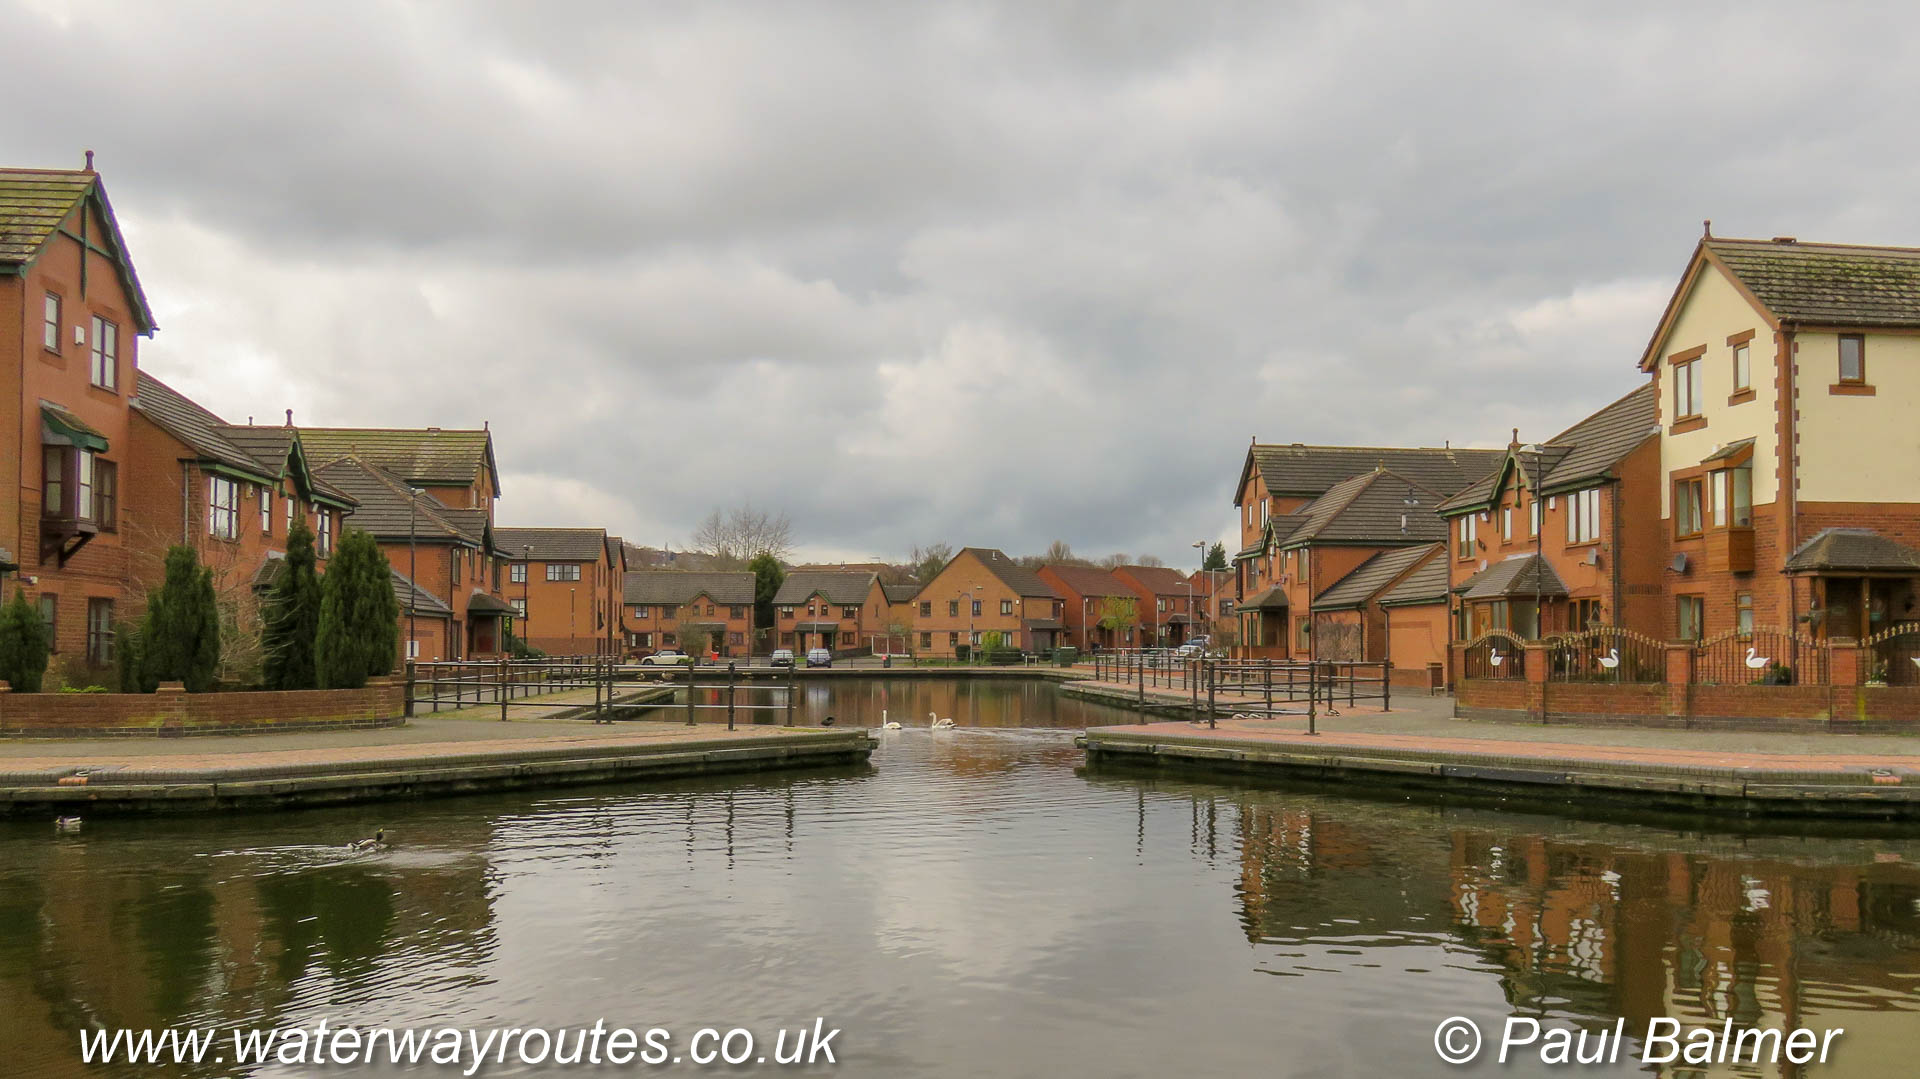
The Ashton Canal, at the lower left of the photo, meets the Rochdale Canal, running across the width of photo, at Ducie Street Junction.
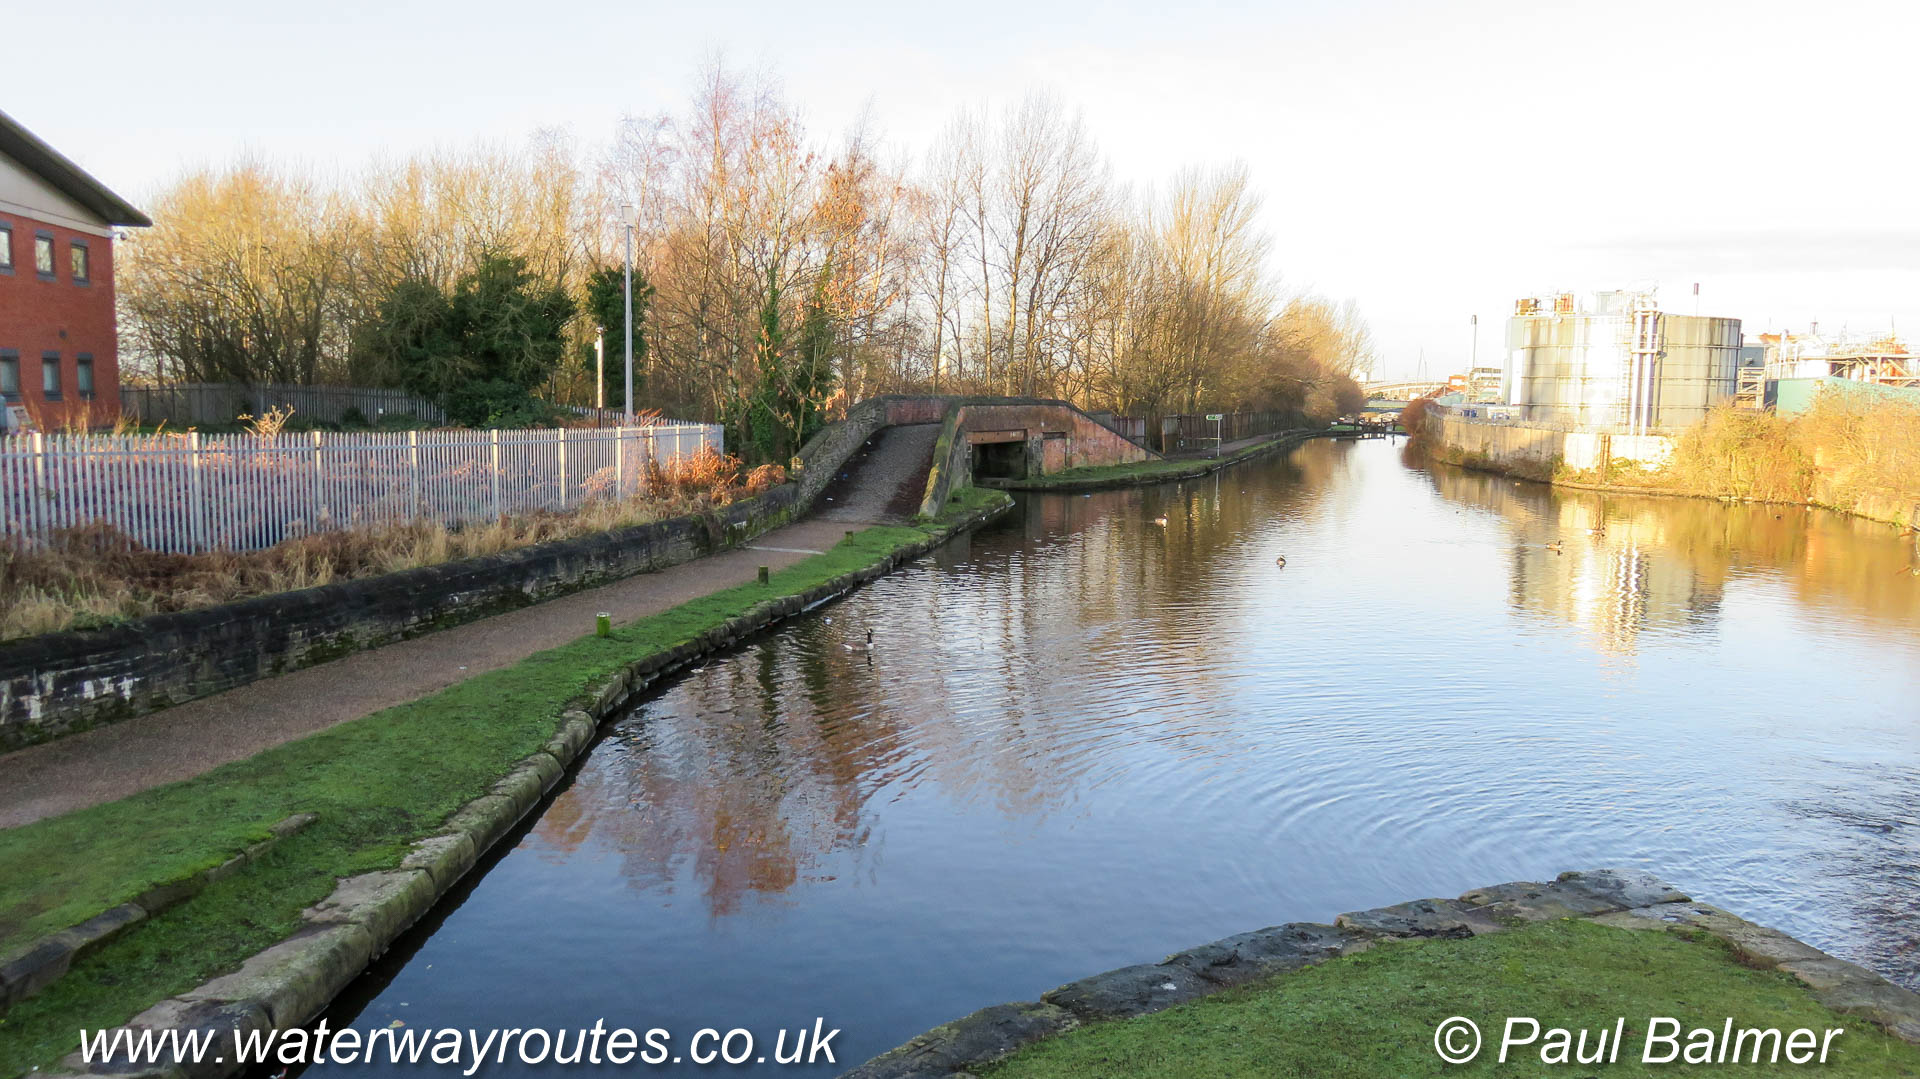
Looking along the Ashton Canal towards Manchester to Clayton Junction where the abandoned Stockport Canal once passed under the towpath bridge on its way to Stockport.
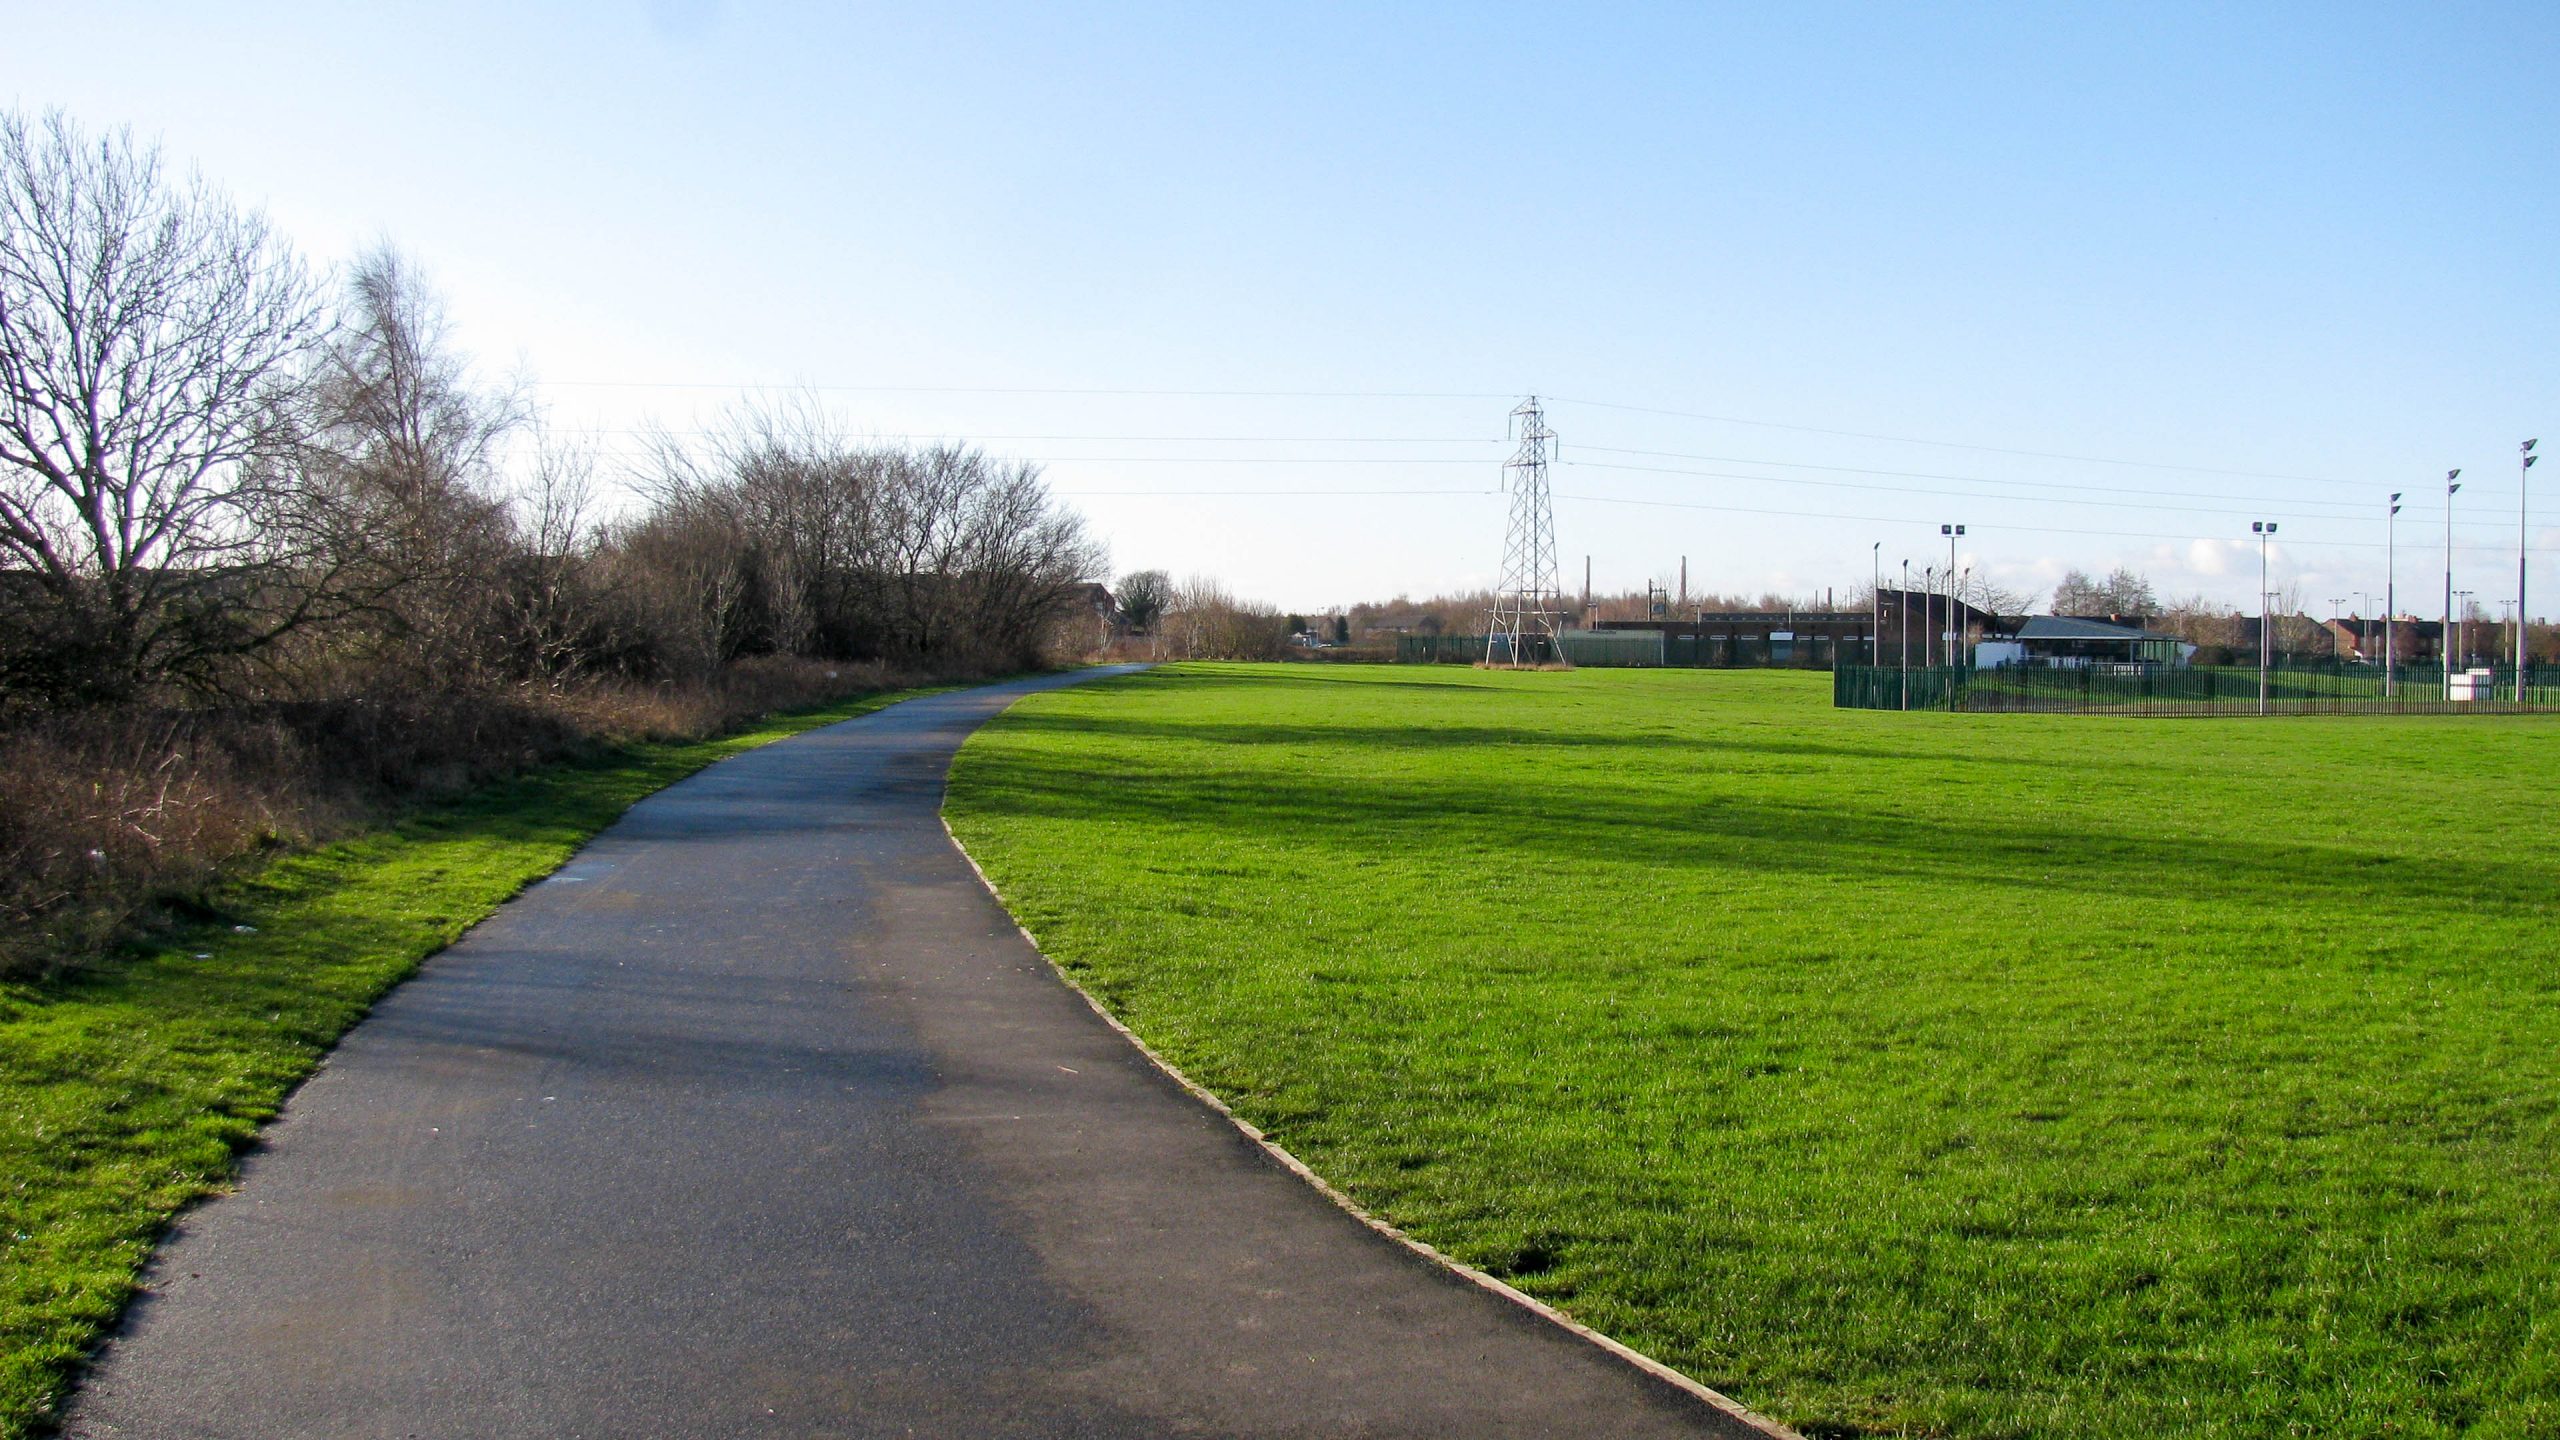
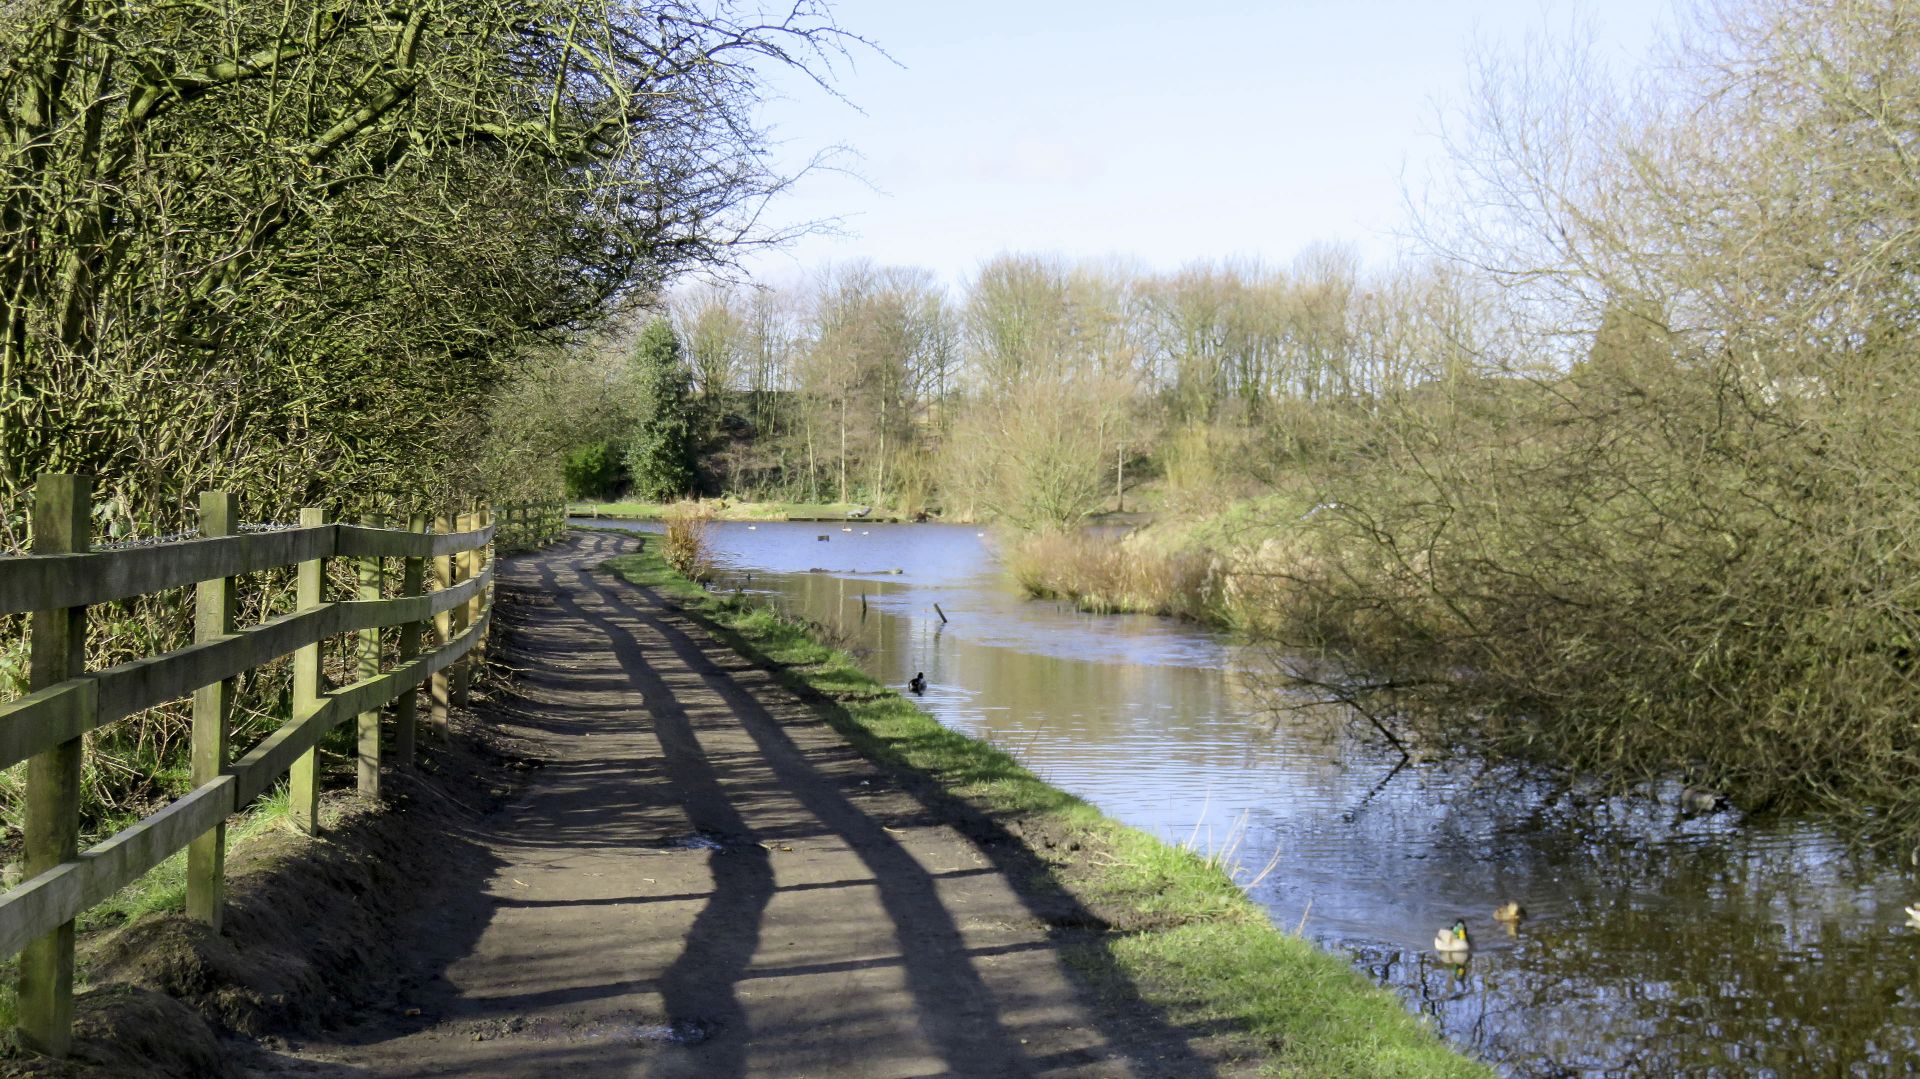
The cycleway keeps close the the Sankey Brook, to the left, as it curves gently across the grass. The canal has been completely filled in and would have run further to the right, probably to the right of the pylon.
< Next Lapal Canal Next > < Hawne Basin Selly Oak > The footpath is starting to slope downhill and the canal will also descend through several sets of staircase locks. The original alignment is to the right...

< Next St Helens Canal Next > < Warrington Widnes > The canal is open for the first 600m and the centre of the canal is used for two lines of moorings for boats which go sailing on...
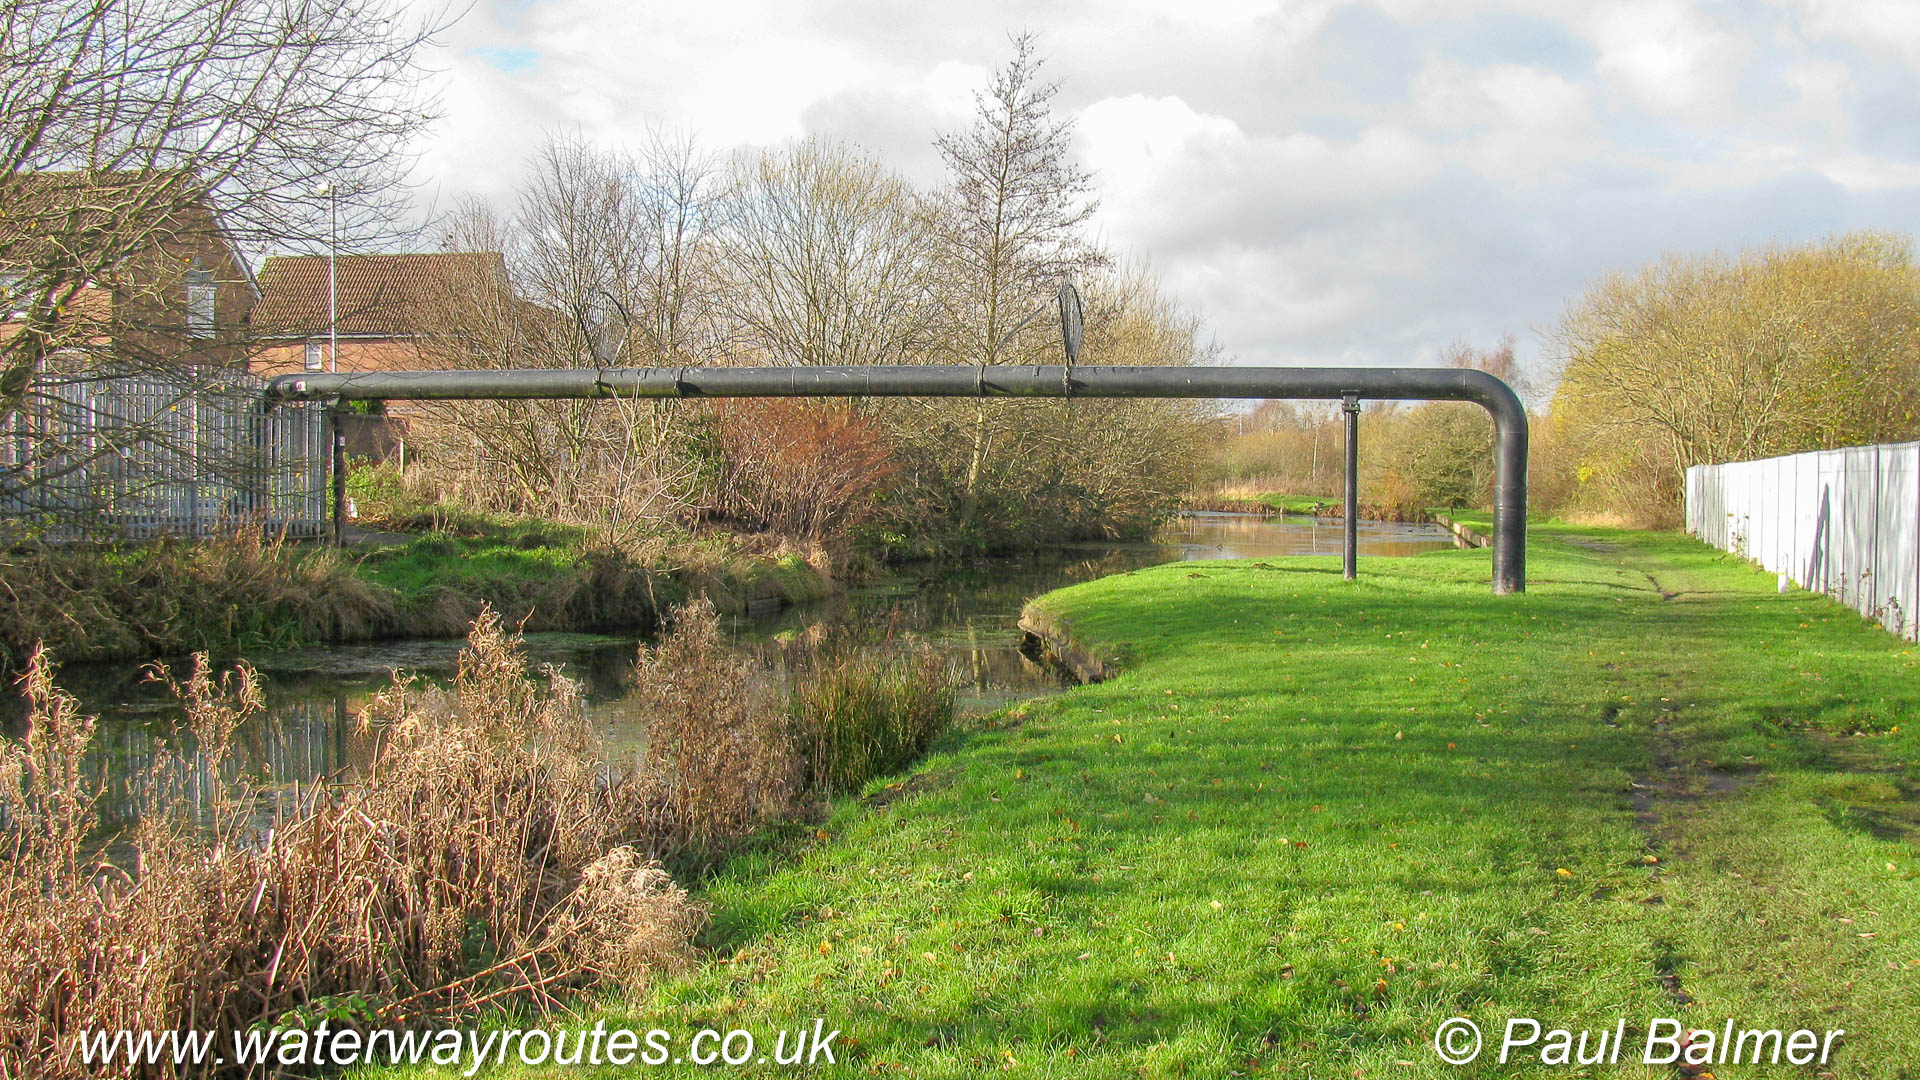
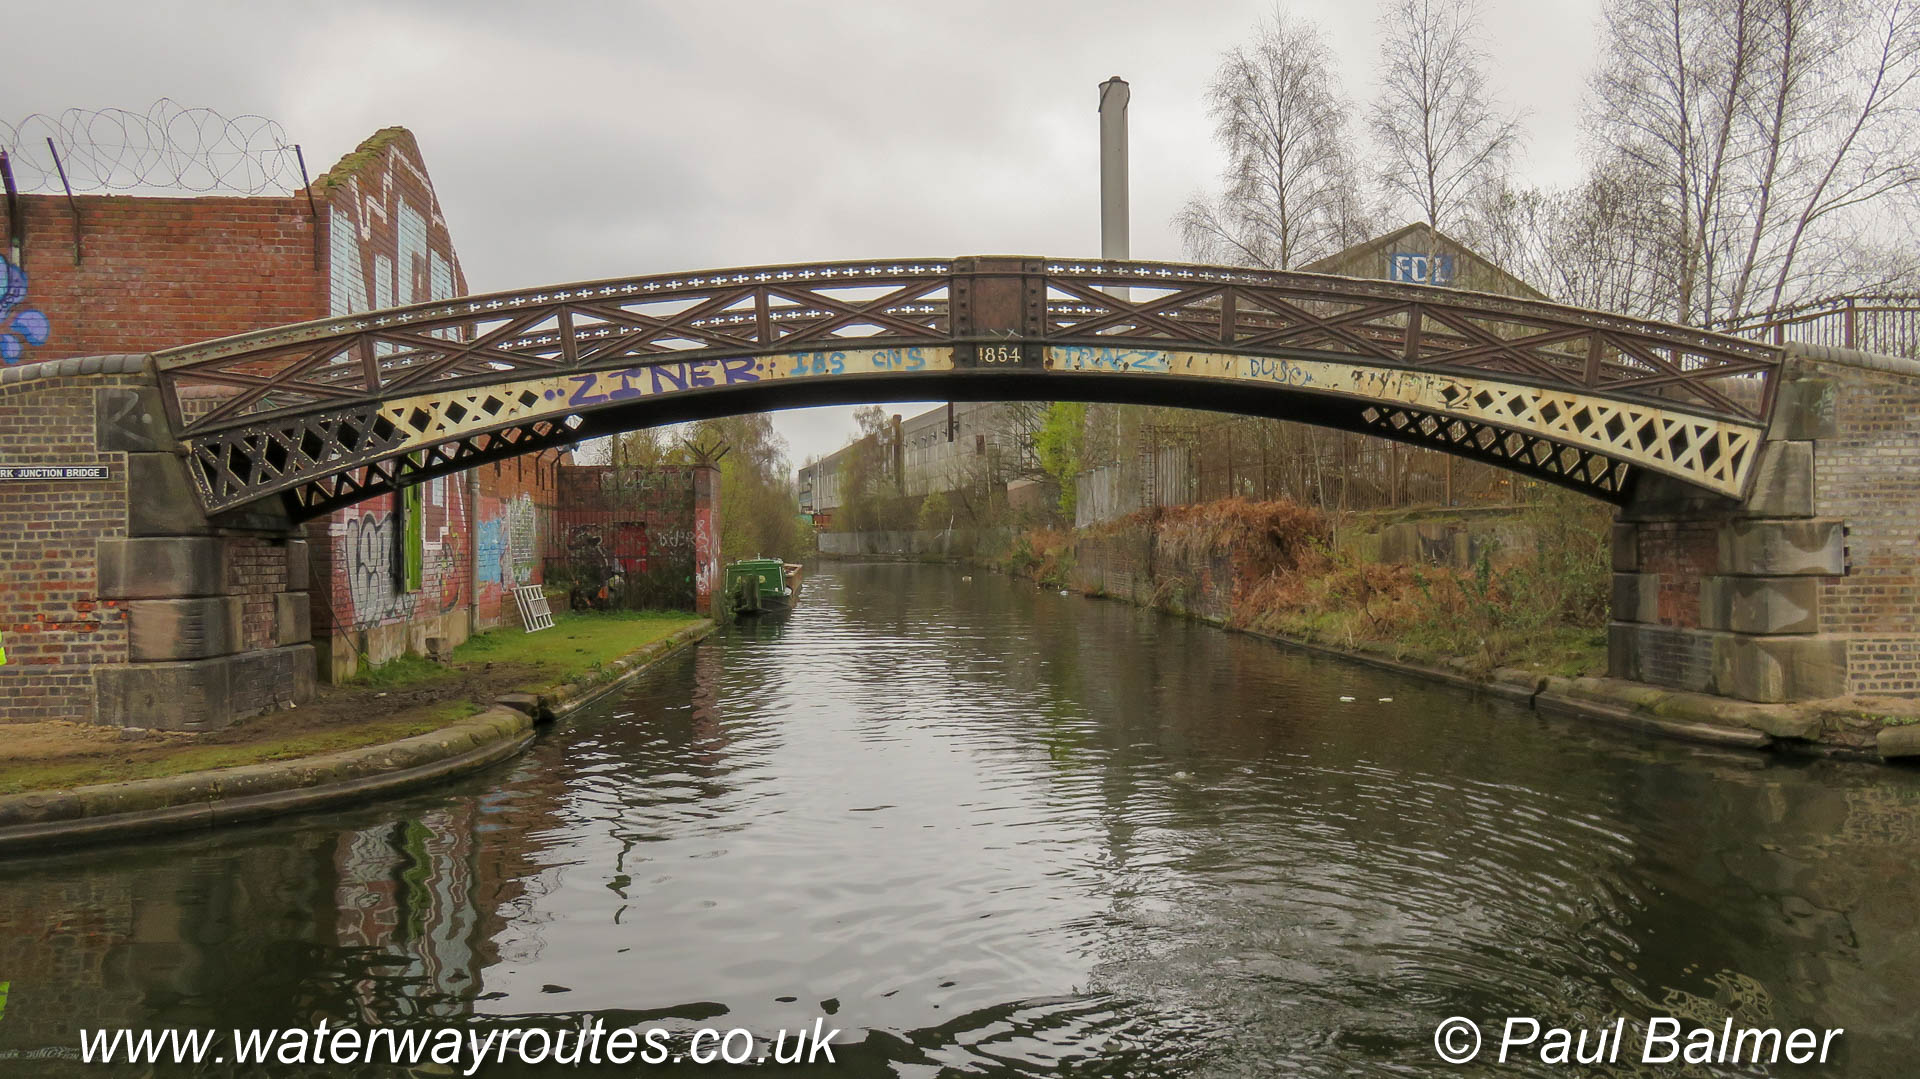
The narrows are from a former bridge which, presumably, once carried the pipe across the canal and that’s now been made into a free standing structure.

There were many short arms along the canal, providing connections and moorings for local industries and a few, like this one, are still identifiable, although most have been filled in with nothing left to see.
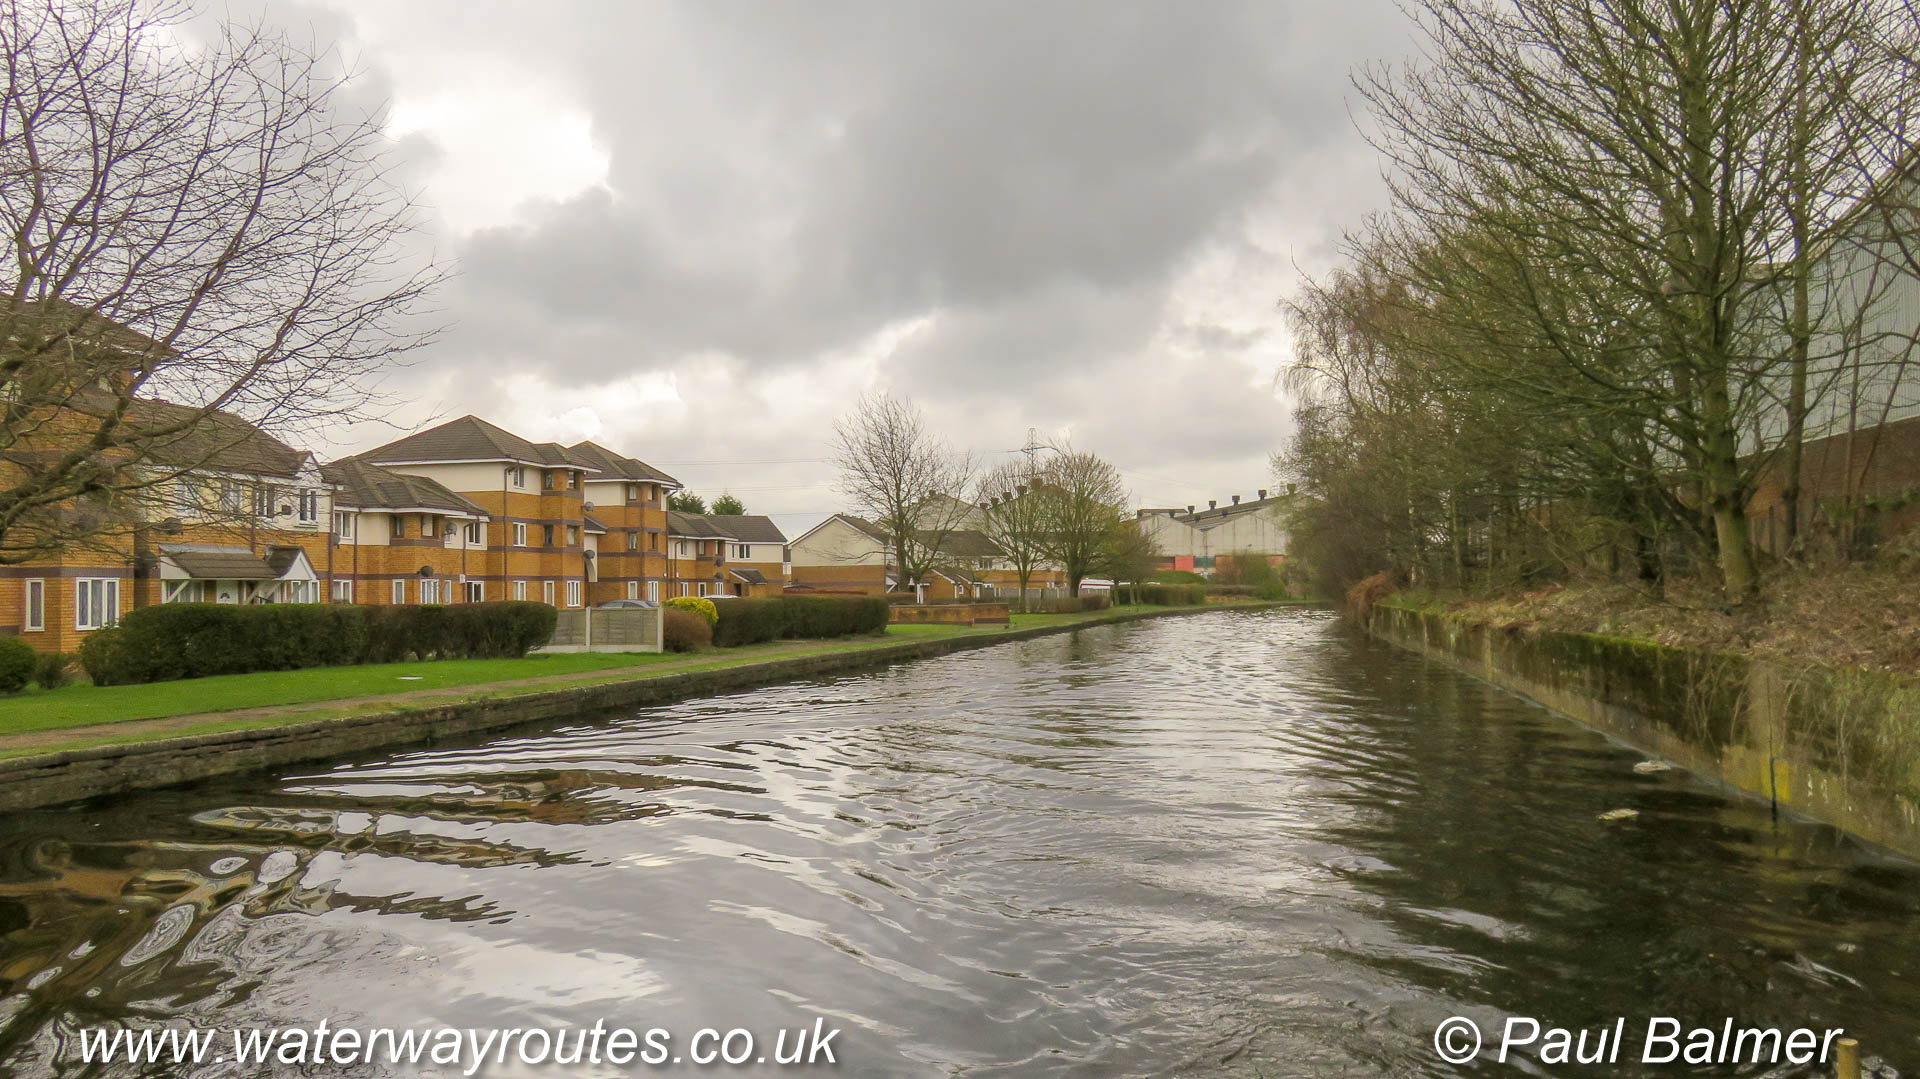
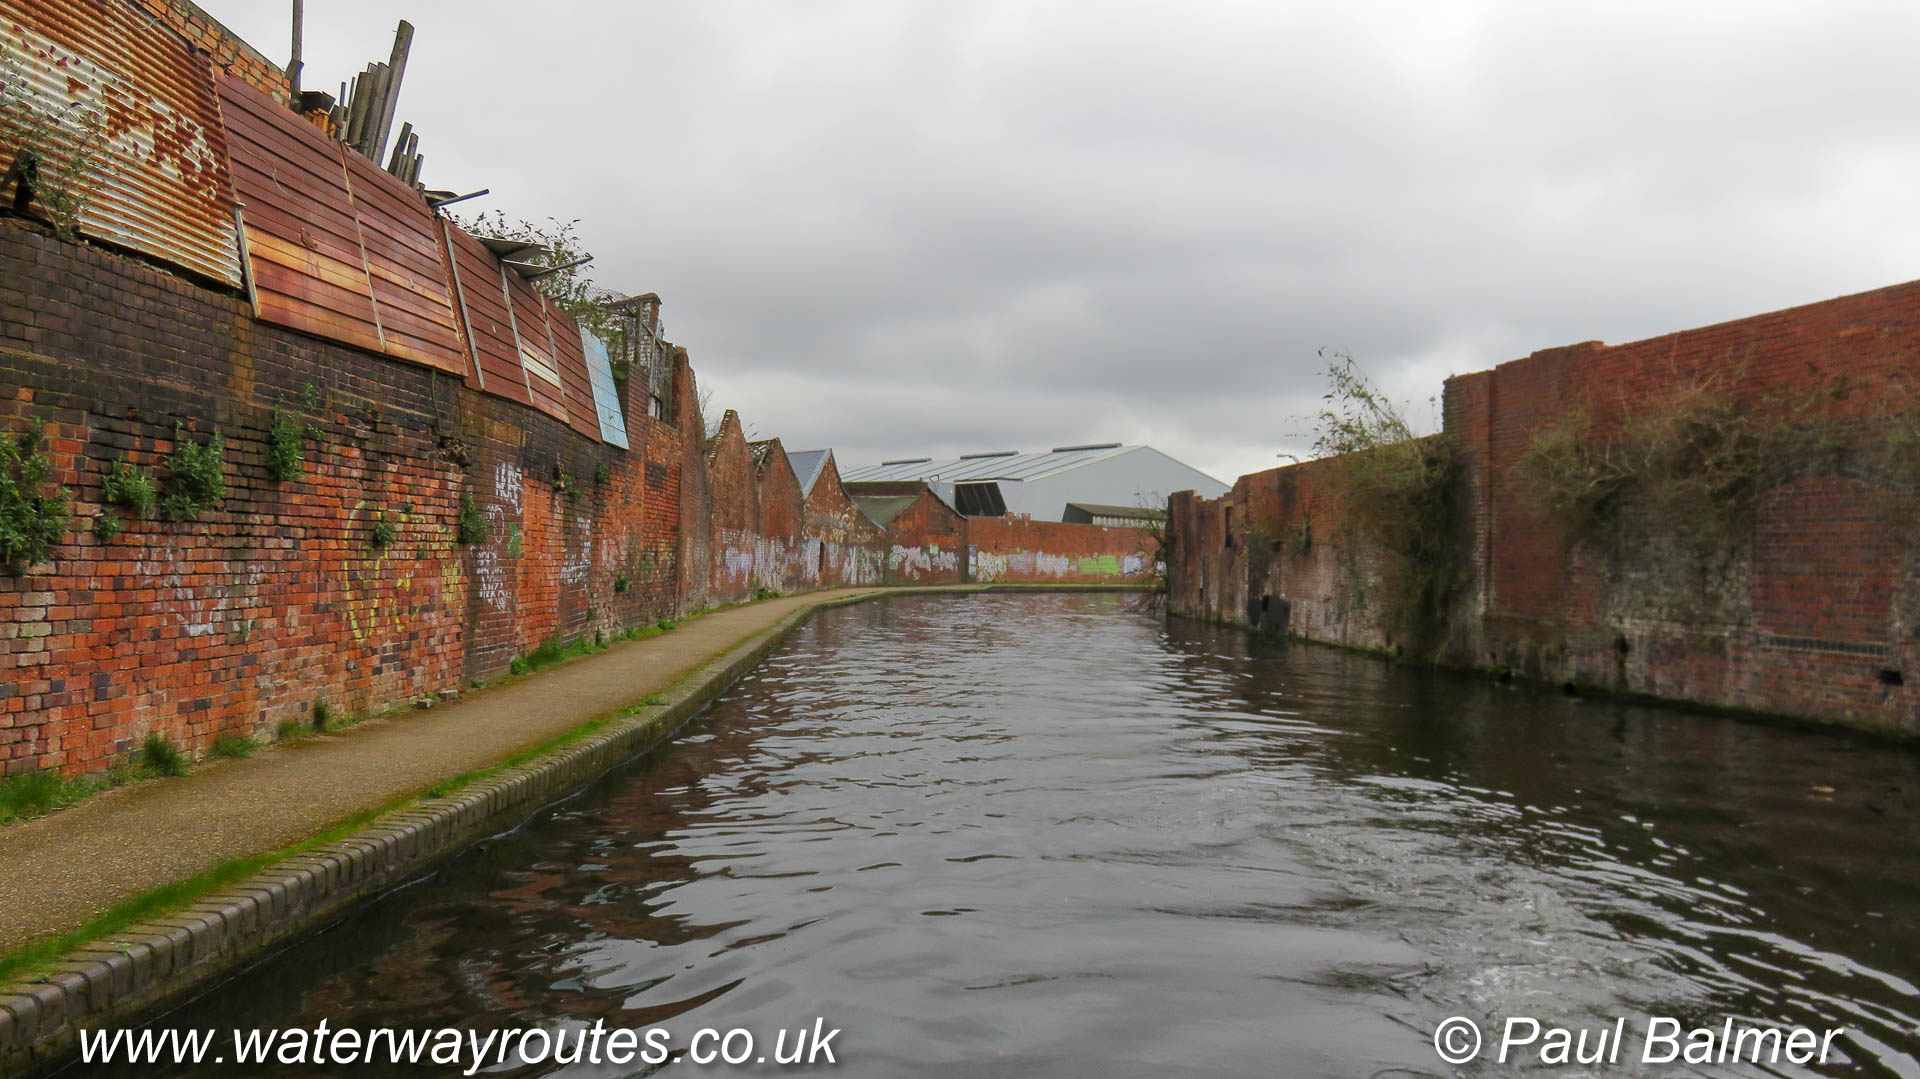
I can remember when both sides of the canal had the same sorts of industrial buildings as we can see on the left. Recently the industries on the right have been replaced by the modern housing.
Where houses replace old industries which came close to the canal there is nothing to separate the houses from the canal. Where houses are built on what was green space the hedge lines have mostly been retained to separate the building from the canal.
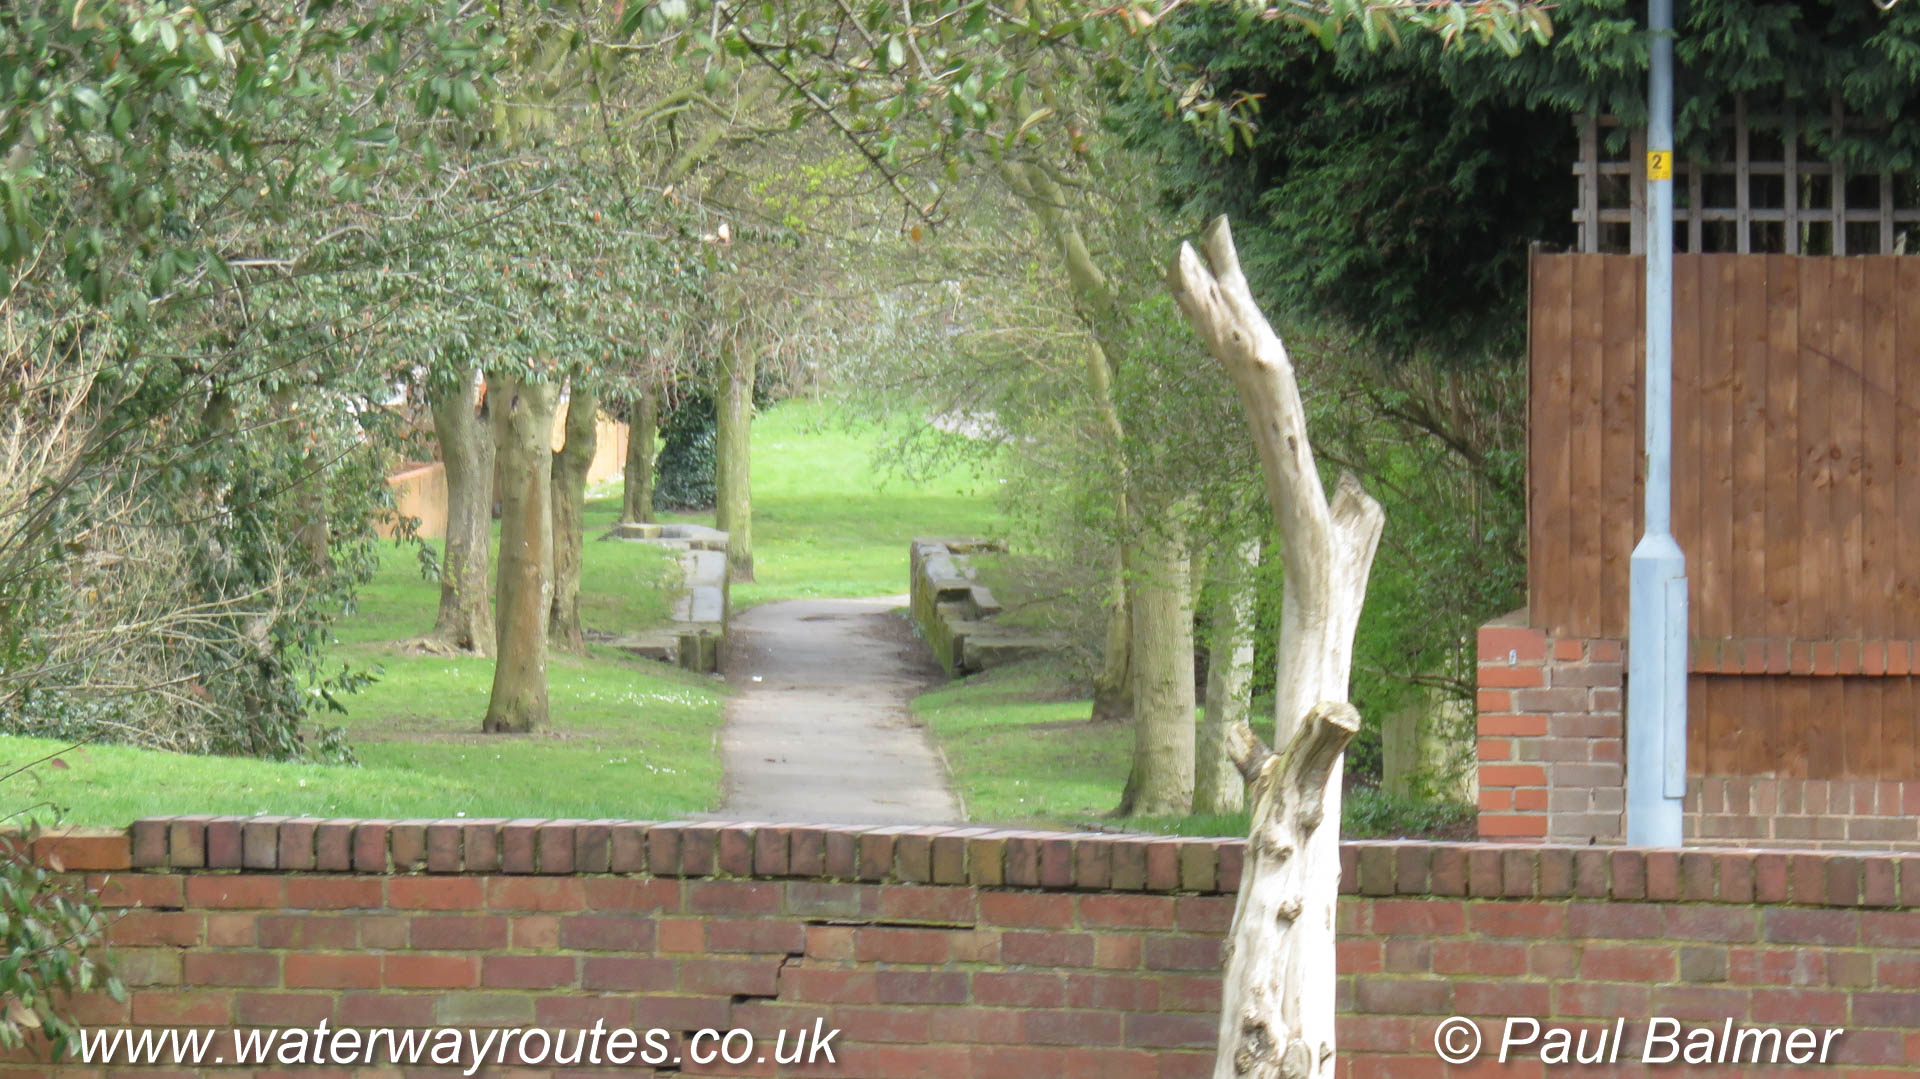
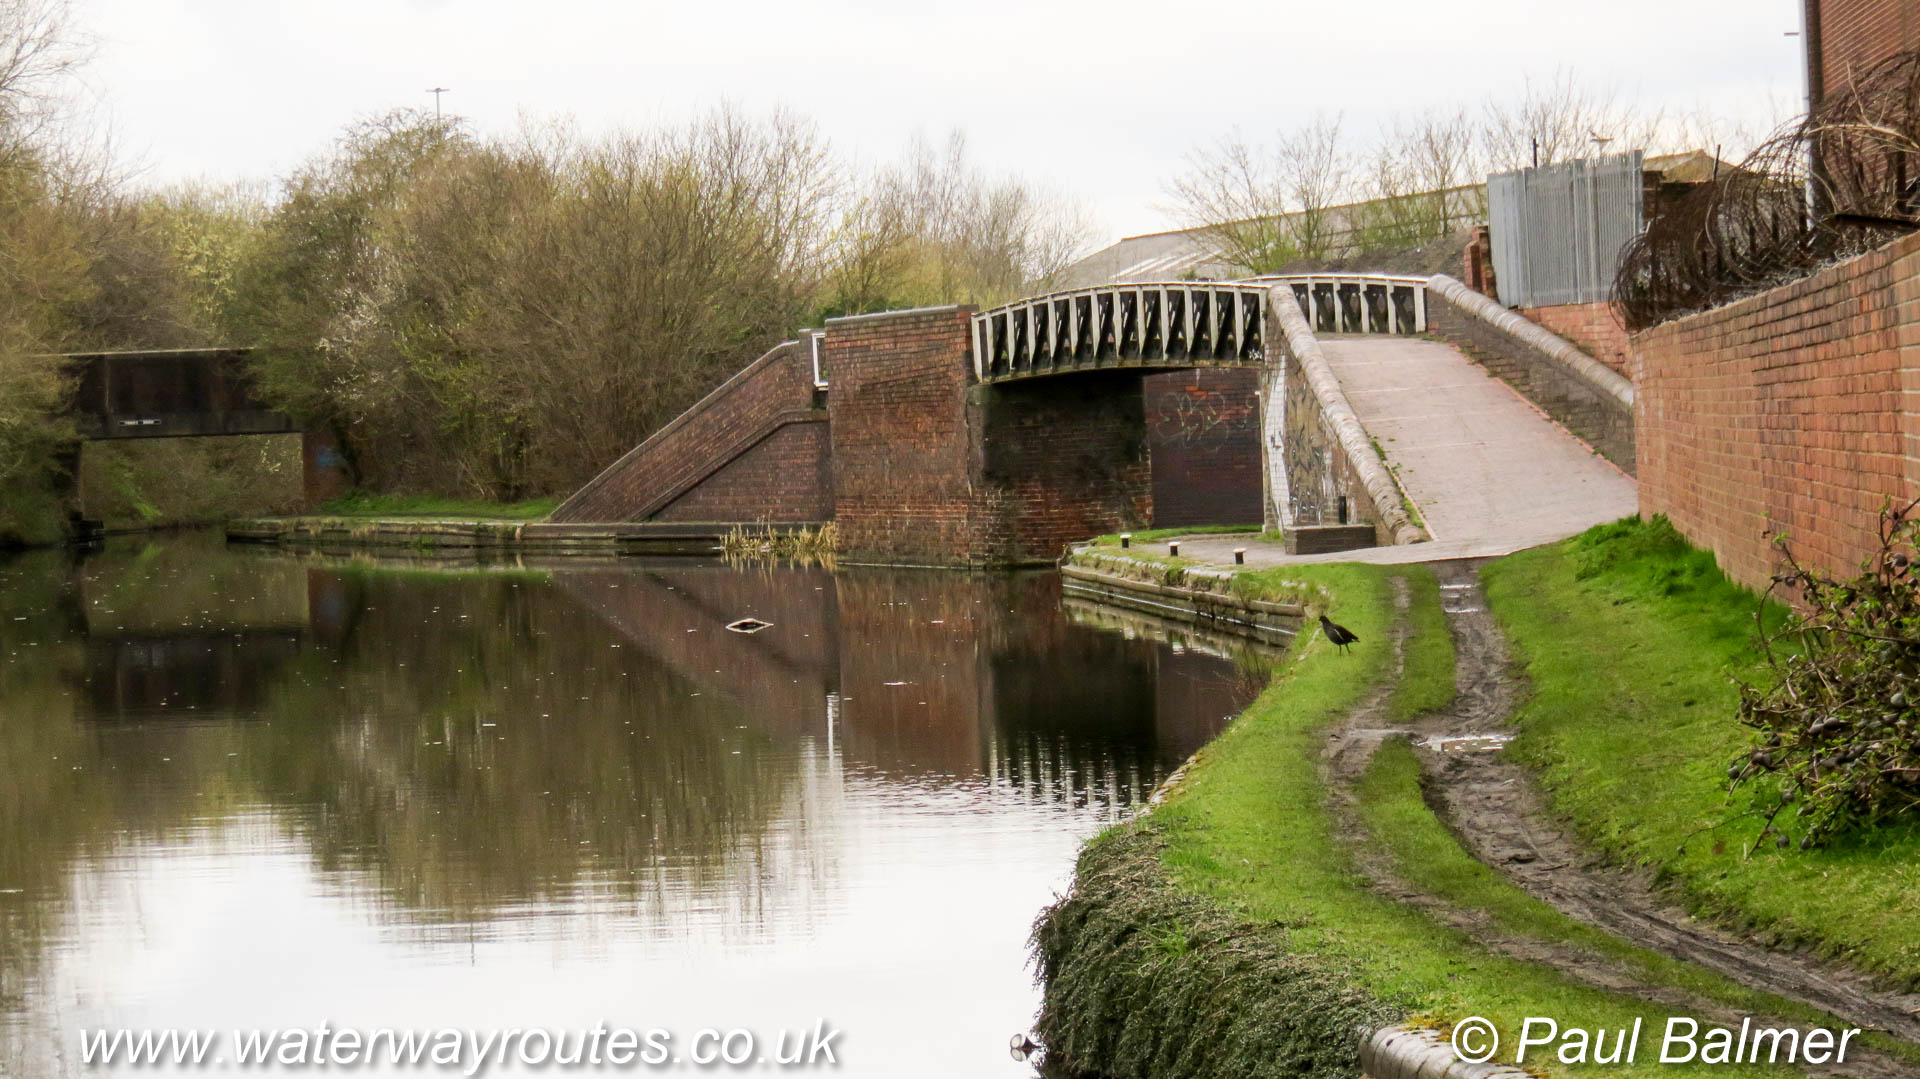
As well as the many short arms we have passed along the canal there was once a complete loop near Bradley Workshops. Looking back towards Deepfields Junction we can see the raised brickwork
It’s not possible to walk through Bradley Workshops and the towpath becomes a separate footpath passing behind the workshops so it’s still possible to walk between the main towpath and the main road, and onto the Bradley Canal.
Having passed under the proposed lift bridge the final obstacle is to pass through the pub car park to join the end of the Bradley Arm which is just the other side of the wall at the far end of the car park.
Having passed under the proposed lift bridge the final obstacle is to pass through the pub car park to join the end of the Bradley Arm which is just the other side of the wall at the far end of the car park.

The Bradley Canal must cross this road from left to right to meet the end of the Wednesbury Oak Loop (sometimes called the Bradley Arm). The gradient on the road probably precludes raising it for a fixed bridge and a lift bridge seems the most likely solution.
A former branch once left the Rotton Brunt Line and descended through three locks with the route still identifiable as the gap between the houses.
The canal followed the line of the building at the top of the embankment where the modern footpath dips down to the right, as shown in the previous photo.

The footpath dips to the right and below the line of the former canal line which ran close to the long buildings on the left of the photo.
From Bradley Locks Junction at the top of Bradley Locks a straight section of canal cut off some of the wanderings of the former BCN Old Main Line. The straight cut off was known to some as the Rotton Brunt Line.
From Bradley Locks Junction at the top of Bradley Locks the former alignment to the south is still followed by the footpath.
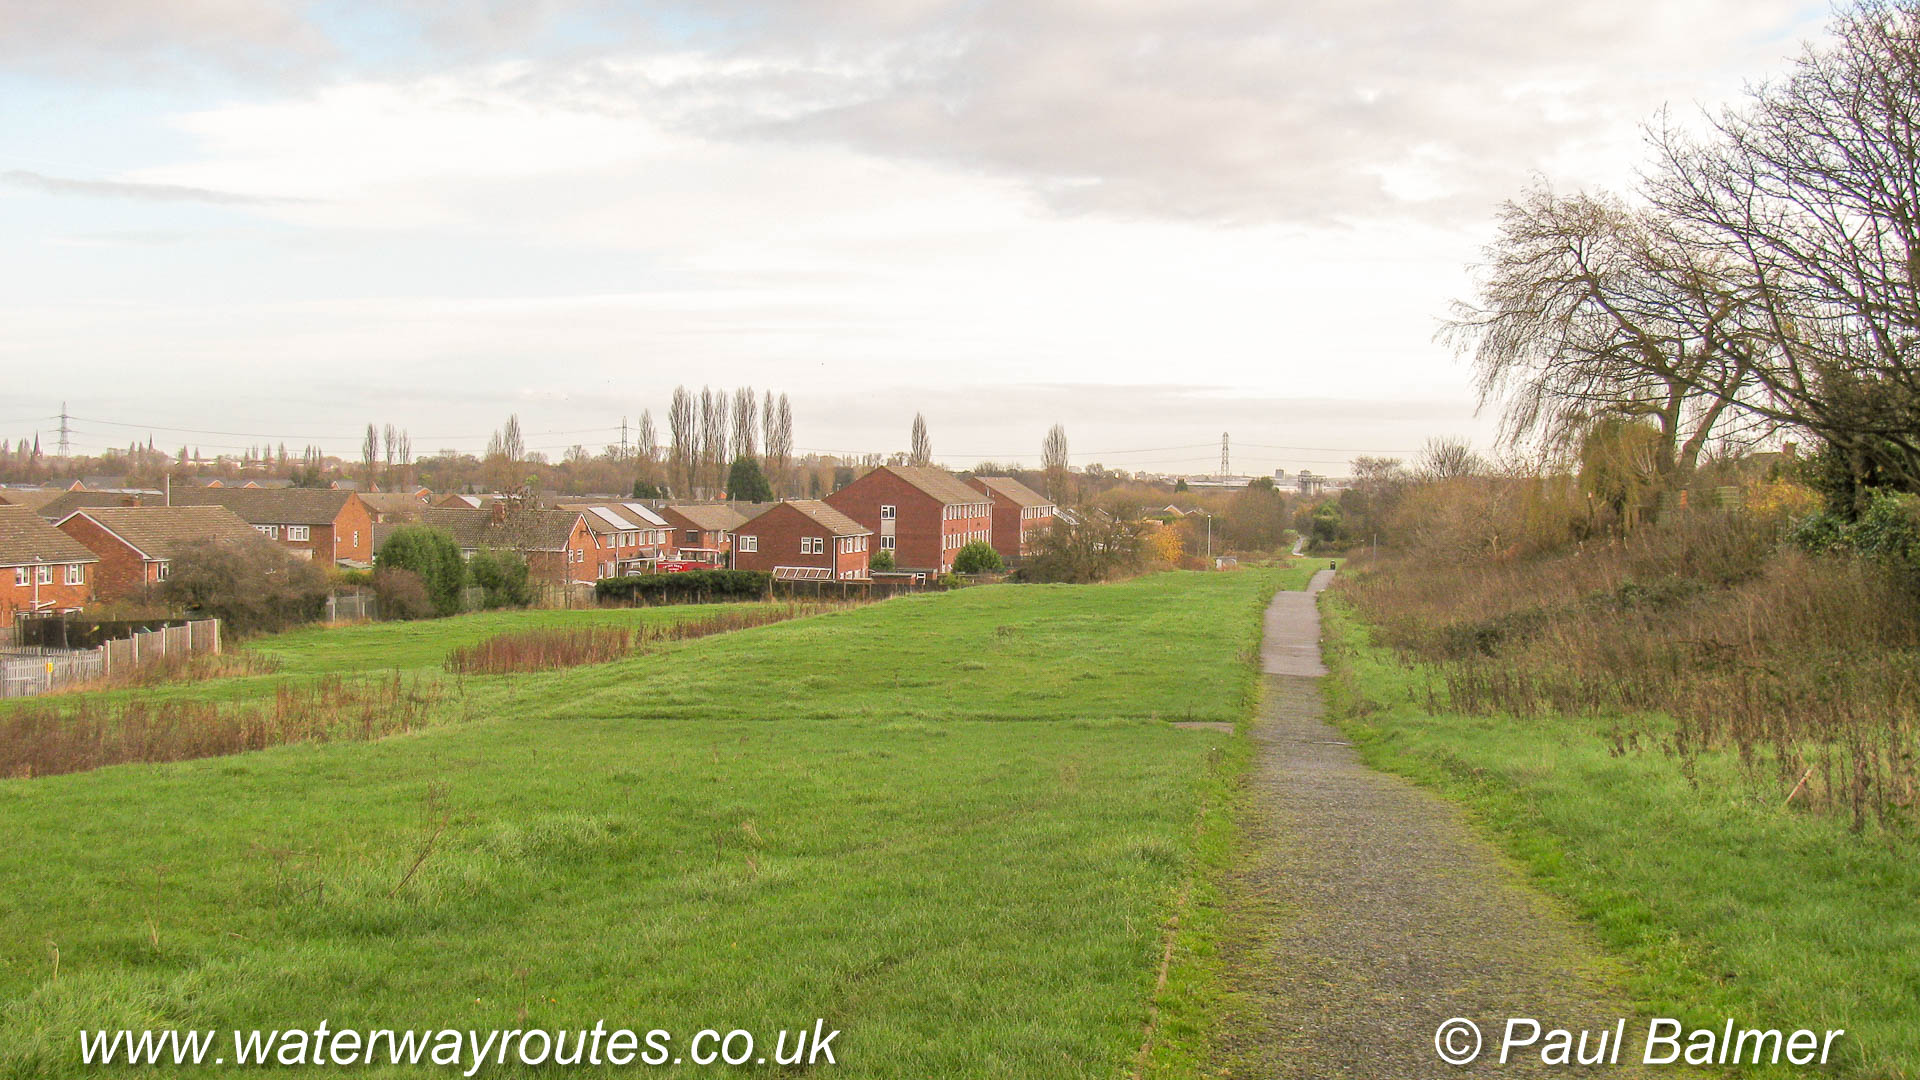
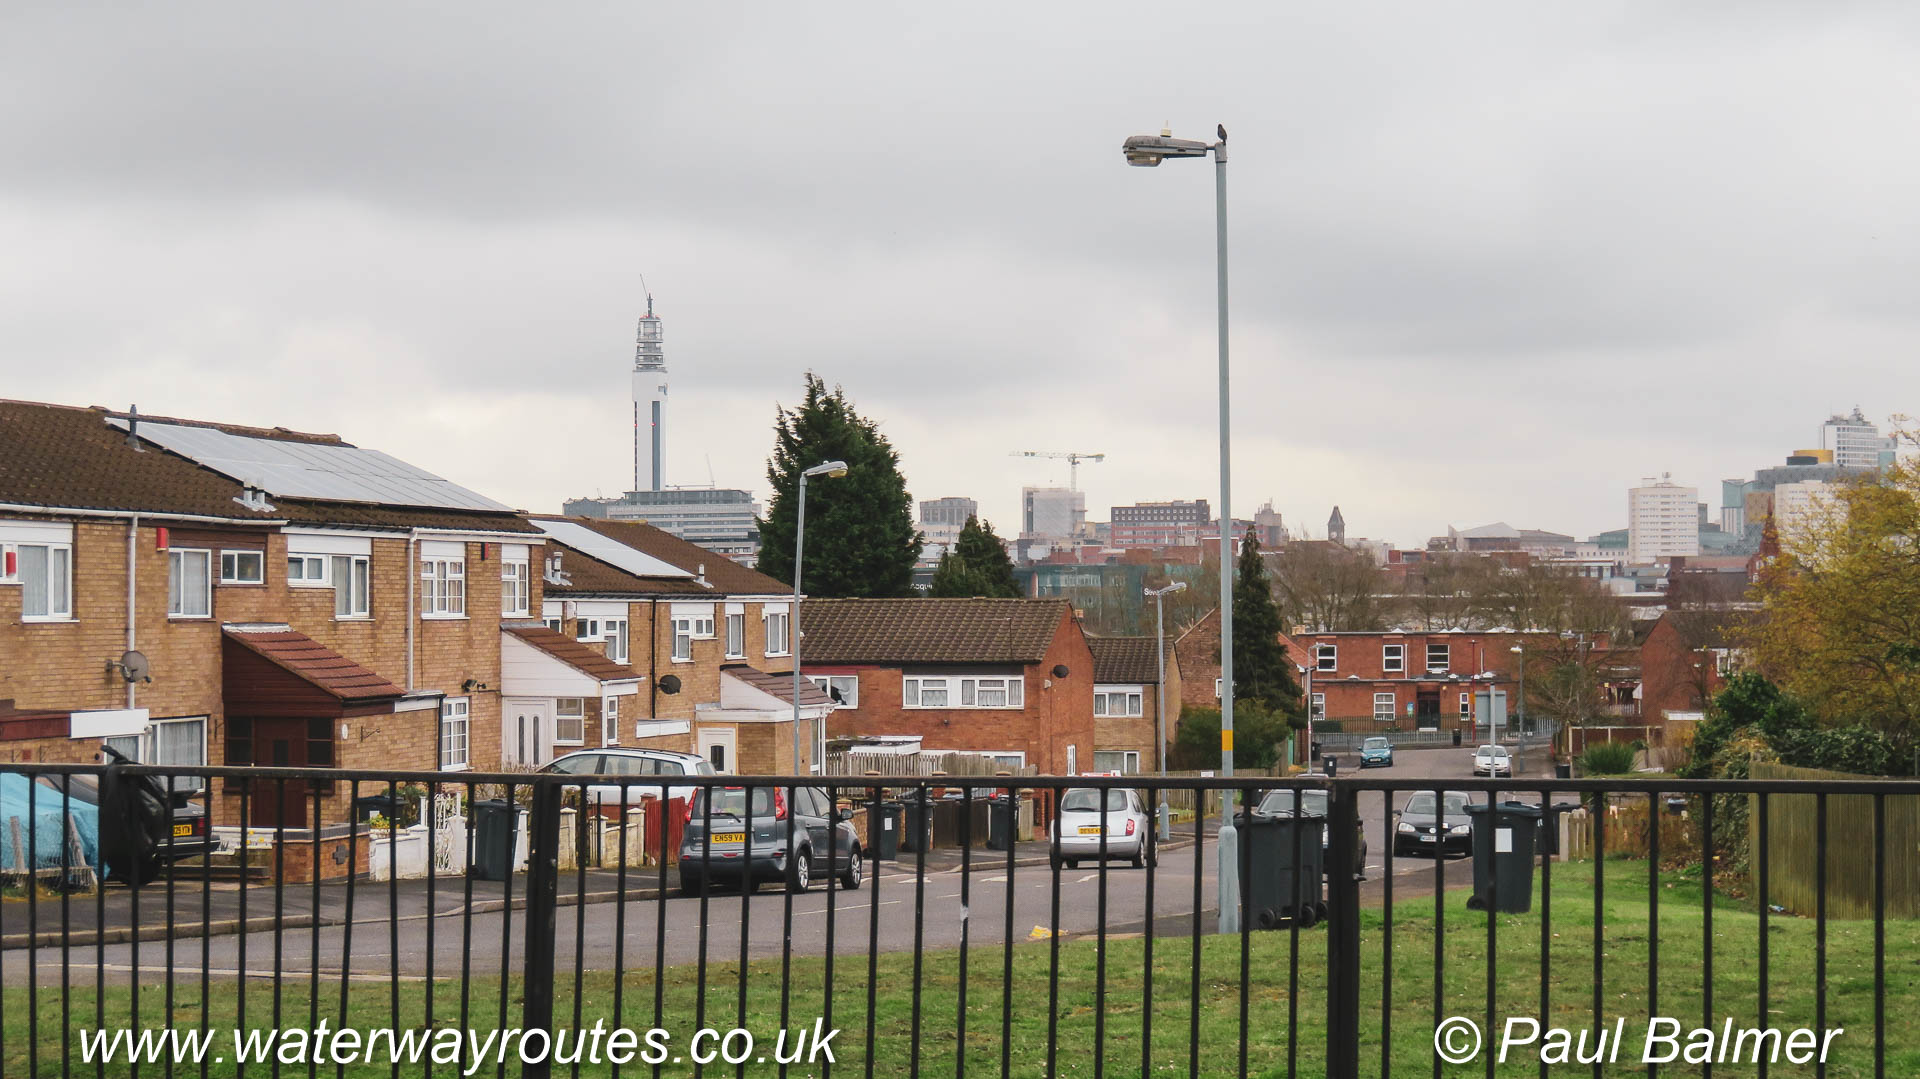
The views from the top of Bradley Locks is one of the places with the longest range views around the BCN. The stepped descent in the footpath indicates where the locks used to be.
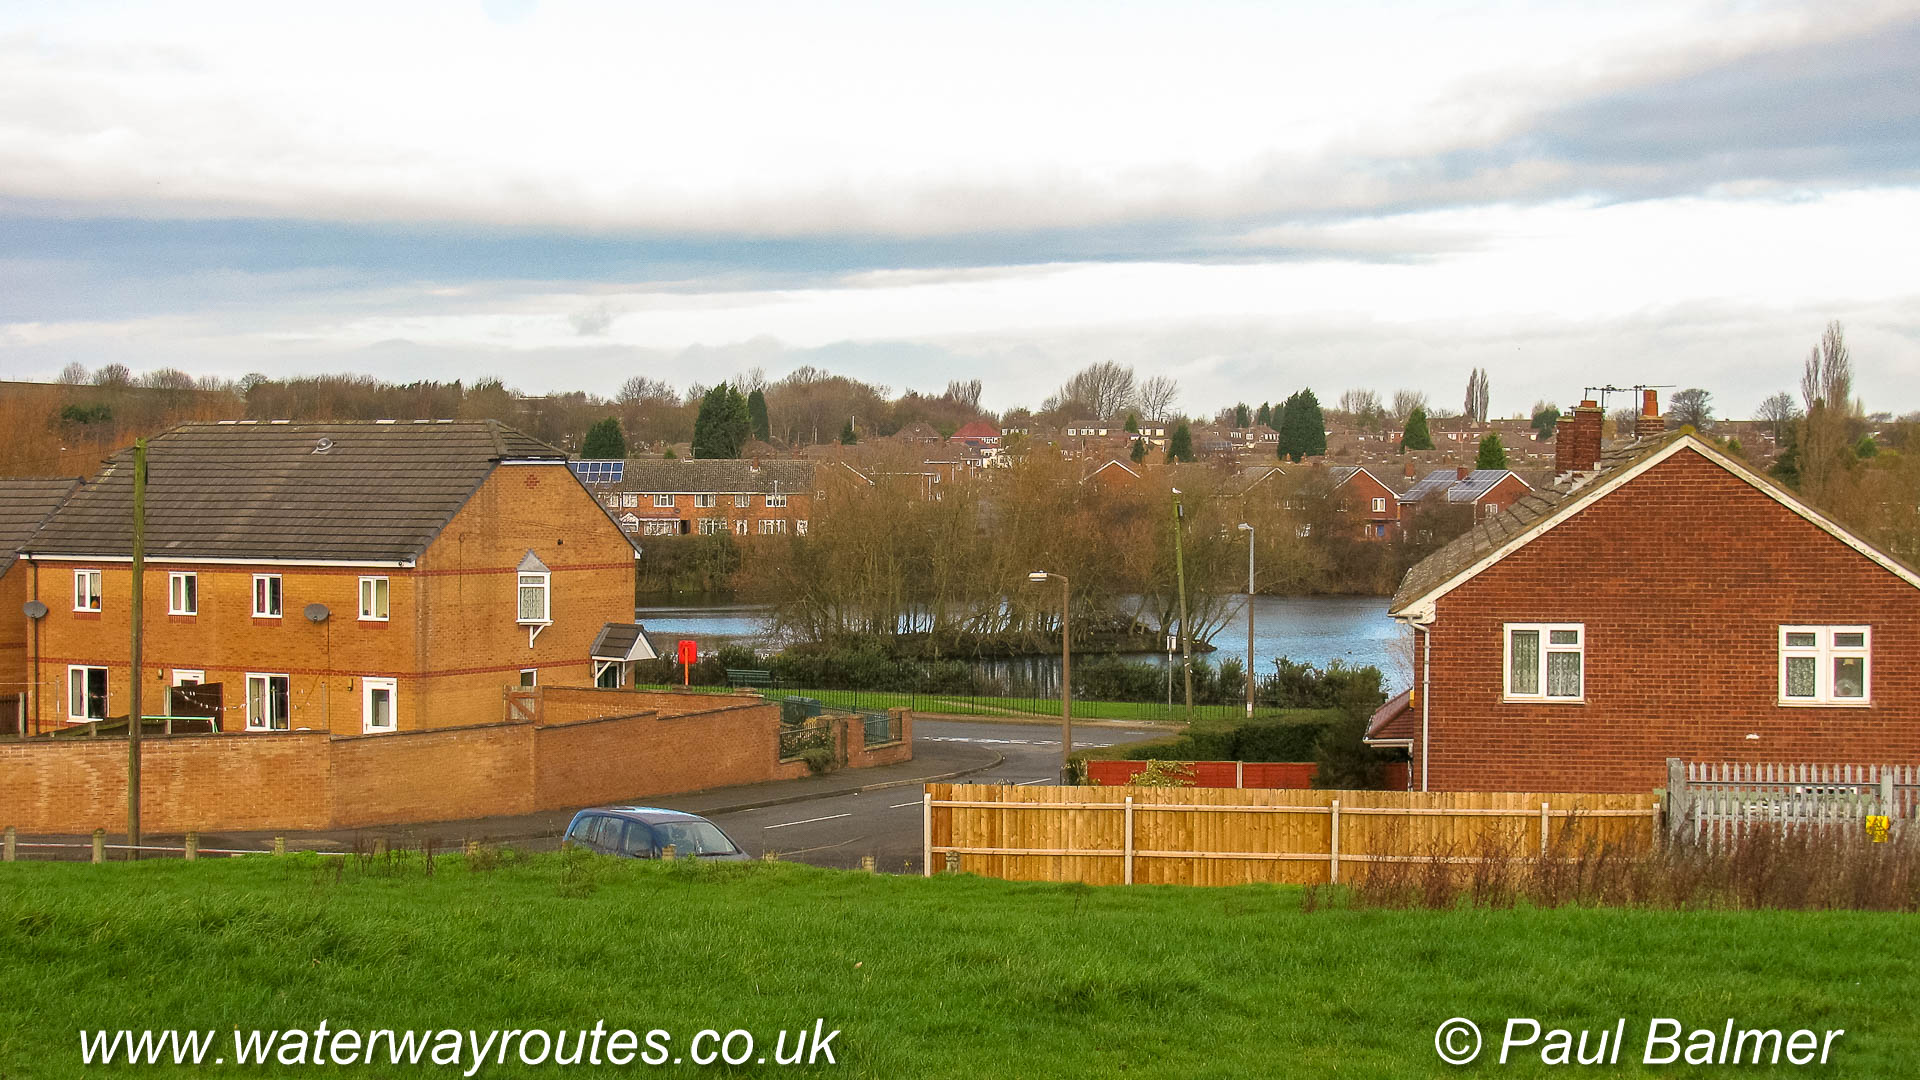
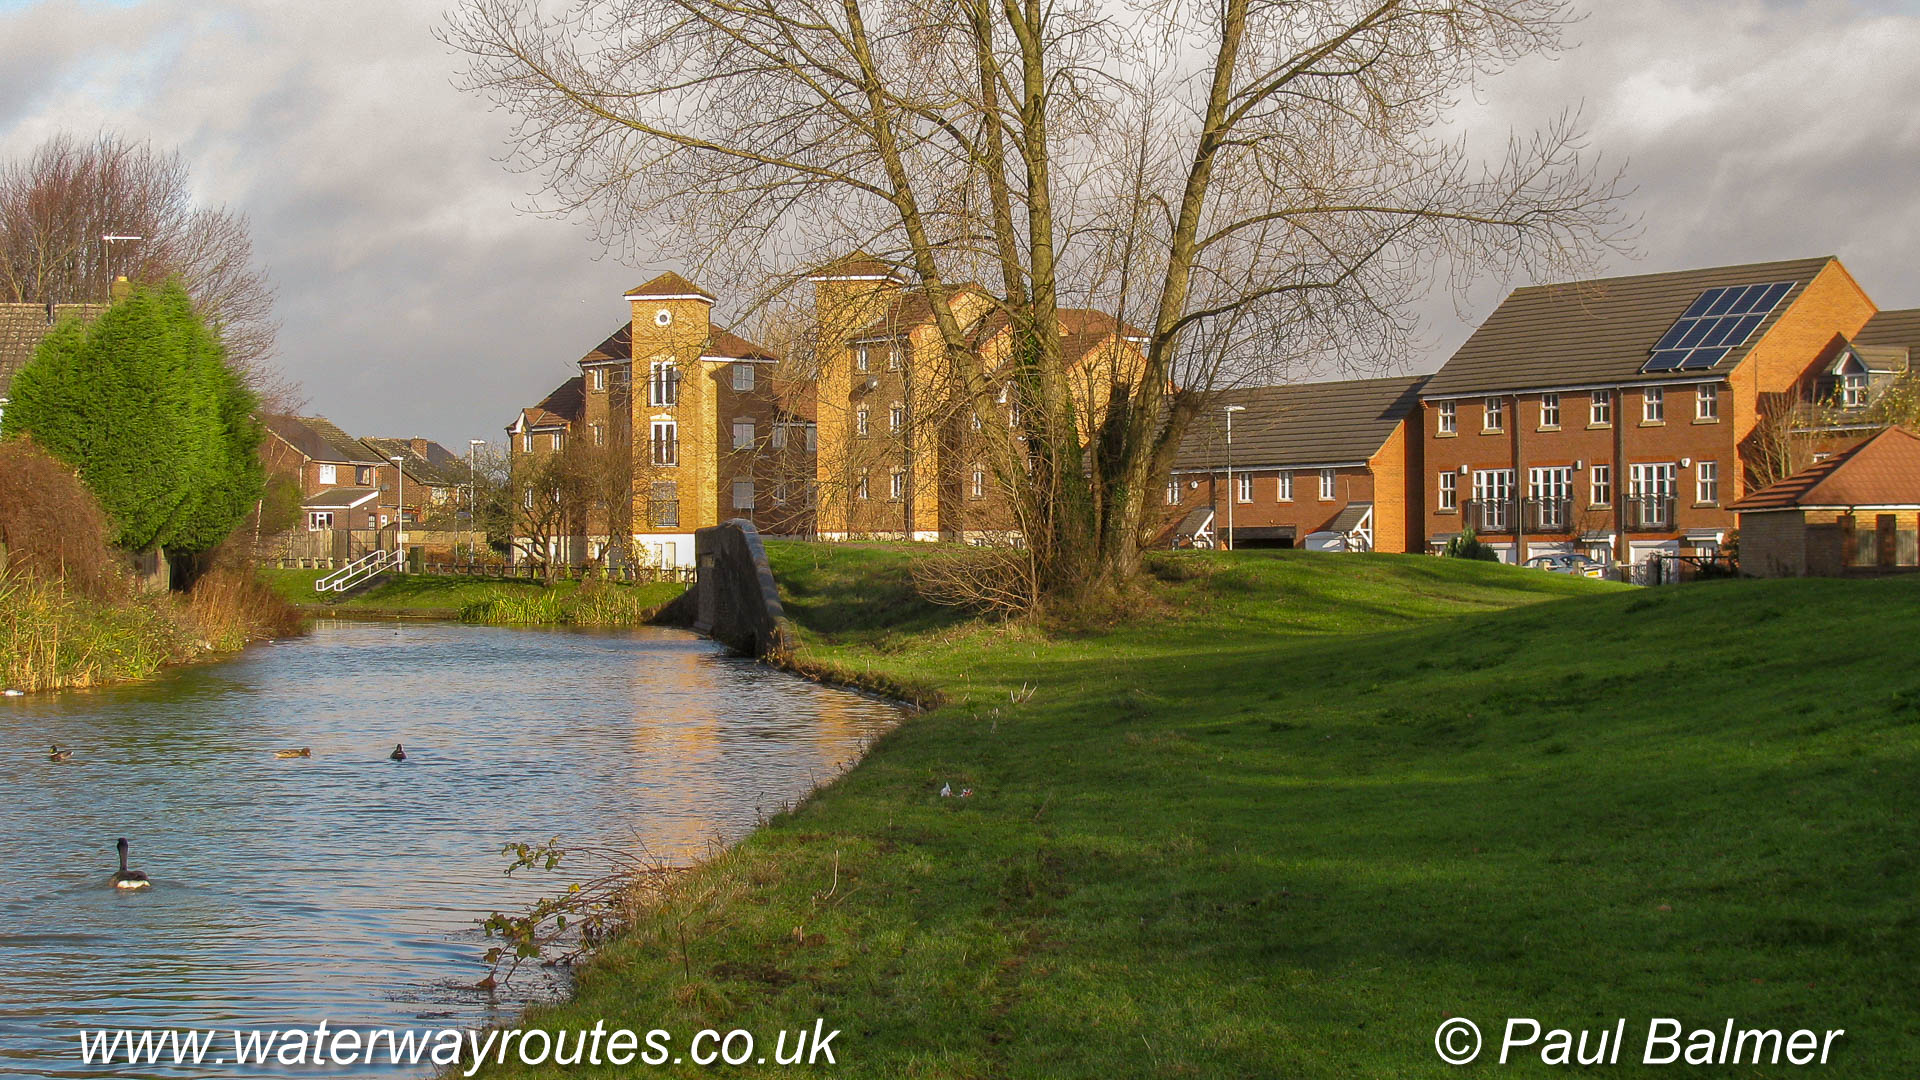
As we near the top of the Bradley Locks flight we can see Rocket Pool to the right between the houses.
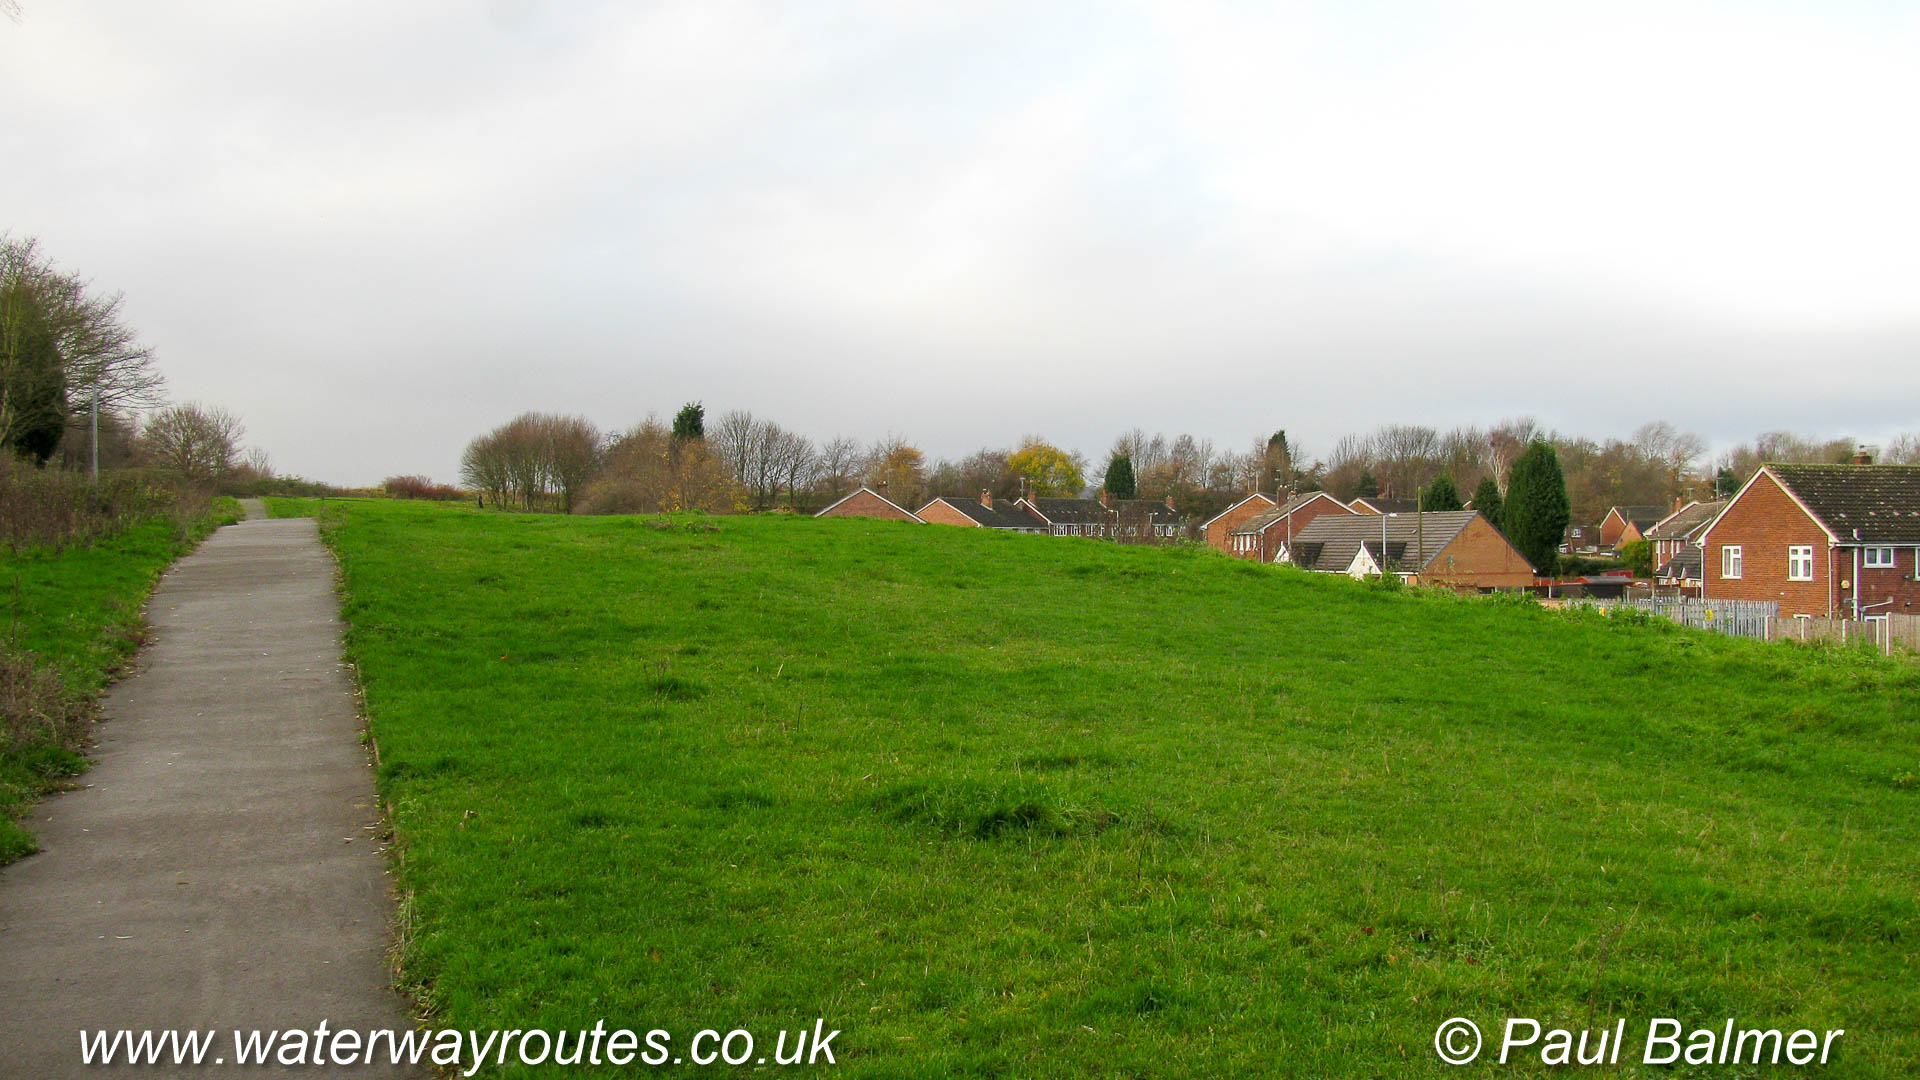
The canal climbs up past the houses and will soon have wide ranging views across the landscape.
Standing on the site of Lock 4 and looking down the flight.
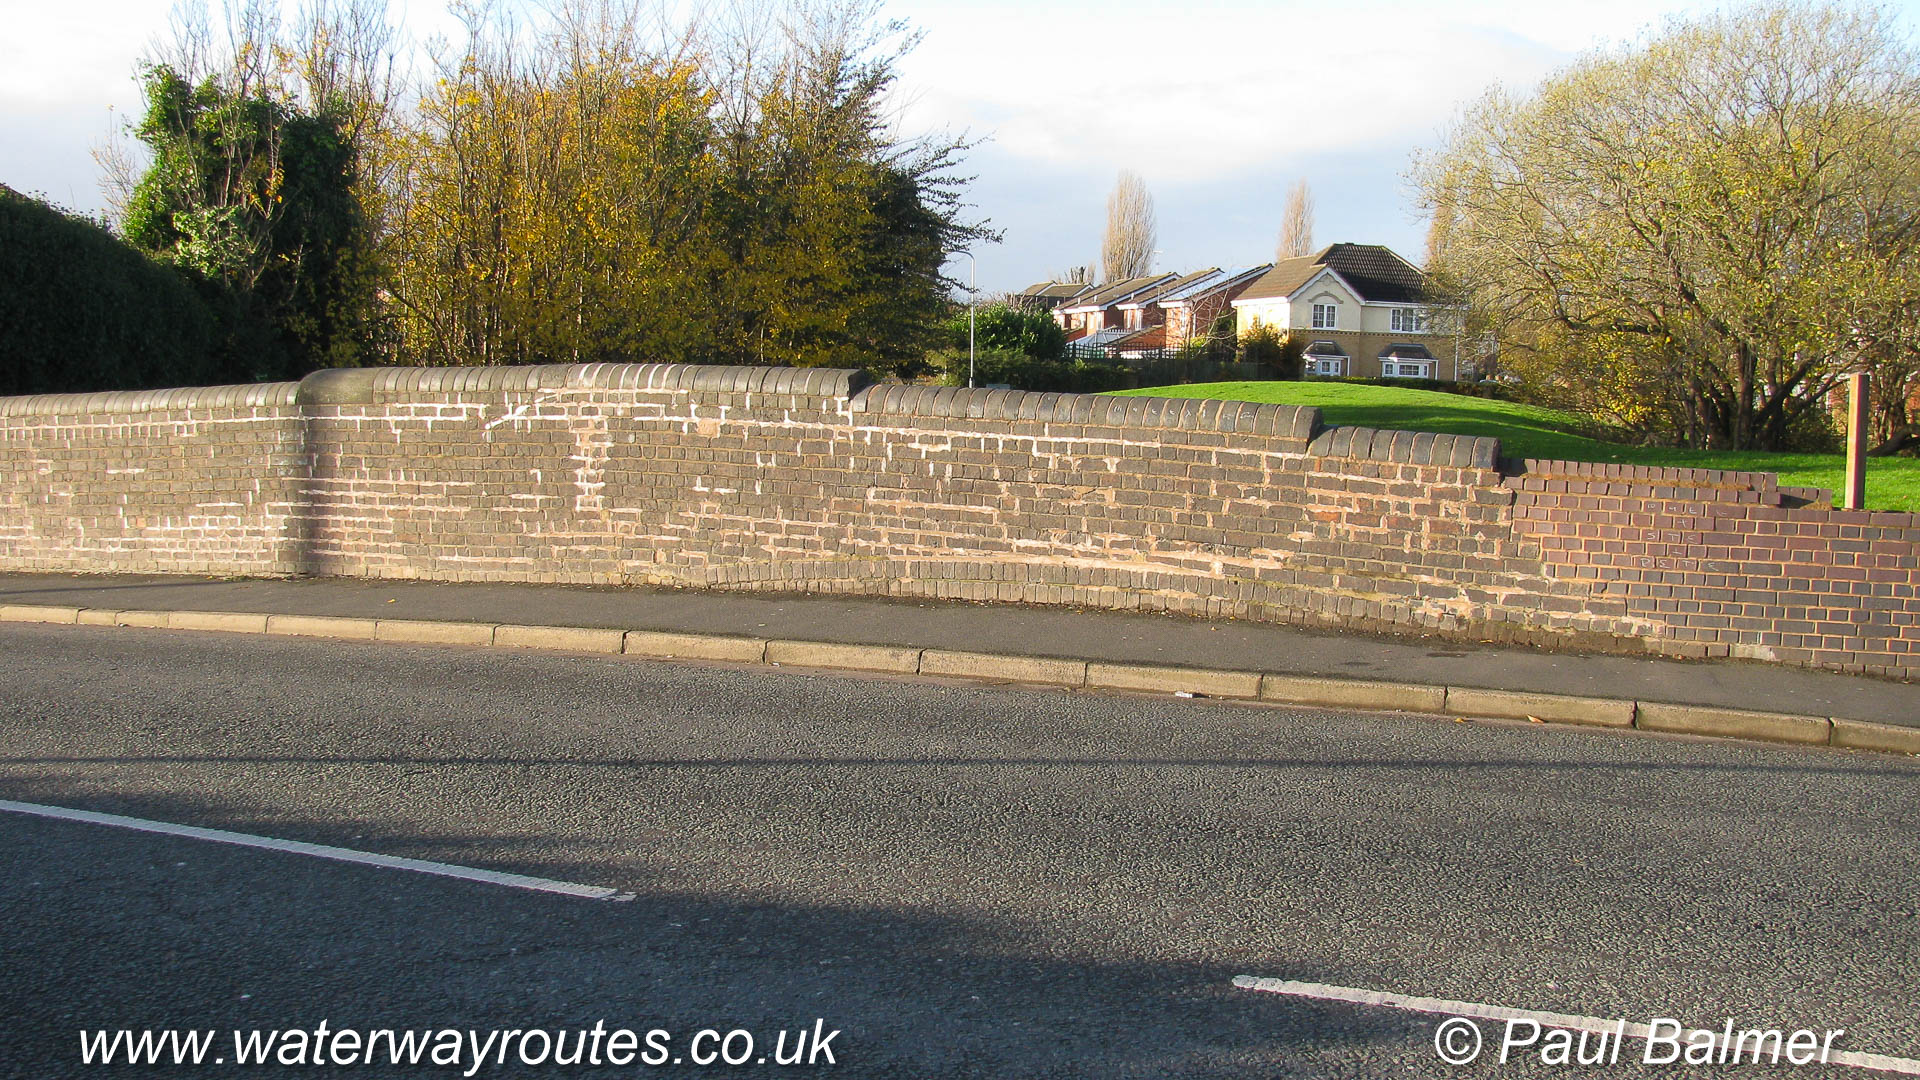
Bradley Bridge crosses the Bradley Canal below Lock 3. The almost level road surface today hides the former hump backed bridge. The top of the arch is still just be visible in the brickwork near pavement level.
Looking up the Bradley Locks flight towards locks 4 to 9 the stepped appearance in the landscape indicates the location of the former locks.

The route of the Bradley Canal is still preserved between the houses.
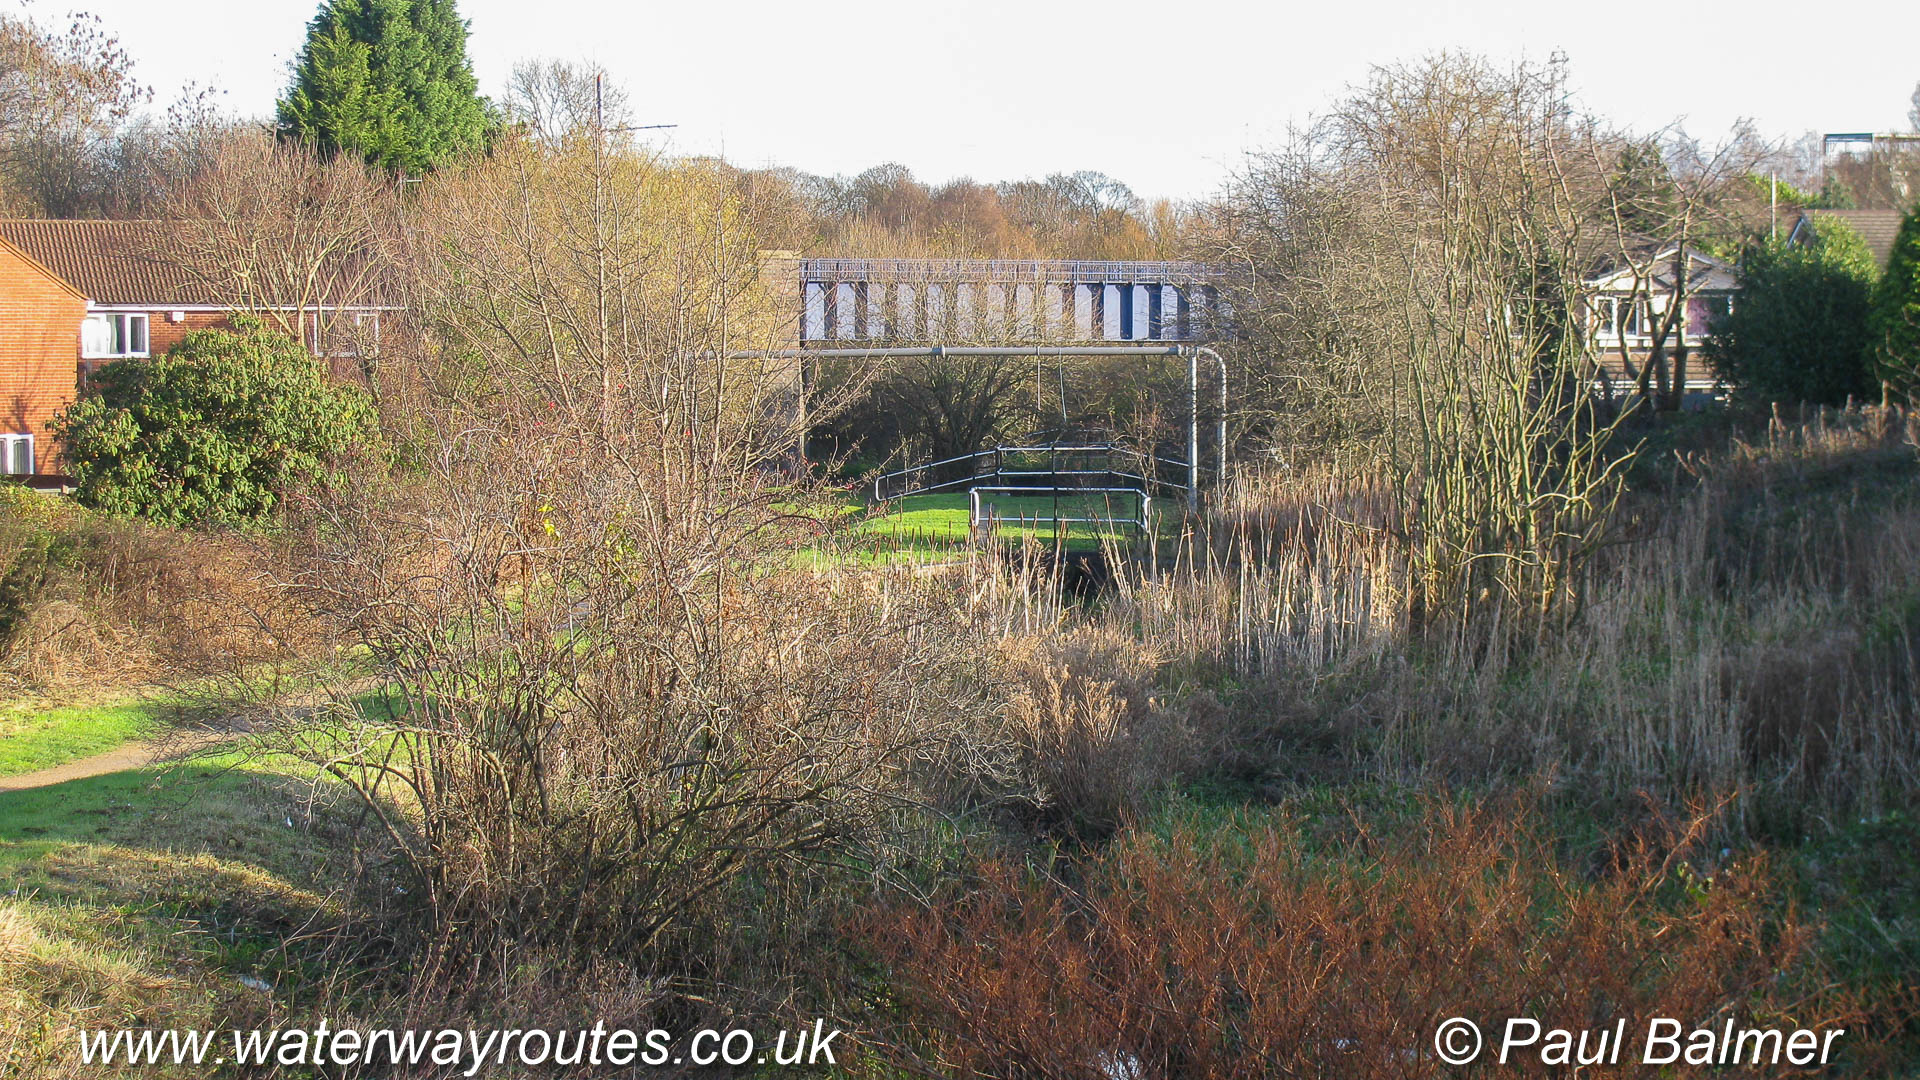
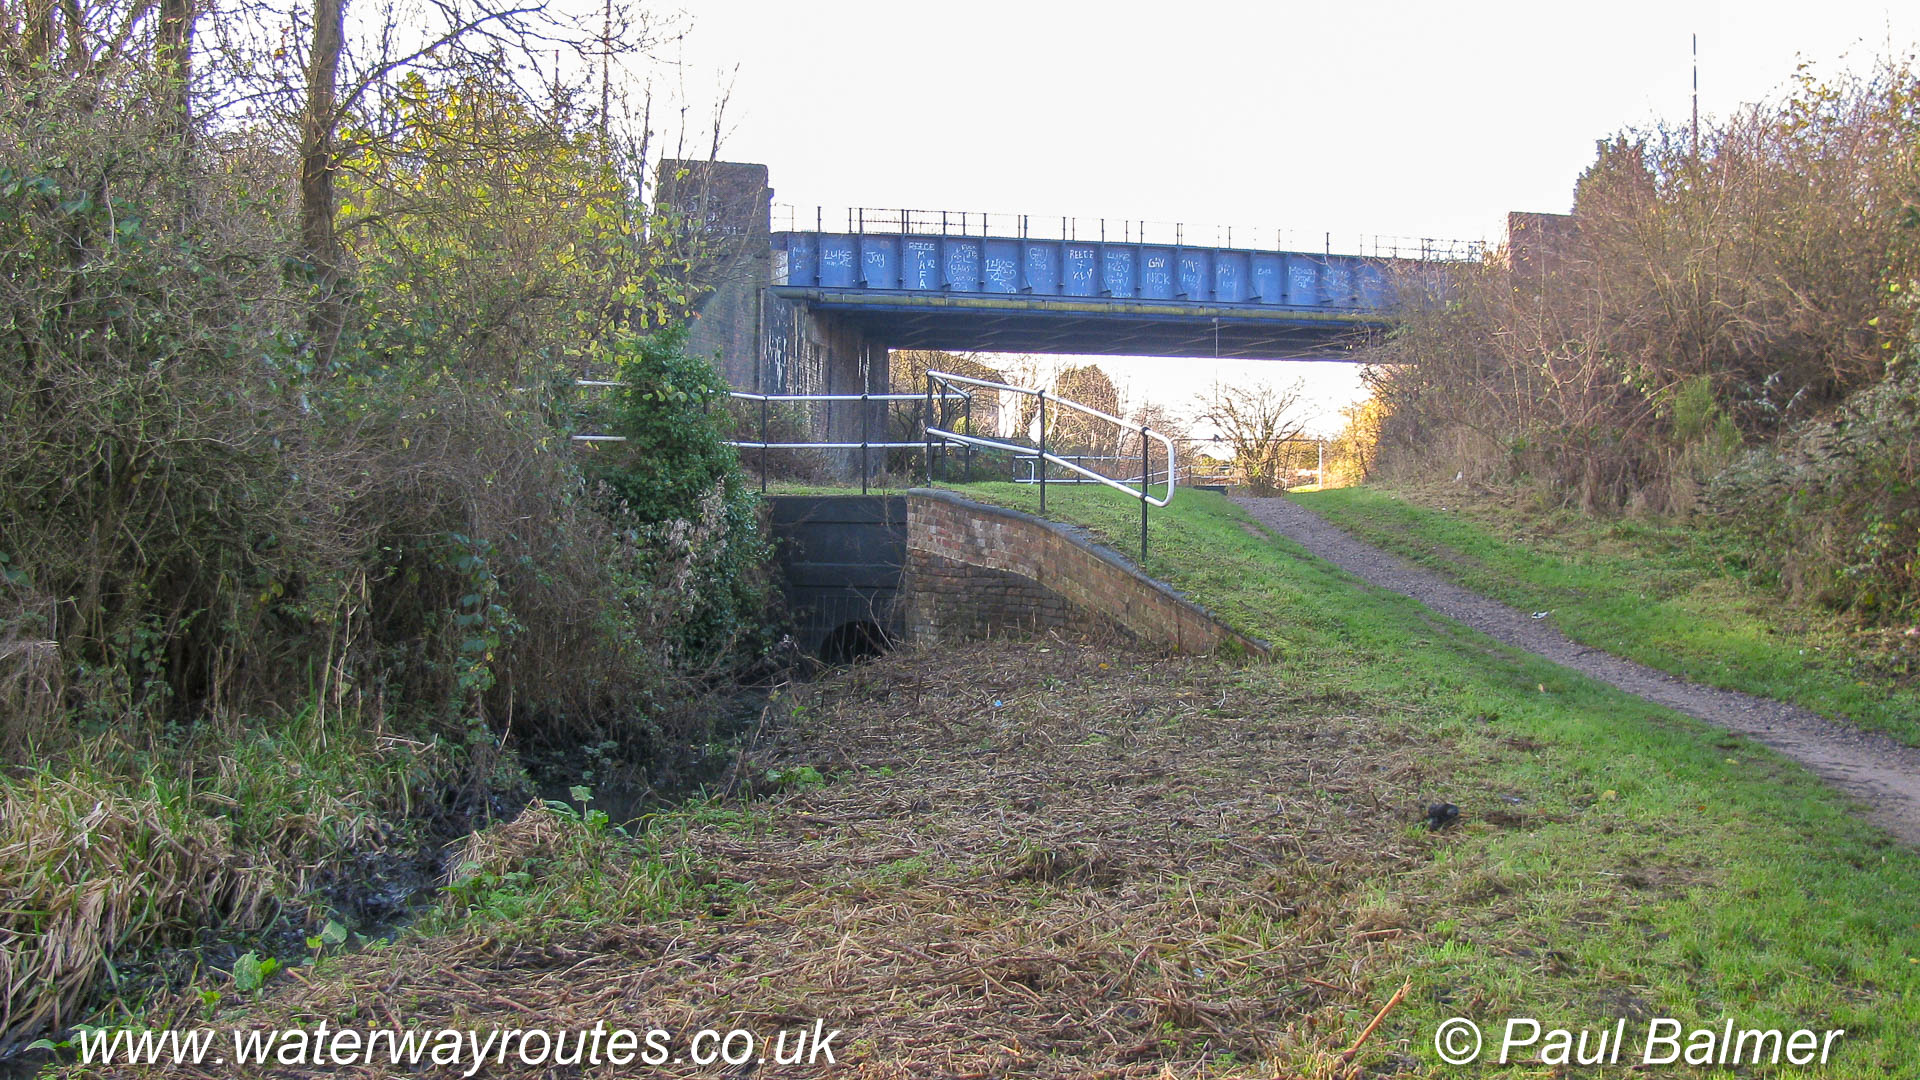
Looking down over the bottom two locks of the Bradley Flight from Bradley Bridge, the Midland Metro Bridge near the bottom lock.
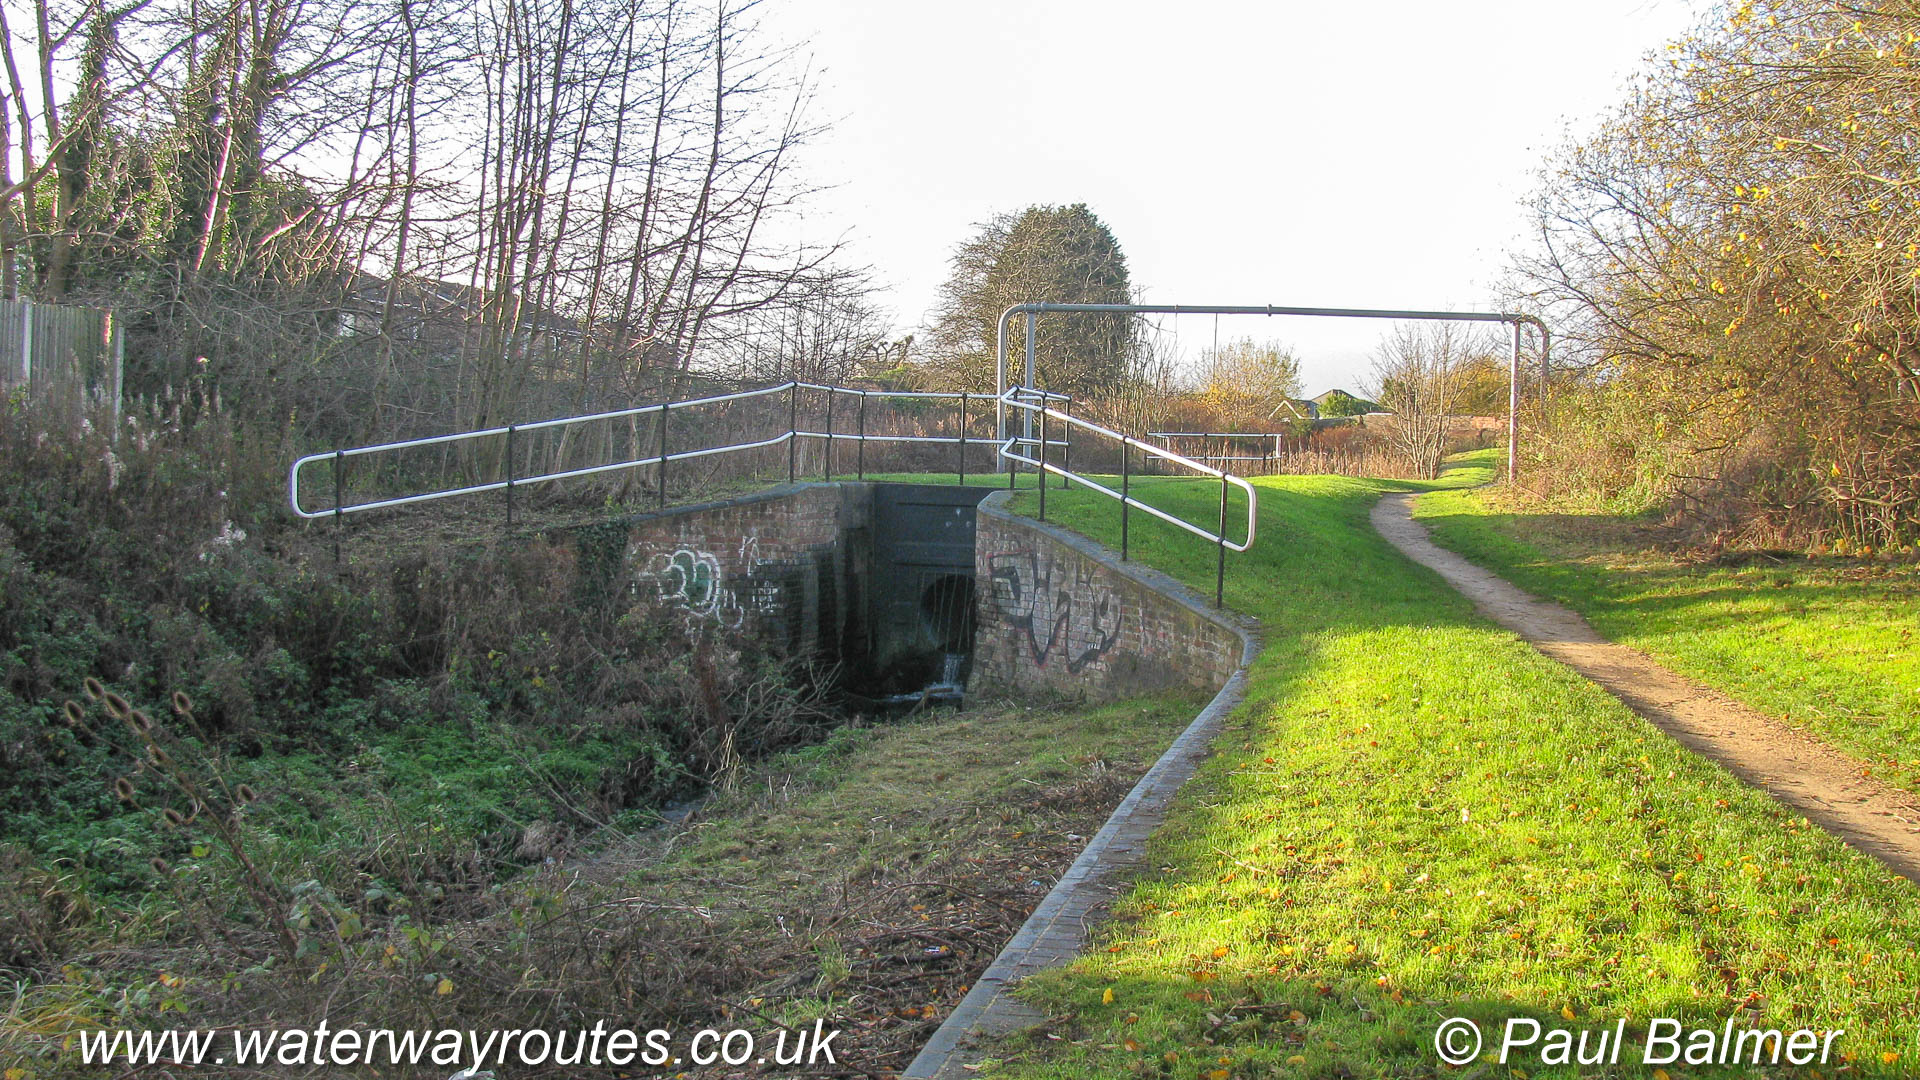
Lock 2, like lock 1, has been partially restored then filled in for safety and to preserve the work.
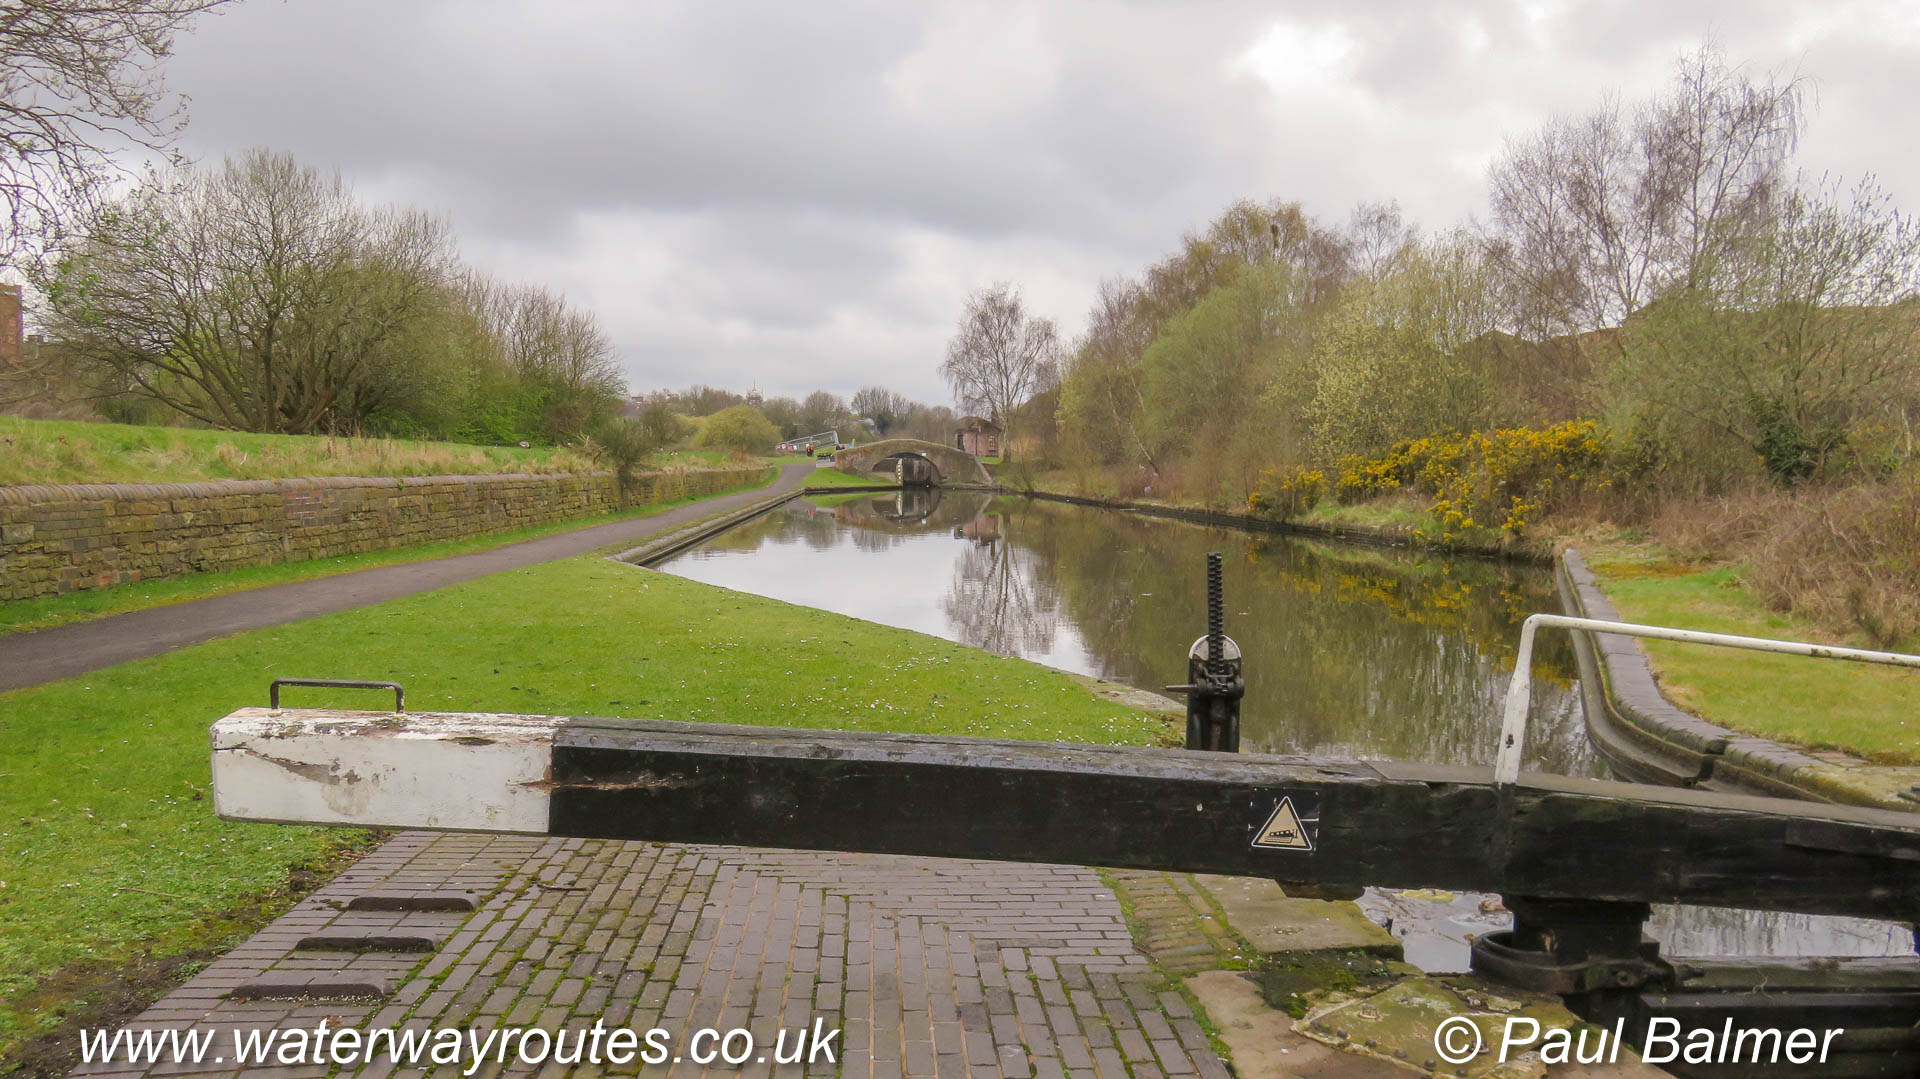
Lock 1 on the Bradley Canal is the first of nine locks which will lift boats from the Walsall level to the Wolverhampton level of the Birmingham Canal Navigations.
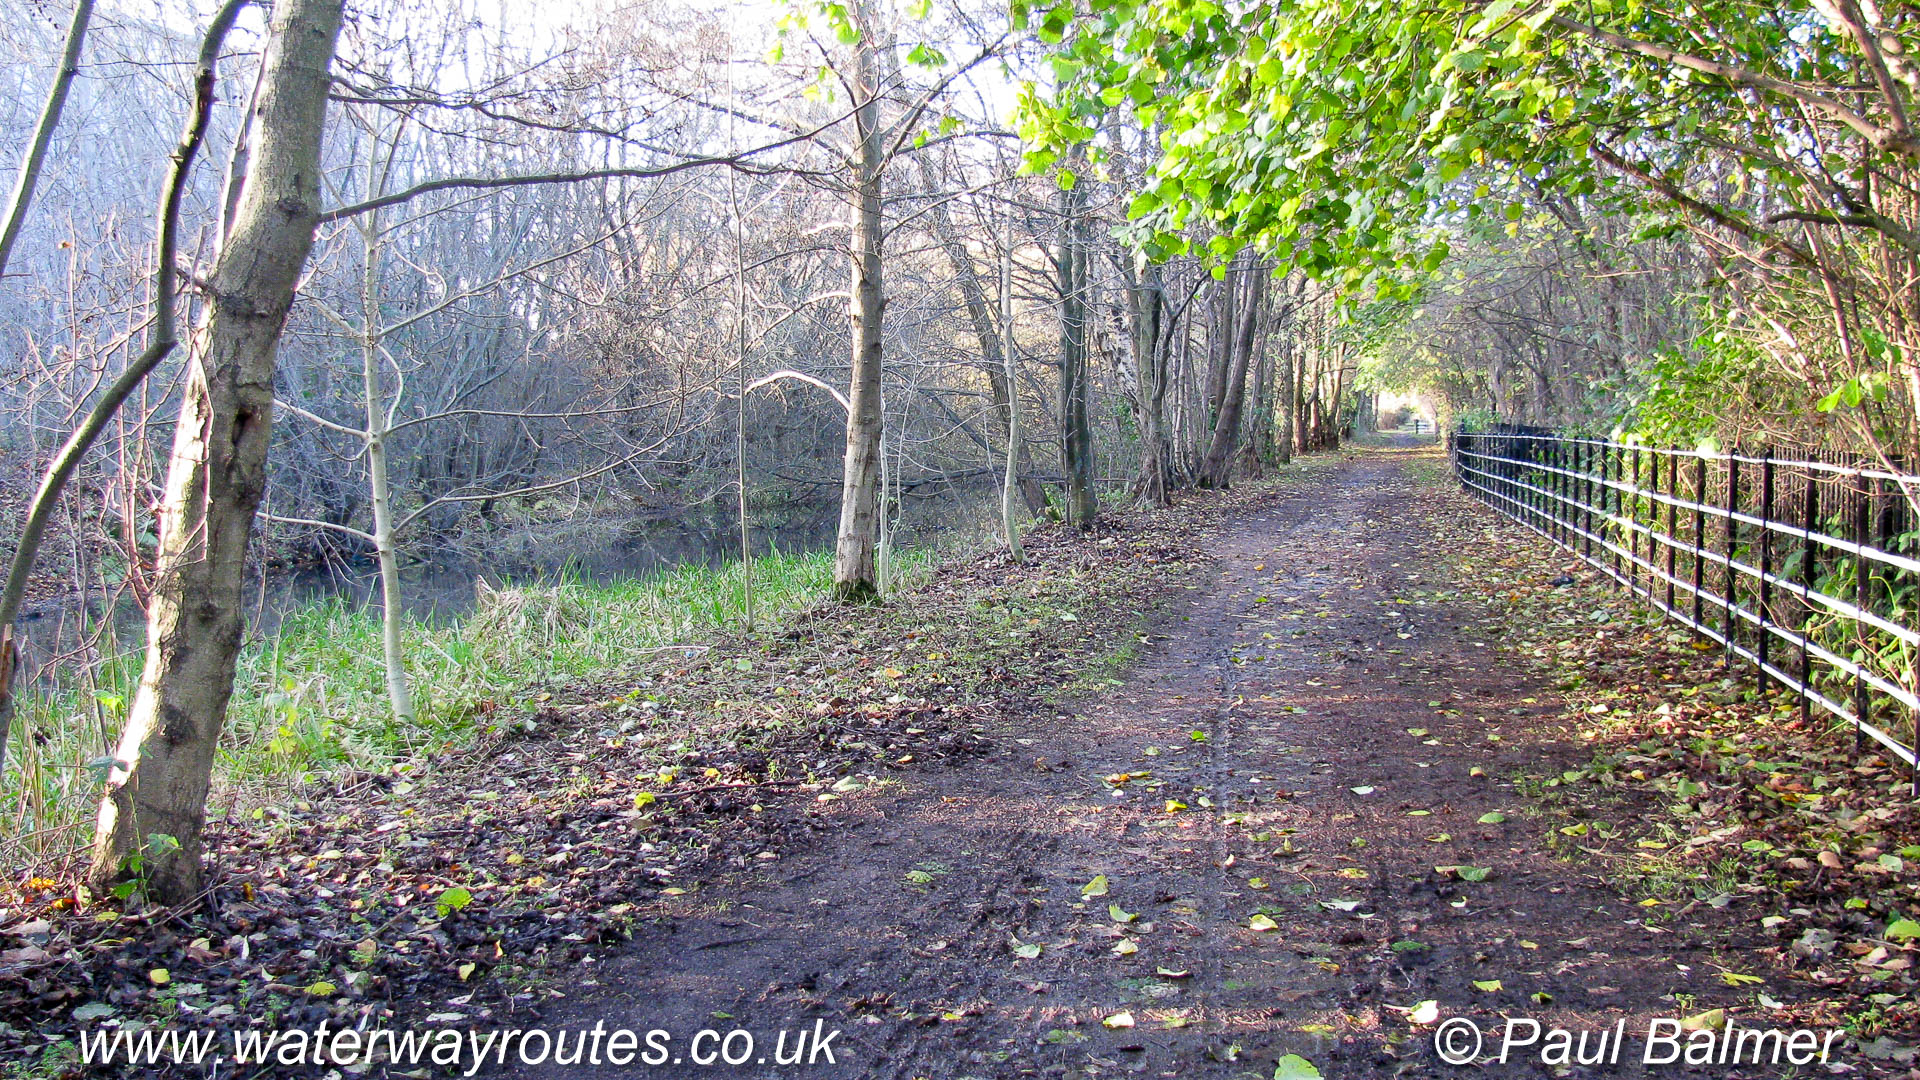
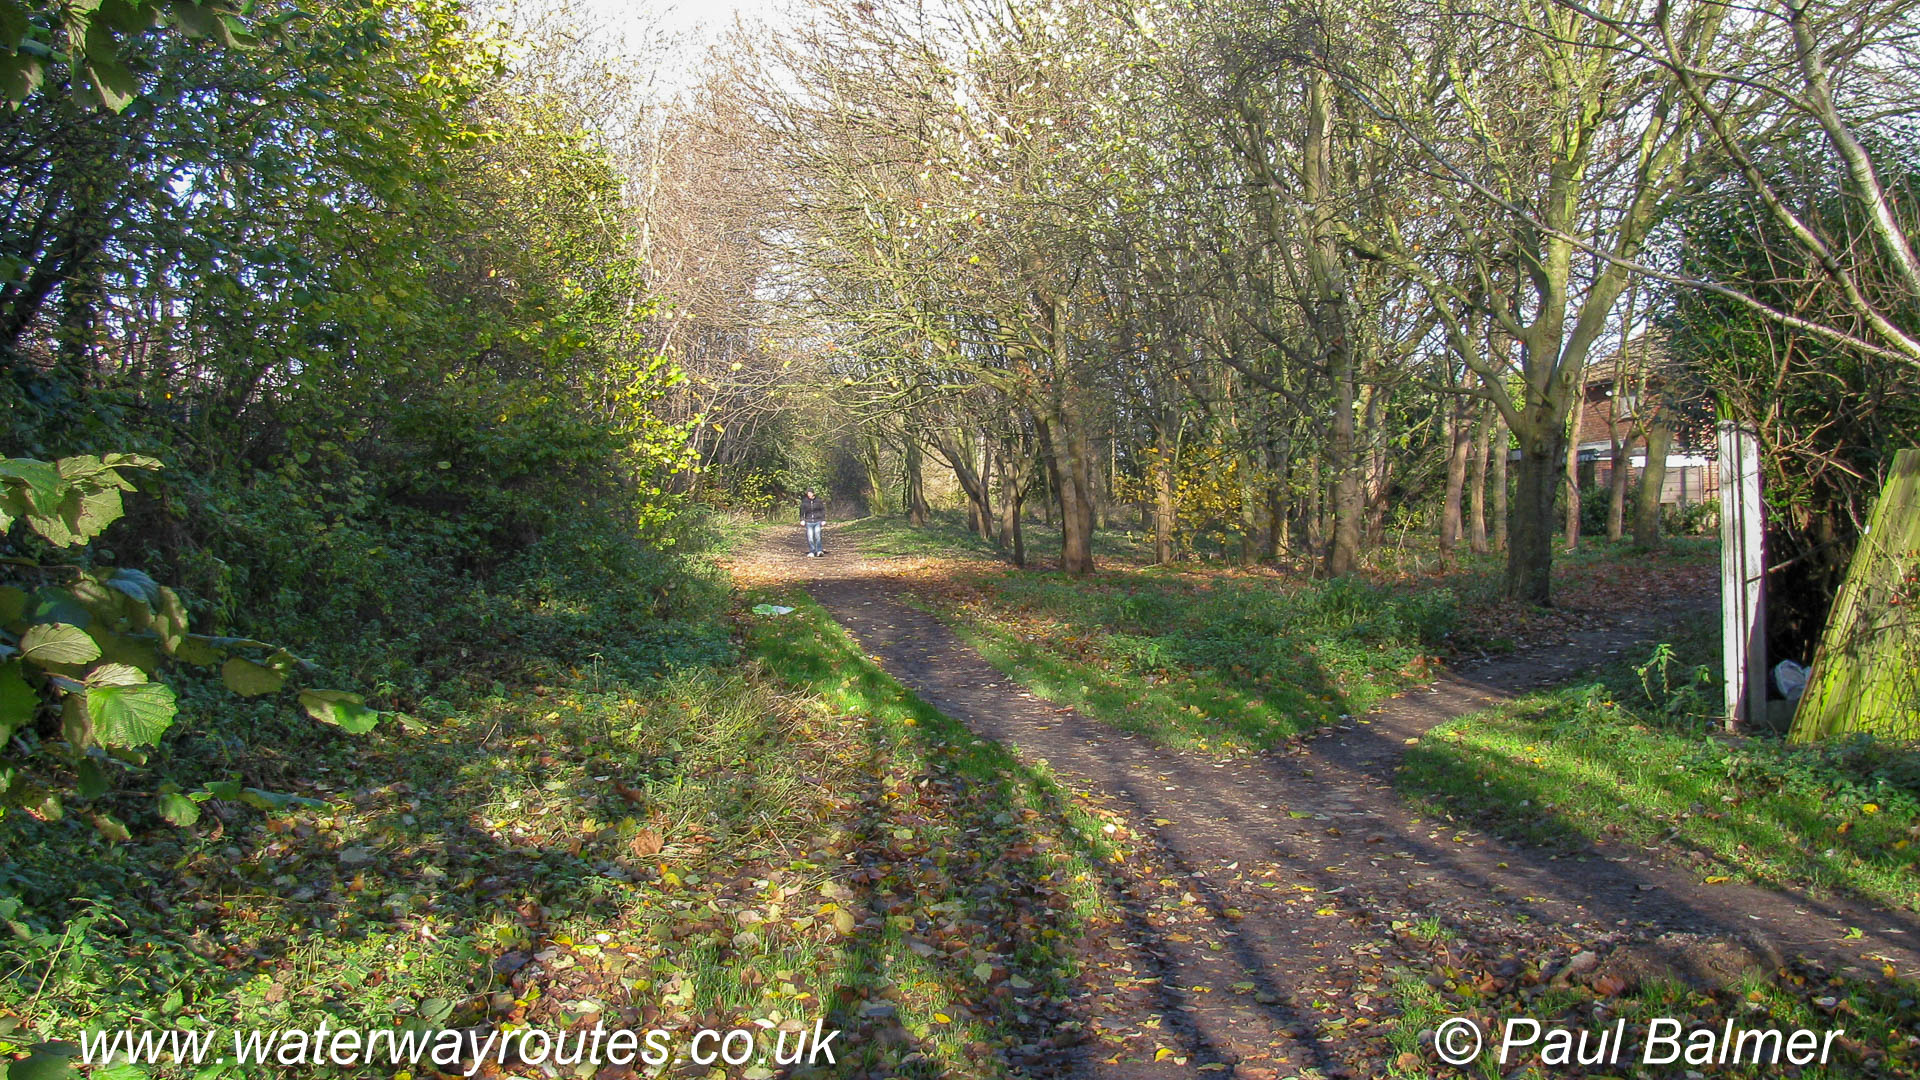
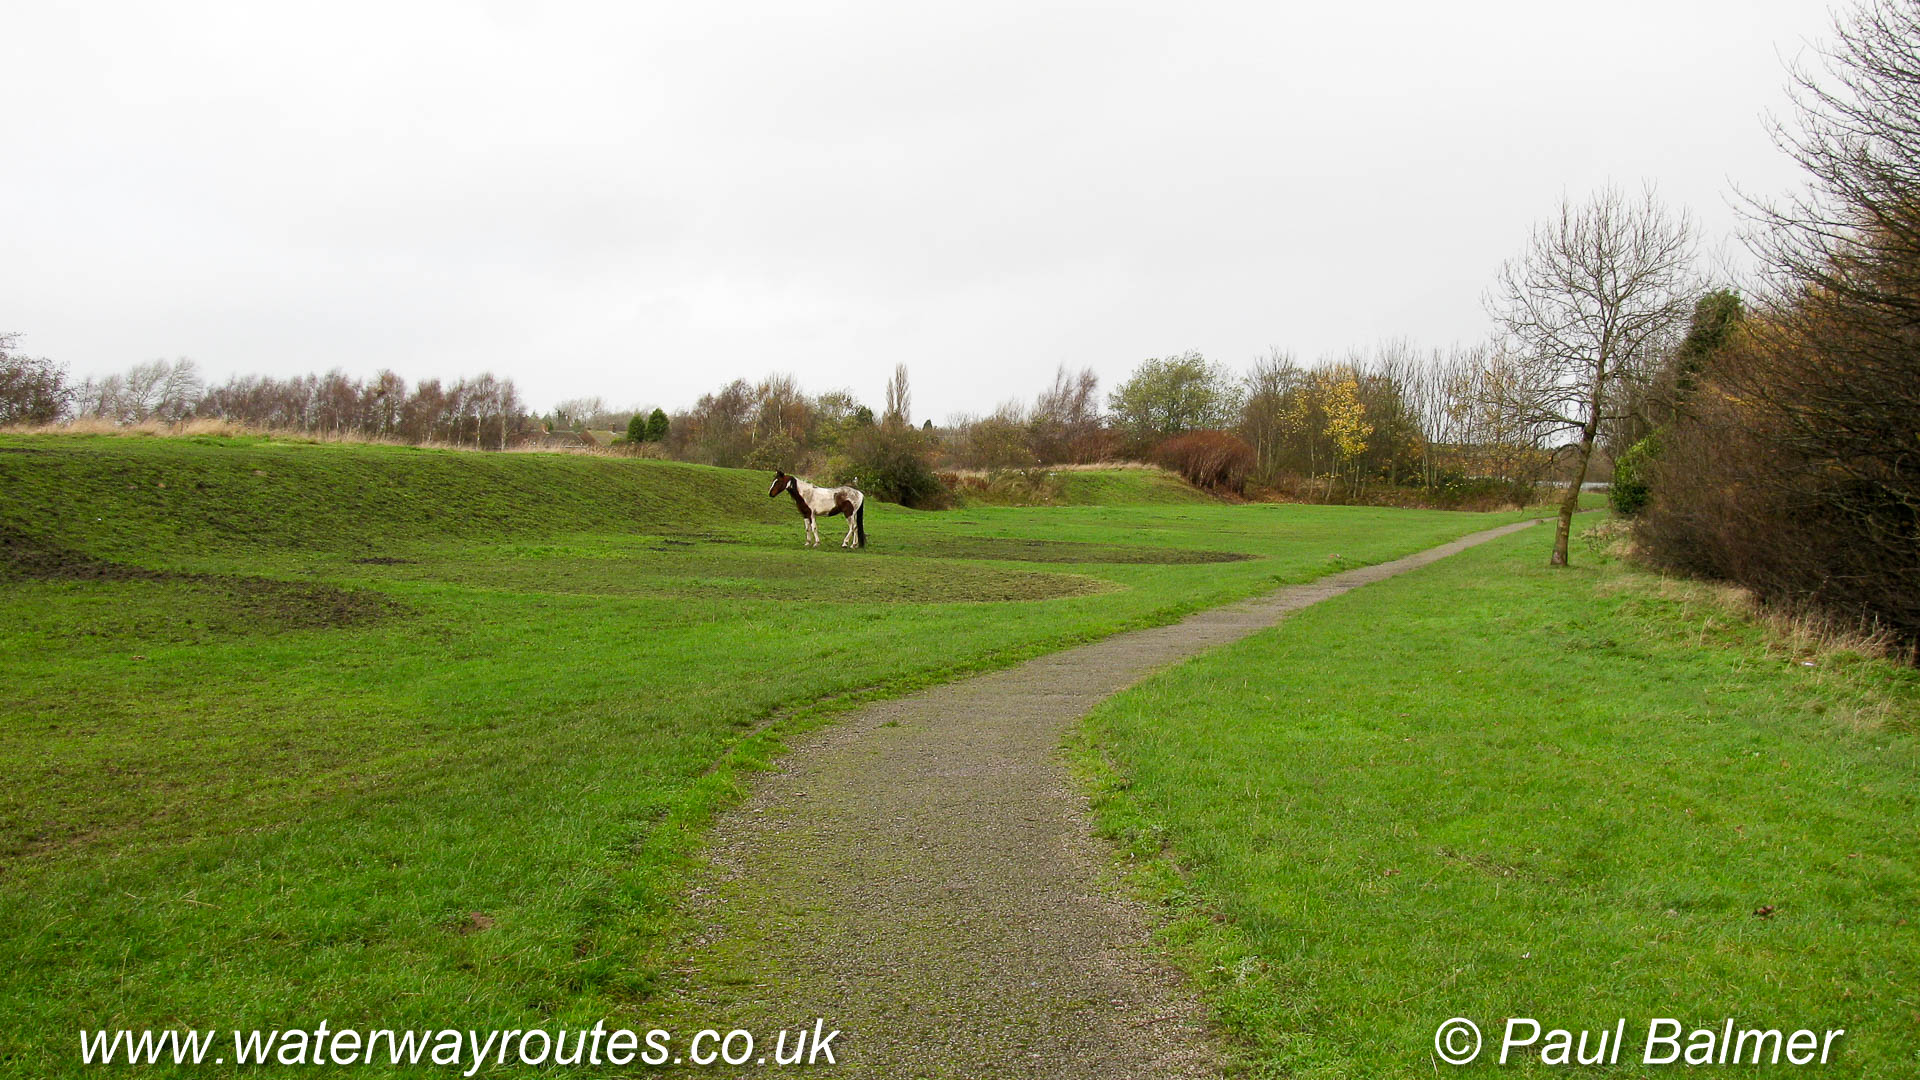
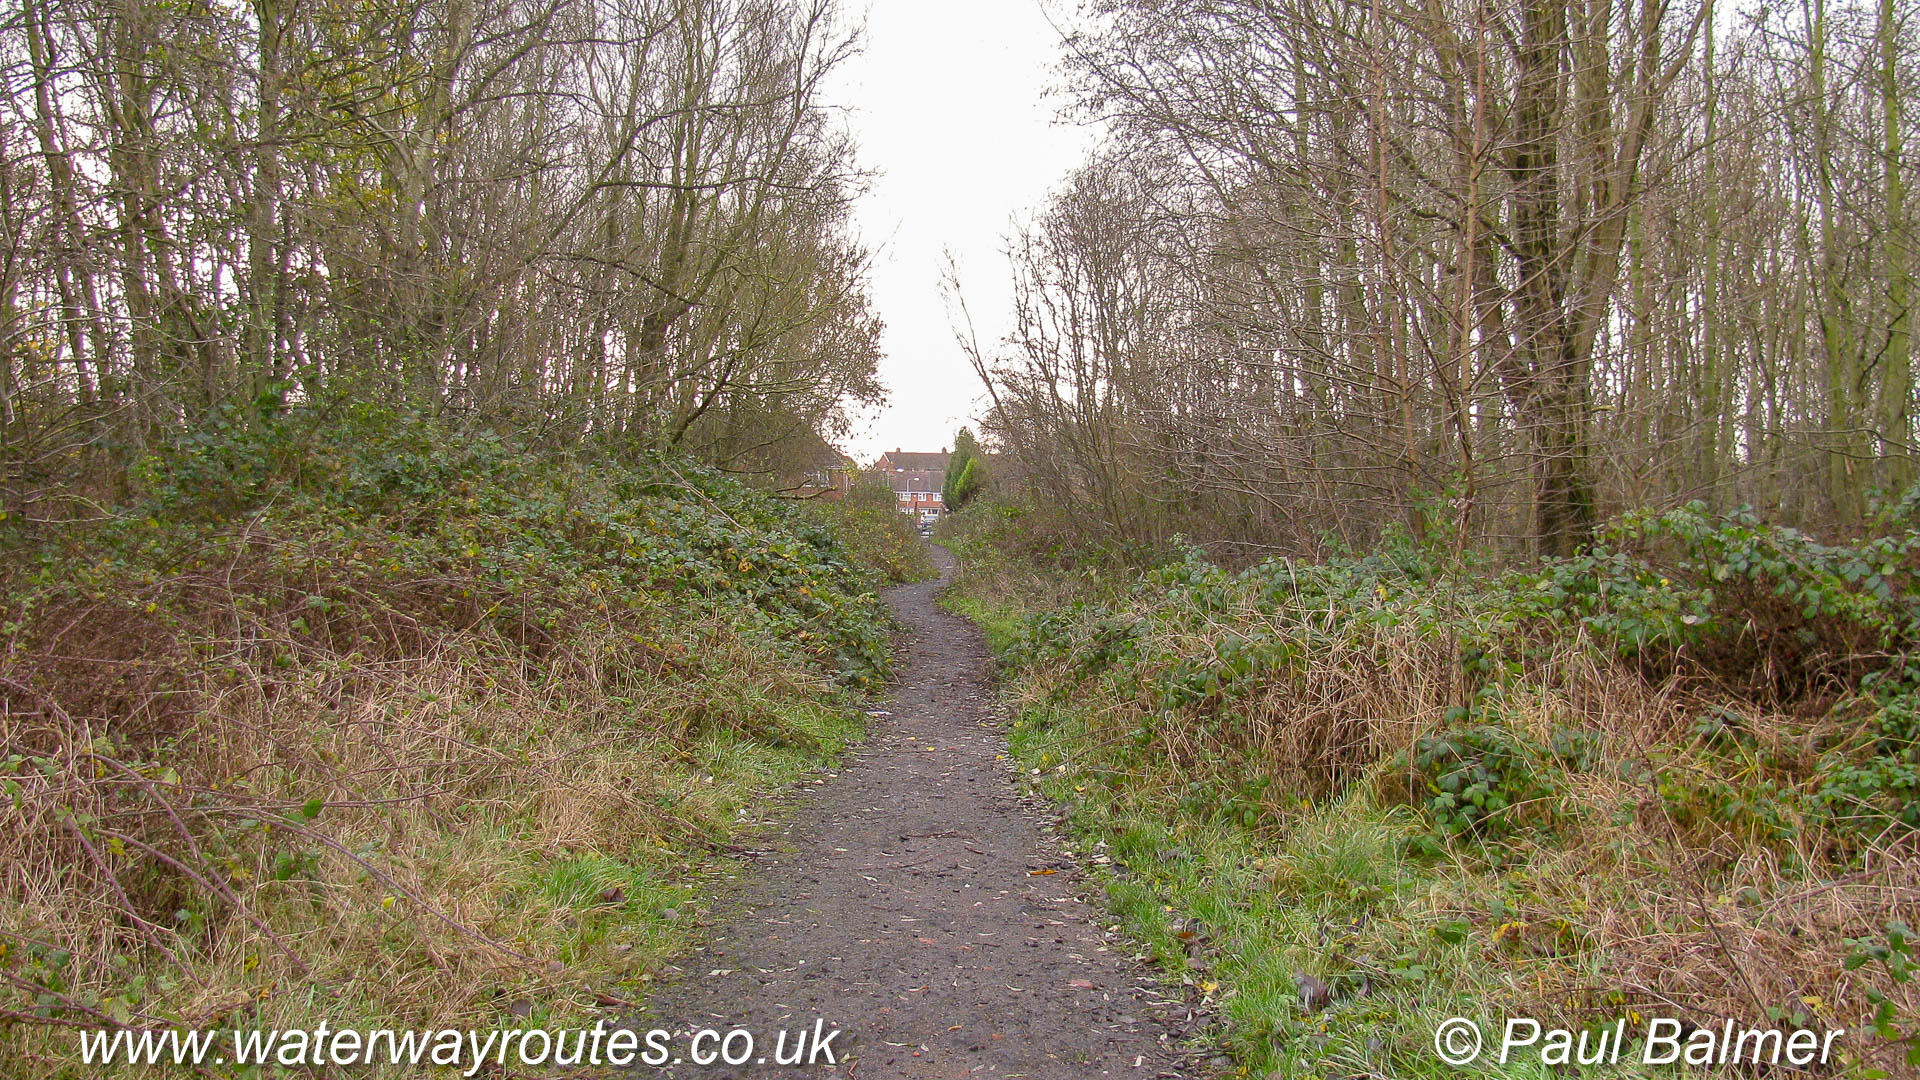
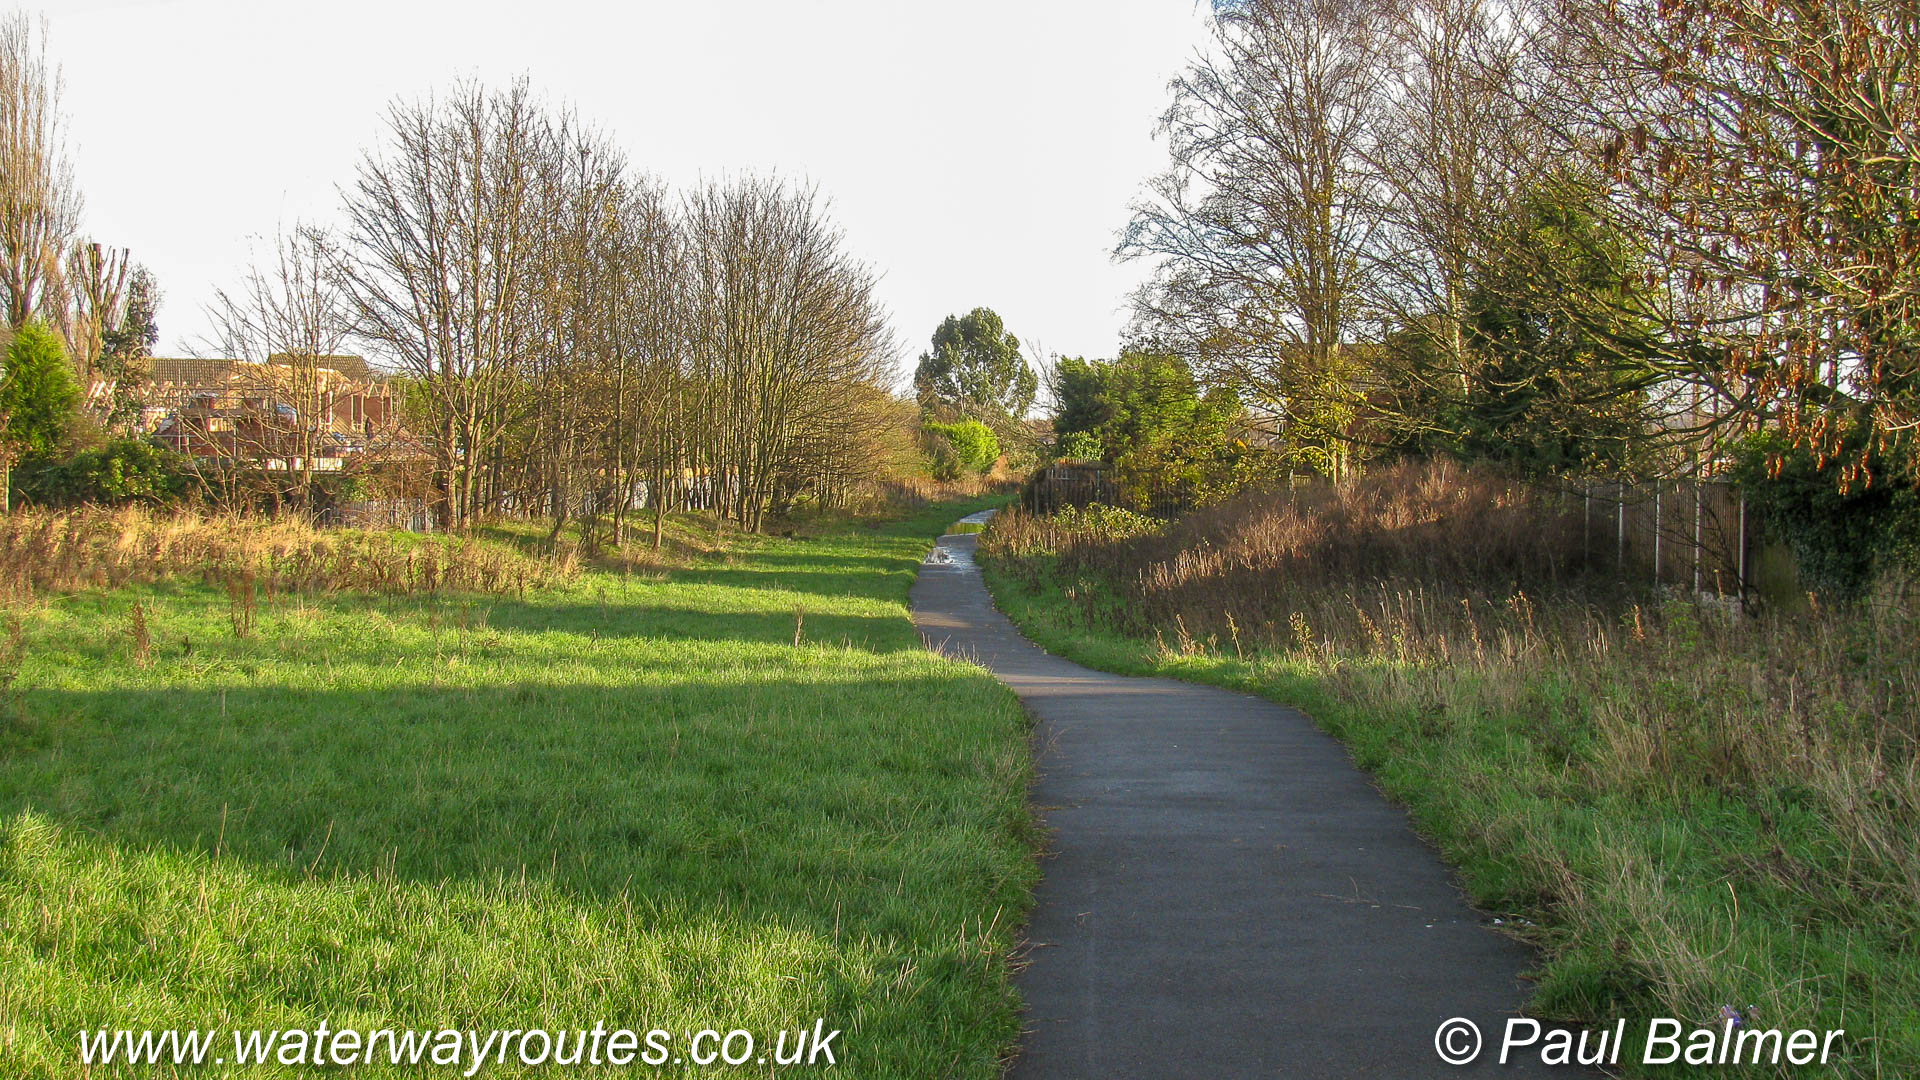
The towpath is walkable throughout the Bradley Canal, although the trees would make it difficult to pull a boat with a rope.
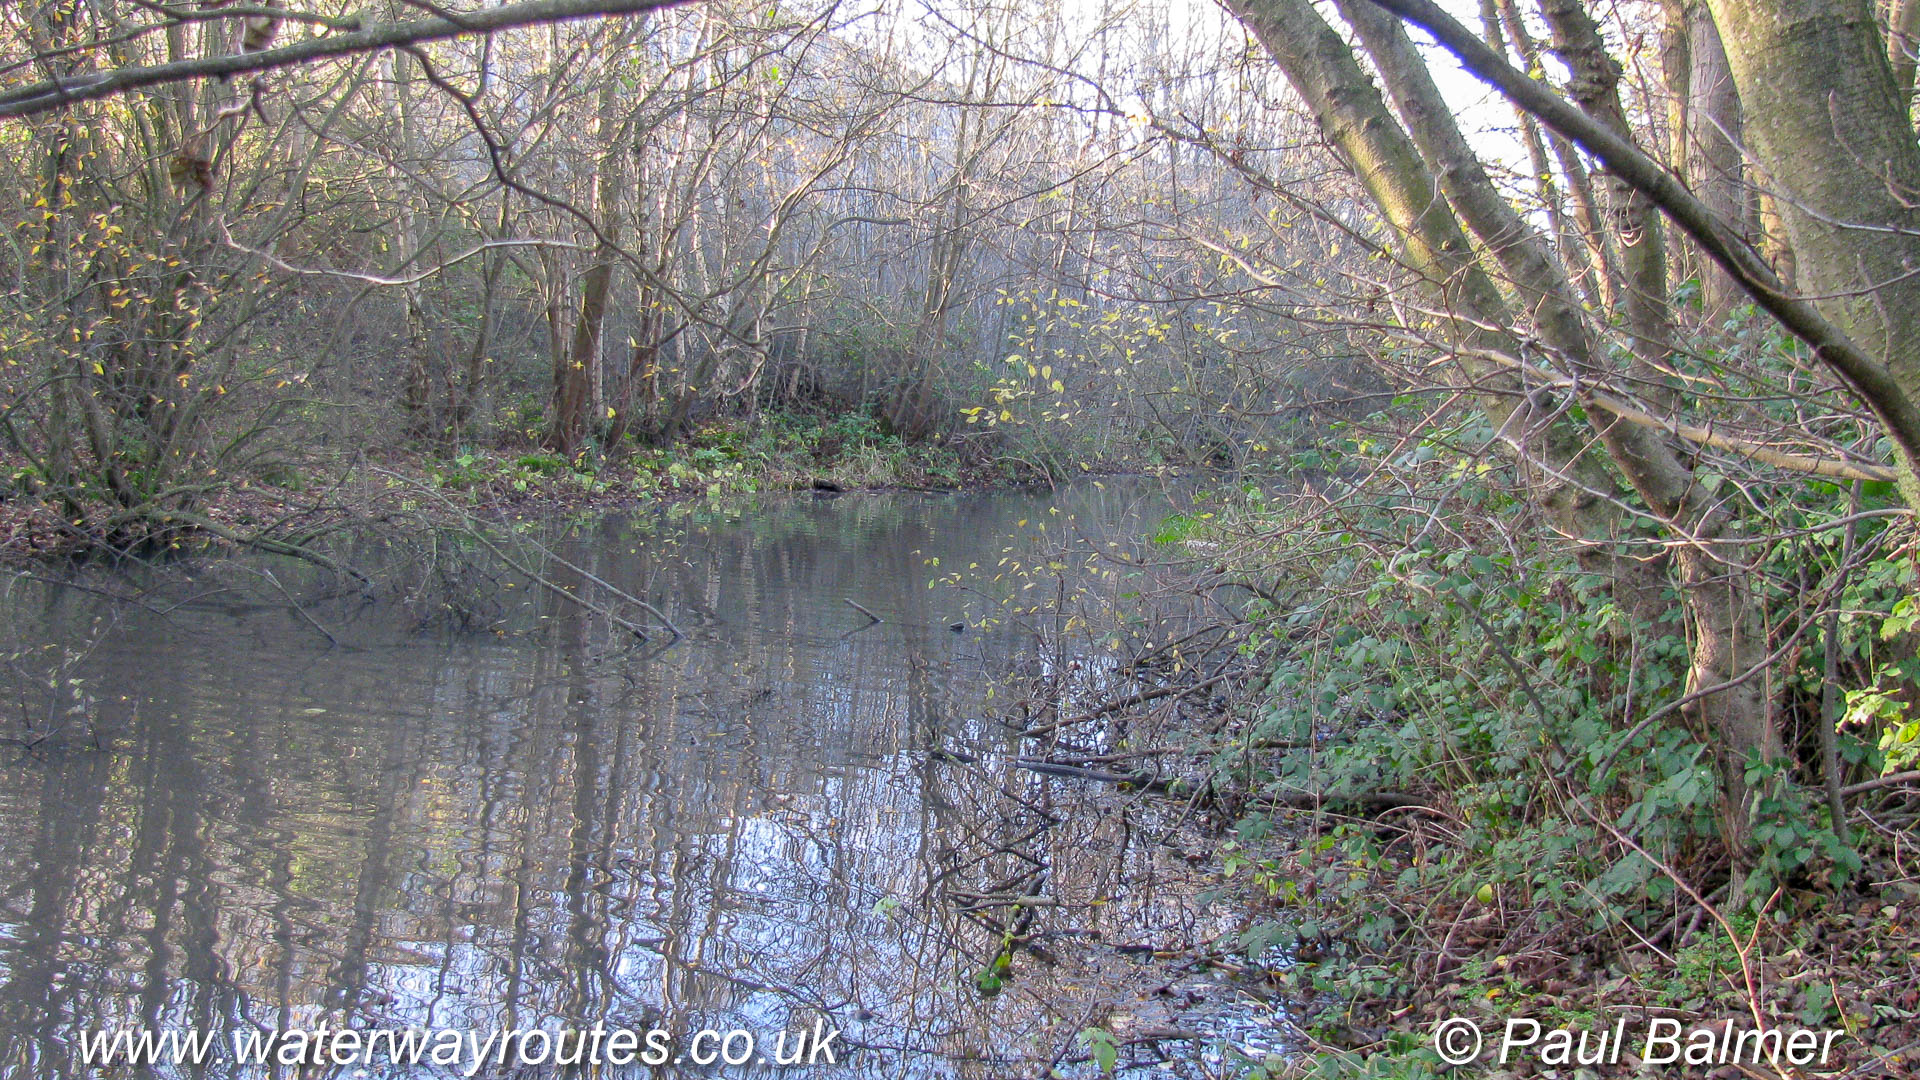
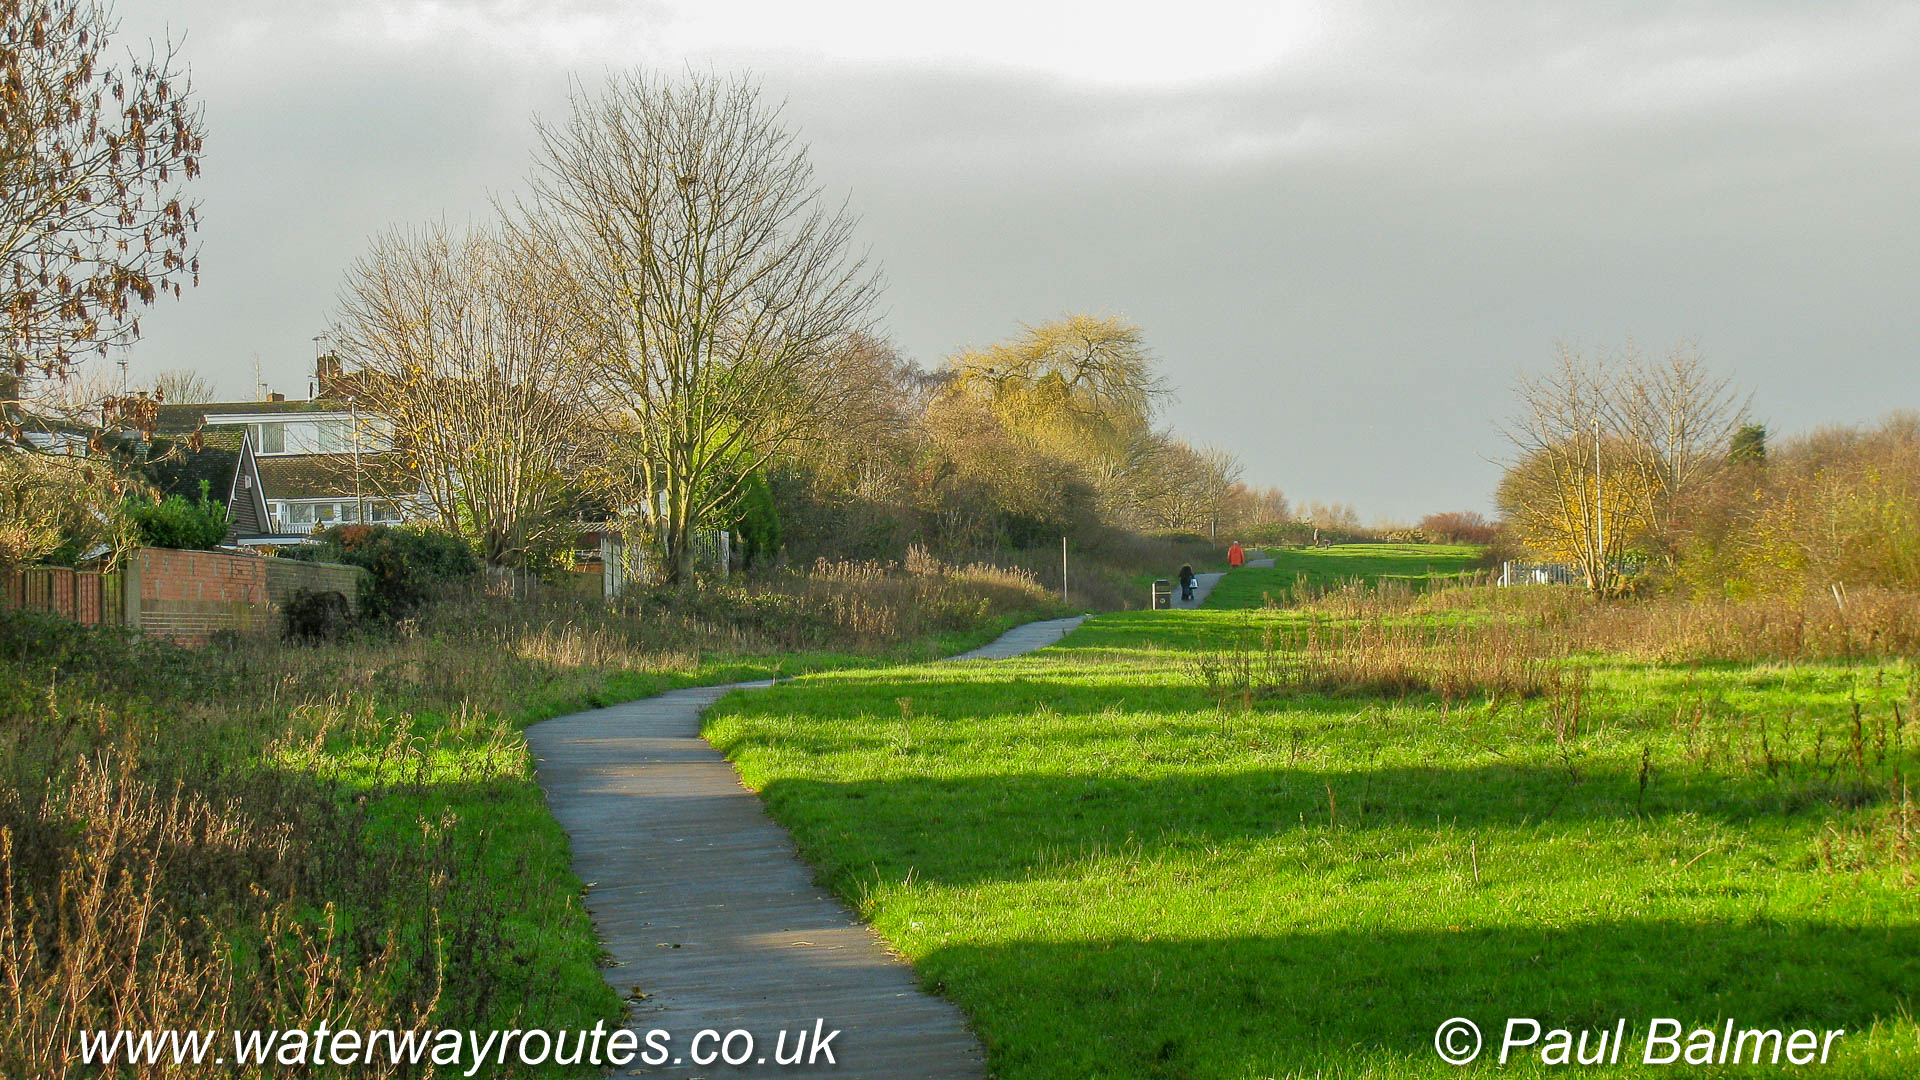
Looking along the Bradley Canal, with the Walsall Canal behind us, it’s just possible to imagine a narrowboat cruising along here when the vegetation has been trimmed. The first 500m looks like this.
The Bradley Canal starts at Moorcroft Junction with the Walsall Canal, shown above. We are standing on the towpath looking across the Walsall Canal and into the Bradley Canal. Head left along the Walsall Canal for Tame Valley Junction and right for Walsall Junction
Sherborne Wharf Marina occupies the centre and western sections of the Oozells Street Loop. All the moorings are private, but it’s possible to cruise straight through, between Old Turn Junction and Ladywood Junction.
In the centre of the picture is our Waterway Routes narrowboat on its home mooring where it spends much of the winter. In the summer we are out cruising as we check the data for our maps, and film for our DVDs.
Continuing straight ahead at Hazlehurst Junction along the main line of the Caldon Canal towards Froghall where the Leek Branch diverges to our right.

Kelpies standing near the eastern end of the Forth & Clyde Canal.
Parts of the route between Fazeley Junction and Whittington are in shade which is …
Looking along the last few metres of the Huddersfield Narrow Canal where it meets the Ashton Canal end on.
The Engine Arm Aqueduct carries the Engine Arm over the New Main LIne of the Birmingham Canal Navigations.
Toll islands are a feature of the Birmingham Canal Navigations (BCN). As the boats passed through the narrows the toll collector would use a marked stick to check the depth of the boat in the water to see
Most of the route between Fazeley Junction and Whittington is through …
Most of the bridges between Fazeley Junction and Whittington are similar in style. As this section of canal was constructed by
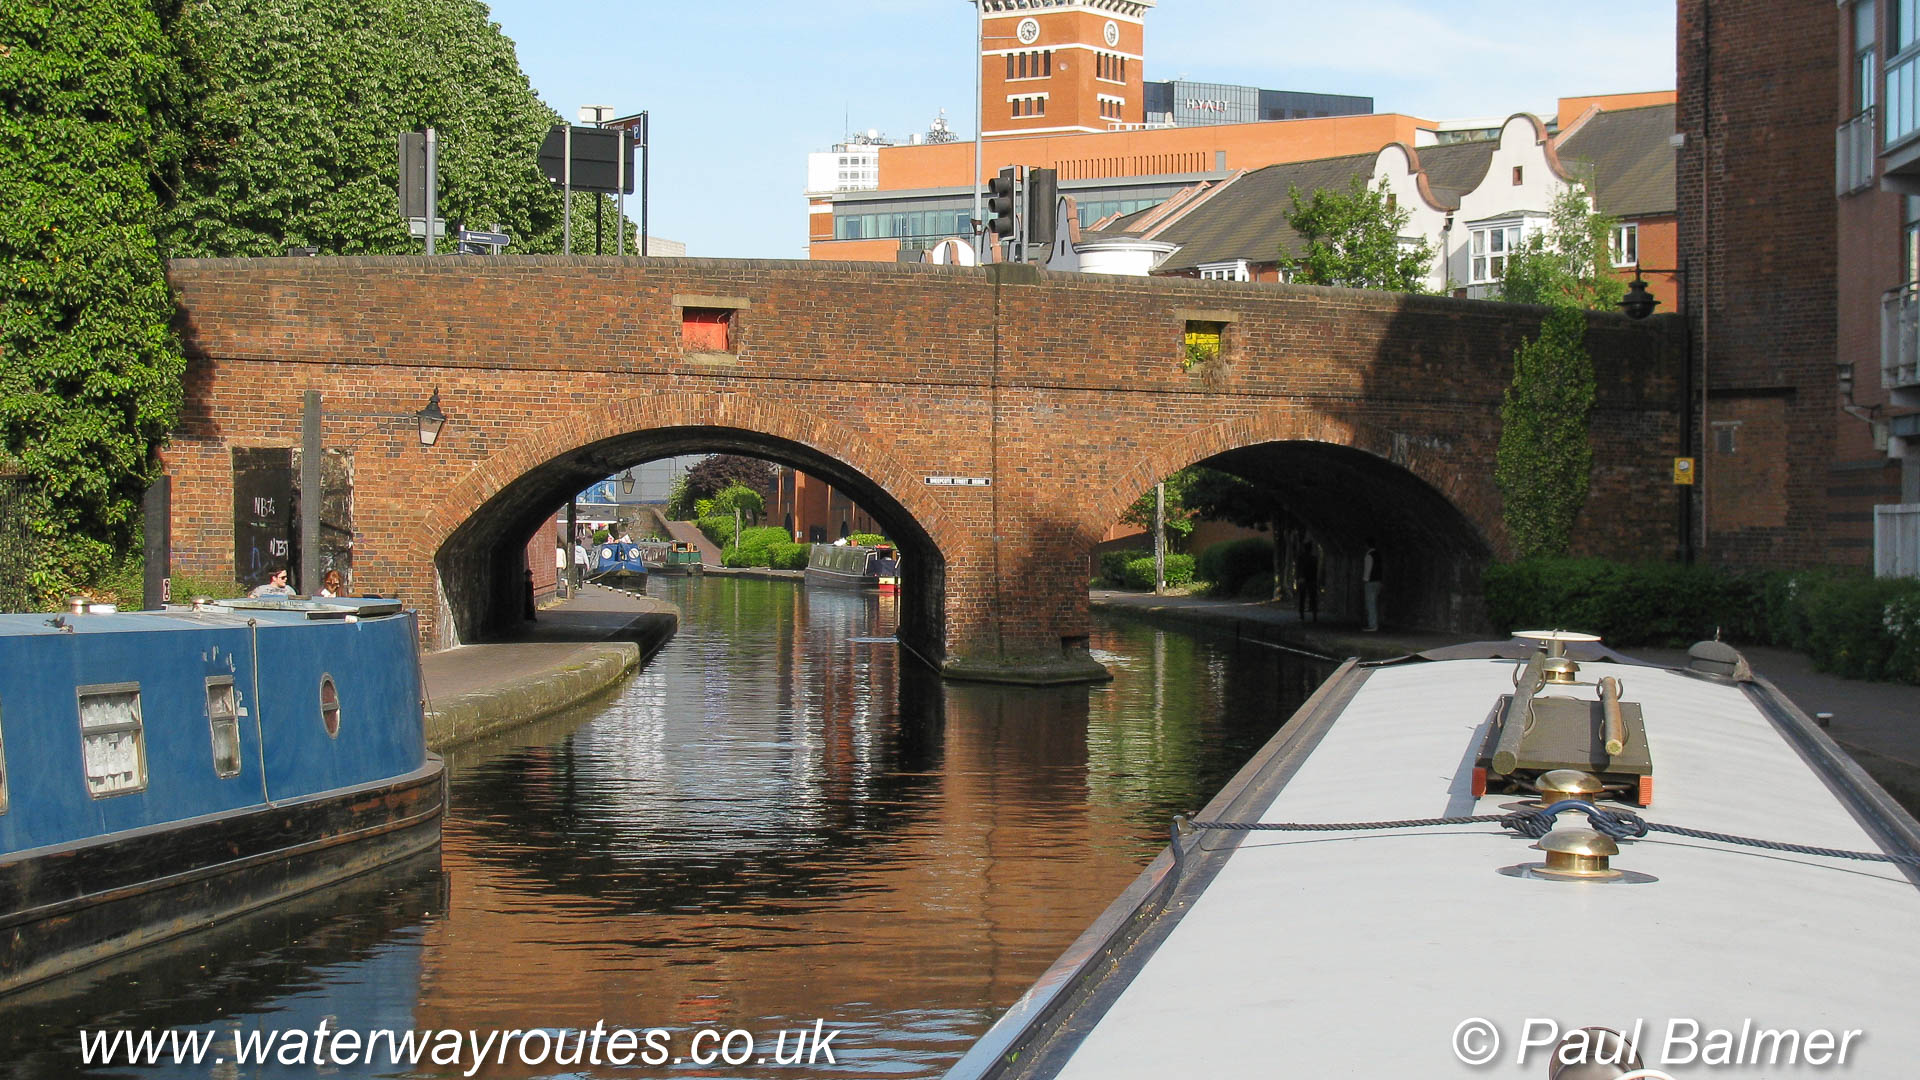
Cruising along the Birmingham Canal Navigations Main Line towards Sheepcote Street Bridge.
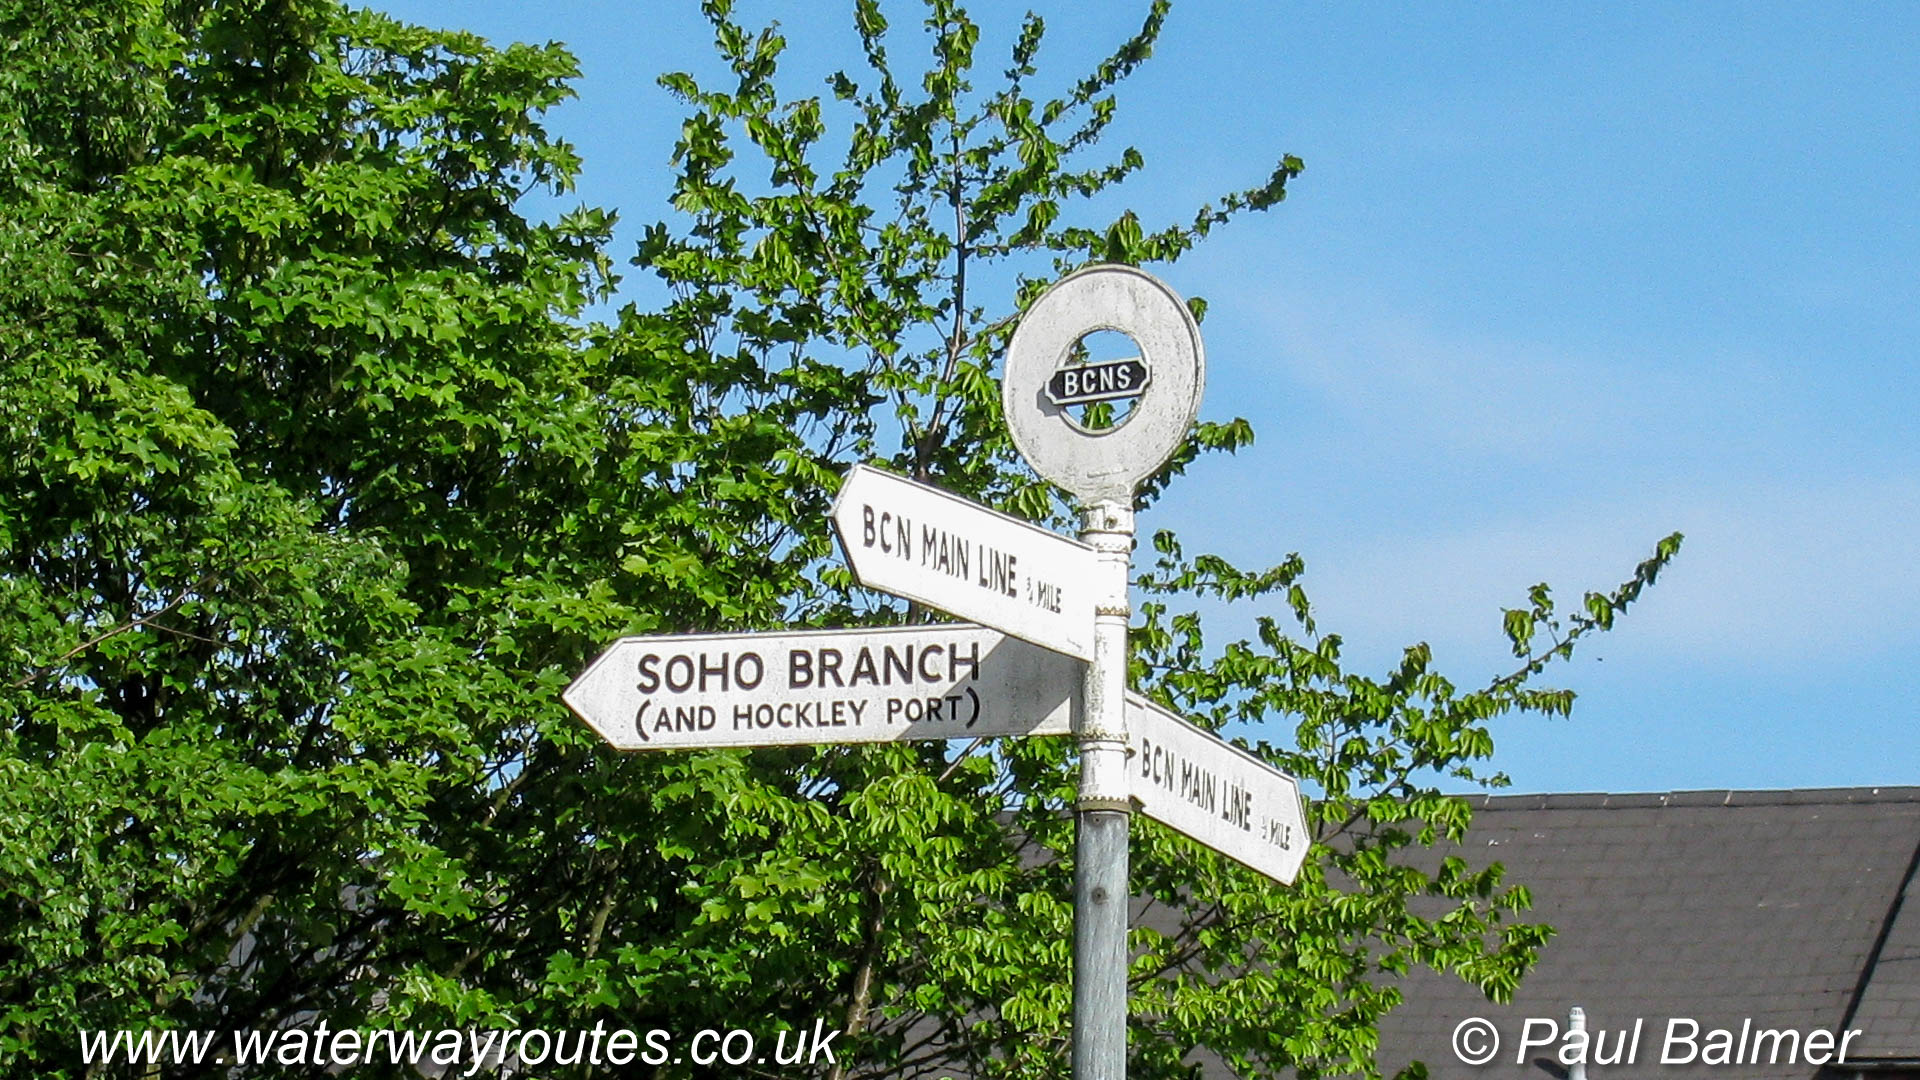
The Soho Loop of the Birmingham Canal Navigations passes the junction for the Soho Branch.
The Soho Loop of the Birmingham Canal Navigations passes the junction for the Soho Branch.

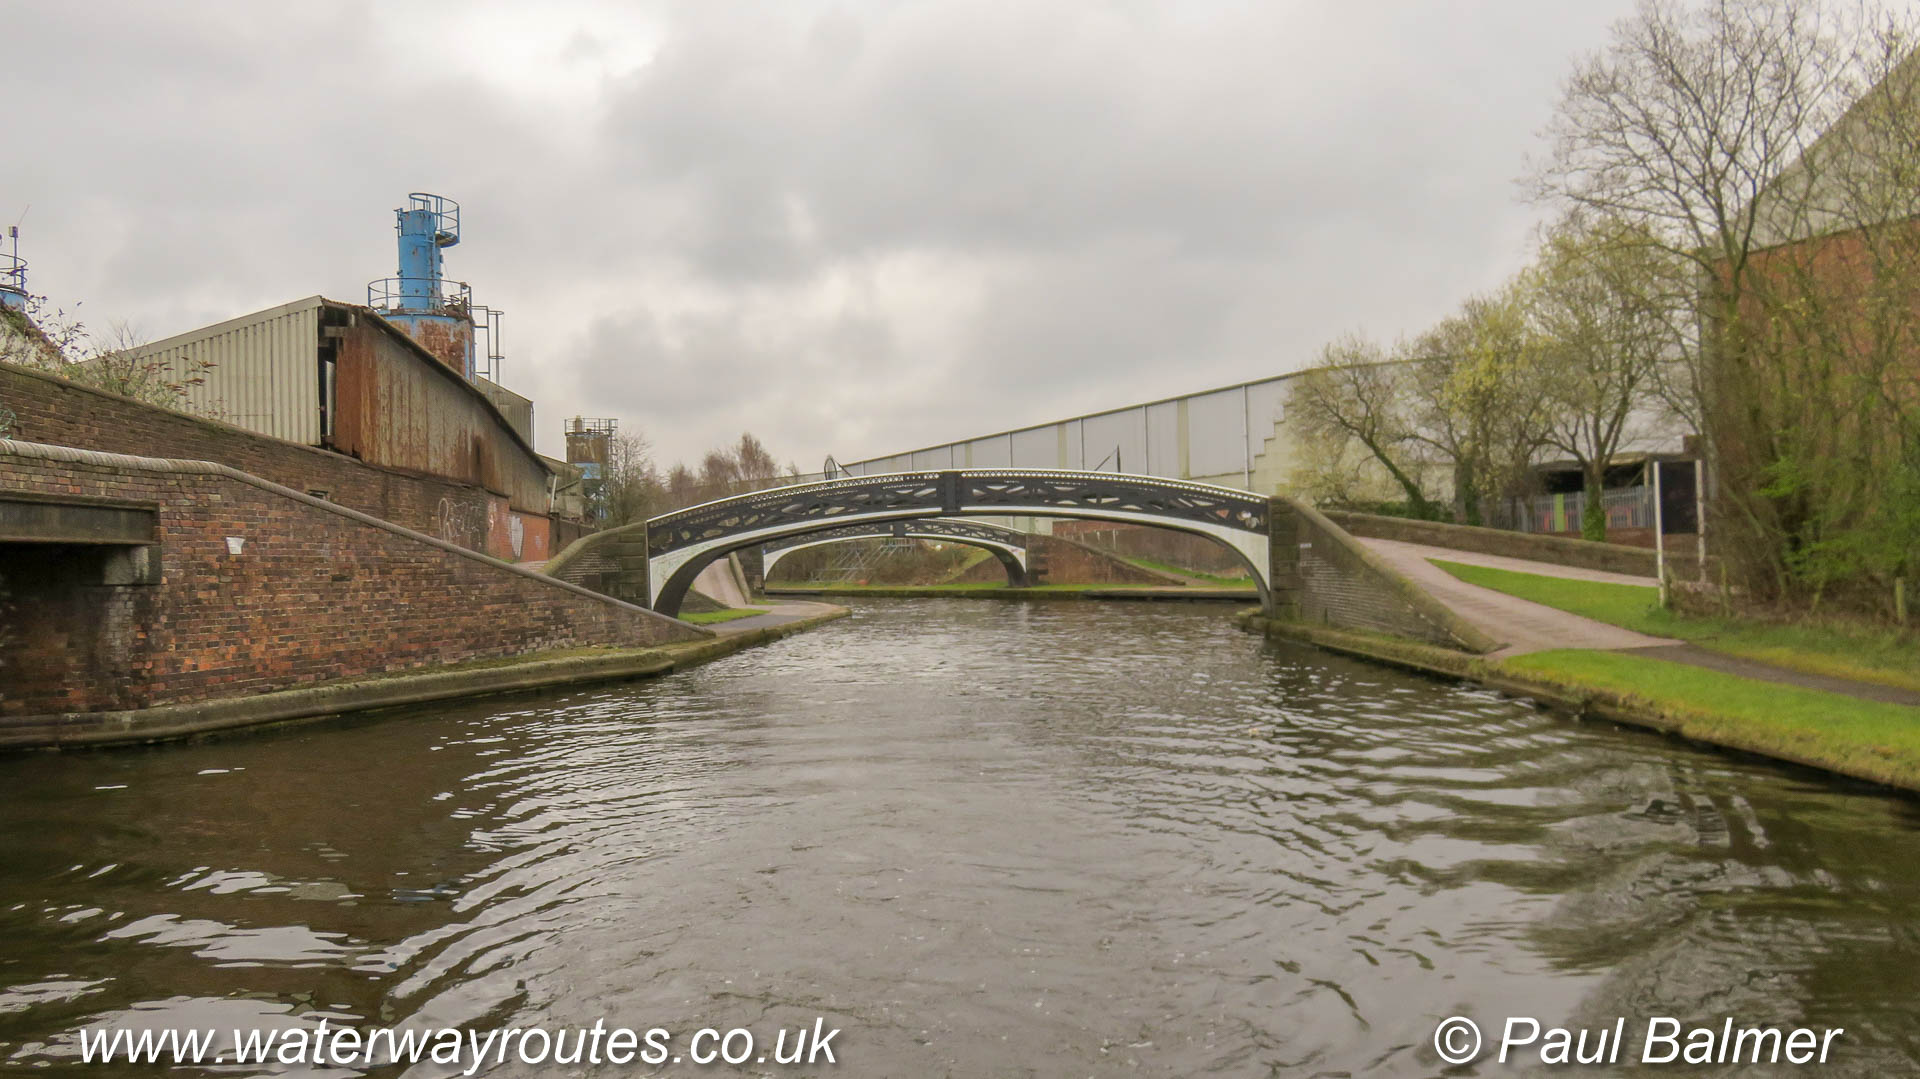
Most of the New Main Line’s route between Smethwick Junction and Factory Junction is wide and straight. Between Bromford Junction and Pudding Green Junction it adopts the
 England & Wales Waterway Map for Download
by Mike Fielding
England & Wales Waterway Map for Download
by Mike Fielding
 South Pennine Ring Map for Download
by Mark Adley
England & Wales Waterway Map for Download
by John DiDonato
England & Wales Waterway Map for Download
by John Charnock
South Pennine Ring Map for Download
by Mark Adley
England & Wales Waterway Map for Download
by John DiDonato
England & Wales Waterway Map for Download
by John Charnock
 Llangollen Canal Map for Download
by Mike Moreau
Llangollen Canal Map for Download
by Mike Moreau
 RSS Blog Feed
Recent Comments